


Energy storage installation workflow UK campervans 2026
Complete step-by-step workflow for installing lithium battery systems in UK campervans. Learn essential safety protocols, avoid common mistakes, and achieve reliable off-grid power.
Installing lithium batteries in your campervan can transform your off-grid experience, but more than 80% of UK campervan owners face unexpected power outages due to improper lithium battery installations. These failures often stem from rushed setups that ignore crucial safety protocols or skip essential preparation steps. This comprehensive workflow guides you through every stage of installation, from selecting the right location to testing under load, ensuring your energy storage system delivers reliable power for years of adventure across the UK.
Table of Contents
- Introduction To Energy Storage In Leisure Vehicles
- Prerequisites: Tools, Components, And Safety Preparation
- Step 1: Assess Installation Site And Select Location
- Step 2: Calculate Energy Needs And Select The Battery
- Step 3: Disconnect Old Battery And Prepare Wiring
- Step 4: Install And Wire The Lithium Battery
- Step 5: Integrate Battery Management System (Bms) And Monitoring
- Step 6: Test System Under Load And Verify Performance
- Common Installation Mistakes And Troubleshooting
- Expected Outcomes: System Lifespan And Performance Benchmarks
- Explore Expert Lithium Battery Solutions At Skyenergi
Key takeaways
| Point | Details |
|---|---|
| Follow clear installation steps | Proper workflow reduces outages and extends battery life significantly |
| Prioritise safety protocols | Ventilation, torque specifications, and isolation prevent hazards and damage |
| Integrate battery management systems | BMS technology can extend lifespan by up to 70% through intelligent monitoring |
| Avoid common mistakes | Isolation failures and terminal errors cause most installation faults |
| Expect long-term performance | LiFePO4 batteries deliver 3 to 10 years of reliable service with proper care |
Introduction to energy storage in leisure vehicles
The shift towards lithium battery adoption in UK campervans reflects growing demand for extended off-grid capability. Traditional lead-acid systems simply cannot match the performance requirements of modern leisure vehicles packed with appliances, lighting, and charging ports. Lithium technology addresses these limitations whilst reducing weight and maintenance demands.
A complete energy storage system comprises three core components working in harmony. The lithium battery itself stores electrical energy in a compact, lightweight package. The Battery Management System monitors cell health and prevents damage from overcharging or excessive discharge. Compatible chargers deliver appropriate charging profiles specifically designed for lithium chemistry, avoiding the risks associated with lead-acid charging equipment.
Understanding energy storage basics reveals why lithium outperforms older technologies:
- Weight savings of 50 to 70% compared to equivalent lead-acid capacity
- Usable capacity exceeding 90% versus 50% for traditional batteries
- Cycle life spanning thousands of charge cycles rather than hundreds
- Consistent voltage delivery maintaining appliance performance throughout discharge
- Enhanced safety features including built-in thermal protection
These advantages explain why leisure vehicle owners increasingly specify lithium systems for new builds and retrofits alike. The initial investment delivers superior performance and longevity that justifies the premium over legacy battery technologies.
Prerequisites: tools, components, and safety preparation
Successful installation tools and safety practices begin before you touch any electrical components. Gathering the right equipment prevents delays and reduces risks during the installation process. Your toolkit should include a digital multimeter for voltage checks, insulated screwdrivers rated for electrical work, and corrosion-resistant spanners sized for battery terminals.
Safety gear protects you from electrical hazards and chemical exposure. Wear insulated gloves when handling batteries and terminals. Safety glasses shield your eyes from potential sparks or acid splashes. Keep a fire extinguisher rated for electrical fires within easy reach of your work area.
Component selection determines system reliability and safety margins:
- Lithium batteries with integrated BMS providing cell-level protection
- Lithium-specific chargers programmed for correct voltage profiles
- Circuit breakers or fuses rated above normal load but below cable capacity
- Marine-grade cable with adequate cross-sectional area for expected current
- Corrosion-resistant terminals and mounting hardware
Pro Tip: verify your battery’s BMS specifications match your planned charging sources before purchase to avoid compatibility issues that can damage batteries or void warranties.
Plan your ventilation strategy even though lithium batteries produce minimal gases compared to lead-acid systems. Enclosed spaces still require airflow to dissipate heat during charging and discharge cycles. Map out isolation procedures for all power sources including solar panels, alternator charging, and shore power connections.
Step 1: assess installation site and select location
Choosing battery location impacts both performance and longevity significantly. Your installation site must balance accessibility for maintenance with protection from physical damage and environmental extremes. Survey your vehicle interior for enclosed spaces that offer impact protection whilst allowing adequate ventilation.
Physical placement requirements ensure optimal operating conditions. Proper battery placement with at least 50mm clearance and ventilation prevents overheating and damage to sensitive electronics. Measure carefully around your chosen location to confirm this clearance on all sides. Avoid areas near cooking appliances, heating systems, or engine compartments where temperatures fluctuate dramatically.
Key location criteria include:
- Protection from water ingress and high humidity
- Stable mounting surface capable of supporting battery weight
- Convenient access to existing electrical distribution points
- Room for future system expansion if you plan capacity increases
- Clear cable routing paths avoiding sharp edges or moving parts
Pro Tip: photograph your planned installation site from multiple angles before mounting anything, creating a reference for future maintenance or system modifications.
Consider weight distribution within your vehicle’s overall payload capacity. Positioning batteries low and centrally improves handling characteristics whilst keeping the centre of gravity stable. Check your vehicle’s chassis rating to ensure additional battery weight remains within legal and safe limits for UK roads.
Step 2: calculate energy needs and select the battery
Calculating energy needs accurately prevents undersized systems that disappoint or oversized installations that waste money. Begin by inventorying every electrical device you operate when off-grid, noting its power consumption in watts and typical daily usage hours.
- List all appliances with their wattage ratings from specification labels or manuals
- Estimate realistic daily usage hours for each device based on your camping patterns
- Multiply watts by hours to calculate watt-hours for each appliance
- Sum all watt-hour values to determine baseline daily consumption
- Apply a 20% buffer over estimated consumption to ensure ample power reserves
Battery selection depends on your total daily requirement plus the buffer margin. Divide your buffered watt-hour total by your system voltage (typically 12V for campervans) to find the minimum amp-hour capacity needed. Choose LiFePO4 chemistry for its superior safety profile, thermal stability, and cycle life compared to other lithium variants.
Consider future needs when sizing your system. Adding appliances later becomes frustrating if your battery lacks capacity. Many owners underestimate their actual consumption, particularly during winter when heating and lighting demands increase substantially.
Step 3: disconnect old battery and prepare wiring
Disconnecting old battery safely requires methodical attention to sequence and isolation procedures. Correct battery disconnection sequence and isolation prevents electrical hazards that could damage equipment or cause injury. Never rush this critical phase regardless of your experience level.
Follow this disconnection protocol without deviation:
- Switch off all appliances and remove keys from ignition
- Disconnect solar panel inputs at the charge controller
- Disable alternator charging by removing the relevant fuse
- Disconnect shore power connections completely
- Remove negative battery terminal first using insulated tools
- Remove positive terminal only after negative is fully disconnected
Inspect all wiring for signs of wear, corrosion, or damage during this phase. Clean battery terminals and cable ends with a wire brush to remove oxidation and ensure good electrical contact. Replace any corroded ring terminals or damaged cables before proceeding with the new battery installation.

Label each cable clearly before disconnection to simplify reconnection later. Use masking tape and permanent marker to note positive, negative, and any auxiliary connections. Photograph the existing wiring configuration from multiple angles as an additional reference.
Step 4: install and wire the lithium battery
Installing and wiring battery systems demands precision and attention to manufacturer specifications. Physical mounting must withstand vehicle vibration and movement whilst maintaining proper orientation for battery operation.
- Position battery on corrosion-resistant mounting base in your selected location
- Secure with appropriate clamps or brackets that distribute hold-down force evenly
- Connect positive terminal first, followed by negative terminal in reverse of removal sequence
- Install fuse or circuit breaker inline on positive cable close to battery terminal
- Tighten battery terminals to manufacturer torque specs (max 12Nm) to avoid damage and faults
Cable routing requires careful planning to avoid chafing and interference. Secure cables every 300mm using appropriate clips that prevent movement without crushing insulation. Route cables away from sharp edges, moving parts, and heat sources. Maintain separation between positive and negative cables where possible.
Pro Tip: apply a thin coat of petroleum jelly to battery terminals after tightening to prevent corrosion and maintain good electrical contact over time.
Verify all connections visually before proceeding. Check that terminal bolts engage fully with no cross-threading. Confirm fuse ratings match your system design. Double-check polarity using your multimeter before powering up any circuits.
Step 5: integrate battery management system (BMS) and monitoring
BMS integration and monitoring transforms basic battery installation into an intelligent power system. BMS integration can extend lithium battery lifespan by up to 70% through continuous protection and optimisation of charging parameters.
Connect your BMS according to manufacturer instructions, typically involving communication cables between battery and monitoring device. Modern systems feature Bluetooth connectivity enabling smartphone monitoring without additional wiring. Configure protection thresholds for overcharge voltage, discharge cutoff, and temperature limits based on your specific battery model.
Monitoring capabilities provide invaluable operational insights:
- Real-time voltage, current, and state of charge readings
- Individual cell voltage balancing status
- Temperature monitoring across battery pack
- Historical data tracking consumption patterns
- Alert notifications for fault conditions
Dedicate time during the first two weeks to observe your system’s behaviour under various loads. Note charging rates, discharge patterns, and any unexpected variations. This baseline understanding helps you identify problems early before they cause failures.
Many BMS units offer configurable parameters for charging current limits and low voltage disconnects. Adjust these settings to match your charging sources and appliance requirements. Conservative settings initially provide safety margins whilst you gain familiarity with system operation.
Step 6: test system under load and verify performance
System performance testing steps confirm your installation functions correctly before you depend on it during trips. Testing under realistic load confirms installation success and prevents early failures that could leave you stranded.
- Start with low-power devices like LED lights to verify basic functionality
- Progressively add higher loads such as water pumps and refrigerators
- Monitor voltage stability during discharge using your BMS display
- Verify circuit breaker or fuse operates correctly by briefly exceeding rated current
- Confirm charging functions properly from all sources (solar, alternator, shore power)
- Test system under maximum expected load for at least 30 minutes
Record your test results in a logbook documenting voltages, currents, and any anomalies observed. This baseline data proves invaluable for troubleshooting future issues.
| Test Parameter | Expected Range | Action if Outside Range |
|---|---|---|
| Resting voltage | 13.2V to 13.6V | Check BMS settings and cell balance |
| Voltage under load | Above 12.8V at 50% capacity | Verify cable sizing and connections |
| Charging voltage | 14.2V to 14.6V | Adjust charger profile settings |
| Temperature during charge | Below 35°C | Improve ventilation |
Watch for voltage drops exceeding 0.5V under normal loads, indicating resistance in connections or undersized cables. Address any issues immediately rather than hoping they resolve themselves.
Common installation mistakes and troubleshooting
Common installation mistakes and fixes reveal patterns that even experienced installers encounter. Failure to isolate power and improper terminal torque are common causes of faults that compromise system reliability and safety.
Power source isolation failures create dangerous situations when existing charging equipment energises circuits during battery removal. Solar panels continue generating voltage even with loads disconnected. Alternator charging circuits may supply current when the engine runs. Shore power connections remain live until physically unplugged. Always verify complete isolation before touching any terminals.
Terminal connection problems manifest in multiple ways:
- Loose terminals create resistance, generating heat and voltage drops
- Overtightened bolts crush terminals, causing intermittent connections
- Corroded surfaces increase resistance and accelerate degradation
- Reversed polarity damages electronics and may destroy batteries
Pro Tip: invest in a torque wrench calibrated for battery terminal specifications rather than guessing tightness by feel, eliminating the most common connection fault.
Ventilation inadequacy accelerates capacity loss and may trigger thermal protection shutdowns. Batteries enclosed in completely sealed compartments without airflow experience temperature buildup during charging. Even modest temperature increases reduce cycle life significantly. Modify enclosures to provide passive ventilation through vents positioned for convection airflow.
BMS configuration errors prevent proper battery protection if threshold voltages mismatch your specific cells. Consult manufacturer documentation carefully when programming protection parameters. Factory defaults may not suit your particular installation requirements.
Expected outcomes: system lifespan and performance benchmarks
Lithium battery performance benefits become apparent immediately after installation completes. Typical lithium battery lifespan varies 3 to 10 years based on use and maintenance, with proper installation and monitoring maximising longevity.
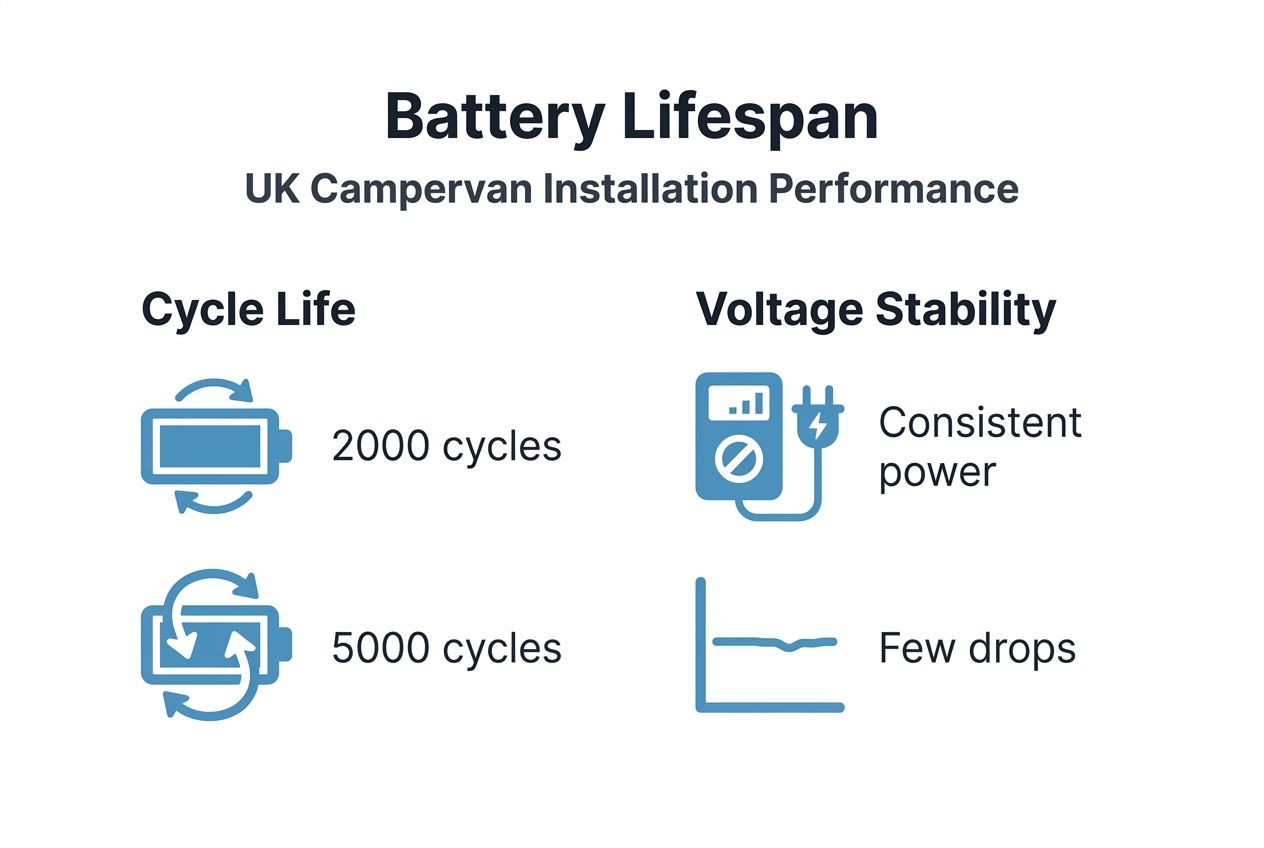
LiFePO4 chemistry delivers exceptional cycle life compared to alternative technologies. Expect 2000 to 5000 full discharge cycles depending on depth of discharge patterns and operating temperatures. Shallow cycling (using only 20 to 80% of capacity) extends lifespan substantially beyond these figures.
| Performance Metric | LiFePO4 Lithium | Lead-Acid |
|---|---|---|
| Cycle life | 2000 to 5000 | 300 to 500 |
| Usable capacity | 90 to 100% | 50% |
| Weight (100Ah) | 12 to 15kg | 30 to 35kg |
| Charge efficiency | 95 to 98% | 70 to 85% |
| Self-discharge rate | 1 to 3% monthly | 5 to 15% monthly |
Voltage stability throughout discharge maintains consistent appliance performance. Unlike lead-acid systems where voltage sags noticeably as capacity depletes, lithium maintains stable output until approaching full discharge. Your lights stay bright and pumps run at full pressure regardless of battery state of charge.
Regular maintenance extends system life and prevents premature failures. Inspect terminals quarterly for corrosion and tightness. Monitor cell balance monthly through your BMS interface. Clean battery exterior surfaces to prevent dust accumulation that impedes cooling. Update BMS firmware when manufacturers release improvements.
Plan for eventual capacity degradation even with excellent care. Budget for replacement after 7 to 10 years of typical leisure vehicle use, though many systems exceed this timeframe with conservative cycling patterns.
Explore expert lithium battery solutions at Skyenergi
Your successful installation workflow establishes the foundation, but ongoing support and quality components determine long-term satisfaction. Skyenergi specialises in supplying leisure vehicle owners and installers with everything needed for reliable off-grid power throughout the UK.

Our safe lithium battery installation guide collection provides detailed technical resources covering UK-specific standards and best practices. Whether you’re upgrading an existing system or starting fresh, our step-by-step guidance ensures compliance with safety regulations whilst maximising performance. Explore our lithium battery maintenance workflow to keep your investment operating at peak efficiency for years. Visit our comprehensive installation workflow for campervans to access expert support and premium components that transform your leisure vehicle into a truly capable off-grid platform.
FAQ
What tools are essential for installing lithium batteries in campervans?
You need a digital multimeter for voltage verification, insulated screwdrivers, and corrosion-resistant spanners sized for battery terminals. Protective gloves and safety glasses provide essential protection during installation. A torque wrench ensures proper terminal tightening without damage.
How do I ensure my lithium battery is properly ventilated inside my motorhome?
Install your battery in an enclosed area with at least 50mm clearance on all sides for adequate airflow. Position the battery away from heat sources like cookers or heaters and areas prone to moisture. Add ventilation grilles if the compartment lacks natural airflow.
What common mistakes should I avoid during energy storage installation?
Never begin work without isolating all power sources including solar panels, alternator charging, and shore power connections. Avoid overtightening battery terminals beyond manufacturer specifications or leaving them loose. Ensure adequate ventilation clearance to prevent overheating that accelerates degradation.
How long can I expect my lithium battery system to last with proper installation and maintenance?
LiFePO4 batteries typically deliver 3 to 10 years of reliable service depending on usage patterns and care quality. Systems cycled conservatively and maintained properly often exceed these estimates. Regular monitoring through your BMS and quarterly terminal inspections maximise operational lifespan.
Recommended
Prev post

Lithium battery trends 2026: UK energy independence
Updated on 07 March 2026
Next post

What is battery management system: 70% longer lithium battery life
Updated on 05 March 2026


