


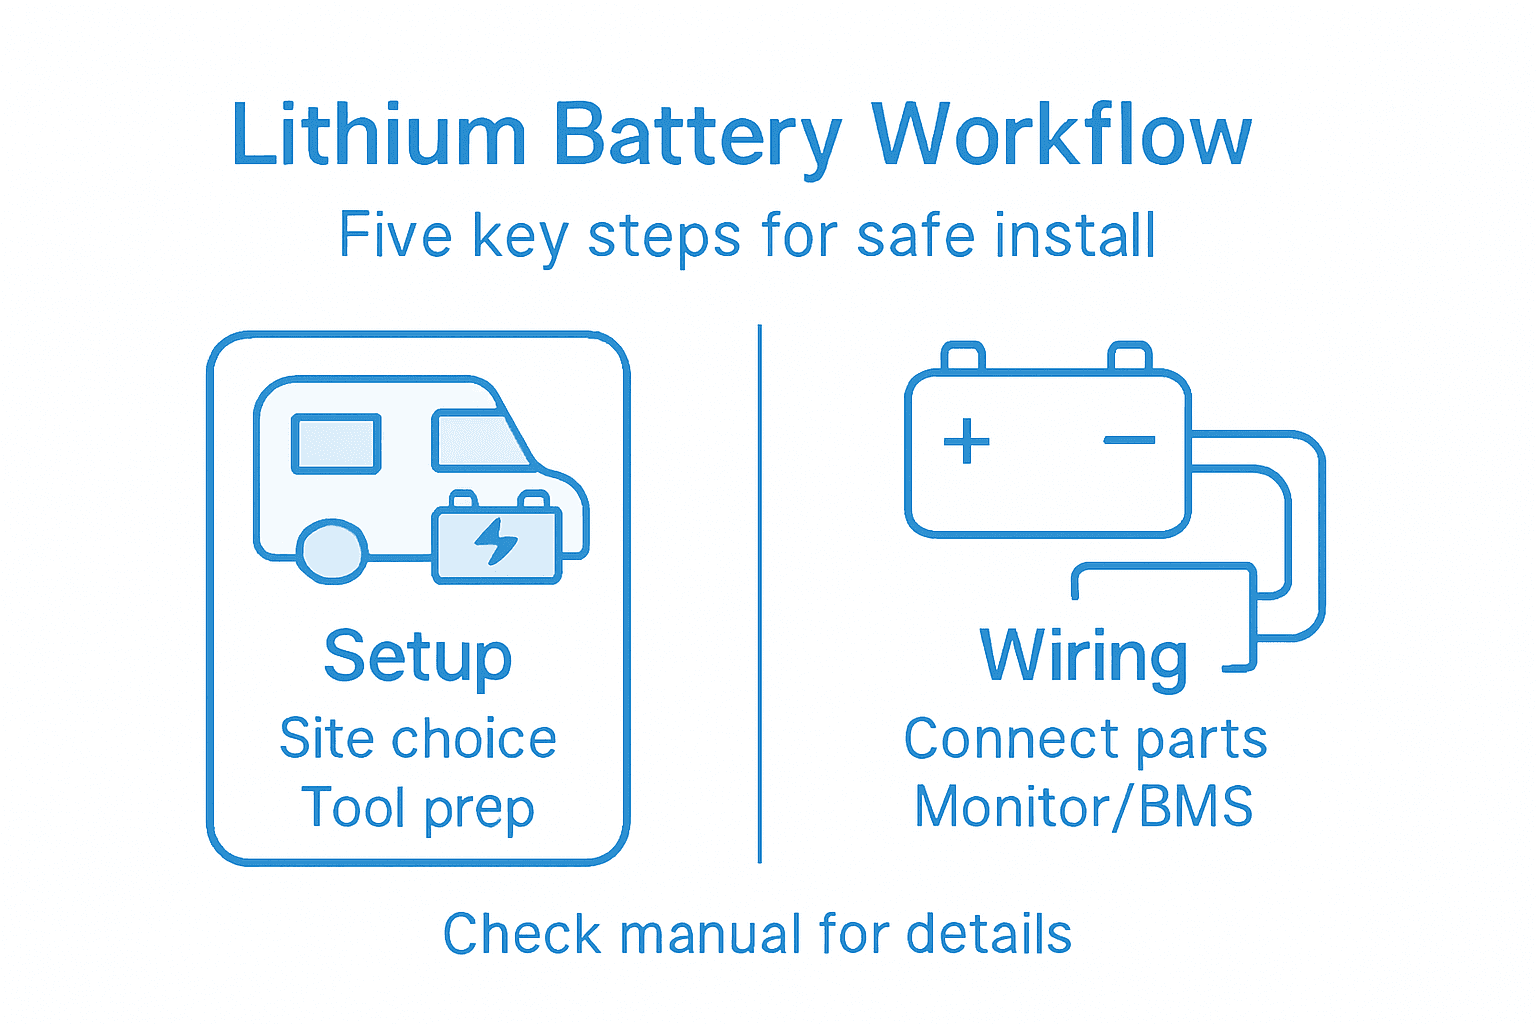
Lithium Battery Installation Workflow for Campervans
Follow this lithium battery installation workflow to efficiently set up, connect, and verify high-performance energy systems, ensuring safety and energy independence.
More than eighty percent of British campervan owners now request advanced lithium battery upgrades during their conversions. For specialists across the United Kingdom, getting every installation step right means safer travels and superior power reliability for clients. This guide explains each phase of the lithium battery installation workflow, delivering practical tips that help British professionals maximise energy independence and client satisfaction.
Table of Contents
- Step 1: Assess Site And Select Installation Location
- Step 2: Prepare Tools And Mount Hardware Securely
- Step 3: Connect System Components And Wiring
- Step 4: Integrate Bluetooth Monitoring And Configure Bms
- Step 5: Test Installation And Verify System Performance
Quick Summary
| Key Point | Explanation |
|---|---|
| 1. Choose a protected location | Select an enclosed area within your campervan to shield the lithium battery from impacts and environmental conditions. |
| 2. Maintain 50mm clearance | Ensure there is at least 50 millimetres of space around the battery for effective thermal management and safety. |
| 3. Use marine grade components | Gather corrosion-resistant tools and mounting hardware, specifically suited for vehicle electrical installations to enhance durability. |
| 4. Verify all connections | Double-check polarity and secure all electrical connections to prevent potential failures and ensure operational safety. |
| 5. Conduct thorough testing | Test the system under different loads to confirm performance metrics align with manufacturer specifications and ensure reliability. |
Step 1: Assess site and select installation location
Selecting the right installation site for your lithium battery is more than just finding an empty space in your campervan. It requires strategic planning and careful consideration of safety parameters, thermal management, and accessibility.
Start by identifying a location that offers robust physical protection and minimises exposure to extreme temperature fluctuations. You want an area that remains relatively stable during your travels. Ideal spots typically include interior compartments away from direct sunlight and heat sources. Consider areas near your electrical distribution panel but not directly adjacent to water systems or mechanical components that generate significant heat.
Your assessment should prioritise ventilation and thermal management. Safety guidelines recommend comprehensive hazard identification for lithium battery installations. Ensure the chosen location allows sufficient air circulation to prevent thermal buildup and enables quick access for maintenance or emergency disconnection if required.
Measure the available space precisely and compare it against your battery system’s dimensions. Account for additional mounting hardware, cable routing, and potential future expansions. Remember that your installation should permit easy visual inspection and provide secure mounting points to prevent movement during transit.
Here is a summary of key considerations for campervan lithium battery installation locations:
| Consideration | Why It Matters | Recommended Practice |
|---|---|---|
| Physical Protection | Prevents impact and accidental damage | Choose sturdy, enclosed interior compartments |
| Temperature Stability | Maintains battery efficiency | Avoid spots near heaters or windows |
| Ventilation | Reduces thermal build-up | Ensure at least 50mm clearance on all sides |
| Accessibility | Allows safe maintenance and checks | Position for easy inspection and disconnection |
Top Tip: Always maintain a minimum 50 millimetre clearance around your lithium battery for optimal thermal management and safety compliance.
Step 2: Prepare tools and mount hardware securely
Preparing the right tools and mounting hardware correctly is crucial for a safe and reliable lithium battery installation in your campervan. This step requires precision, patience and a methodical approach to ensure your battery system remains secure during travel.
First, gather your essential toolkit. You will need an electric drill with variable torque settings, stainless steel mounting brackets, marine grade stainless steel bolts, washers and nuts, a torque wrench, measuring tape, spirit level, cordless screwdriver, and protective safety equipment like safety glasses and work gloves. Select corrosion resistant hardware specifically rated for vehicle electrical installations to prevent potential degradation from vibration and environmental conditions.

Carefully mark your predetermined mounting points using a spirit level to guarantee absolute horizontal alignment. When drilling mounting holes, use graduated drill bit sizes to prevent material cracking and ensure clean entry points. Your mounting strategy should distribute weight evenly and create multiple secure attachment points that prevent any potential battery movement. Consider using vibration dampening rubber washers between the mounting surface and metal brackets to absorb potential road shock and reduce mechanical stress on the battery system.
Ensure all mounting hardware is tightened to manufacturer specifications using a calibrated torque wrench. Overtightening can damage mounting surfaces while undertightening risks potential battery displacement during transit. Test the mounted battery system by gently attempting to move the unit after installation to confirm its stability.
Top Tip: Always perform a test fit of mounting hardware before final installation to verify precise alignment and prevent unnecessary drilling.
Step 3: Connect system components and wiring
Connecting your lithium battery system components requires precision, careful planning, and a methodical approach to ensure safe and efficient electrical integration in your campervan. This critical stage demands attention to detail and understanding of electrical connectivity principles.
UK wiring standards recommend specific installation protocols for lithium battery systems. Begin by laying out all components and creating a clear wiring diagram before making any connections. Use marine grade copper cables with appropriate cross sectional area to handle expected current loads. Always work from the battery management system outwards, connecting positive and negative terminals with colour coded cables red for positive and black for negative. Ensure each connection point includes appropriate fusing to protect against potential electrical overloads.
Pay close attention to cable routing and physical separation. Keep high current cables away from sensitive electronic components and ensure they are secured with cable clips or protective conduit to prevent movement during vehicle travel. Use heat shrink terminals for all connections to provide additional mechanical and environmental protection. Verify each connection is tight and secure using a torque wrench set to manufacturer specifications.
Double check your polarity and perform continuity tests using a multimeter before finalising your installation. Inspect each connection point for potential stress points or areas where vibration might compromise electrical integrity. Remember that a clean systematic approach will prevent potential electrical failures and ensure reliable performance of your campervan power system.
Top Tip: Label each cable connection with its specific function and install a colour coded terminal block to simplify future maintenance and troubleshooting.
Step 4: Integrate Bluetooth monitoring and configure BMS
Configuring your Battery Management System (BMS) and integrating Bluetooth monitoring represents the technological heart of your campervan’s power infrastructure. This step transforms your battery installation from a simple power source into an intelligent energy management system that provides real time insights and protection.
Start by carefully reading the manufacturer’s specific Bluetooth configuration instructions. Most modern lithium battery systems offer smartphone app connectivity that allows detailed monitoring of cell voltages, temperature, charging status, and overall system health. Bluetooth battery monitoring provides real time power insights which can help you track energy consumption and predict potential maintenance requirements. Download the corresponding mobile application and ensure your device meets the minimum compatibility requirements for seamless connection.
Proceed with pairing your device by following the manufacturer’s Bluetooth synchronisation protocol. This typically involves pressing a specific button sequence on the battery management system or using a dedicated wireless pairing mode. Verify the connection by checking that all battery parameters are displaying correctly on your smartphone or tablet. Pay special attention to individual cell voltage readings and temperature measurements, as these are critical indicators of battery system performance and potential early warning signs of electrical irregularities.
Ensure your BMS settings are configured to match your specific power requirements and charging infrastructure. This may involve setting charge cut off voltages, discharge limits, and temperature protection thresholds. Some advanced systems allow you to create custom alerts for specific conditions such as rapid voltage drops or unexpected temperature changes.
Top Tip: Create a baseline performance log during your first few charging cycles to establish a comprehensive understanding of your battery system’s unique characteristics and behaviour.
Step 5: Test installation and verify system performance
Testing and verifying your lithium battery system performance is the final critical stage that ensures your campervan’s electrical infrastructure operates safely and efficiently. This comprehensive evaluation will validate all previous installation steps and confirm the reliability of your power setup.
Begin with a systematic approach to performance testing. Use a multimeter to check voltage consistency across all battery connections and verify that each electrical circuit functions within expected parameters. Conduct a full charge and discharge cycle while monitoring battery temperature, voltage fluctuations, and overall system response. Pay particular attention to how the Battery Management System manages load distribution and handles different electrical demands.
Perform multiple load tests simulating real world scenarios your campervan might encounter. This includes checking power draw during typical activities like running refrigeration units, charging electronic devices, and powering interior lighting. Use your Bluetooth monitoring system to track detailed performance metrics throughout these tests. Observe how quickly the battery charges, its discharge rate under varying loads, and the consistency of voltage output across different electrical scenarios.
Carefully document your test results, recording initial voltage readings, charging times, discharge rates, and any observed system behaviours. Compare these measurements against the manufacturer’s specified performance benchmarks. Look for any unexpected voltage drops, temperature irregularities, or unusual battery management system responses that might indicate potential installation issues or component limitations.
The following table highlights common testing metrics and their purpose during final system verification:
| Metric | Purpose of Testing | Typical Tools Used |
|---|---|---|
| Voltage Consistency | Identifies wiring or connection issues | Multimeter |
| Charge/Discharge Cycle | Assesses battery health and efficiency | Bluetooth monitor, timer |
| Temperature Monitoring | Prevents overheating, ensures safety | Bluetooth monitor, IR gun |
| Load Simulation | Validates system under real usage | Electrical appliances |
Top Tip: Conduct your initial performance tests in a controlled environment where you can easily address any unexpected system behaviours before embarking on a long journey.
Secure and Smart Lithium Battery Solutions for Your Campervan
Installing a lithium battery in your campervan involves careful selection of the installation site, precise mounting, secure wiring, and smart integration of your Battery Management System with Bluetooth monitoring. Challenges such as maintaining temperature stability, ensuring ventilation, and preventing vibration damage can feel overwhelming without the right expertise and equipment. At Skyenergi, we understand these critical steps and offer high-performance lithium battery systems designed specifically to simplify your installation process and enhance safety.
Our range includes intelligent lithium leisure batteries equipped with advanced battery management systems and Bluetooth connectivity, giving you real-time insights to monitor your system’s health. With corrosion-resistant mounting hardware and marine-grade cables available, we provide reliable components that meet UK wiring standards and promote safe, efficient installations. Explore our expertly engineered power solutions by visiting Skyenergi and see how we help make your campervan’s energy system resilient and easy to manage.
Bring confidence to your installation today

Discover reliable lithium battery solutions tailored for your campervan needs at Skyenergi. Benefit from products designed with safety and expandability in mind. Don’t leave your energy system to chance – start your journey to smarter, safer off-grid power now. Visit our website and take the first step towards worry-free energy independence.
Frequently Asked Questions
How do I assess the installation site for my lithium battery in a campervan?
Assessing the installation site involves identifying a location that provides protection from impact and temperature fluctuations. Look for enclosed interior compartments, ensuring good ventilation with at least 50 millimetres of clearance around the battery for thermal management.
What tools do I need to prepare for mounting the lithium battery securely?
You will need an electric drill, stainless steel mounting brackets, marine grade bolts, a torque wrench, and safety equipment like gloves and goggles. Gather these tools to ensure a safe installation that can secure the battery during travel.
How do I connect the components and wiring of my lithium battery system?
Connecting system components requires clear planning and attention to detail. Start with a wiring diagram, use marine grade copper cables, and ensure connections are secure and properly fused to prevent electrical overloads.
How can I integrate Bluetooth monitoring into my lithium battery setup?
Integrating Bluetooth monitoring involves carefully following the manufacturer’s configuration instructions and pairing your smartphone with the battery management system. Once connected, check that all battery parameters are displaying correctly for monitoring performance.
What should I do to test the installation and verify system performance?
To test your installation, conduct voltage checks across connections and monitor battery performance during charge and discharge cycles. Document all metrics, including charge times and voltages, to confirm that they meet the expected benchmarks and ensure system reliability.
How can I maintain my lithium battery system after installation?
Maintain your lithium battery system by regularly checking connection tightness, monitoring performance metrics through the Bluetooth app, and performing periodic load tests. Aim for these checks every 1-3 months to keep the system running efficiently.
Recommended
- How to Install Lithium Leisure Battery for Campervans Easily – Skyenergi
- Step by Step Lithium Battery Installation for Campervans – Skyenergi
- Lithium Battery Setup Guide for Campervans UK 2026 – Skyenergi
- Step by Step Lithium Battery Upgrade for UK Campervans – Skyenergi
- Batterij container - transitbox.nl
Prev post

Role of Lithium Batteries in Campervans: Powering UK Adventures
Updated on 12 January 2026
Next post

Why Lithium Batteries Matter for UK Boats
Updated on 10 January 2026


