


How to install boat solar: a practical guide
Learn how to install boat solar effectively. This guide covers essential components, tips, and best practices for energy independence aboard.
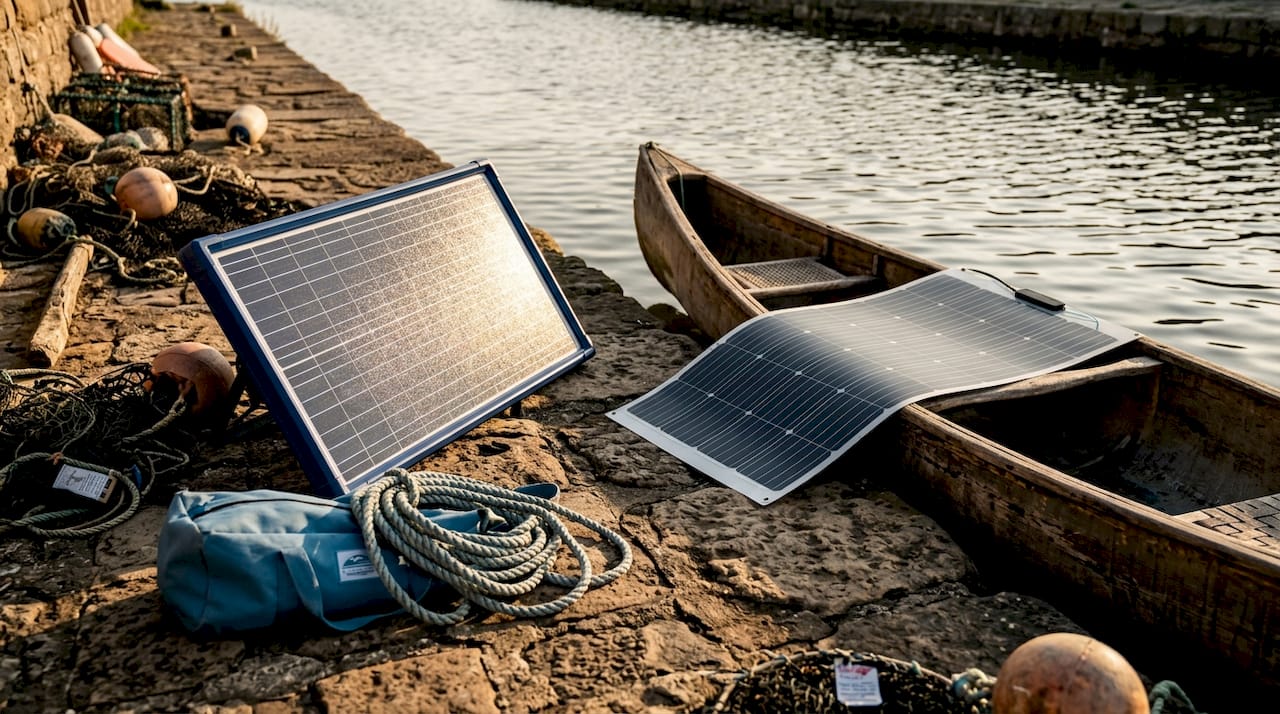
Installing boat solar means fitting marine-grade photovoltaic panels, an MPPT charge controller, and correctly rated wiring to generate and store electricity aboard your vessel. Done properly, a solar setup eliminates the need to run your engine for battery charging, reduces fuel costs, and gives you genuine energy independence at anchor. The key challenges are not the panels themselves but the marine environment: saltwater corrosion, watertight deck penetrations, and ABYC-compliant wiring practices. This guide covers every stage of a DIY boat solar installation, from component selection through to commissioning.
How to install boat solar: tools, materials, and components
Before you touch a drill, you need the right components. Choosing marine-specific parts from the outset prevents the most common failures.
Panel types: rigid vs flexible
Rigid monocrystalline panels deliver 20 to 22% efficiency and a lifespan exceeding 20 years, but they require solid mounting structures and weigh between 15 and 25 lbs per panel. Flexible panels are lighter and can be bonded to curved surfaces with adhesive, but they are 5 to 15% less efficient and typically last only 5 to 7 years. For most boat owners, rigid panels on a stern arch or bimini frame offer the best long-term return. Flexible panels suit coachroof installations where weight and curvature make rigid mounting impractical.
Charge controllers: MPPT vs PWM
MPPT charge controllers harvest 15 to 30% more energy than PWM controllers, particularly under variable cloud cover and partial shading conditions common at sea. That performance gap is significant enough to justify the higher cost on any installation above 100W. Victron SmartSolar MPPT controllers are widely used in marine applications because they support multiple battery profiles and include Bluetooth monitoring via the VictronConnect app. PWM controllers are only worth considering on very small, low-budget setups below 50W.
| Feature | MPPT controller | PWM controller |
|---|---|---|
| Energy harvest | 15–30% higher | Baseline |
| Cost | Higher | Lower |
| Best for | 100W+ systems | Under 50W only |
| Battery profiles | Multiple | Limited |
| Monitoring | Bluetooth (e.g. Victron) | Basic LED |
Essential materials checklist
- Marine-grade tinned copper wire (stranded, not solid core)
- Cable glands with O-ring compression seals (3M 4200 or 5200 sealant)
- Crimped marine ring terminals and captive-spade terminals
- DC-rated fuses or circuit breakers sized to cable ampacity
- Multimeter such as the Klein MM400 or Fluke 115
- Drill with step bits, crimping tool, and heat-shrink tubing
Pro Tip: Never use Scotch-lock or push-fit connectors in a marine DC circuit. Properly crimped ring terminals on stranded tinned wire are the only reliable method in a high-vibration, high-moisture environment.
How to plan your boat solar setup before installation
Planning is where most DIY installations succeed or fail. Skipping this stage leads to undersized wiring, shaded panels, and batteries that never reach full charge.
Calculate your daily power consumption
List every electrical load aboard and estimate daily usage in amp-hours. A typical 12V cruising boat might draw 5Ah from navigation lights, 10Ah from a chartplotter and VHF, 20Ah from a 12V fridge, and 5Ah from cabin lighting. That totals 40Ah per day before any safety margin. Add 20% to account for inefficiencies and cloudy days, giving a target of 48Ah daily from your solar array.
Size your solar array
A 175W panel through an MPPT controller produces 8 to 10A at a 12V battery bank under clear midday conditions. Over a realistic 5-hour solar day in UK waters, that is 40 to 50Ah per panel. For the 48Ah daily target above, one 175W panel is the minimum; two panels provide a comfortable margin for overcast days. Always size for your worst-case scenario, not your best.
| Daily consumption | Recommended array size | Panels at 175W |
|---|---|---|
| Up to 30Ah | 100W | 1 |
| 30–60Ah | 175–200W | 1–2 |
| 60–120Ah | 350–400W | 2 |
| 120Ah+ | 600W+ | 3+ |
Choose mounting locations and plan cable routes
Select locations with no shading between 09:00 and 15:00. Even partial shading from a mast or boom can cut output by 30 to 50% on a series-wired array. Plan cable routes that minimise total wire length to reduce voltage drop, and identify where deck penetrations will be made before drilling anything. Preventing leaks at deck penetrations is the most technically demanding part of the whole job, not the panel selection.
Pro Tip: Use a piece of cardboard cut to panel size and hold it in position at different times of day to check for shade from rigging, davits, or the boom before committing to a mounting location.
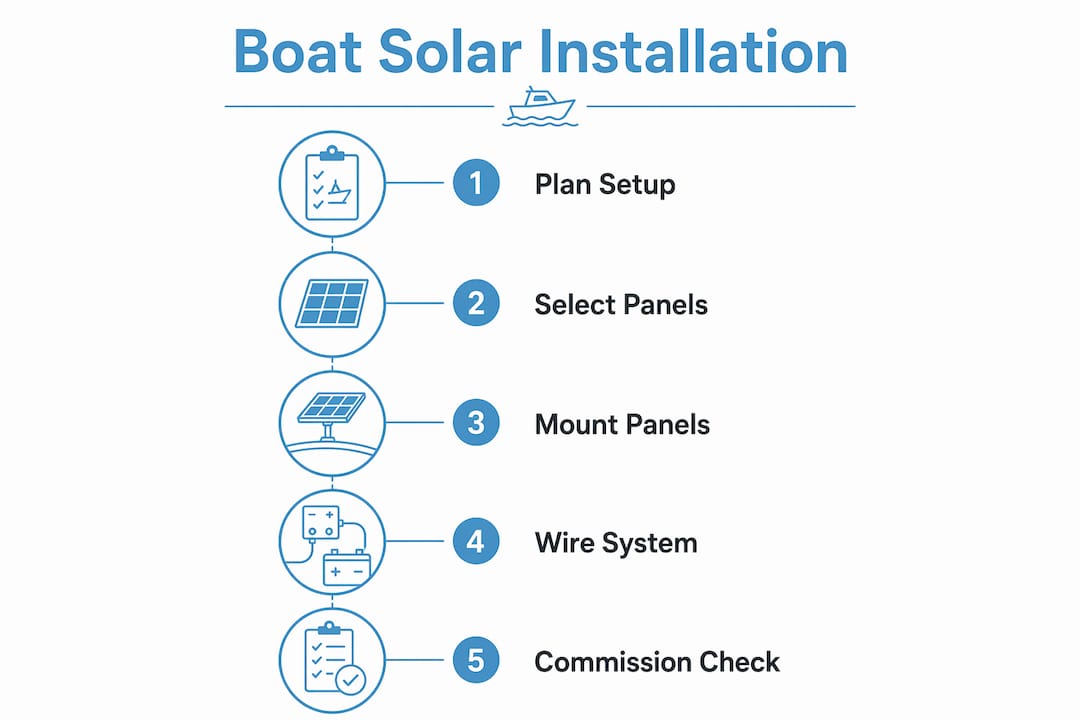
Step-by-step solar panel installation on a boat
With components selected and locations planned, follow this sequence for a safe, watertight installation.
-
Mount the panels. For rigid panels on a stern arch, use stainless steel brackets with rubber isolation pads to prevent galvanic corrosion between the panel frame and the arch. Torque fasteners to the bracket manufacturer’s specification. For flexible panels on a coachroof, use a marine-grade adhesive such as Sikaflex 291 and apply firm, even pressure across the full panel surface. Do not rely on adhesive alone at the edges.
-
Drill and seal deck penetrations. Drill the smallest hole that accepts your cable gland. Feed a doubled length of tinned wire through the gland body before inserting it into the deck. Apply 3M 4200 or 5200 sealant around the gland base and tighten the compression nut to form a watertight O-ring seal. Silicone alone is not sufficient for cable sealing in a marine environment.
-
Run the wiring. Route cables through existing conduit or secure with adhesive cable clips every 300mm. Size DC cabling to maintain 3% voltage drop or less. For two 175W panels wired in series producing approximately 10A at 36V over a 7.5-metre run, 10 AWG tinned duplex wire is the correct choice. Keep positive and negative conductors together to reduce electromagnetic interference.
-
Install the MPPT charge controller. Mount the controller as close to the battery bank as possible. Short output cable length on the high-current battery side minimises resistive losses. Connect the battery terminals to the controller first, then the solar panel terminals. Never reverse this sequence or you risk damaging the controller.
-
Install overcurrent protection. Place a fuse or circuit breaker within 178mm of the battery terminal per ABYC E-11 standard. This is a life-safety requirement, not a recommendation. If your battery bank is LiFePO4, note that lithium batteries can produce fault currents of 5,000 to 20,000A. Use Class T or NH DC-rated fuses, not AC-rated types, which will not interrupt at those current levels. For guidance on pairing fuses to the right lithium battery bank, Skyenergi’s marine battery guide covers the full selection process.
-
Crimp and seal all connections. Use a ratchet crimping tool with the correct die for your terminal size. After crimping, apply adhesive-lined heat-shrink over each terminal. Pull-test every connection by hand before closing any panels or conduit covers.
-
Commission the system. With panels exposed to direct sunlight, use a Klein MM400 or Fluke 115 multimeter to measure voltage at both ends of each cable run. The difference between panel output voltage and controller input voltage reveals any voltage drop in the wiring. Check that the controller display shows the correct battery charge stage (bulk, absorption, or float) and that current is flowing into the battery bank.
Pro Tip: Run the commissioning check at solar noon on a clear day. A 175W panel should show 8 to 10A on the controller display. If you see significantly less, check for shading, a loose connection, or incorrect panel polarity before assuming a faulty component.
Common mistakes and maintenance for boat solar systems
Even well-planned installations develop faults over time. Knowing what to look for prevents minor issues from becoming expensive failures.
- Incorrect wire sizing is the most common cause of underperformance. Undersized cables overheat and cause voltage drop that reduces charging current. Recalculate using a marine wire sizing table if you are unsure.
- Missing or wrong fuses are a fire risk. AC-rated fuses do not interrupt DC fault currents at the levels lithium batteries produce. Replace any AC-rated fuses immediately.
- Shading from new equipment is easy to overlook. A new wind instrument, aerial, or bimini extension can shade panels that were previously clear. Check output after any deck modification.
- Corroded connections develop gradually. Apply dielectric grease to all terminals annually and replace any heat-shrink that has cracked or lifted.
- Deck penetration leaks appear months after installation when sealant degrades. Inspect and reseal all cable glands at the start of each season.
Configuring the boat solar array as a complete system, panels, controller, and battery, that fits your spatial and electrical constraints achieves better long-term performance than focusing on panel wattage alone.
For a full pre-installation checklist covering battery sizing, fusing, and wiring standards, the boat energy storage checklist from Skyenergi is a practical reference.
Key takeaways
A successful boat solar installation depends on marine-grade components, ABYC-compliant wiring, and correct fuse placement within 178mm of the battery terminal.
| Point | Details |
|---|---|
| MPPT over PWM | MPPT controllers harvest 15 to 30% more energy and are worth the cost on any system above 100W. |
| Deck penetrations | Use compression cable glands with 3M 4200 or 5200 sealant. Silicone alone fails in marine conditions. |
| Fuse placement | Place overcurrent protection within 178mm of the battery terminal per ABYC E-11. |
| Wire sizing | Size all DC cabling to 3% voltage drop or less to prevent overheating and charging losses. |
| Commission properly | Measure voltage at both ends of each cable run at solar noon to confirm system output and detect faults. |
What I have learnt from installing boat solar systems
The part of a boat solar installation that catches most people out is not the wiring or the panel selection. It is the deck penetrations. I have seen installations where the panels and controller were perfectly specified but the boat was taking on water within a season because the cable glands were sealed with bathroom silicone and finger-tightened. The sealant cracked, the compression seal never engaged, and the owner spent more on remedial work than the original installation cost.
The second lesson is about MPPT controller placement. Placing the controller close to the battery is not just a preference. On a 4-metre cable run from controller to battery, the difference between 6 AWG and 10 AWG output cable is measurable in charging current. I have seen systems where the owner spent money on a larger panel array but lost most of the gain to a long, undersized output cable. The MPPT controller efficiency argument only holds if the wiring supports it.
The third thing I would tell anyone setting up solar on a boat is to commission at solar noon on the first clear day after installation, not a week later. Faults are easiest to trace when the installation is fresh and you remember every connection you made. A multimeter reading at both ends of each cable run takes ten minutes and confirms the whole system is working as designed.
— John
Power your boat with Skyenergi marine solar solutions

Skyenergi supplies marine-grade solar components direct to UK boat owners, including MPPT charge controllers, LiFePO4 leisure batteries, tinned copper wiring, and sealed cable glands. Every product in the Skyenergi marine range is selected for reliability in saltwater environments, with Victron-compatible options for owners who want Bluetooth monitoring and expandable system design. Whether you are building a 175W single-panel setup or a 600W+ multi-panel array, Skyenergi can supply the components and technical guidance to complete the job correctly. Visit Skyenergi marine solar to browse the full range or contact the team for a tailored quote.
FAQ
What type of solar panel is best for a boat?
Rigid monocrystalline panels are the most efficient and longest-lasting option, with 20 to 22% efficiency and a lifespan exceeding 20 years. Flexible panels suit curved surfaces but are less efficient and typically last only 5 to 7 years.
Do I need an MPPT or PWM charge controller for boat solar?
MPPT controllers are recommended for any boat solar system above 100W because they harvest 15 to 30% more energy than PWM controllers under variable conditions. Victron SmartSolar MPPT controllers are a widely used choice for marine installations.
Where should the fuse be placed in a boat solar system?
Per ABYC E-11, overcurrent protection must be placed within 178mm of the battery terminal. For LiFePO4 battery banks, use Class T or NH DC-rated fuses rated for the high fault currents lithium batteries can produce.
How do I stop deck penetrations from leaking?
Use marine cable glands with O-ring compression seals and apply 3M 4200 or 5200 sealant around the gland base. Silicone alone degrades quickly in a marine environment and does not form a reliable watertight seal.
How much power will a 175W boat solar panel produce?
Through an MPPT controller, a 175W panel produces 8 to 10A at a 12V battery bank under clear midday conditions. Over a realistic 5-hour solar day in UK waters, that equates to 40 to 50Ah of usable charge per day.
Recommended
Prev post

High voltage battery systems explained: 2026 guide
Updated on 04 June 2026
Next post

Top 6 ecuip.com Lithium Leisure Battery Alternatives 2026
Updated on 02 June 2026


