


Energy Storage System Workflow for Campervans: Complete Guide
Master energy storage system workflow for campervans. Follow actionable steps for setup, integration, and real-time system monitoring to ensure reliable off-grid power.
Every UK campervan owner knows the frustration of unreliable power during off-grid adventures. Selecting the right energy storage and solar setup means the difference between chilly nights and fully charged devices. By focusing on efficient lithium battery systems, real-time performance monitoring and practical safety tips, you gain control over your energy demands and make camping more comfortable and worry-free. Explore simple steps to assess, install, and optimise your electrical system for reliable off-grid power across all seasons.
Table of Contents
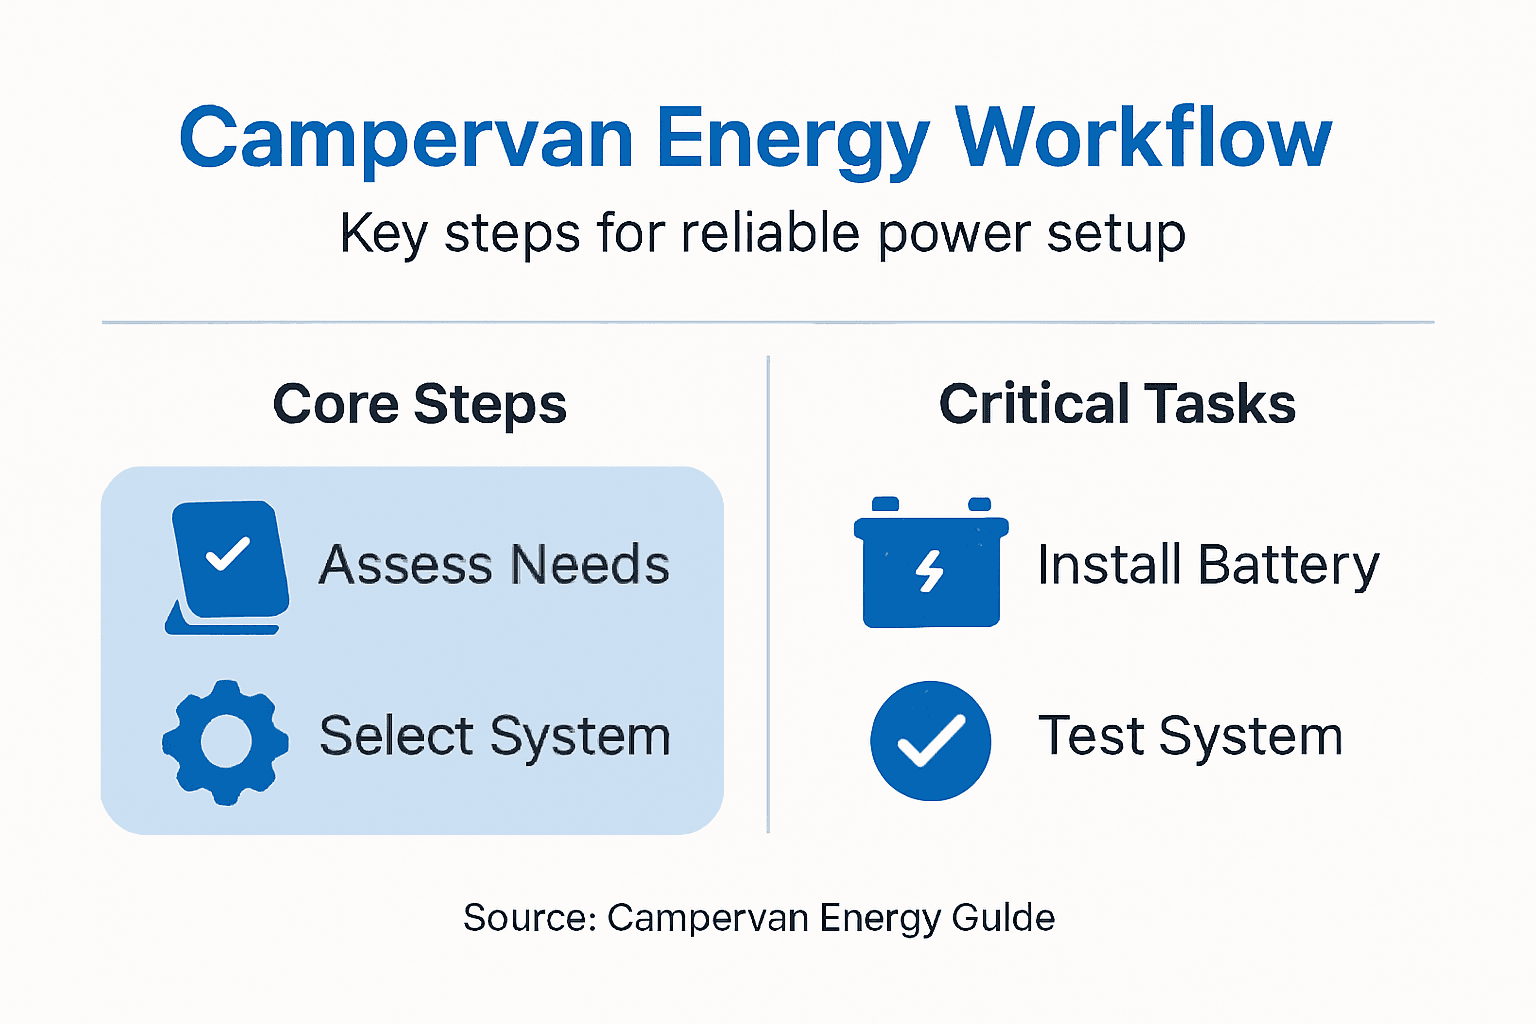
- Step 1: Assess Power Requirements And Select Components
- Step 2: Install Lithium Batteries And Key Accessories
- Step 3: Integrate Solar, Charging, And Monitoring Systems
- Step 4: Test Performance And Verify System Functionality
Quick Summary
| Key Insight | Explanation |
|---|---|
| 1. Assess your power needs first | Calculate energy consumption for all devices to ensure appropriate battery capacity and component selection. |
| 2. Choose seasonal considerations wisely | Account for variations in solar output and power demands during different seasons for optimal system design. |
| 3. Prioritise safe battery installation | Ensure proper ventilation, secure placement, and adherence to manufacturer guidelines to avoid safety hazards. |
| 4. Integrate systems for efficiency | Connect solar panels, chargers, and batteries to work together effectively, while monitoring performance is crucial. |
| 5. Conduct thorough testing before use | Systematically check all connections and performance under load to identify any issues before relying on the system. |
Step 1: Assess power requirements and select components
Before you purchase a single battery or solar panel, you need to understand exactly how much power your campervan lifestyle demands. This assessment determines everything about your system: battery capacity, solar panel wattage, inverter size, and whether you’ll need additional charging solutions.
Start by listing every device you plan to run. Include kettles, fridges, phone chargers, laptops, heating systems, water pumps, and lighting. Write down how long each device runs daily and its power rating in watts.
Calculate your daily energy consumption by multiplying wattage by hours used. A 60-watt fridge running 24 hours equals 1,440 watt-hours. Add up all your devices to find your total daily consumption in watt-hours.
Your total daily consumption determines your battery capacity. Undersizing here means cold showers and dead devices when you need them most.
Consider your power patterns. Do you run high-demand devices simultaneously, or spread usage throughout the day? Peak power demand (not daily consumption) affects component selection differently. A 3,000-watt kettle demands different inverter sizing than multiple small loads.
Account for seasonal variations. Winter camping means reduced solar generation and increased heating demands. Summer brings more solar but potentially more air conditioning needs. Plan for your worst-case scenario.
This table highlights how seasonal changes affect campervan energy needs and system performance:
| Season | Solar Output Potential | Typical Power Demands | System Planning Implications |
|---|---|---|---|
| Winter | Low (short days, cloud) | Heating, lighting, refrigeration | Larger battery reserves advisable |
| Summer | High (longer daylight) | Cooling, fans, fridge | Increased solar output, watch usage |
| Spring | Moderate | Mixed heating/cooling | Balanced system requirements |
| Autumn | Moderate to Low | Heating, lighting | Plan for reduced sunlight |
Choosing appropriate solar panel wattage involves matching output to your consumption and available roof space. A typical UK campervan setup uses solar panels around 80 watts, though your specific needs may differ based on usage patterns and roof area.
Your component selection should follow a logical hierarchy:
- Battery capacity must cover your daily consumption plus reserves
- Solar panel output must replace what you consume plus charge reserves
- Inverter rating must exceed your largest simultaneous load
- DC/DC converters and charge controllers must handle your system’s current
- Wiring and protection components must suit your total system power
Consider future expansion when selecting components. Can you add battery modules later? Will your solar controller handle additional panels? Choosing expandable systems prevents expensive replacements.
Pro tip: Calculate your consumption during an actual camping trip at home by monitoring what you actually use daily, rather than estimating, since real behaviour often differs significantly from assumptions.
Here is a quick reference comparing key campervan electrical system components and their roles:
| Component | Primary Function | Impact on System Reliability |
|---|---|---|
| Lithium Battery | Stores electrical energy | Essential for off-grid power stability |
| Solar Panel | Generates renewable electricity | Reduces reliance on mains power |
| MPPT Controller | Optimises solar charging efficiency | Prolongs battery lifespan |
| DC/DC Converter | Converts vehicle alternator output | Enables efficient on-the-road charging |
| Inverter | Supplies standard 230V AC power | Broadens appliance compatibility |
| Battery Management System | Monitors and protects battery health | Prevents overcharging and damage |
| Monitoring Display | Shows real-time system status | Aids troubleshooting and planning |
Step 2: Install lithium batteries and key accessories
Installing lithium batteries correctly is non-negotiable for safety and performance. This step covers physical installation, securing connections, and integrating essential accessories that work with your battery system.

Start by choosing the right location. Your batteries need a well-ventilated area away from direct heat sources, fuel tanks, and flammable materials. Under-bed lockers work well if they have ventilation holes. Avoid placing batteries near cooking areas or heating systems.
Before touching anything, inspect your batteries for physical damage. Check for cracks, dents, or signs of corrosion on terminals. Damaged cells create serious safety risks, so return any defective units immediately.
Safe lithium installation requires proper charging practices and manufacturer-approved chargers to prevent overcharging and fire risks.
Secure your batteries in place using purpose-designed brackets or mounting systems. Movement during transit causes connection failures and potential damage. Ensure batteries sit level and stable, not tilted or wedged awkwardly.
Now install the Battery Management System (BMS). This electronic controller protects your batteries by monitoring voltage, temperature, and current. Connect it exactly as the manufacturer specifies using the correct wire gauges and connectors.
Install your key accessories in this order:
- Connect the main isolation switch first, between positive terminal and BMS
- Mount the DC/DC converter if charging from your vehicle alternator
- Install the MPPT solar controller if using solar panels
- Connect the inverter for AC power (230V outlets)
- Add distribution boxes and breakers for additional circuits
Double-check every connection before powering up. Loose connections cause voltage drop, inefficiency, and potential fires. Use crimped terminals rated for your current, not tape or bare wire.
Ventilation is critical. Lithium batteries generate heat during charging and discharging. Ensure air can flow around and above your battery box. Consider adding a small 12V fan if your campervan lacks natural airflow.
Test everything at low loads before full operation. Turn on one device at a time and verify your monitoring system shows correct voltage and current readings.
Pro tip: Keep manufacturer manuals and warranty documentation in an accessible waterproof folder inside your campervan, and photograph all your electrical connections before sealing compartments for future troubleshooting reference.
Step 3: Integrate solar, charging, and monitoring systems
Integrating solar, charging, and monitoring systems transforms your campervan into a cohesive energy ecosystem. This step ensures your solar panels, alternator charger, and battery work together efficiently while you track performance in real time.
Start by connecting your solar panels to the MPPT controller. The controller regulates voltage from panels to match your battery requirements, preventing overcharging and maximising energy harvest. Position the controller somewhere accessible but protected from moisture.
Wire your panels in series if your roof space is limited, or parallel for flexibility. Series connections produce higher voltage with lower current, whilst parallel connections spread current load across multiple strings. Your controller’s specifications determine the best configuration.
Solar panel integration with charge controllers optimises energy production and protects battery longevity in UK campervan applications.
Now install your DC/DC converter if you want charging from your vehicle’s alternator. This device converts the variable 13-15V from your engine into stable 14.4V for your lithium batteries. Connect it to your ignition circuit so it only charges when driving.
Configure your inverter to supply AC power for kettles, microwaves, and standard UK outlets. Set it to automatically switch between battery and shore power when parked at a hookup. Test AC circuits at low draw first.
Integrating monitoring means connecting these key components:
- Battery management display showing voltage, current, and state of charge
- Solar controller readout displaying watts generated and daily totals
- Inverter display indicating AC load and battery draw
- Shunt sensor measuring total system current for accurate consumption data
- Bluetooth monitoring app allowing remote checks from inside your campervan
Configure your monitoring system to track consumption patterns. Identify which devices draw the most power and when. This data guides future decisions about usage habits and component upgrades.
Test all three systems together. Run solar charging, use an alternator charger whilst driving, and monitor the results simultaneously. Check that battery voltage remains stable when switching between sources.
Verify your monitoring app displays accurate readings. Compare solar output on different weather conditions and track how fast your batteries charge from multiple sources combined.
Pro tip: Set daily consumption alerts in your monitoring system so you receive notifications if usage exceeds your typical pattern, helping catch faulty equipment or unexpected power drains before they deplete your batteries completely.
Step 4: Test performance and verify system functionality
Testing your energy storage system thoroughly before relying on it ensures safety, reveals issues early, and confirms all components work as intended. This step involves systematic checks of electrical connections, battery performance, and charging circuits under various conditions.
Begin with a visual inspection of all components. Check battery terminals for corrosion, inspect wiring for damage or loose connections, and verify all breakers sit firmly in place. Look for any signs of overheating, moisture intrusion, or physical damage that could cause failure.
Test your battery voltage without any load connected. A healthy lithium battery should read approximately 13.2-13.6V when fully charged and at rest. If voltage is significantly lower, your battery may not have charged properly.
Now activate your solar charging system on a clear day. Monitor the MPPT controller display and watch voltage rise gradually. The controller should show watts being generated and indicate the charging stage (bulk, absorption, or float). Solar output varies with cloud cover, so test over several hours.
Systematic performance verification ensures your energy system meets safety standards and operational requirements throughout all seasons.
Test your DC/DC alternator charger by starting your engine. Watch the battery voltage rise as the converter delivers charging current. It should stabilise around 14.4V within minutes. Listen for any unusual fan noise from the converter during charging.
Verify each AC outlet and device individually. Plug in a kettle, microwave, and phone charger separately first. Check that the inverter responds appropriately and no circuit breakers trip. Then test multiple devices simultaneously to confirm your inverter handles combined loads.
Examine your monitoring system accuracy:
- Charge your battery from 0-100% and note the watt-hours recorded
- Run devices and track consumption readings against actual usage
- Compare solar generation data on sunny versus cloudy days
- Verify battery temperature readings match room conditions
- Check that all alerts trigger at correct voltage thresholds
Test your system under stress. Run your largest power consumers for extended periods whilst monitoring battery voltage. It should remain stable above 12V even under heavy load. If voltage drops below 12V, your battery may be undersized.
Perform a full charge cycle from completely discharged to fully charged. Time how long solar alone takes versus solar plus alternator charging. This establishes realistic charging timeframes for trip planning.
Pro tip: Document your test results in a spreadsheet including charge times, solar output on different weather days, and consumption patterns by device, creating a reference guide for troubleshooting future issues.
Power Your Campervan Journey with Skyenergi’s Trusted Energy Solutions
Designing and installing an efficient energy storage system for your campervan demands precision and reliability. This guide highlights key challenges such as calculating power needs, integrating lithium batteries safely, and monitoring system performance in real time. If you want to avoid the frustration of unexpected power loss or inefficient charging during your adventures, a well-engineered solution is essential.
At Skyenergi, we specialise in high-performance lithium battery systems and complete off-grid power setups tailored for campervans. Our products feature advanced battery management with Bluetooth monitoring so you can track voltage, current, and state of charge effortlessly while on the road. Combining solar panels, DC/DC converters, and Victron-compatible components, you get a seamless, expandable energy ecosystem designed to meet both seasonal demand variations and peak load challenges.

Ready to take control of your campervan’s energy storage system with proven products engineered for safety and longevity Explore our range at Skyenergi and discover how our lithium batteries and accessories deliver reliability when it matters most. Learn more about optimising your setup and safeguarding your investment by visiting Skyenergi’s homepage today. Make your next trip worry free with expert solutions designed for sustainable powering wherever your journey leads.
Frequently Asked Questions
How do I assess my campervan’s power requirements effectively?
To assess your power requirements, list every device you plan to run and their wattages. Calculate their daily consumption by multiplying wattage by hours of usage, and then sum these values to determine your total daily consumption in watt-hours.
What factors should I consider when selecting solar panels for my campervan?
When selecting solar panels, consider your total daily power consumption, available roof space, and seasonal variations in sunlight. Aim for solar panels that can generate sufficiently to cover your needs, adjusting for factors like shading and winter’s reduced solar output.
What is the best way to install lithium batteries in my campervan?
To install lithium batteries properly, choose a well-ventilated area away from heat sources and flammable materials. Secure the batteries using purpose-designed brackets, and connect them according to the manufacturer’s guidelines, ensuring stable and level positioning.
How do I integrate solar and charging systems with my campervan’s battery?
Integrate your solar and charging systems by connecting solar panels to the MPPT controller and then to your battery. Wire the DC/DC converter and inverter, allowing for effective charging from both solar and your vehicle’s alternator, and ensure your monitoring system tracks performance accurately.
What steps should I follow to test my campervan’s energy storage system?
Begin with a visual inspection for any damage, then check the battery voltage without a load. Test charging from both solar and your vehicle, verify AC outlets, and run devices to monitor their impact on battery voltage, checking that it remains stable during use.
How can I document my campervan’s energy usage for future reference?
Document your energy usage by creating a spreadsheet that includes charge times, solar output data on different days, and consumption patterns of each device. This will serve as a reference guide for troubleshooting and planning future trips.
Recommended
Prev post

Top 8 Best Lithium Batteries for Boats in 2026
Updated on 28 February 2026
Next post

6 Practical Solar Setup Examples for Your Campervan
Updated on 26 February 2026


