


Solar Charging Workflow Tutorial for UK Campervans
Follow this solar charging workflow tutorial for UK campervans. Learn step-by-step to set up, configure, optimise, and verify your off-grid solar charging system.
Taking your campervan off the beaten track means every bit of power matters when comfort and convenience are on the line. As British weather and remote adventures can put strain on your energy supply, planning a solar charging system tailored to your needs keeps you self-sufficient wherever the road leads. This step-by-step guide shows you how to assess your usage, select robust equipment, and set up a reliable system for confident, carefree travel.
Table of Contents
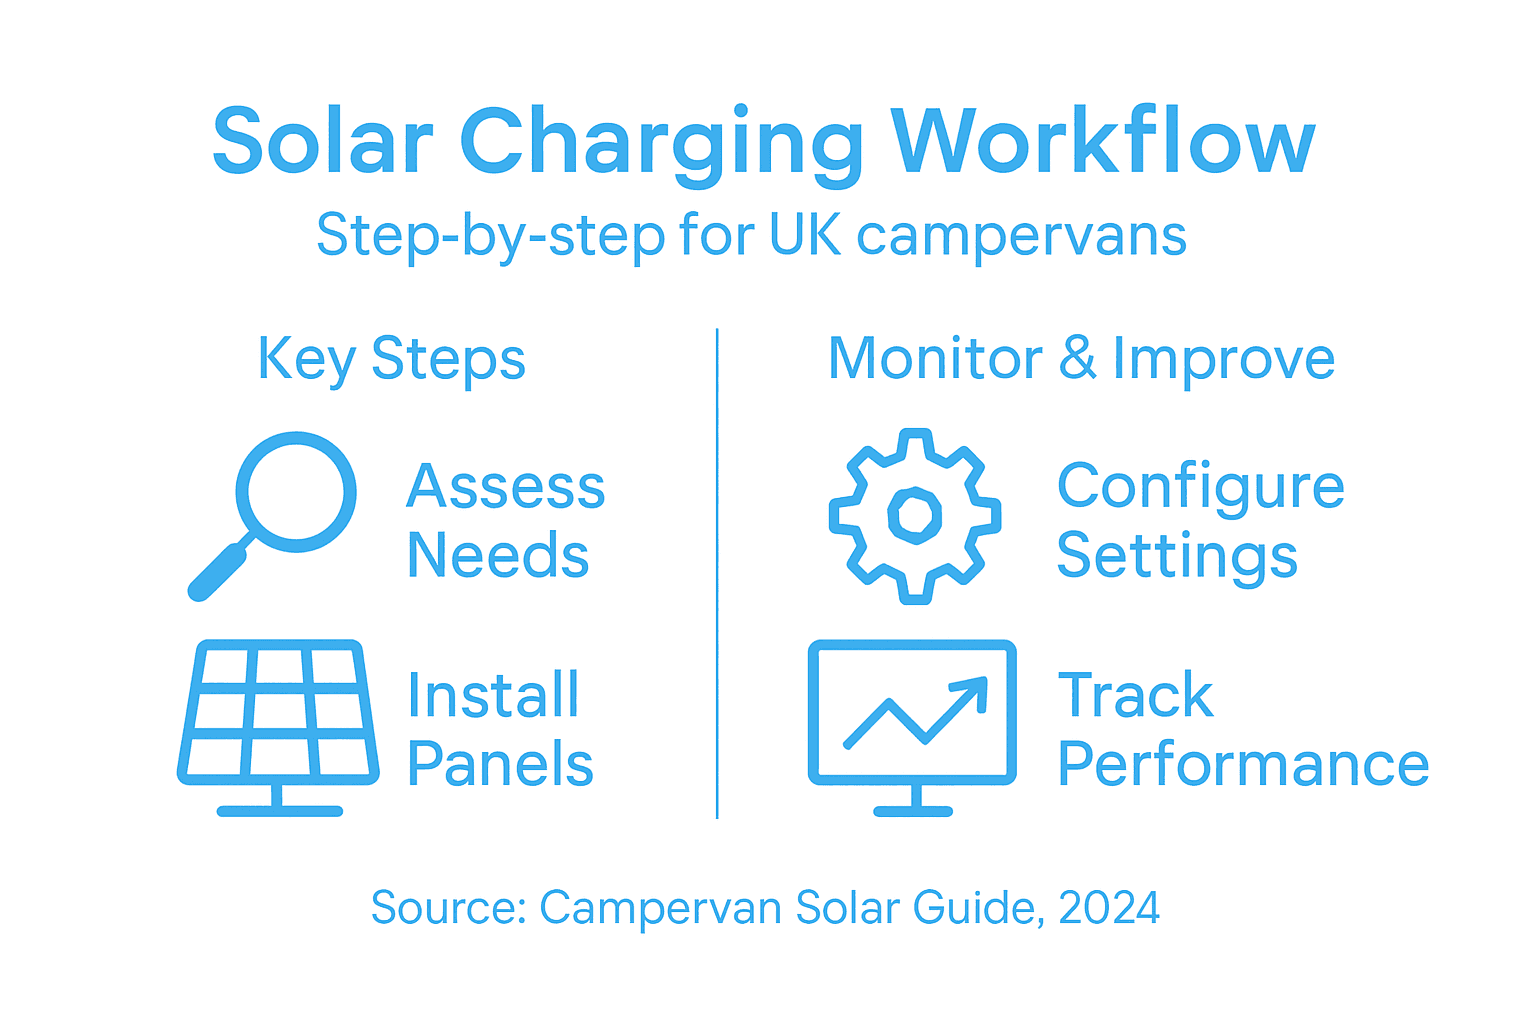
- Step 1: Assess Power Requirements And Select Solar Kit
- Step 2: Install Solar Panels And Mounting Hardware
- Step 3: Connect Lithium Batteries And Charge Controller
- Step 4: Configure System Settings For Efficient Charging
- Step 5: Verify Performance And Monitor With Bluetooth Tools
Quick Summary
| Key Point | Explanation |
|---|---|
| 1. Assess Power Needs Carefully | Conduct an electrical audit to list devices and their wattage to determine correct solar kit specifications. |
| 2. Choose a Suitable Solar Kit | Select a solar kit that meets or exceeds your calculated energy requirements for optimal performance. |
| 3. Use Proper Mounting Techniques | Install panels with suitable hardware and angles to maximise energy generation and durability in varied weather. |
| 4. Connect Components Safely | Follow safety protocols when connecting batteries and charge controllers to avoid system failures. |
| 5. Monitor System Performance Regularly | Use Bluetooth monitoring tools to track performance metrics, enabling proactive management and maintenance. |
Step 1: Assess power requirements and select solar kit
Successfully outfitting a campervan with a solar charging system begins with a meticulous assessment of your power requirements. This critical first step determines the type and size of solar kit you’ll need for reliable off-grid energy generation.
To accurately evaluate your power needs, start by conducting a comprehensive electrical audit of your campervan. List every electrical device and appliance you intend to use, noting their wattage and average daily consumption. Typical items include:
- Refrigerator
- LED lighting
- Smartphone/tablet charging
- Laptop computer
- Portable heater
- Water pump
- Cooking appliances
Calculate the total daily energy consumption by multiplying each device’s wattage by its estimated hours of use. Solar PV system design methodologies recommend adding a 20% buffer to account for inefficiencies and unexpected power draw.
Once you’ve established your total energy requirements, select a solar kit that matches or slightly exceeds your calculated needs. Consider factors like panel efficiency, battery storage capacity, and inverter compatibility. UK-specific solar installations often require robust systems that can perform efficiently in variable weather conditions.
Here is a summary of key considerations when selecting a solar kit for your campervan:
| Consideration | Why It Matters | Impact on System Choice |
|---|---|---|
| Total energy requirements | Determines minimum panel and battery size | Ensures reliable off-grid operation |
| Panel efficiency | Affects energy generation in limited space | Maximises available roof area usage |
| Battery storage capacity | Influences reserve power on low-sun days | Provides consistent appliance use |
| Inverter compatibility | Ensures support for preferred appliances | Matches AC/DC device requirements |
Pro tip: Always choose solar equipment rated for marine and automotive environments to ensure durability and reliability in your campervan setup.
Pro tip: Always round up your power calculations and select a solar kit with slightly more capacity than your initial estimates to provide future flexibility.
Step 2: Install solar panels and mounting hardware
Installing solar panels on your campervan requires careful planning and precision to ensure maximum energy generation and long-term durability. This crucial step transforms your vehicle into a self-sufficient mobile power station by securely mounting solar technology to withstand the unpredictable British weather.
Begin by selecting appropriate mounting hardware that matches your campervan’s roof profile. Solar mounting systems for European vehicles recommend considering factors like:
- Roof material and surface texture
- Panel weight and dimensions
- Anticipated wind and environmental loads
- Ease of installation and future maintenance
Prepare your campervan’s roof by thoroughly cleaning the surface and identifying optimal mounting locations that maximise sunlight exposure while avoiding potential shading from roof fixtures like aerials or roof vents. Use a professional-grade sealant to prevent water ingress around mounting points, ensuring a watertight installation that protects both your panels and vehicle’s structural integrity.
The correct mounting angle can significantly improve solar panel performance in variable UK weather conditions.
Position your solar panels strategically, allowing sufficient space between panels for heat dissipation and airflow. Most campervans benefit from a slightly tilted installation that optimises angle for maximum solar gain, typically between 20-35 degrees depending on your typical geographical latitude.

Pro tip: Consider using adjustable mounting brackets that allow seasonal angle modifications to maximise solar energy capture throughout the year.
Step 3: Connect lithium batteries and charge controller
Connecting lithium batteries and charge controllers is a critical stage in building a reliable solar charging system for your campervan. This step requires precision and careful attention to safety protocols to ensure optimal performance and prevent potential electrical hazards.
Safety protocols for lithium battery connections emphasise the importance of following manufacturer specifications during installation. Begin by gathering the necessary tools and equipment:
- Appropriate cable sizes
- Torque wrench
- Battery terminal cleaning tools
- Protective personal equipment
- Multimeter for checking connections
Start by positioning your lithium battery bank in a well-ventilated area, ensuring it is securely mounted and protected from direct sunlight and extreme temperatures. Clean the battery terminals thoroughly and inspect for any signs of corrosion or damage before making electrical connections.
Incorrect battery connections can lead to system failure or potential safety risks.
When connecting the charge controller, carefully match the polarity of your solar panels and battery bank. Most modern MPPT charge controllers require specific connection sequences to prevent damage to sensitive electronics. Use high-quality marine-grade cables with appropriate amperage ratings to minimise resistance and heat generation.
Pro tip: Always consult the specific manufacturer’s wiring diagram and use a torque-specified wrench to ensure secure and consistent electrical connections.
Step 4: Configure system settings for efficient charging
Configuring your campervan’s solar charging system requires strategic setup to maximise energy efficiency and battery longevity. This critical stage involves fine-tuning your charge controller and inverter settings to ensure optimal performance across varied British weather conditions.
Electric vehicle charging installation standards highlight the importance of precise system configuration. Start by accessing your charge controller’s configuration menu and adjusting key parameters:
- Set battery type and capacity
- Configure charging voltage limits
- Programme temperature compensation settings
- Define absorption and float charge stages
- Enable battery protection modes
Pay close attention to your battery management system settings, ensuring they match the specific lithium battery specifications. Most modern controllers allow Bluetooth or smartphone app connectivity, enabling real-time monitoring and remote adjustments.
Proper configuration prevents overcharging and extends your battery’s operational lifespan.
Consider implementing smart charging profiles that adapt to your typical usage patterns. This might involve setting priority charging times during peak sunlight hours and configuring load-shedding mechanisms to protect critical electrical systems during low battery conditions.
Pro tip: Regularly update your charge controller’s firmware and calibrate its sensors to maintain peak system performance and accuracy.
Step 5: Verify performance and monitor with Bluetooth tools
Verifying and monitoring your campervan’s solar charging system performance is crucial for maintaining optimal energy efficiency and identifying potential issues early. Bluetooth monitoring tools provide real-time insights into your system’s operational status and energy generation capabilities.
Photovoltaic system performance monitoring techniques recommend comprehensive tracking of key electrical parameters. Download and install the Bluetooth monitoring application specific to your charge controller, ensuring compatibility with your smartphone or tablet.
Key performance metrics to track include:
- Battery state of charge
- Solar panel voltage and current
- Energy generation rates
- Temperature of battery and components
- Charging and discharging cycles
- System efficiency percentage
Position your mobile device within the Bluetooth range and establish a stable connection. Most modern solar monitoring apps provide intuitive dashboards with graphical representations of system performance, allowing you to analyse energy production trends and identify potential efficiency improvements.
Below is a comparison of popular methods for monitoring solar system performance:
| Method | Advantages | Limitations |
|---|---|---|
| Bluetooth monitoring | Real-time data, user-friendly, remote access | Requires compatible controller & device |
| Manual meter checks | No extra tech required, direct readings | Lacks historical data, less convenient |
| Cloud-based platforms | Remote alerts, deep analytics, data backup | Needs internet connection, may incur fees |
Real-time monitoring enables proactive management of your campervan’s electrical system.
Periodically compare actual performance against your initial system design expectations. Look for any significant deviations that might indicate equipment degradation or environmental impact on solar energy generation.
Pro tip: Create periodic screenshots of your system performance data to track long-term trends and diagnose potential future maintenance requirements.
Power Your UK Campervan with Reliable Lithium Battery Systems from Skyenergi
Understanding the detailed workflow for campervan solar charging reveals how crucial it is to have a dependable power solution tailored to your specific energy needs. From carefully selecting the right solar kit and installing robust mounting hardware to configuring lithium batteries with smart charge controllers and monitoring performance via Bluetooth, every step demands precision and reliability. If you want to overcome challenges like inconsistent power supply, complex electrical setups, or uncertain battery performance, choosing well-engineered, intelligent energy storage systems becomes essential.
Skyenergi specialises in high-quality lithium leisure batteries and off-grid energy solutions designed to integrate seamlessly with your campervan’s solar system. Our products feature advanced battery management systems with Bluetooth monitoring so you can track your system’s health and performance in real time. Whether you are aiming for greater energy independence or need a turnkey solution adaptable to the unpredictable British weather, our range supports your journey with durability, practicality, and expandability.
Discover how to transform your campervan into a reliable mobile power station with Skyenergi’s lithium battery and solar solutions.

Ready to upgrade your energy setup and enjoy worry-free off-grid adventures? Visit Skyenergi today to explore our range and take the next step in empowering your campervan’s solar charging system for the long haul.
Frequently Asked Questions
How do I assess my campervan’s power requirements for a solar charging system?
To assess your campervan’s power requirements, conduct a comprehensive electrical audit by listing all devices and appliances you plan to use, noting their wattage and average daily consumption. Calculate your total daily energy needs and add a 20% buffer for inefficiencies to determine the appropriate solar kit size.
What factors should I consider when selecting a solar kit for my campervan?
When selecting a solar kit, consider total energy requirements, panel efficiency, battery storage capacity, and inverter compatibility. Ensure that the chosen kit matches or slightly exceeds your energy calculations for reliable operation.
How do I install solar panels on my campervan?
To install solar panels, start by cleaning the roof of your campervan and selecting suitable mounting hardware. Securely mount the solar panels in a way that maximises sunlight exposure and protects against weather elements, ensuring a watertight installation with professional-grade sealant.
What are the correct steps to connect lithium batteries and charge controllers?
When connecting lithium batteries, ensure you’re in a well-ventilated area and clean the terminals thoroughly. Follow the manufacturer’s specifications for polarity and use marine-grade cables to minimise resistance; this ensures safe and effective connections.
How can I configure my solar charging system for efficient performance?
To configure your solar charging system, access the charge controller settings to set parameters like battery type and charging voltage limits. Adjust the settings to match your lithium battery specifications to prevent overcharging and extend battery lifespan.
What metrics should I monitor to verify the performance of my solar charging system?
Monitor key performance metrics such as the battery state of charge, solar panel voltage, and energy generation rates. Regularly check these parameters using Bluetooth monitoring tools or manual meter checks to ensure your system operates efficiently and to identify any potential issues early.
Recommended
- 7 Examples of Solar Charging Setups for UK Campervans – Skyenergi
- 7 Expert Solar Charging Tips for UK Campervan Owners – Skyenergi
- What Is Solar Charging? Achieving Off-Grid Freedom – Skyenergi
- Advantages of Solar Charging for Off-Grid Living – Skyenergi
- The Perfect Pan for Camping: Carbon Steel vs Cast Iron? – Brass & Steel
Prev post

AGM vs Lithium Batteries – How It Shapes Campervan Reliability
Updated on 12 February 2026
Next post

Advantages of Solar Charging for Off-Grid Living
Updated on 10 February 2026


