


BMS in campervans: your guide to energy independence
Discover the role of BMS in campervans for energy independence. Learn how to optimize battery performance and enjoy reliable off-grid living!
TL;DR:
- Adding more batteries does not guarantee greater off-grid freedom without proper management.
- A high-quality Battery Management System (BMS) is essential to protect and balance lithium cells, ensuring system reliability.
More batteries in your campervan does not automatically mean more freedom. Many van owners invest heavily in extra battery capacity only to find their system underperforms, drains unpredictably, or suffers early cell failure. The real determining factor in off-grid reliability is how your batteries are managed. A Battery Management System (BMS) is the component that monitors, protects, and balances your energy storage at a cell level. This guide covers what a BMS does, why it matters for serious off-grid living, how it integrates with solar, what features to prioritise, and how to install it correctly.
Table of Contents
- What is a battery management system (BMS)?
- Why BMS is critical for off-grid energy independence
- How BMS works with solar and energy storage systems
- Key features to look for in a campervan BMS
- Installation tips and avoiding common pitfalls
- The truth most DIYers overlook: BMS is your invisible safety net
- Upgrade your campervan for ultimate energy freedom
- Frequently asked questions
Key Takeaways
| Point | Details |
|---|---|
| BMS maximises energy | A battery management system lets you use more stored power safely and efficiently. |
| Essential for off-grid travel | A BMS protects your batteries and supports longer stays away from hook-ups. |
| Smart integration improves safety | Linking your BMS with solar and monitoring tools prevents costly failures. |
| Choose features for your needs | The right BMS offers temperature monitoring, remote access, and automatic protection for UK conditions. |
What is a battery management system (BMS)?
A BMS is an electronic system that monitors and controls the operation of a rechargeable battery pack. For campervan owners running lithium batteries, it sits between your battery cells and the rest of your electrical system, acting as both a guardian and a data logger.
Understanding how campervan energy storage works makes it clear why the BMS is not optional. As noted, the BMS is vital for safe and effective storage, preventing overcharging, deep discharge, and thermal runaway. Without it, even a premium lithium battery pack can degrade rapidly or become a fire hazard.
Core BMS functions:
- Cell voltage monitoring: Measures each individual cell to ensure voltages stay within safe limits during charge and discharge cycles.
- Cell balancing: Redistributes charge between cells to prevent weaker cells from bottlenecking the whole pack.
- Temperature management: Monitors pack temperature and restricts charging or discharging in extreme cold or heat.
- Overcharge protection: Cuts off charging when maximum voltage is reached, preventing thermal stress.
- Over-discharge protection: Disconnects loads before the pack drops below the minimum safe voltage.
- Short circuit and overcurrent protection: Detects and isolates fault conditions instantly.
What happens without a BMS? Consider a 200Ah lithium iron phosphate (LiFePO4) pack installed without any cell-level management. One cell may drift lower in voltage than the others during discharge. Without balancing, that single weak cell gets dragged below its minimum threshold repeatedly. Within months, capacity drops noticeably and you may face unexpected shutdowns mid-trip in remote areas.
Pro Tip: Even high-end lithium batteries will perform poorly and fail prematurely without a quality BMS. The battery brand matters far less than the quality of the management system protecting it.
Why BMS is critical for off-grid energy independence
Off-grid travel in the UK means dealing with variable weather, limited charging opportunities, and long stretches between campsites with hook-ups. Your battery system has to work reliably under all of these conditions. A BMS is what makes that possible.
Lithium power advantages are well documented, and a BMS is the enabler behind all of them. A BMS-equipped lithium setup can enable up to 80% more usable energy compared to lead-acid solutions of the same rated capacity. Lead-acid batteries are typically only safely dischargeable to 50% of their rated capacity. Lithium batteries, managed by a BMS, can be discharged to around 80 to 90% depth of discharge without damage.
Managed lithium vs. unmanaged lead-acid: a comparison
| Feature | BMS-managed lithium | Unmanaged lead-acid |
|---|---|---|
| Usable capacity (200Ah pack) | ~160 to 180Ah | ~80 to 100Ah |
| Cycle life | 2,000 to 5,000+ cycles | 300 to 500 cycles |
| Weight for equivalent energy | Significantly lighter | Heavy |
| Overcharge protection | Automatic via BMS | Manual or none |
| Cell balancing | Yes | No |
| Remote monitoring | Available (smart BMS) | Rarely available |
| Risk of thermal runaway | Very low with BMS | Higher if overcharged |
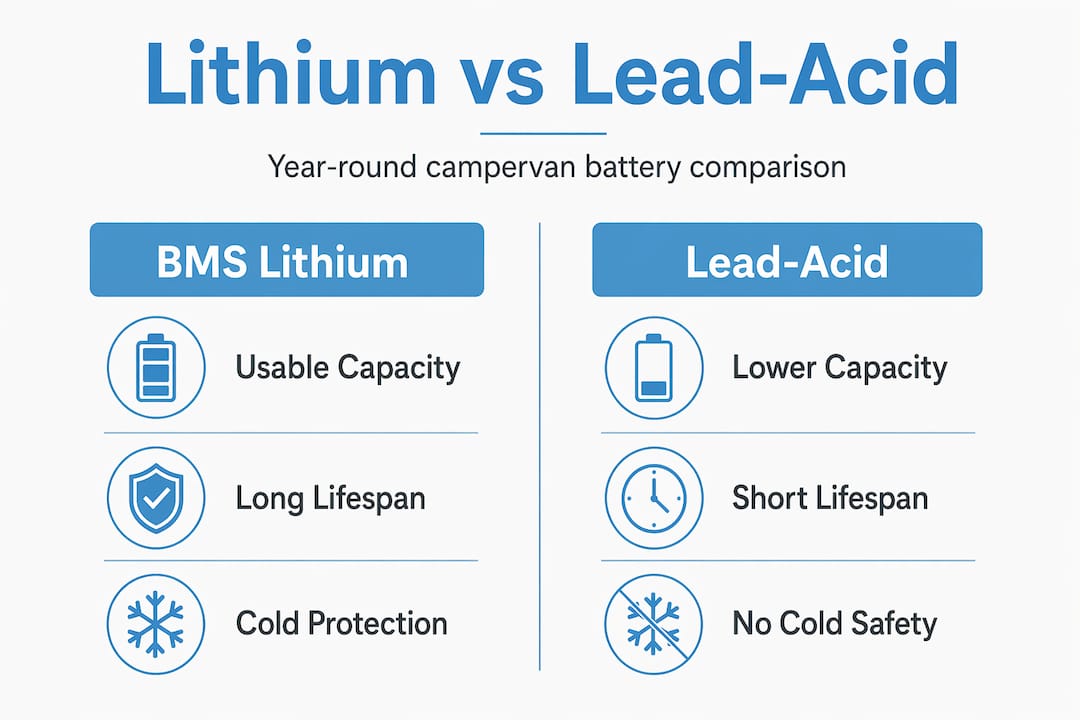
This table makes the real-world difference clear. If you are planning extended off-grid battery solutions for your van, a BMS-managed lithium system gives you more usable power from the same physical space, lasts far longer, and keeps the system safe automatically.
The reliability factor is just as important as the raw capacity numbers. Remote destinations, Scottish Highlands trips, or cross-country tours without electrical hook-ups are where a poorly managed system causes the most problems. A BMS silently handles fault conditions before you ever notice them.
“Without a BMS, you’re driving blind. You may think you have 50% charge left, but without cell-level data, you have no way to know if one cell is already critically low.”
This is particularly relevant for UK campervan owners who travel year-round. In cold winters, lithium cells can be damaged by charging below 0°C. A BMS with low-temperature cutoff protection stops the charger automatically, preventing permanent capacity loss that would otherwise occur without any warning.
How BMS works with solar and energy storage systems
Solar is increasingly standard on campervans, and the BMS plays a central role in making solar charging safe and efficient. Understanding the full energy flow helps you configure your system correctly.
A solar energy storage guide shows how panels, charge controllers, and batteries interact. The BMS sits downstream of the charge controller and upstream of your loads. Here is how the system operates step by step:
- Solar panels generate DC power based on available sunlight, time of day, and panel orientation.
- The MPPT charge controller regulates the solar input, converting panel voltage to the correct charging voltage for the battery chemistry.
- The BMS receives the charging current and monitors each cell’s voltage and temperature in real time.
- If all cells are within safe parameters, the BMS allows current to flow into the battery pack for storage.
- Cell balancing occurs during the top-of-charge phase, equalising any voltage drift between individual cells.
- When battery voltage reaches target, the BMS signals the charge controller to stop or reduce input, preventing overcharge.
- Loads draw from the battery through the BMS, which monitors discharge rate and disconnects if voltage drops too low.
A well-configured BMS manages solar input effectively, preventing overcharge and ensuring safe battery operation regardless of how much sunlight the panels receive. On a bright summer day in the UK, 200W or 400W of solar can push significant charge into the battery quickly. Without BMS oversight, this rapid charging creates risk. With it, the process is fully automated and protected.
For full details on wiring and connection sequences, the solar battery connection guide provides step-by-step instructions for UK campervan setups.
Solar system performance: with and without BMS
| Parameter | With BMS | Without BMS |
|---|---|---|
| Overcharge risk | Eliminated | High |
| Low-temperature charge damage | Prevented by cutoff | Possible |
| Cell-level fault detection | Yes | No |
| Usable solar energy stored | Maximised | Reduced by inefficiency |
| System lifespan | Maximised | Reduced |
Pro Tip: Your BMS must be matched to your battery chemistry and your solar charge controller’s output profile. A BMS rated for LiFePO4 will use different voltage thresholds than one for lithium NMC. Mismatches cause early disconnections or, worse, insufficient protection.
Key features to look for in a campervan BMS
Not all BMS units are equal. For a UK campervan application, the features you need depend on your battery capacity, the complexity of your system, and how far off-grid you plan to travel.
A full energy system workflow article explains how all components interact, and it reinforces that the right BMS can automatically disconnect loads, balance cell groups, and enable remote monitoring for seamless off-grid travel.
Essential BMS features for campervan use:
- Overcharge protection: Automatically stops charging at the maximum cell voltage threshold.
- Over-discharge protection: Disconnects loads before cells reach damaging low voltages.
- Passive or active cell balancing: Passive balancing is standard in most leisure BMS units; active balancing is more efficient and found in premium options.
- High and low temperature cutoffs: Critical for UK winter use. Prevents charging below 0°C and discharging above maximum safe temperatures.
- Bluetooth or app monitoring: Real-time cell voltage, state of charge, current, and temperature visible on a smartphone. This is increasingly standard and highly practical.
- Current rating: Must match or exceed your maximum charge and discharge current. A 200Ah battery with a 100A inverter load needs a BMS rated for at least 100A continuous discharge.
- Short circuit protection: Instant fault detection and isolation.
- IP rating: For campervan use, an IP54 or higher rating provides protection against moisture ingress, which matters in damp UK conditions.
Optional upgrades worth considering:
- Active balancing modules for systems with multiple battery strings in parallel.
- CAN bus or RS485 communication for integration with Victron Energy components.
- Display units for dashboard-mounted state of charge readouts.
- External current sensors for accurate coulomb counting rather than voltage-based estimation.
Pro Tip: A smart BMS with Bluetooth monitoring is worth paying more for. The ability to check cell-level voltages, spot a drifting cell early, and see real-time charge and discharge current saves you from expensive surprises during trips. Many Skyenergi lithium batteries include integrated BMS with Bluetooth as standard.
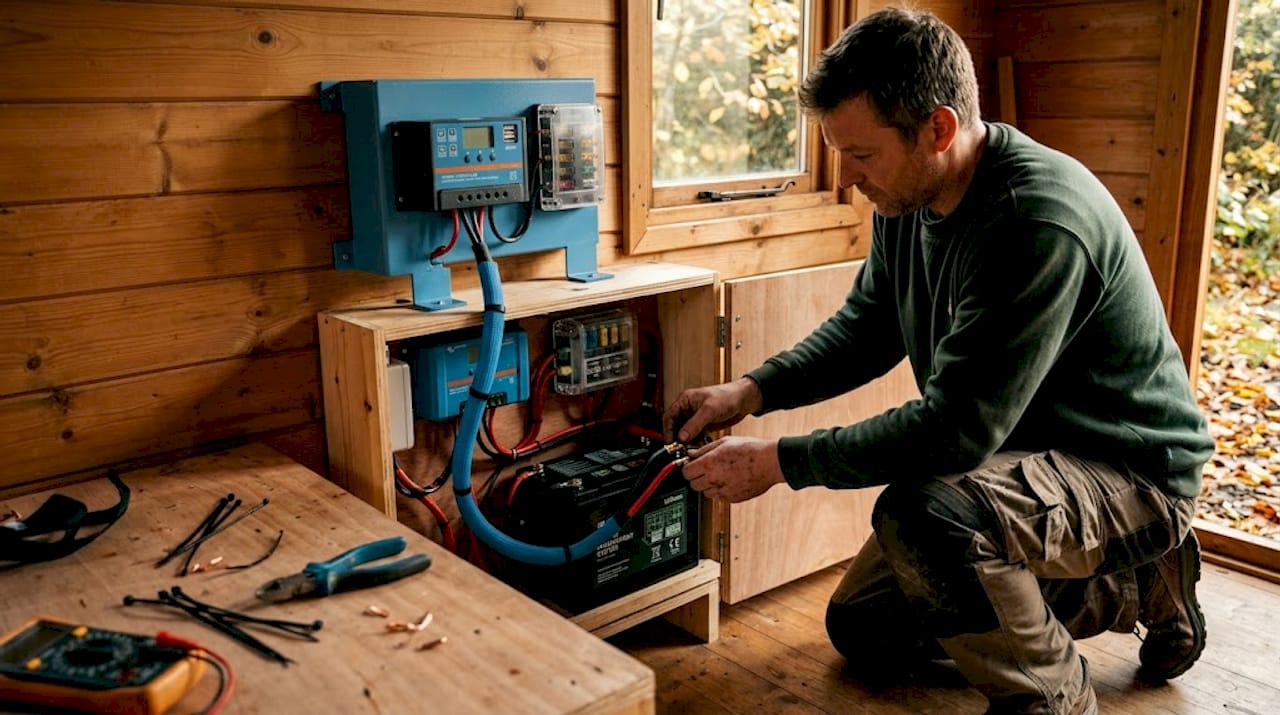
Installation tips and avoiding common pitfalls
Selecting the correct BMS is only half the job. Correct installation determines whether it performs as designed. Poor wiring or skipped steps are the most common causes of early BMS failure or inadequate protection.
Follow the UK campervan installation guide for detailed procedures. As documented, correct installation procedures including safe wiring and thorough system checks are essential for proper BMS performance.
Step-by-step installation process:
- Prepare your workspace and components. Confirm BMS current rating, battery voltage, and wiring gauge requirements before starting. Gather all terminals, fuses, and heat-shrink.
- Install the main fuse close to the battery. The fuse protects against catastrophic wiring faults and must be sized correctly for the BMS’s maximum current.
- Connect battery negative to BMS B- terminal using appropriate cable gauge for your current rating. Undersized cables cause voltage drop and heat.
- Connect BMS C- terminal to charge sources (solar charge controller negative, DC/DC converter negative).
- Connect BMS P- terminal to load negative (inverter, 12V distribution fuse box).
- Install temperature sensors as specified by the manufacturer, typically at the cell surface or battery mid-point.
- Power up and test with small loads first. Verify all BMS indicator lights or app readings are normal before connecting high-draw appliances.
- Test protection functions. Simulate an overload on a bench if possible before full installation to confirm the BMS trips correctly.
Fatal mistakes to avoid:
- Mismatched cable gauge: Undersized wiring between battery and BMS causes resistance heating and can compromise the protection the BMS provides.
- Skipping temperature sensors: Many BMS units default to no thermal protection if sensors are disconnected or faulty. Always install them.
- Ignoring manufacturer voltage settings: LiFePO4 and NMC lithium have different charge/discharge voltage parameters. Using default settings from one chemistry on another causes underperformance or damage.
- Incorrect terminal assignment: Confusing B-, C-, and P- terminals is a common DIY error that can cause immediate BMS damage.
- No main fuse: Never run battery cables without a properly rated fuse as close to the battery terminal as possible.
Pro Tip: Always test your system with small loads (a 12V lamp or USB charger) immediately after installation. Confirm the BMS is communicating via Bluetooth or display before connecting your inverter or high-current appliances.
The truth most DIYers overlook: BMS is your invisible safety net
Most campervan electrical upgrades focus on visible components. More solar panels. A larger inverter. A higher-capacity battery bank. These are tangible, measurable additions. The BMS, by contrast, does its job invisibly and rarely gets the attention it deserves until something goes wrong.
Consider two anonymous but representative cases from the van conversion community. In the first, a builder fitted a 300Ah LiFePO4 battery purchased at low cost from an online marketplace. No integrated BMS was included, and a separate unit was never added. Within eight months, one cell had drifted badly out of balance. The battery’s effective capacity had dropped to under 150Ah and the pack was no longer safe to run near full discharge. Replacement cost exceeded the original saving significantly.
In the second case, a builder using a properly integrated BMS with Bluetooth monitoring noticed via the app that one cell was consistently 0.03V below the others at the end of charge. They flagged the issue to their supplier, got a warranty replacement promptly, and avoided any in-field failure.
The energy storage advantages of a properly managed system extend well beyond the specifications on paper. Real-world reliability is what matters when you are parked in a remote location in Wales with no mobile signal and a chest freezer running overnight.
There is also a financial argument that is routinely underestimated. A quality BMS adds relatively modest cost to a lithium installation. The cost of a single failed battery pack, a damaged inverter from an unprotected discharge event, or a ruined holiday trip far exceeds any saving made by skipping proper management.
The advice here is direct: treat the BMS as a non-negotiable component, not an optional add-on. Budget for it properly, match it to your specific battery and chemistry, and install it correctly.
Upgrade your campervan for ultimate energy freedom
If this guide has clarified the importance of battery management in your off-grid setup, the next step is sourcing components that are designed to work together from the ground up.

Skyenergi supplies a range of lithium leisure batteries with integrated BMS and Bluetooth monitoring, giving you real-time visibility of cell voltages, state of charge, temperature, and current via smartphone. For those building a complete system, the SRNE all-in-one leisure vehicle energy solutions combine MPPT solar charging, battery management, and load distribution into a single, pre-integrated unit. Victron-compatible accessories and solar charging components are also available, supporting flexible system builds for any van layout. Explore the Skyenergi product range to find BMS-ready battery systems and turnkey power solutions suited to your setup.
Frequently asked questions
Can I run my campervan off-grid without a BMS?
You can, but it carries real risk and will shorten battery life considerably. A BMS prevents dangerous overcharge, deep discharge, and thermal runaway, and is vital for safe, effective energy storage in any modern campervan system.
What is the difference between a charge controller and a BMS?
A charge controller (typically an MPPT unit) regulates the solar panel output before it reaches the battery, while a BMS protects the battery itself at the cell level. A well-configured BMS manages what happens inside the battery pack, regardless of the source of charge.
How often should I check or service my campervan BMS?
Modern BMS units are largely maintenance-free, but you should check for error messages or cell voltage warnings at least once a month, particularly before extended trips or after periods of storage.
Is upgrading to a smart BMS worth it?
Yes. A smart BMS with Bluetooth or app-based monitoring provides real-time diagnostics, early fault detection, and remote monitoring, and can automatically disconnect loads and balance cell groups to support reliable off-grid travel. The additional cost is minimal relative to the protection it provides.
Recommended
Prev post

Why lithium batteries matter for UK leisure vehicles
Updated on 13 May 2026
Next post

Top reasons to choose lithium for leisure vehicles
Updated on 11 May 2026


