


Install lithium campervan batteries: UK step-by-step guide
Learn how to install lithium batteries in your UK campervan with this step-by-step guide covering tools, BMS integration, solar setup, and BS 7671 compliance.
Running out of power mid-trip is one of the most common frustrations for UK campervan owners. Traditional AGM batteries lose capacity quickly, struggle in cold weather, and rarely deliver the consistent output you need for a fridge, lighting, and devices simultaneously. Lithium batteries, particularly LiFePO4 (lithium iron phosphate) chemistry, solve this directly. They offer up to 80-90% usable capacity, longer cycle life, and lighter weight. This guide walks you through everything: tools, installation steps, system integration, and compliance checks, so you can build a dependable off-grid power setup with confidence.
Table of Contents
- What you need: tools, materials and safety checklist
- Step-by-step instructions for installation
- Integrating battery management, monitoring and chargers
- Testing, troubleshooting and compliance: what to check
- The real-world lesson: what most UK installs overlook
- Upgrade your campervan energy with trusted UK solutions
- Frequently asked questions
Key Takeaways
| Point | Details |
|---|---|
| Preparation is essential | Gather all specialised tools, safety gear, and ensure proper ventilation before starting your battery installation. |
| Follow step-by-step process | Carefully remove old batteries, mount new lithium securely, connect using correct cables, and avoid common mistakes with polarity. |
| Integrate monitoring and chargers | Use a battery management system, install DC-DC chargers and solar panels for optimal off-grid performance. |
| Test and comply with standards | Always verify installation with real-world load tests and check wiring meets UK safety codes. |
| Expert advice matters | Learn from real-world installations and ensure you don’t skip crucial details like fusing and monitoring. |
What you need: tools, materials and safety checklist
Before touching a single cable, gather the right equipment. A poorly prepared install causes delays, safety risks, and costly mistakes. The battery installation workflow for campervans starts with proper preparation, and that means having every item on hand before you begin.
Essential tools:
- Multimeter (for voltage and continuity checks)
- Set of spanners and socket wrenches
- Torque wrench (critical for terminal connections)
- Wire strippers and crimping tool
- Drill with appropriate bits for bracket mounting
- PPE: insulated gloves, safety glasses
Materials required:
- LiFePO4 lithium battery (sized to your power needs)
- Marine-grade copper cables (correctly rated for your load)
- ANL or blade fuse holder with appropriate fuse rating
- Stainless steel mounting brackets and bolts
- Heat-shrink terminals and cable lugs
- Battery isolator switch
As outlined in the step-by-step installation guide, the core preparation steps include assessing your power requirements, inspecting your existing system, and ensuring your battery bay is clean and ventilated before any work begins.
For cabling, marine-grade copper cables sized for your load are non-negotiable. Undersized cables cause voltage drop and heat build-up. Always fuse the positive feed as close to the battery terminal as practically possible, and secure the battery firmly using stainless bolts and brackets to prevent movement on rough roads.
Safety checklist before starting: Disconnect the vehicle’s negative terminal first. Never work on a live circuit. Keep sparks and flames away from the battery area. Confirm the battery bay has adequate airflow.
Pro Tip: Even LiFePO4 batteries benefit from ventilation. Check that your mounting location has airflow clearance and that brackets are torqued correctly before proceeding.
Step-by-step instructions for installation
With tools and safety sorted, let’s move through the installation steps themselves.
- Disconnect the negative terminal first. This is the single most important safety step. Remove the negative cable from your existing battery before anything else.
- Remove the old battery. Lift it out carefully. AGM batteries are heavy, so use proper lifting technique. Dispose of it responsibly at a recycling centre.
- Clean and inspect the battery compartment. Remove corrosion, debris, and any moisture. Check for signs of previous cable chafing or heat damage.
- Mount the lithium battery securely. Use stainless steel brackets and bolts. The battery must not move under braking or cornering. Torque all mounting bolts to the manufacturer’s specification.
- Route and connect the positive cable. Run the positive cable from the battery terminal through your fuse holder, then to your distribution point. Fuse positive feeds near battery and use the correct cable gauge for your system’s maximum load.
- Connect the negative cable. Attach to the battery negative terminal and route to your negative busbar or chassis earth point.
- Double-check polarity. Before energising, verify positive to positive and negative to negative with your multimeter. Reversed polarity can destroy electronics instantly.
- Torque all terminals to specification. Loose connections cause resistance, heat, and potential fire. Use your torque wrench and follow the battery manufacturer’s figures.
For a safe campervan battery install, polarity discipline and correct torquing are the two steps most commonly rushed. Don’t skip them.
| Step | Key action | Common mistake |
|---|---|---|
| Disconnect | Negative terminal first | Removing positive first |
| Mount | Stainless brackets, torqued | Loose or plastic brackets |
| Cable | Correct gauge, fused near battery | Undersized cable, remote fuse |
| Connect | Positive first when reconnecting | Reversed polarity |
| Verify | Multimeter polarity check | Skipping pre-energise check |
Refer to the battery setup guide UK for additional UK-specific considerations on cable routing and terminal protection.
Integrating battery management, monitoring and chargers
Once your battery is physically installed, it is vital to integrate control and monitoring for safe and efficient use.
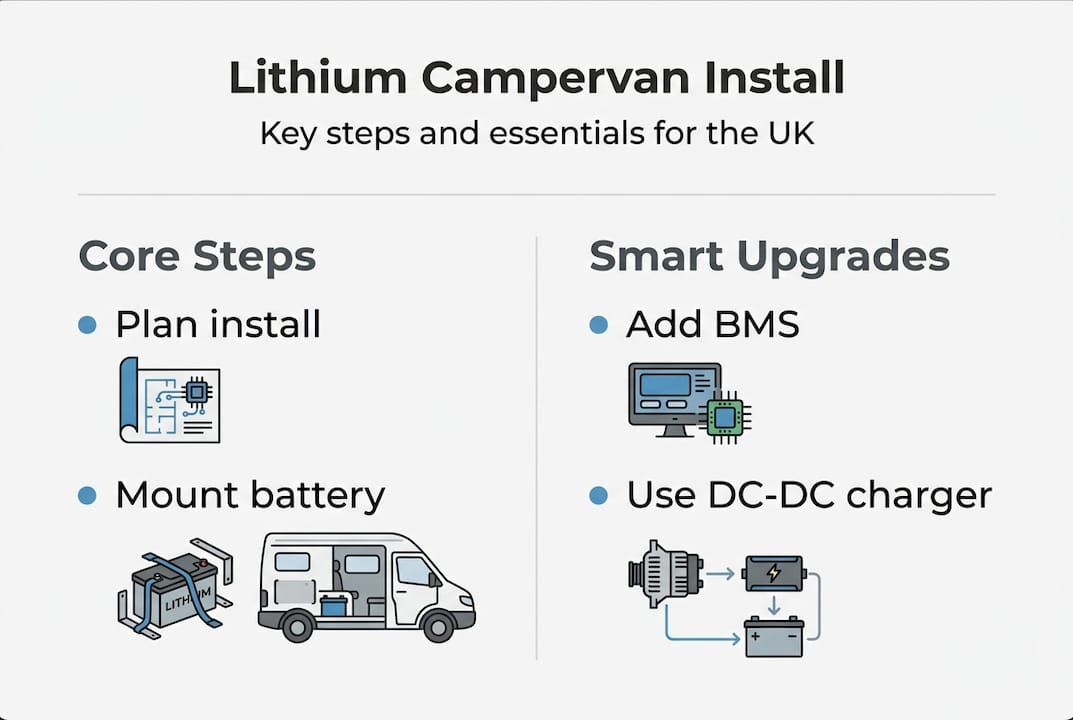
A Battery Management System (BMS) is the electronic guardian of your lithium battery. It monitors cell voltages, temperature, and current, cutting off charge or discharge if parameters go outside safe limits. BMS protection against over-voltage and under-voltage is critical for modern lithium setups. Most quality LiFePO4 batteries include an internal BMS, but always confirm this before purchase.
Smart monitoring options:
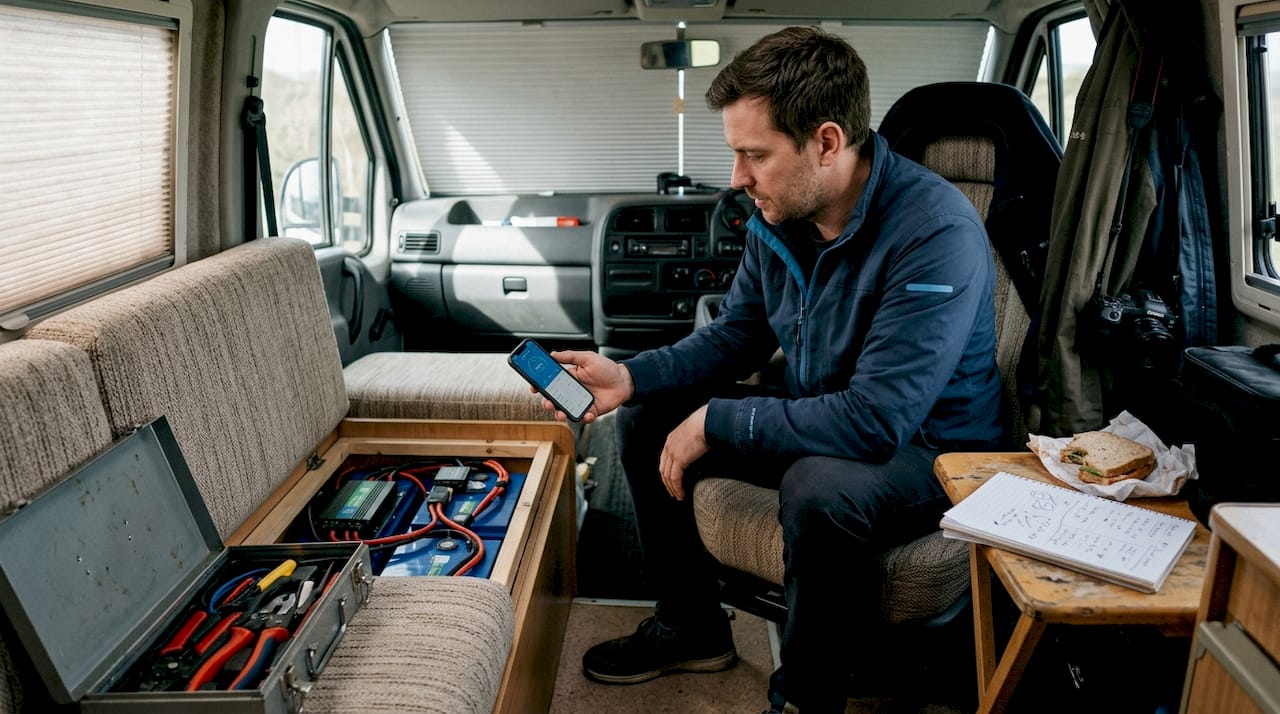
- Bluetooth battery monitors (app-based, real-time voltage and state of charge)
- Dedicated shunt-based monitors (Victron BMV series is widely used)
- Display panels with voltage, current, and percentage readout
For solar charging, 300-400W paired with MPPT is the practical benchmark for UK year-round off-grid use. An MPPT (Maximum Power Point Tracking) controller maximises energy harvest from your panels, even on overcast British days. A 20-40A MPPT controller suits most single-battery campervan setups.
For charging from the vehicle alternator, a DC-DC charger (also called a B2B charger) rated at 30-50A is the correct solution. Connect the solar battery connection and DC-DC charger inputs through your BMS-protected battery terminals.
Pro Tip: Never connect a lithium battery directly to a standard alternator without a DC-DC charger. Standard alternators are not designed for the charge profile lithium batteries require, and direct connection risks overloading the alternator and damaging the battery.
For a full system view, the lithium battery upgrade steps guide covers how solar, DC-DC charging, and BMS monitoring work together as a complete off-grid energy system.
Testing, troubleshooting and compliance: what to check
With systems integrated, verify performance and safety before heading off-grid.
Post-installation testing steps:
- Use a multimeter to confirm correct voltage at battery terminals (typically 12.8-13.2V resting for a LiFePO4).
- Switch on a real-world load (fridge or lighting) and monitor voltage stability.
- Check all connections for heat after 10-15 minutes of load. Warm connections indicate resistance issues.
- Verify BMS is active and communicating via app or display.
- Perform a full charge cycle and monitor via your monitoring app before your first trip.
Common issues and fixes:
- No voltage at output: Check fuse integrity and polarity at all terminals.
- Voltage drop under load: Cable undersized or connection loose. Re-torque and recheck cable gauge.
- BMS cutting out: Battery may be outside temperature range, or a cell imbalance exists. Check BMS app diagnostics.
- Alternator warning light: DC-DC charger may be drawing too heavily. Check charger settings.
For UK compliance, all wiring must meet BS 7671 and EN 1648 standards. These cover cable sizing, fusing, earthing, and installation quality. LiFePO4 chemistry is the preferred choice for safety compliance due to its thermal stability and 80-90% usable capacity rating.
All wiring and fusing must be documented and accessible for inspection. If your campervan is professionally converted or insured, compliance records may be required.
The step-by-step installation reference covers post-install monitoring in detail. For ongoing upkeep, the battery maintenance advice guide outlines what to check at regular intervals to keep your system performing reliably.
Pro Tip: Always do a full charge and monitor via your BMS app before your first off-grid use. This confirms all cells are balanced and the system is operating within safe parameters.
The real-world lesson: what most UK installs overlook
Most UK campervan owners follow the technical steps correctly but miss the details that determine long-term reliability. Ventilation is consistently underestimated. Even though LiFePO4 batteries produce minimal gas, mounting them in a sealed, unventilated compartment traps heat and shortens cell life over time.
Fuse placement is another common oversight. Fuses placed more than 30cm from the battery terminal offer inadequate protection for the cable run between the battery and fuse. That short section is the highest-risk point in the circuit.
Smart monitoring is not optional for a serious install. A Bluetooth BMS or shunt monitor catches silent failures, such as gradual capacity loss or a cell drifting out of balance, before they become costly problems. Many owners only discover issues when the battery fails mid-trip.
UK-specific wiring standards (BS 7671 and EN 1648) are not bureaucratic formalities. They represent minimum safety thresholds. An easy lithium leisure battery install done to these standards is genuinely safer and more insurable than one that cuts corners. Take the time to torque correctly, document your install, and test thoroughly before departure.
Upgrade your campervan energy with trusted UK solutions
If you’re ready to move forward with a reliable lithium install, Skyenergi supplies specialist components built for exactly this application. From complete turnkey energy kits to individual charging and monitoring components, the range is designed for UK campervan owners who need dependable off-grid power.

For a full system approach, the complete electrics kit includes inverter-charger, DC-DC charger, and monitoring in one package. For solar integration, the Victron solar kit delivers high-performance MPPT charging with GX monitoring built in. For standalone solar charging, the MPPT charge controller kit pairs a 610W panel with a Victron Smart MPPT controller for maximum harvest.
Frequently asked questions
What tools and materials do I need to install a lithium battery in my UK campervan?
You’ll need a multimeter, torque wrench, PPE, marine-grade cables, fuses, and secure stainless brackets. The essential tool list also includes wire strippers, crimping tools, and a battery isolator switch for a complete and safe installation.
Why is a battery management system (BMS) important for lithium batteries?
A BMS protects against overcharging, under-voltage, and excessive discharge, all of which can permanently damage lithium cells. BMS protection is considered critical for any modern lithium battery installation in a leisure vehicle.
How do I ensure my lithium battery installation is compliant in the UK?
All wiring must meet BS 7671 and EN 1648 standards, covering cable sizing, fusing, and earthing. Testing with a multimeter post-install and documenting your wiring layout supports compliance and insurance requirements.
Can I charge lithium batteries directly from the campervan alternator?
No. Always use a DC-DC charger rated at 30-50A between the alternator and your lithium battery. Direct alternator charging without a DC-DC charger risks overloading the alternator and delivering an incompatible charge profile to lithium chemistry.
Do I need solar panels for a reliable off-grid lithium setup?
Solar panels are strongly recommended for year-round UK use. 300-400W with MPPT provides consistent charging even in low-light British conditions, keeping your battery topped up between alternator charging opportunities.
Recommended
Prev post

How BMS powers off-grid energy independence: 85% of failures
Updated on 03 April 2026
Next post

Why reliable battery monitoring matters for leisure vehicles
Updated on 01 April 2026


