


How to Install Campervan Lithium Batteries Safely and Easily
Learn how to install campervan lithium batteries with this step-by-step UK guide. Achieve improved off-grid energy independence and reliable power for your vehicle.
Every British campervan owner knows the frustration of running out of power just as night falls at a remote site. Moving to lithium batteries promises greater energy independence, but reliable off-grid living depends on planning and safety. From calculating your unique power needs to selecting high-quality lithium battery systems, this guide explains every step to help you achieve robust campervan electrics with peace of mind.
Table of Contents
- Step 1: Assess Your Campervan’s Power Requirements
- Step 2: Select Compatible Lithium Batteries and Components
- Step 3: Prepare Mounting and Wiring Locations Safely
- Step 4: Connect and Secure Lithium Battery System
- Step 5: Verify Installation and Test System Performance
Quick Summary
| Key Point | Explanation |
|---|---|
| 1. Assess power requirements carefully | Inventory all electrical devices and calculate their wattage and daily usage to determine your campervan’s total power needs. |
| 2. Select high-quality lithium batteries | Choose batteries with integrated Battery Management Systems and ensure compatibility with your campervan’s electrical system to enhance safety and efficiency. |
| 3. Ensure safe mounting and wiring | Plan battery mounting locations with thermal isolation, ventilation, and secure connections to prevent hazards and ensure reliability. |
| 4. Connect components with precision | Follow strict safety protocols when connecting your battery system, including inspecting connections and verifying polarity to avoid electrical failures. |
| 5. Test system performance rigorously | Conduct comprehensive tests on your battery system to verify functionality, ensuring stable operation and identifying potential issues before travel. |
Step 1: Assess your campervan’s power requirements
Determining your campervan’s power requirements is a critical first step in setting up a reliable lithium battery system that will keep your mobile home running smoothly. Understanding your electrical needs involves careful calculation and consideration of all potential energy consumers within your vehicle.
To accurately assess your power requirements, start by making a comprehensive inventory of all electrical devices and systems you’ll use in your campervan. This includes essential items like refrigeration, lighting, charging stations for smartphones and laptops, cooking appliances, water pumps, and entertainment systems. Research from battery performance analysis highlights the importance of precise energy capacity planning for stable power delivery.
Calculate the total daily power consumption by listing each device’s wattage and estimating daily usage hours. Here’s a systematic approach:
Here is a summary of typical campervan electrical devices and their estimated daily energy usage:
| Device | Typical Wattage | Estimated Daily Use (hours) | Approx. Daily Consumption (Wh) |
|---|---|---|---|
| Fridge | 50 | 8 | 400 |
| LED Lighting | 15 | 6 | 90 |
| Laptop Charger | 60 | 2 | 120 |
| Water Pump | 40 | 0.5 | 20 |
| Mobile Phone Charger | 10 | 3 | 30 |
| Portable Fan | 20 | 4 | 80 |
Use these figures as a baseline, then tailor them to your specific appliances and habits.
- Identify each electrical device’s wattage
- Estimate hours of daily usage for each item
- Multiply wattage by hours to determine daily watt-hour consumption
- Add up total watt-hours to establish your overall energy requirement
- Add a 20% buffer for unexpected power needs
Consider factors like seasonal variations, your typical travel patterns, and whether you’ll be relying solely on battery power or supplementing with solar charging. Long-term battery performance depends on understanding these nuanced energy consumption patterns.
Accurate power assessment prevents unexpected battery drain and ensures a reliable electrical system in your campervan.
Expert tip: Keep a detailed log of your actual power consumption during initial trips to refine your battery capacity calculations and improve future system design.
Step 2: Select compatible lithium batteries and components
Choosing the right lithium batteries and associated components is crucial for creating a safe and efficient power system in your campervan. Your selection will directly impact the reliability, performance, and longevity of your electrical setup.
When selecting lithium batteries, prioritise those with integrated Battery Management Systems (BMS) that provide essential protection against overcharging, overheating, and potential electrical failures. Safety standards for lithium batteries emphasise the importance of purchasing from reputable manufacturers who meet British safety regulations.
Key considerations for compatible battery and component selection include:
- Voltage compatibility with your campervan’s electrical system
- Capacity matching your calculated power requirements
- Physical dimensions that fit your available battery compartment
- Charge and discharge rate specifications
- Compatibility with existing solar or charging infrastructure
Ensure all components are sourced from trusted manufacturers and comply with British safety standards. This includes batteries, charge controllers, inverters, and connection cables. Avoid counterfeit or unverified products that might compromise your system’s safety and performance.
The table below compares common lithium battery types for campervan use:
| Battery Type | Lifespan (Cycles) | Performance in Cold | Maintenance Needs |
|---|---|---|---|
| LiFePO4 | 2000–5000 | Reliable above 0°C | Minimal, BMS required |
| Lithium NMC | 1000–2000 | Moderate | Moderate, BMS needed |
| Gel/AGM Lead | 500–800 | Good | Regular voltage checks |
Selecting the right chemistry and BMS ensures a safer, longer-lasting system.
Selecting high-quality, compatible components is the foundation of a reliable campervan electrical system.
Expert tip: Consult with a professional installer or experienced campervan electrical specialist to verify your component compatibility and receive personalised advice for your specific setup.
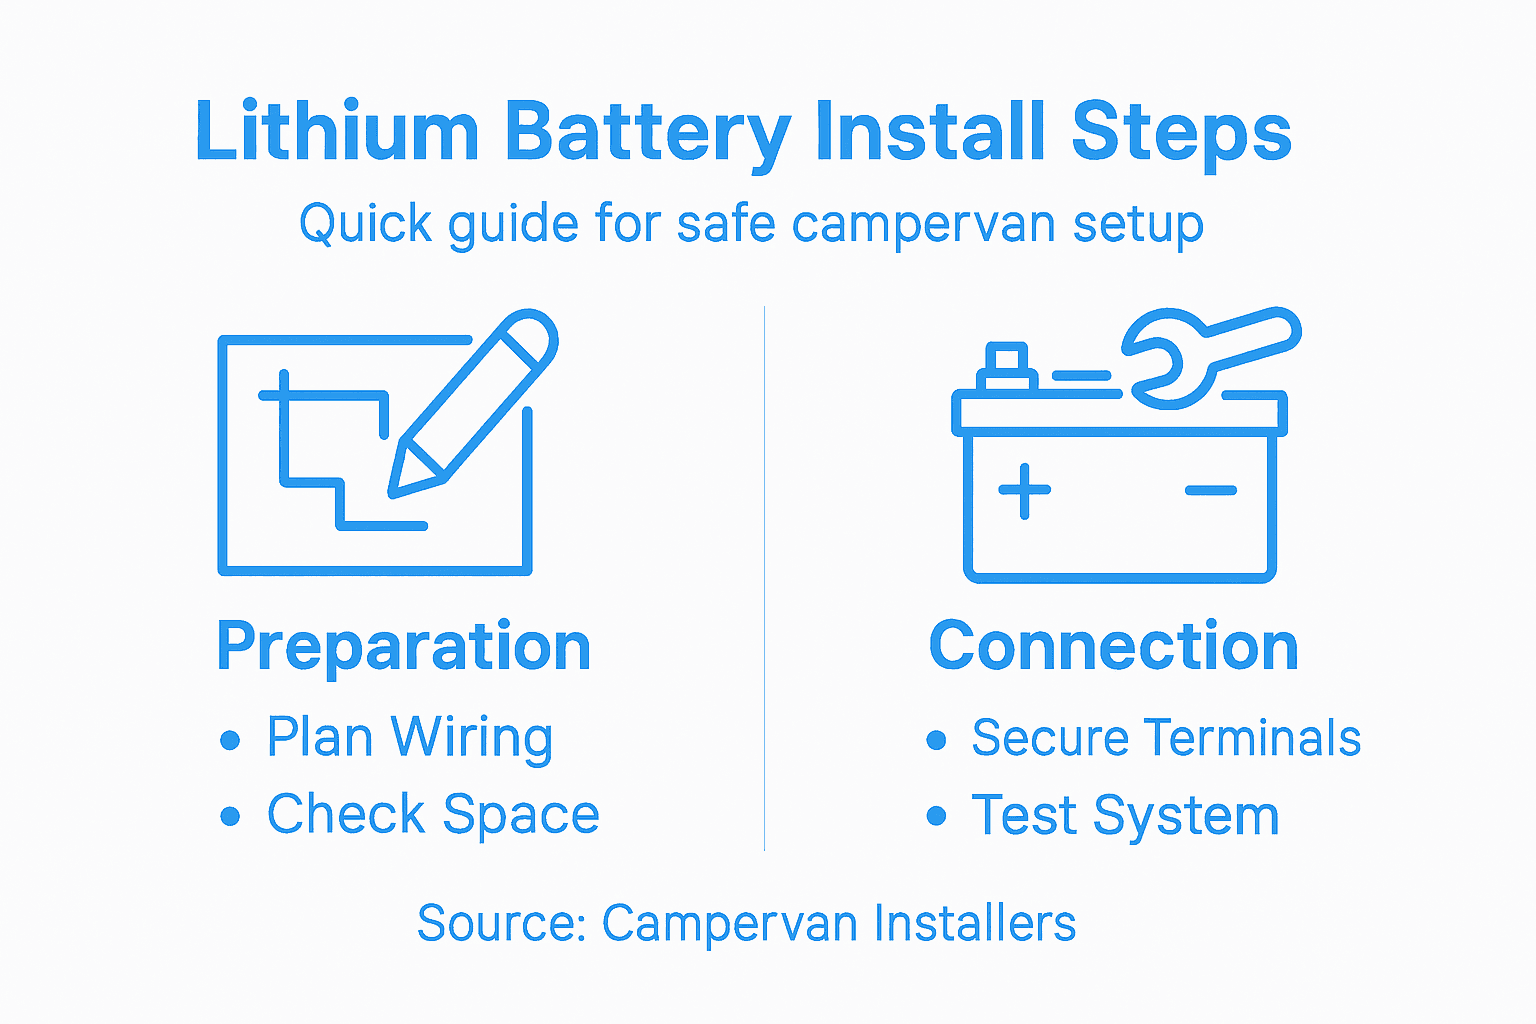
Step 3: Prepare mounting and wiring locations safely
Preparing safe mounting and wiring locations is crucial for preventing electrical hazards and ensuring the long-term reliability of your campervan’s lithium battery system. This step requires careful planning and attention to detail to mitigate potential risks.
Lithium battery fire risks underscore the importance of strategic battery placement and proper installation. Your mounting location should provide several key protections:
- Thermal isolation from direct heat sources
- Adequate ventilation to prevent overheating
- Protection from mechanical damage
- Secure, vibration-resistant mounting
- Easy access for maintenance and inspection
When selecting wiring locations, prioritise routes that minimise exposure to moisture, extreme temperatures, and potential mechanical stress. Use marine-grade waterproof cable glands and ensure all connections are properly insulated and secured. Create dedicated electrical compartments that separate batteries from living areas and provide additional fire protection.
Proper mounting and wiring are not just technical requirements, but critical safety measures for your campervan’s electrical system.
Expert tip: Invest in high-quality cable conduits and use cable ties to create organised, secure wiring routes that prevent accidental damage or disconnection.
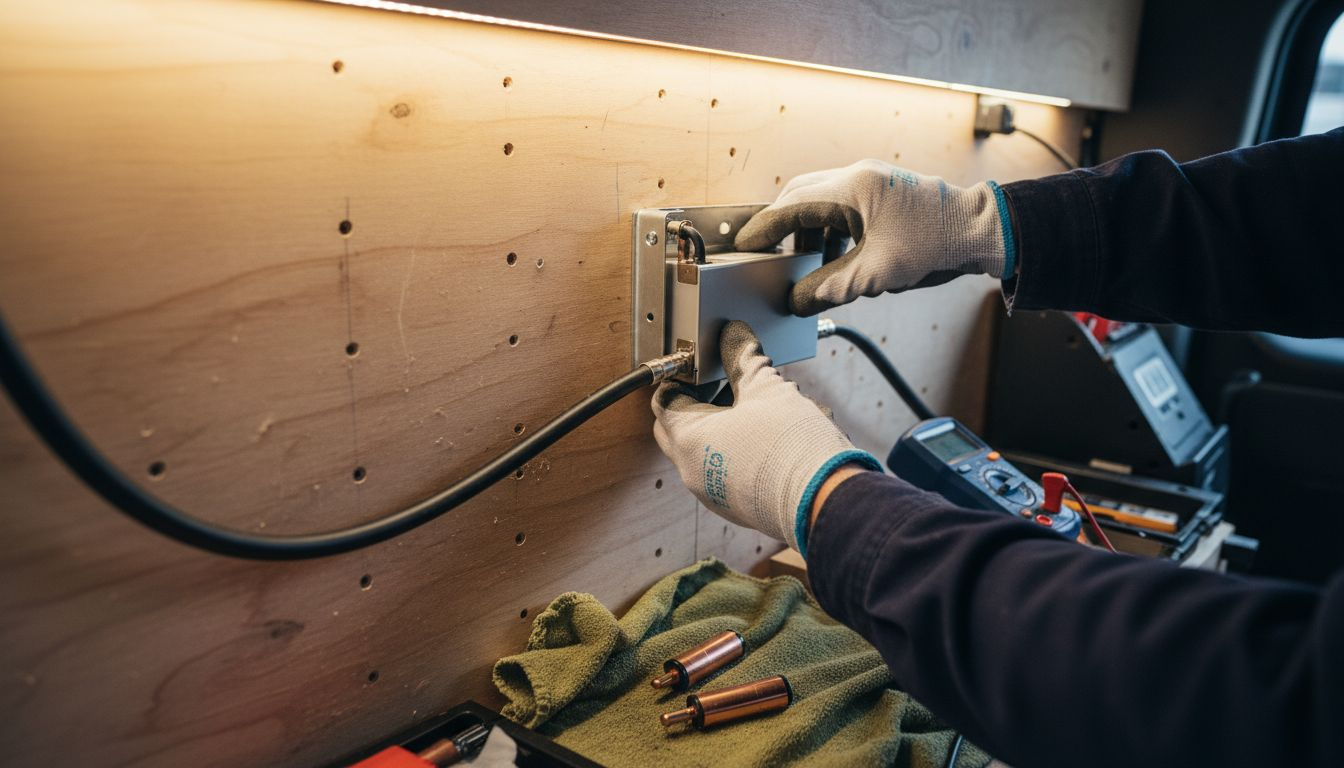
Step 4: Connect and secure lithium battery system
Connecting and securing your lithium battery system requires precision, care, and strict adherence to safety protocols. This critical phase determines the reliability and performance of your campervan’s electrical infrastructure.
Lithium battery connection risks highlight the importance of careful terminal management and connection techniques. Your battery system connection process should incorporate several key safety measures:
- Inspect all connection points for cleanliness and corrosion
- Use manufacturer-recommended connectors and terminals
- Ensure tight, secure electrical connections
- Apply dielectric grease to prevent oxidation
- Double-check polarity before finalising connections
Pay particular attention to Battery Management System (BMS) integration, ensuring all electrical connections are correctly rated and insulated. Use high-quality copper lugs with appropriate torque specifications, and consider using heat-shrink tubing for additional protection against environmental factors.
Precise and careful connections are the foundation of a safe and reliable campervan electrical system.
Expert tip: Always use a torque wrench when connecting battery terminals to ensure consistent and safe electrical connections without damaging the components.
Step 5: Verify installation and test system performance
Final verification and performance testing are crucial to ensuring your campervan’s lithium battery system operates safely and efficiently. This step transforms your careful installation into a reliable power source for your adventures.
Battery performance diagnostics provide essential insights into system integrity and operational readiness. Your comprehensive testing protocol should include multiple assessment stages:
- Check all electrical connections for tightness and correct polarity
- Verify Battery Management System (BMS) functionality
- Conduct initial charge and discharge cycle tests
- Monitor battery temperature during testing
- Measure voltage stability across different load conditions
Pay special attention to initial system calibration, ensuring your Battery Management System accurately tracks state of charge, prevents overcharging, and maintains balanced cell performance. Use a multimeter to check voltage consistency and confirm that each battery component operates within manufacturer-specified parameters.
A thorough performance test now can prevent potential electrical failures during your future travels.
Expert tip: Perform initial testing in a controlled environment and keep detailed records of your battery system’s performance metrics for future reference and maintenance.
Master Your Campervan Power Setup with Skyenergi
Installing lithium batteries safely and efficiently in your campervan requires precise power assessment, careful component selection, and secure wiring — all to avoid unexpected battery drain and electrical hazards. If you want peace of mind with reliable energy storage and intelligent battery management systems, it pays to choose a supplier who understands these unique challenges and offers solutions designed specifically for mobile energy independence.

Discover Skyenergi’s UK-based range of high-performance lithium batteries and complete turnkey leisure vehicle energy solutions. Our products come with integrated Battery Management Systems and Bluetooth monitoring so you can track your system’s health in real time. Whether you are upgrading your campervan or building a new system, visit Skyenergi to explore how practical, well-engineered renewable energy solutions can support your adventures and ensure safety from the ground up. Start planning your ideal setup today by visiting Skyenergi’s website and learn more about how our specialised lithium batteries and accessories can help you power your journey safely and effortlessly.
Frequently Asked Questions
How do I assess my campervan’s power requirements for lithium batteries?
To assess your campervan’s power requirements, list all electrical devices you’ll use and calculate their total daily watt-hours. Start by identifying each device’s wattage and estimating how many hours you will use them each day, then multiply and sum these values to create a comprehensive total.
What factors should I consider when selecting lithium batteries for my campervan?
When selecting lithium batteries, consider the voltage compatibility with your campervan, their capacity to meet your power needs, and the physical size for your battery space. Ensure the batteries have an integrated Battery Management System (BMS) for optimal safety and performance.
How can I safely mount and wire my lithium battery system in my campervan?
To mount and wire your lithium battery system safely, choose locations that provide thermal isolation and ventilation, and protect against potential mechanical damage. Use marine-grade waterproof cable glands and secure wiring properly to minimise risks associated with moisture and movement.
What steps should I follow to connect and secure my lithium battery system?
To connect your lithium battery system, inspect all connection points for cleanliness, use manufacturer-recommended connectors, and ensure all connections are tight and insulated. Double-check the polarity before finalising connections to avoid electrical hazards.
How do I verify the installation and test the performance of my lithium battery system?
To verify your installation, check all electrical connections, ensure the Battery Management System is functioning, and conduct initial charge and discharge cycle tests. Monitor the battery temperature during testing and measure voltage stability to confirm everything operates within specified parameters.
What common mistakes should I avoid when installing lithium batteries in my campervan?
Avoid common mistakes such as using incompatible components, neglecting to provide adequate ventilation, or not accounting for the overall weight of the battery system. Ensure proper assessments are done and follow manufacturer guidelines to maintain system safety and efficiency.
Recommended
Prev post

Why Use Battery Management Systems for Off-Grid Energy
Updated on 04 February 2026
Next post

Battery Capacity vs Energy Needs for Campervans
Updated on 02 February 2026


