


Step by Step Lithium Battery Upgrade for UK Campervans
Learn how to perform a step by step lithium battery upgrade for UK campervans, ensuring better off-grid power, seamless integration, and safe installation.
Off-grid adventures have sparked a surge in lithium battery upgrades among British campervan owners, with modern lithium systems lasting up to four times longer than traditional lead-acid options. For those who cherish energy independence and reliable power on the road, understanding each step of the upgrade process is crucial. This guide walks you through assessing your current setup, selecting the right lithium battery, and safely installing it to enhance your British leisure vehicle’s performance wherever your journey takes you.
Table of Contents
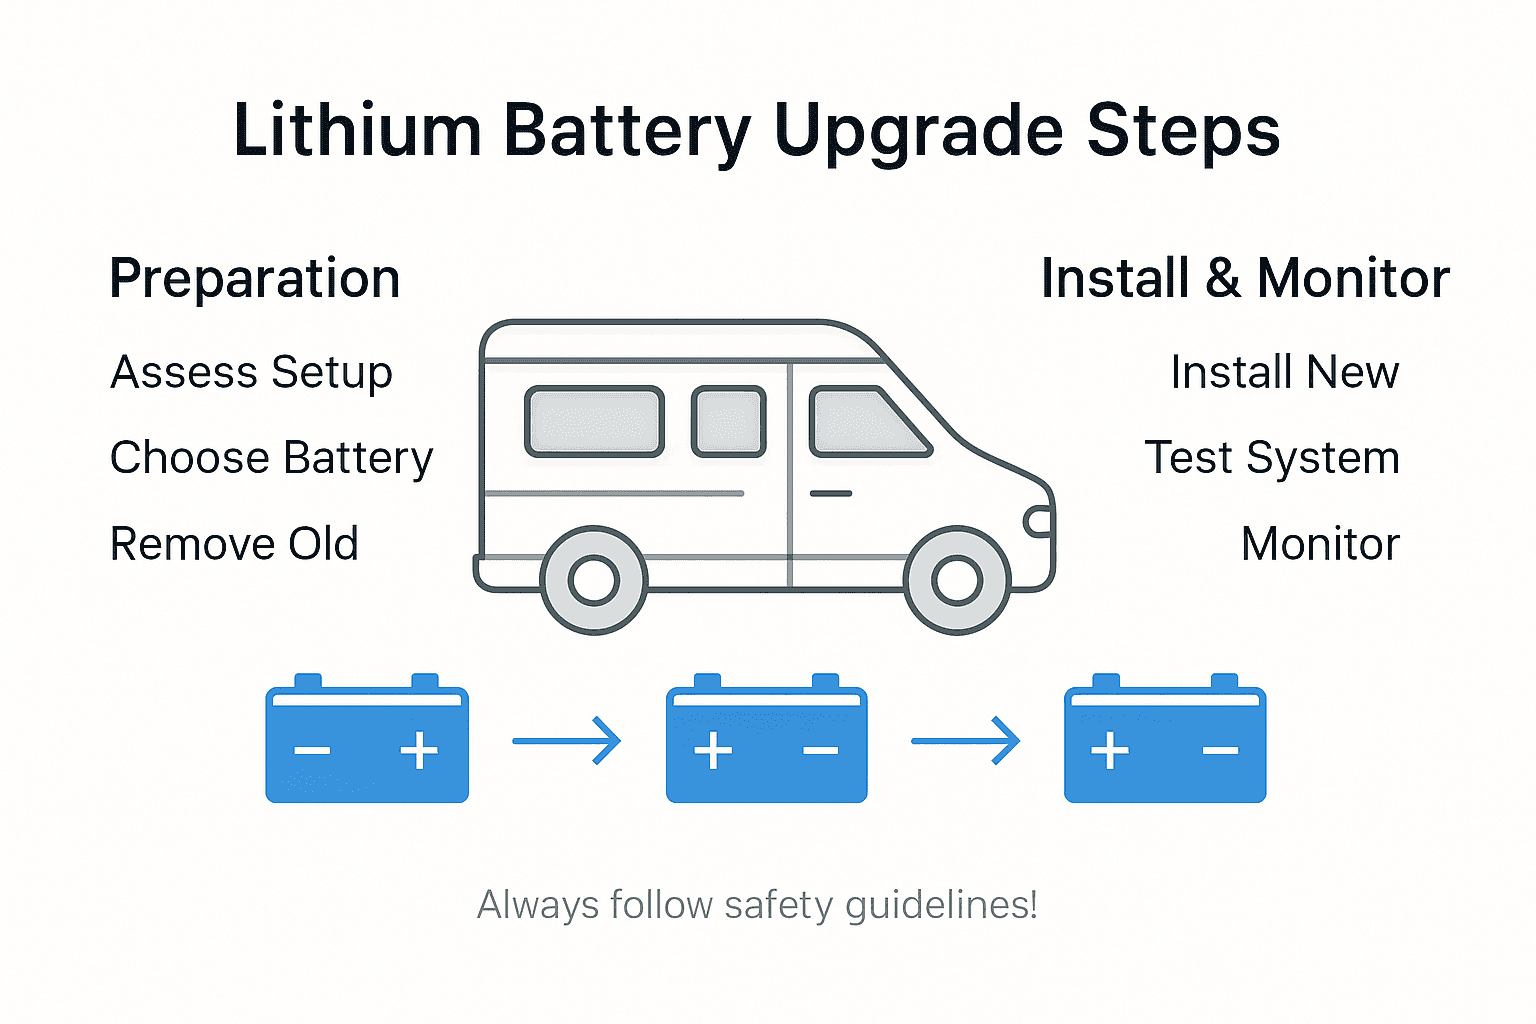
- Step 1: Assess Your Current Electrical Setup
- Step 2: Choose And Prepare Your Lithium Battery System
- Step 3: Isolate And Safely Remove Old Batteries
- Step 4: Install Your New Lithium Battery And Connections
- Step 5: Test System Integration And Monitor Performance
Quick Summary
| Essential Insight | Detailed Explanation |
|---|---|
| 1. Assess Current Electrical Setup | Conduct a thorough visual inspection and document all components and power consumers for an accurate benchmark before upgrading. |
| 2. Choose the Right Lithium Battery | Evaluate power consumption needs and select a lithium battery with integrated management systems for improved performance and safety. |
| 3. Safely Remove Old Battery | Follow strict safety protocols, including isolation of the system and wearing protective equipment when disconnecting the old battery. |
| 4. Install Lithium Battery Correctly | Ensure correct terminal connections, use quality materials, and perform a systematic check to guarantee proper integration post-installation. |
| 5. Monitor System Performance Regularly | Establish a routine for diagnostics and performance logging to identify any fluctuations or issues with the new battery system. |
Step 1: Assess your current electrical setup
Understanding the existing electrical configuration of your campervan is critical before upgrading to a lithium battery system. This initial assessment will help you identify compatibility, potential upgrade requirements, and system constraints.
Start by conducting a comprehensive visual inspection of your current electrical setup. Look carefully at your existing battery type (likely lead acid), inverter specifications, and current wiring configuration. The Health and Safety Executive provides official guidance for safely examining electrical systems, which is particularly relevant for campervan owners considering significant modifications.
Begin by measuring and documenting key electrical system components. Use a multimeter to check battery voltage, examine wiring condition, and test current connections. Note the amperage ratings of your existing cables, the condition of your distribution boards, and the current charging infrastructure. Bangor University’s inspection guidelines recommend detailed documentation during this process.
Pay special attention to existing power consumers like refrigerators, lighting systems, water pumps, and entertainment equipment. Calculate their total power consumption to determine the capacity requirements for your new lithium battery system. Understanding your current electrical load will help you design a more efficient and tailored upgrade.
Here’s a quick comparison between typical lead-acid and lithium battery systems for campervans:
| Feature | Lead-Acid Battery | Lithium Battery |
|---|---|---|
| Weight | Heavy (approx. 30kg) | Lightweight (approx. 10-15kg) |
| Cycle Lifespan | 300-500 cycles | 2,000+ cycles |
| Maintenance Needs | Regular water checks | Minimal, self managed |
| Discharge Efficiency | 50-60% usable capacity | 90%+ usable capacity |
| Performance in Cold | Reduced | Stable with integrated BMS |
Expert Advice: Take clear photographs of your existing electrical setup to help professionals provide more accurate upgrade recommendations and ensure smoother system integration.
Step 2: Choose and prepare your lithium battery system
Selecting the right lithium battery system for your campervan requires careful consideration of your power needs, vehicle configuration, and long term performance expectations. This step will guide you through the critical process of identifying and preparing the most suitable lithium battery setup for your specific requirements.

Start by thoroughly evaluating your power consumption patterns. Calculate the total energy requirements of all electrical devices in your campervan including refrigeration, lighting, water pumps, and entertainment systems. Consider the UK Government’s electrical equipment safety regulations when selecting components to ensure legal compliance and safety standards.
When choosing your lithium battery system, prioritise factors such as capacity, voltage compatibility, weight, charging efficiency, and temperature performance. Look for batteries with integrated battery management systems that provide real time monitoring and protection against overcharging, deep discharge, and temperature extremes. Lithium iron phosphate batteries often represent an excellent balance between performance, durability, and safety for campervan applications.
Ensure your chosen system integrates seamlessly with existing electrical infrastructure. This might involve upgrading charge controllers, inverters, and wiring to support the new lithium battery technology. Consult with professional installers who specialise in campervan electrical systems to validate your selection and installation approach.
Expert Advice: Always purchase lithium batteries from reputable manufacturers with transparent technical specifications and robust warranty support.
Step 3: Isolate and safely remove old batteries
Removing old batteries from your campervan requires careful preparation and strict safety protocols to prevent electrical accidents and potential personal injury. This critical step demands a methodical approach to disconnection and battery extraction.
Begin by completely isolating your campervan’s electrical system. Follow the Health and Safety Executive guidelines for electrical equipment disconnection to ensure maximum safety during the process. Disconnect the negative terminal first to minimise the risk of short circuits, then disconnect the positive terminal. Wear insulated gloves and use fully insulated tools to prevent accidental electrical contact.
Prepare a clean workspace with appropriate protective equipment before battery removal. Ensure you have non conductive surfaces available and keep metal objects away from the battery area. Carefully lift and remove the old battery using proper lifting techniques to avoid strain or accidental drops. Place the old battery in a designated safe container designed for battery transportation.
Inspect the battery compartment thoroughly for any signs of corrosion, damage, or wear before installing your new lithium battery system. Clean the area completely and check all mounting brackets and connection points for integrity. Verify that the space is dry, well ventilated, and free from any potential moisture or debris that could compromise your new battery installation.
For clarity, here’s a summary of steps and tools for safe battery removal in campervans:
| Step | Essential Tool/Material | Safety Precaution |
|---|---|---|
| Isolate electrical system | Battery isolation switch | Prevents accidental live connections |
| Disconnect terminals | Insulated spanner | Wear insulated gloves, remove negative first |
| Remove old battery | Safe transport container | Use proper lifting technique |
| Inspect compartment | Torch, cleaning kit | Check for corrosion and clean area |
Expert Advice: Always use a battery isolation switch during removal to provide an additional layer of electrical safety and prevent unexpected power connections.
Step 4: Install your new lithium battery and connections
Installing a new lithium battery system is a precise process that requires careful attention to detail and strict adherence to safety protocols. This stage transforms your campervan’s electrical infrastructure with a modern and efficient power solution.
Technical installation guidelines for lithium battery systems recommend starting with a methodical approach. Begin by positioning the new lithium battery in the prepared compartment ensuring proper alignment and secure mounting. Use vibration resistant brackets designed specifically for lithium batteries to prevent movement during travel. Verify that the battery sits level and is protected from potential moisture or direct mechanical stress.
Carefully connect the battery terminals using high quality copper lugs and ensure all connections are clean, tight, and correctly polarised. Apply a thin layer of electrical contact grease to prevent corrosion and improve electrical conductivity. Double check that your connection sequence follows manufacturer specifications connect positive terminals first, then negative terminals. Integrate any necessary battery management system sensors according to the manufacturer’s instructions.
Verify all electrical connections and perform a systematic check of your wiring configuration. Test the battery’s initial voltage and ensure all safety mechanisms are functioning correctly. Run a comprehensive system diagnostic to confirm proper integration with your campervan’s existing electrical infrastructure.
Expert Advice: Invest in high quality thermal protection and insulation materials to shield your new lithium battery from extreme temperature variations during installation.
Step 5: Test system integration and monitor performance
Verifying the successful integration and ongoing performance of your new lithium battery system is crucial for ensuring long term reliability and optimal power management in your campervan. This final step will help you confirm that all components are functioning correctly and establish a baseline for future maintenance.
Advanced battery monitoring techniques recommend conducting a comprehensive series of diagnostic tests immediately after installation. Begin by running a full charge and discharge cycle to validate the battery management system’s performance. Use a dedicated battery monitoring app or system to track voltage levels, charging efficiency, and temperature variations. Pay close attention to how the new lithium battery responds under different load conditions and compare its performance against the manufacturer’s specified parameters.
Establish a routine monitoring protocol that includes regular system checks and performance logging. Record key metrics such as charge retention, discharge rates, and overall battery health. Look for any unexpected fluctuations or performance anomalies that might indicate potential issues. Integrate your battery management system with your campervan’s existing monitoring equipment to create a seamless diagnostic framework.
Implement periodic thermal and electrical assessments to ensure ongoing system stability. Verify that all connections remain secure and that the battery maintains optimal operating temperatures across different environmental conditions. Consider using diagnostic tools that provide real time data and predictive maintenance insights.
Expert Advice: Create a digital logbook to track your battery system’s performance metrics and establish a baseline for detecting any future performance deviations.
Empower Your Campervan Upgrade with Skyenergi’s Cutting-Edge Lithium Battery Solutions
Upgrading your UK campervan to a lithium battery system is a smart move to gain greater energy independence and improve power efficiency on the road. While the detailed steps in your upgrade journey highlight the importance of assessing your current setup, choosing the right battery, and ensuring safe installation, the challenge often lies in sourcing reliable, high-performance components that seamlessly integrate with your existing electrical system. Skyenergi understands the pain points around compatibility, safety, and long-term durability that every campervan enthusiast faces.

Trust Skyenergi to provide expertly engineered lithium leisure batteries and complete off-grid power solutions designed specifically for campervans. With intelligent battery management systems featuring Bluetooth monitoring, you can effortlessly track performance and safeguard your investment in real time. Don’t wait until your next adventure to upgrade. Visit Skyenergi’s official website now to explore our range of innovative energy storage products. Ensure your lithium battery upgrade is efficient, safe, and tailored for the UK campervan lifestyle with Skyenergi. Take the first step to uninterrupted power and absolute peace of mind today.
Frequently Asked Questions
How can I assess my current electrical setup before upgrading to a lithium battery?
To assess your current electrical setup, conduct a thorough visual inspection of your existing components, including battery type and inverter specifications. Use a multimeter to check voltage and note the condition of wires and connections; document these details to guide your lithium battery upgrade.
What factors should I consider when choosing a lithium battery system for my campervan?
When selecting a lithium battery system, consider capacity, voltage compatibility, weight, and charging efficiency. Prioritise batteries with integrated management systems for better performance and safety, ensuring compatibility with your existing setup.
How do I safely remove the old batteries from my campervan?
To safely remove old batteries, first isolate your campervan’s electrical system and always disconnect the negative terminal before the positive. Use insulated tools, wear protective gloves, and ensure you have a safe transport container for the old battery.
What steps are involved in installing a new lithium battery in my campervan?
To install a new lithium battery, position it securely within the compartment and connect the positive terminal first, followed by the negative terminal. Ensure all connections are tight and clean, following the manufacturer’s specifications for installation.
How can I monitor the performance of my new lithium battery system?
To monitor your lithium battery’s performance, establish a routine check that includes logging metrics such as charge retention and discharge rates. Regularly test voltage levels and perform diagnostic checks to ensure optimal functionality of your system.
Recommended
- Lithium vs AGM — What’s Best for Campervans? – Skyenergi
- Camper Conversion Companies in the UK – An Overview of a Growing Indus – Skyenergi
- The UK Campervan and Motorhome Industry: Trends, Statistics from the Last Three Years – Skyenergi
- The Advantages and Disadvantages of Van Life – Skyenergi
- Batterie wechseln Anleitung: Schritt für Schritt sicher tauschen - accu.blog
Prev post

Best Lithium Batteries 2025 – Expert Comparison 2026
Updated on 29 December 2025
Next post

7 Types of Lithium Batteries for Campervan Power
Updated on 26 December 2025


