


Troubleshoot lithium leisure battery systems: 6 key steps
Learn how to troubleshoot lithium leisure battery systems in UK campervans and motorhomes with a step-by-step guide covering BMS faults, charging issues, and winter performance.
TL;DR:
- Troubleshooting lithium leisure batteries involves visual inspection, voltage tests, BMS checks, and load testing.
- Common issues like failure to charge or unexpected cut-offs often stem from system configuration, chargers, or wiring, not the battery itself.
- Proper system design and proactive maintenance prevent most failures, ensuring reliable off-grid power in UK conditions.
Lithium leisure battery failures off-grid are rarely convenient. They tend to happen on cold Scottish mornings, remote Welsh hillsides, or mid-way through a three-week motorhome tour with no hookup in sight. If your system is cutting out unexpectedly, refusing to charge, or simply not delivering the power it should, this guide walks you through a structured troubleshooting process built specifically for UK leisure vehicle owners. From essential pre-checks and voltage testing through to BMS resets and winter performance issues, you will find practical, step-by-step guidance to diagnose and resolve the most common faults.
Table of Contents
- Essential tools and safety checks before starting
- Step-by-step troubleshooting process
- Common lithium leisure battery issues and fixes
- Maintaining and optimising your battery system
- A fresh perspective on battery troubleshooting
- Ready to upgrade or optimise your system?
- Frequently asked questions
Key Takeaways
| Point | Details |
|---|---|
| Follow a structured approach | Systematic troubleshooting is the fastest way to resolve most leisure battery faults. |
| Preparation is safety | Always check tools and disconnect power before working on your battery system. |
| Hybrid charging is vital | UK owners should combine solar, alternator, and mains charging, especially in winter. |
| Proactive maintenance pays off | Regular checks prevent breakdowns and prolong system life. |
Essential tools and safety checks before starting
Before touching anything inside your electrical system, you need the right tools and a clear safety protocol. Rushing this stage leads to misdiagnosis, damaged components, or worse. Take five minutes to gather everything and inspect the setup before you measure a single volt.
Recommended tools and equipment:
- Digital multimeter (capable of DC voltage measurement)
- Insulated screwdrivers and spanners
- Wire brush or contact cleaner for corroded terminals
- Safety gloves and eye protection
- Charger manual (check lithium compatibility)
- Smartphone or camera for photographing wiring
With your tools assembled, run through this pre-check table before starting any active tests:
| Pre-check item | What to look for | Action if fault found |
|---|---|---|
| Terminal connections | Loose, corroded, or overheated | Clean or retighten before testing |
| Cable condition | Cracked insulation, burnt smell | Replace cable before proceeding |
| Fuse or breaker status | Blown fuse, tripped breaker | Identify root cause before replacing |
| Battery case condition | Swelling, cracks, leakage | Do not charge; seek professional advice |
| Charger type | Lithium-compatible profile | Replace if AGM-only charger is being used |
A visual inspection for damage and loose connections is the correct first troubleshooting step before applying any test equipment. This is particularly important for lithium systems, which behave differently from AGM batteries. If you are unsure which chemistry you are working with, review the lithium vs AGM options comparison before continuing.
Always disconnect shore power or solar input before inspecting internal connections. Lithium battery management systems (BMS) can still pass current through terminals even when the battery appears inactive.
Safety note: Never short-circuit terminals or probe a swollen or damaged cell. Lithium cells carry significant stored energy. If physical damage is visible, remove the battery from service immediately.
Pro Tip: Photograph your wiring before disconnecting anything. Battery compartments in campervans and motorhomes are often cramped, and a quick photo saves considerable time during reassembly.
If you are considering switching to lithium for the first time, the lithium benefits off-grid are worth reviewing before committing to a troubleshooting path that may indicate a charger or system design mismatch rather than a battery fault.
Step-by-step troubleshooting process
With your tools ready and an understanding of safety, it is time to systematically diagnose the problem. Work through each step in order. Skipping stages often leads to misdiagnosis.
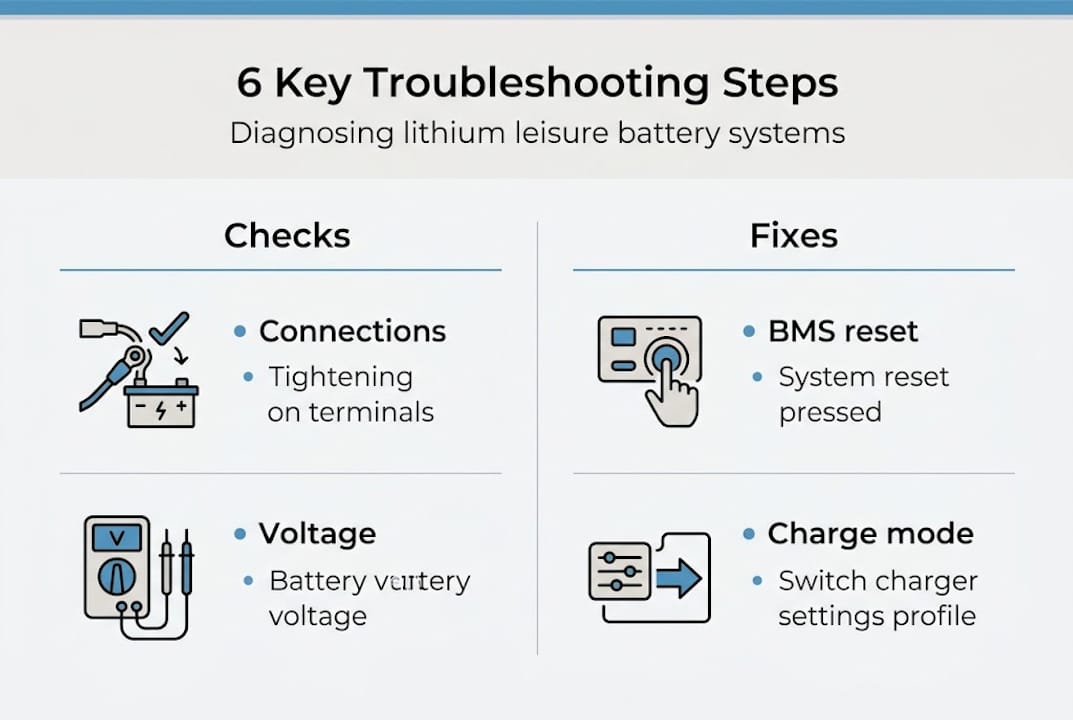
Six-step troubleshooting sequence:
- Visual inspection — Check for physical damage, corrosion, loose terminals, and blown fuses as outlined in the pre-check table above.
- Voltage measurement — Use your multimeter across the battery terminals. A fully charged 12V lithium battery reads between 13.2V and 13.4V at rest. Around 12.8V indicates 50% state of charge. Below 10V suggests deep discharge or BMS lockout.
- BMS status check — Most lithium leisure batteries include a BMS with indicator lights or Bluetooth monitoring. Check for active fault codes or protection states (over-discharge, over-temperature, short circuit).
- Charger assessment — Confirm your charger supports a lithium charge profile. AGM chargers apply incorrect absorption voltages, which can confuse the BMS and prevent a full charge cycle.
- Load test — Apply a known load (e.g., a 12V lamp or inverter under controlled load) and monitor voltage drop. A healthy lithium battery holds voltage well under load. A significant immediate drop suggests internal cell degradation.
- Isolate parasitic drains — With all appliances switched off, measure current draw with your multimeter in series. Any draw above 20mA warrants investigation.
A precise diagnostic sequence covering inspection, voltage, BMS, charge, load, and drain isolation gives the most reliable fault identification.
Lithium vs AGM troubleshooting comparison:
| Fault | Lithium approach | AGM approach |
|---|---|---|
| Low voltage | Check BMS lockout first | Check for sulphation |
| Won’t charge | Verify lithium charger profile | Check for dead cell |
| Unexpected cut-off | BMS over-current protection | Cell imbalance or low capacity |
| Slow charge | MPPT or DC-DC compatibility | Charger output mismatch |
Pro Tip: Before performing a BMS reset, photograph or note any displayed error codes. These codes often identify the exact protection event that triggered the shutdown, saving significant diagnostic time.
For real context on how these steps apply in different vehicle configurations, the real-world battery setups guide shows how UK owners have resolved similar faults. For new installations, the installing lithium battery guidance is also a useful reference point.
Common lithium leisure battery issues and fixes
Having followed the step-by-step process, you might run into some classic issues. Let us break them down with targeted fixes.
Failure to charge: This is the most reported issue. The likely cause is a charger that does not support a lithium charge profile. AGM chargers apply a desulphation pulse that lithium BMS units will reject. Replace with a lithium-compatible mains charger or MPPT solar controller. Also check for blown inline fuses between the charger and battery.
Unexpected cut-off under load: The BMS is doing its job. Cut-off during high draw typically indicates over-current protection has triggered. Check the total load on the system. Running multiple high-draw appliances simultaneously (inverter, compressor fridge, heating fan) can exceed the BMS continuous discharge rating. Redistribute loads or upgrade to a higher-rated battery.
Low winter performance: UK winters reduce solar yield significantly, and lithium batteries also have reduced charge acceptance below 5°C. Some BMS units block charging entirely at freezing temperatures to protect the cells.
Lithium upfront cost is high but the long cycle life and depth of discharge make it ideal for off-grid use. This is relevant when evaluating whether a degraded older battery warrants repair or replacement.
Battery not holding charge: If the battery charges fully but depletes unusually fast, check for parasitic drains first. Common culprits include inverters in standby mode, poorly wired leisure circuits, and faulty control panels drawing background current. Disconnect loads one by one and monitor idle current draw.

For a structured view of what to look for in a quality unit, the reliable lithium battery features guide is worth checking. For a broader look at lithium leisure battery use in UK vehicles, unlocking off-grid power covers system design considerations that influence battery longevity.
Maintaining and optimising your battery system
After resolving issues, it is essential to keep your system in top shape and adapt for lasting performance. Reactive troubleshooting costs time. Proactive maintenance prevents most faults from occurring in the first place.
Monthly maintenance checklist:
- Check resting voltage and compare to previous readings
- Inspect all visible cable runs for chafing, heat damage, or loose terminals
- Clean battery terminals if corrosion is present
- Verify solar and alternator inputs are reaching the battery (check MPPT and DC-DC controller displays)
- Review BMS status via Bluetooth app if available
- Test any circuit breakers and fuses for continuity
For seasonal reliability, the most critical factor in UK off-grid use is hybrid charging. UK winter solar yield from a 100W panel can be as low as 30 to 150Wh per day, which is insufficient to maintain a leisure battery bank without supplementary charging from a DC-DC converter or mains hookup. Hybrid charging is not optional for winter touring.
Integrating multiple charge sources works best when each one is correctly configured. The solar charging workflow guide covers how to balance MPPT solar input with alternator charging. For a direct comparison of battery technologies in UK conditions, the AGM vs lithium reliability article provides useful context on performance expectations.
For practical solar charging adjustments specific to UK seasonal conditions, the solar charging tips guide covers panel positioning, shading losses, and controller settings that affect winter output. Understanding how solar-battery backup systems function can also help you design a more resilient setup.
Pro Tip: Keep a simple maintenance log in your vehicle, whether a notepad or a notes app. Recording voltage readings, any error codes, and service dates makes future troubleshooting significantly faster and helps identify gradual degradation before it becomes a fault.
A fresh perspective on battery troubleshooting
Most troubleshooting guides focus on fixing problems after they occur. That is useful, but it misses a more important point: the majority of lithium leisure battery failures in UK vehicles are entirely preventable.
The real issue is rarely the battery itself. It is the surrounding system. Undersized cabling, chargers carried over from a previous AGM setup, and solar controllers that were never correctly programmed account for a large proportion of reported faults. The battery becomes the suspect because it is visible and testable, but the root cause sits elsewhere.
Investing in quality BMS monitoring, correctly rated cabling, and a properly configured hybrid charging system eliminates most of these issues before they start. Exploring solar setups for UK vans during the planning stage, rather than after a failure, changes the experience entirely.
Use quieter periods, winter storage, or ferry crossings to evaluate your system properly. Check firmware updates on smart controllers. Review your charge settings. Replace suspect fuses proactively. This approach consistently outperforms reactive troubleshooting in both time spent and cost incurred.
Ready to upgrade or optimise your system?
Having learned how to troubleshoot and maintain your battery system, you may be ready for the next step.

At Skyenergi, we supply complete solar and battery solutions designed for UK leisure vehicles, from individual components through to fully integrated systems. Whether you need a reliable solar input upgrade with the Victron solar and charge systems or a full turnkey setup with the 3kVa inverter and battery system, we stock products sourced directly from manufacturers at competitive prices. Explore the full range at Skyenergi.com and build a system that genuinely supports off-grid travel in UK conditions.
Frequently asked questions
How do I know if my lithium leisure battery is failing?
Check for persistent low voltage after charging, repeated BMS cut-outs under normal loads, and inability to hold charge after multiple resets. A multimeter voltage check confirms whether resting voltage is within a healthy range for your battery’s state of charge.
What should I do if my battery will not charge?
Confirm your charger supports a lithium charge profile and inspect inline fuses and wiring for faults. A BMS status and compatibility check will clarify whether the issue is the charger, wiring, or an active BMS protection state.
Can I use solar alone to keep my lithium battery charged in UK winter?
Solar alone is rarely sufficient during UK winters. UK winter solar output from a 100W panel can drop to as little as 30Wh per day, making a DC-DC converter or mains charger essential for maintaining charge levels.
How often should I perform maintenance checks on my system?
Monthly checks are recommended, covering resting voltage, terminal condition, and wiring integrity. During heavy off-grid use or in winter conditions, fortnightly checks are advisable to catch degradation early.
Recommended
Prev post

Expandable power systems: energy independence in 2026
Updated on 24 April 2026
Next post

Off-grid power: A complete guide to energy independence
Updated on 22 April 2026


