





DC to DC charger guide for leisure vehicles
Explore our comprehensive DC to DC charger guide for leisure vehicles. Learn to size, install, and get the most from your charger today!
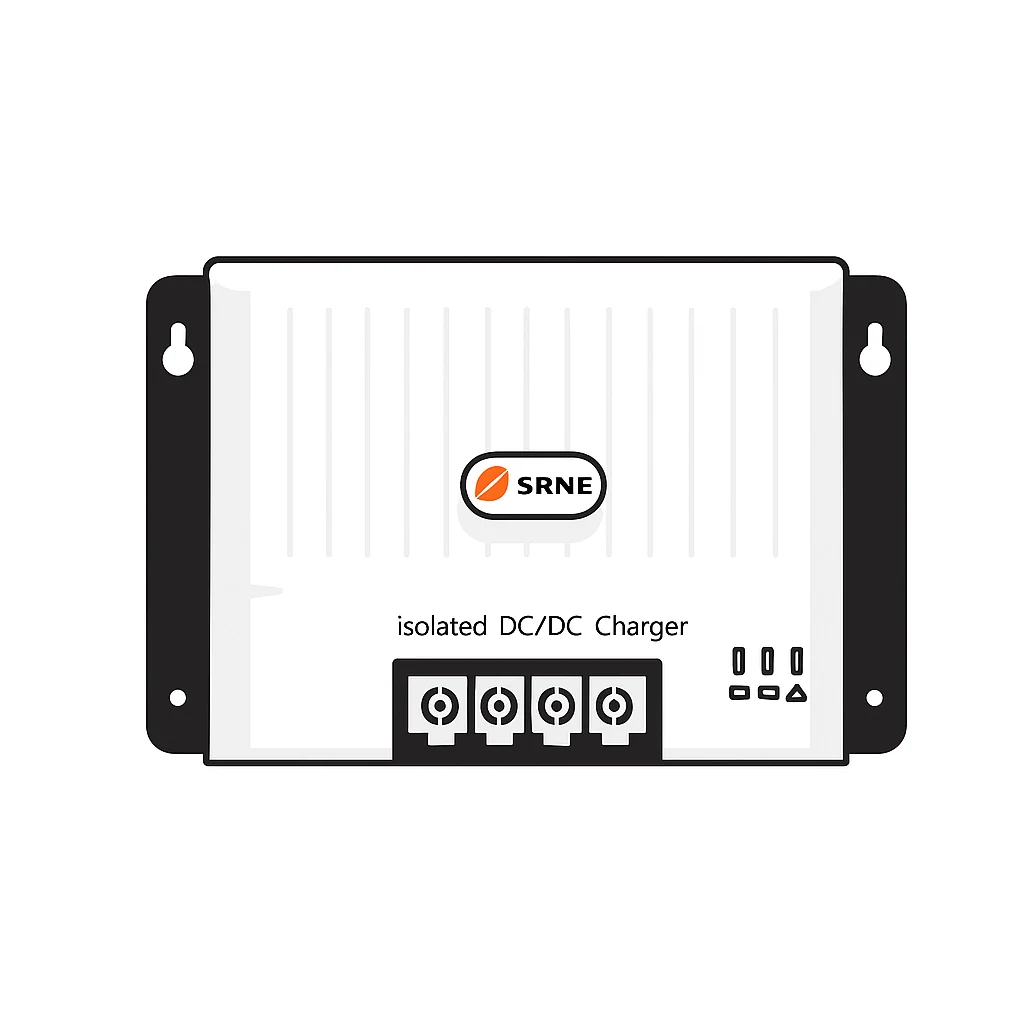
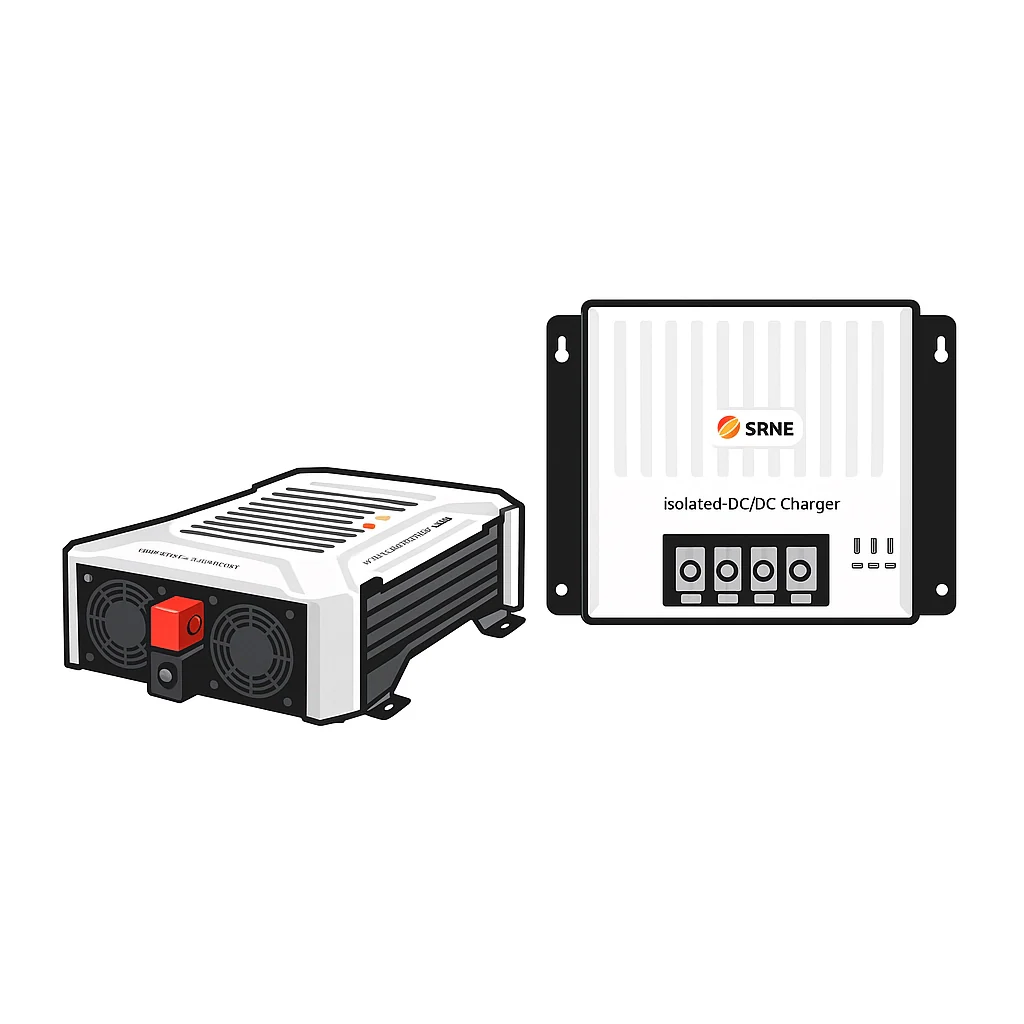
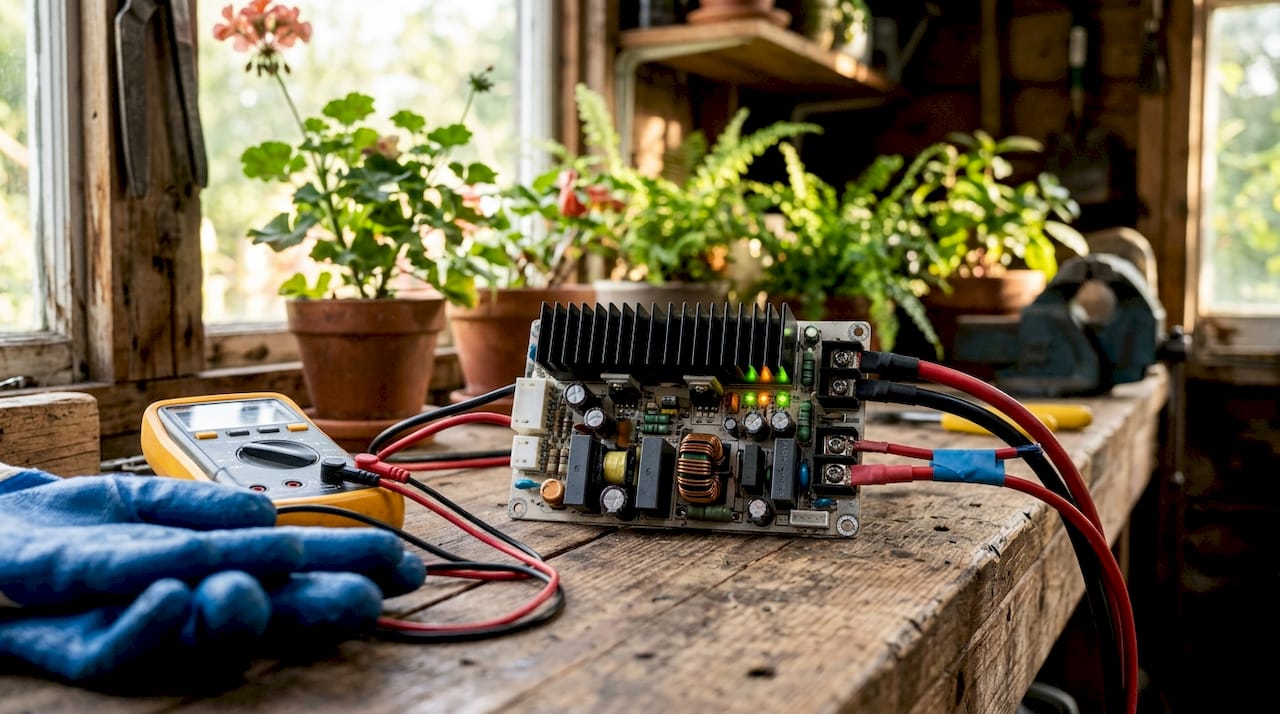
A DC to DC charger is an intelligent electrical device that regulates voltage and current between a vehicle’s starter battery and a leisure or auxiliary battery, delivering a precise multi-stage charging profile regardless of alternator type. Unlike a simple split-charge relay, it actively conditions the power supply to match your battery’s exact chemistry and state of charge. This dc to dc charger guide covers everything you need to size, install, and use one correctly, whether you’re fitting out a campervan, motorhome, boat, or off-grid system in the UK.
What is a DC to DC charger and why do you need one?
A DC to DC charger, also called a battery-to-battery charger or B2B charger, is the correct industry term for what many leisure vehicle owners simply call an “alternator charger.” The device sits between your starter battery and your leisure battery bank, converting and regulating the incoming voltage to deliver a controlled, multi-stage charge.
Since 2015, UK vehicles with smart alternators have made traditional split-charge relays largely ineffective. Smart alternators reduce output voltage to 12.8V or lower, which falls below the threshold a relay needs to trigger reliable charging. The result is a leisure battery that never reaches full charge, even after hours of driving.
A DC to DC charger solves this by actively boosting or bucking the input voltage to whatever level your battery needs. It does not depend on the alternator holding a steady 14.4V. This makes it the only reliable charging solution for any vehicle built after 2015, and the best option for older vehicles too.
How does a DC to DC charger work vs a split-charge relay?
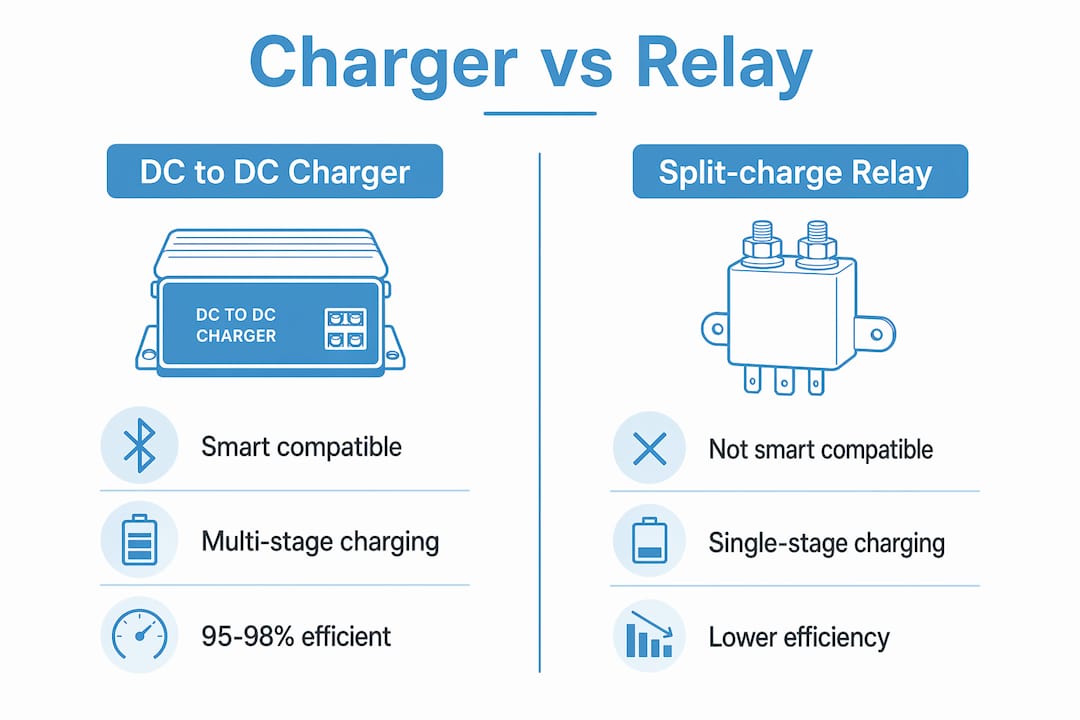
DC to DC chargers deliver a multi-stage charging profile, cycling through bulk, absorption, and float stages. Each stage targets a specific voltage and current level matched to your battery’s chemistry. A split-charge relay simply connects the two batteries in parallel and passes through whatever voltage the alternator produces, with no regulation at all.
The practical difference is significant. A relay cannot distinguish between a depleted battery and a fully charged one. A DC to DC charger monitors state of charge continuously and adjusts its output accordingly. This protects battery health and extends service life, particularly for LiFePO4 lithium batteries, which require precise charge termination.
High-quality DC to DC chargers achieve 95–98% efficiency, meaning very little energy is lost as heat during conversion. That efficiency translates directly into faster charging and less strain on the alternator.
| Feature | DC to DC charger | Split-charge relay |
|---|---|---|
| Smart alternator compatible | Yes | No |
| Multi-stage charging profile | Yes | No |
| Voltage regulation | Active boost/buck | Pass-through only |
| LiFePO4 compatible | Yes | No |
| Alternator protection | Built-in | None |
| Efficiency | 95–98% | Unregulated |
Pro Tip: If your vehicle was manufactured after 2015, assume it has a smart alternator. Fit a DC to DC charger as standard, not as an optional upgrade.
What size DC to DC charger do you need?
Correct sizing is the single most important decision in this dc to dc charging guide. A DC to DC charger should be sized at 20–40% of your leisure battery bank’s amp-hour rating to balance charging speed against alternator load.
For a 200Ah lithium battery bank, that means a charger rated between 40A and 80A. A 100Ah AGM bank pairs well with a 20A to 40A unit. These figures are not arbitrary. They reflect the maximum sustained current draw your alternator can support without overheating or premature wear.
Sizing a charger too small results in slow, incomplete charging. Sizing it too large risks alternator damage and wastes money on capacity you cannot safely use. The correct size depends on three factors: battery bank capacity, alternator output rating, and typical daily driving duration.
Key sizing and installation considerations:
- Battery bank capacity: Calculate total Ah, then apply the 20–40% rule to find your target charger current.
- Alternator output: Check your vehicle’s alternator rating. Never draw more than 50% of its rated output continuously.
- Driving duration: Shorter daily drives favour a higher charger current to maximise charge time.
- Cable run length: Longer cable runs require thicker cable to maintain efficiency.
- Thermal headroom: Fit the charger in a ventilated location away from heat sources.
For real-world sizing examples across different vehicle types, the leisure battery setup examples on the Skyenergi site are a practical reference. You should also cross-reference your battery chemistry, as lithium and AGM banks have different charge acceptance rates.
Pro Tip: If you plan to expand your battery bank later, size your charger for the final intended capacity now. Upgrading the charger after the fact costs more in labour and materials than buying the right unit first.
How to install and wire a DC to DC charger safely
Installation quality determines whether your charger performs as specified or causes problems. The steps below reflect best practice for UK leisure vehicle installations.
-
Choose your mounting location. Mount the charger as close to the leisure battery as practical. Shorter cable runs reduce voltage drop and heat. Ensure the location has adequate airflow; most units use convection or a built-in fan.
-
Select the correct cable gauge. A 40A charger with a 6-metre cable run requires at least 10mm² cable to keep voltage drop under 3%. Higher current units need proportionally thicker cable. Undersized cable causes energy loss and overheating.
-
Connect the input leads. Run positive and negative cables from the starter battery to the charger’s input terminals. Fit an appropriately rated fuse within 300mm of the starter battery positive terminal.
-
Connect the output leads. Run positive and negative cables from the charger’s output terminals to the leisure battery. Fit a fuse close to the leisure battery positive terminal as well.
-
Wire the ignition trigger. Ignition trigger wiring prevents the charger from running when the engine is off, which would drain the starter battery. Connect the ignition wire to a switched live that is only active when the ignition is on. This is a non-negotiable step.
-
Test before closing up. Start the engine and verify the charger activates. Check input and output voltages with a multimeter. Confirm the charger enters bulk charge mode and progresses through its profile.
Common wiring mistakes include omitting the ignition trigger wire, using undersized cable, and failing to fuse both the input and output circuits. Each of these errors carries real risk, from a flat starter battery to a wiring fire. For a detailed wiring diagram specific to UK campervans, the DC to DC charger wiring guide is a reliable reference.
Pro Tip: Label every cable at both ends during installation. Tracing an unlabelled 12V circuit six months later in a finished van is far harder than it sounds.
What features matter when choosing the best DC to DC charger?
The best DC to DC chargers for leisure vehicles share a consistent set of specifications. Understanding what each feature does helps you match the unit to your actual needs rather than paying for capability you will never use.
Battery chemistry compatibility is the starting point. Your charger must support the chemistry of your leisure battery. LiFePO4 lithium batteries require a different charge profile to AGM, Gel, or flooded lead-acid. A charger that does not support LiFePO4 will either undercharge or damage a lithium bank.
Peak efficiency matters for alternator-charged systems because every percentage point of loss is energy that heats the charger rather than charges your battery. Units rated at 95–98% efficiency are the standard to target.
Bluetooth monitoring and solar input compatibility are the two features that most distinguish modern units from basic ones. Built-in Bluetooth lets you monitor charge status, input voltage, and output current from a smartphone without opening a panel. Solar input integration allows the charger to accept power from an MPPT controller as a secondary source, which is particularly useful on overcast days when solar alone is insufficient. For more on combining these two charging methods, the advantages of solar charging article from Skyenergi explains the complementary relationship clearly.
Key features to check before purchasing:
- Supported battery chemistries: LiFePO4, AGM, Gel, flooded lead-acid
- Rated output current: Matched to your battery bank using the 20–40% rule
- Peak efficiency rating: Target 95% or above
- Bluetooth or remote monitoring: Useful for enclosed installations
- Solar input: Valuable if you run a combined solar and alternator charging system
- Cooling method: Fan-cooled units handle higher sustained loads; convection-cooled units are silent
- Warranty and IP rating: Look for at least two years’ warranty and an IP rating suitable for your installation environment
The Victron Energy Orion range, available through Skyenergi, covers output currents from 18A through to high-power configurations, with isolated and non-isolated variants to suit different wiring topologies. The Orion-Tr Smart 12/12V 18A is a well-regarded entry point for smaller battery banks, while the Victron Orion XS 700W suits larger, more demanding setups.
Key takeaways
A DC to DC charger is the only reliable method for charging a leisure battery from a smart alternator, and correct sizing, wiring, and feature selection determine whether the system performs as intended.
| Point | Details |
|---|---|
| Smart alternator compatibility | Vehicles built after 2015 require a DC to DC charger; split-charge relays fail below 12.8V alternator output. |
| Correct sizing | Size charger current at 20–40% of your battery bank’s Ah rating to protect the alternator and charge efficiently. |
| Ignition trigger wiring | Always connect the ignition trigger wire to prevent starter battery drain when the engine is off. |
| Cable gauge | Use at least 10mm² cable for a 40A charger on a 6-metre run to keep voltage drop under 3%. |
| Feature priorities | Prioritise LiFePO4 compatibility, 95%+ efficiency, and Bluetooth monitoring for modern leisure setups. |
What I’ve learned from real-world DC to DC charger installs
The most common mistake I see is treating the DC to DC charger as an afterthought. Someone builds a well-specified battery bank, fits quality solar panels, and then connects the alternator charging via a relay because it is cheaper and simpler. Six months later they wonder why their lithium battery never reaches full charge on driving days.
The charger is not a peripheral component. Neglecting it leads to chronic undercharging even when every other part of the system is correctly specified. A good battery and a good solar setup cannot compensate for an absent or undersized charger.
The second thing I would stress is ignition trigger wiring. I have seen installations where the trigger wire was omitted to simplify the job. The charger ran continuously off the starter battery and flattened it overnight. Connecting a single wire correctly takes five minutes and prevents a genuinely frustrating failure.
My broader advice is to plan the full system before buying any single component. Battery bank size, charger current, solar input, and cable sizing all interact. Getting one wrong affects all the others. A battery bank design guide is a good starting point before specifying any charger. Build the system on paper first, then buy the hardware.
— John
Skyenergi’s DC to DC charger and solar range
Skyenergi stocks the Victron Energy Orion range of DC to DC chargers, covering isolated and non-isolated variants from 18A to high-power configurations. Each unit supports LiFePO4, AGM, and Gel chemistries, with Bluetooth monitoring built in for real-time system visibility.

For leisure vehicle owners combining alternator and solar charging, the Victron Energy Solar Home System 200 MPPT offers an integrated solution that pairs directly with DC to DC charging setups. Skyenergi sources products directly from manufacturers, keeping prices competitive without compromising on specification. Browse the full range at skyenergi.com or contact the team for guidance on sizing and system design.
FAQ
What is a DC to DC charger used for?
A DC to DC charger transfers and regulates power from a vehicle’s starter battery to a leisure or auxiliary battery, delivering a controlled multi-stage charge profile suited to the battery’s chemistry and state of charge.
Do I need a DC to DC charger if my van has a smart alternator?
Yes. Smart alternators reduce output voltage to 12.8V or lower, which is too low for a split-charge relay to work reliably. A DC to DC charger actively boosts or bucks the voltage to the correct level regardless of alternator output.
What size DC to DC charger do I need for a 200Ah lithium battery?
A 200Ah lithium battery bank pairs best with a 40A to 80A charger, following the 20–40% sizing rule. This balances charging speed against alternator load and prevents overheating.
Can a DC to DC charger work alongside solar panels?
Yes. Many modern units include a solar input or integrate with an MPPT controller, allowing the charger to draw from both the alternator and a solar array simultaneously for faster charging.
What happens if I skip the ignition trigger wire?
Without the ignition trigger wire connected, the charger may run continuously off the starter battery when the engine is off, draining it and causing starting problems.
Recommended
Prev post

Role of inverters in marine power: a practical guide
Updated on 08 July 2026
Next post

Reasons to upgrade motorhome batteries in 2026
Updated on 06 July 2026


