


Reliable Energy for Campervans – Maximising Off-Grid Freedom
Reliable energy for campervans explained: lithium batteries, system integration, real-time monitoring, cost factors and powering UK off-grid travel.
Reliable energy is the lifeblood of any UK campervan adventure, powering everything from fridges to laptop chargers whether you’re wild camping in Cumbria or parked up on a Cornish clifftop. Getting it wrong brings headaches, system failures, and even fire risks, especially if your setup overlooks British safety standards like BS 7671 and EN 1648. This guide reveals the core principles of building a robust off-grid power system, highlighting dependable energy management and the practical choices that keep your travels safe and comfortable.
Table of Contents
- Reliable Campervan Energy – Core Principles
- Lithium, AGM and Solar Solutions Compared
- Integrating Battery Systems and Accessories
- Real-Time Monitoring and System Health
- Costs, Common Pitfalls and Safe Use
Key Takeaways
| Point | Details |
|---|---|
| Safety Compliance | Ensure your campervan electrical system meets UK safety standards like BS 7671 to prevent fires and injuries. Essential components include RCDs, MCBs, and proper fusing. |
| Understanding Power Needs | Assess your actual power consumption based on your travel style to select appropriate battery and solar solutions, avoiding oversizing or undersizing. |
| Quality Wiring and Installation | Use correctly sized cables and follow a structured installation process to prevent power loss, hazards, and long-term issues with your energy system. |
| Real-Time Monitoring | Employ Bluetooth monitoring systems to track battery status and power usage, allowing proactive adjustments for optimal energy management. |
Reliable Campervan Energy – Core Principles
Reliable power keeps your campervan functioning whether you’re parked for days or living full-time off-grid. Understanding the fundamentals ensures you build a system that matches your actual needs and keeps everything running safely.
Safety and UK Compliance
Your campervan electrical system must meet UK safety standards to prevent fire, damage, and injury. Key requirements include adhering to BS 7671 electrical standards and EN 1648 specifications.
Essential safety components are non-negotiable:
- RCDs (Residual Current Devices) protect against electric shock
- MCBs (Miniature Circuit Breakers) prevent overload damage
- Proper fusing matched to cable ratings
- Voltage drop calculations ensuring safe wire sizes
Incorrect wiring or inadequate protection can lead to fires or system failures. Get it right from the start.
Voltage drop matters more than you might think. Long cable runs from your solar panels or battery to appliances lose power along the way. Undersized wiring gets hot and becomes a fire hazard.
Understanding Your Power Demands
Before selecting components, estimate how much power you actually need. A weekend warrior’s needs differ vastly from a full-time nomad’s setup.
Different trip styles require different approaches:
- Day trips: USB power banks and 12V cigarette adaptors suffice
- Weekend breaks: Small 100Ah AGM battery with basic solar
- Extended stays: Multiple batteries or lithium systems with solar and mains charging
- Full-time living: Large lithium batteries combined with solar, alternator, and mains charging
Think about what you’ll actually use. Will you run a fridge constantly? Charge laptops daily? Need to boil kettles or use electric heaters? Each adds significant demand.
System Architecture Basics
A solid campervan power system integrates multiple charging and storage sources. This redundancy keeps you going even if one system fails.
Core components work together:
- Battery: Stores energy (AGM, lithium, or gel)
- Solar panels: Generate power during daylight
- MPPT controller: Optimises solar charging efficiency
- Alternator charging: Captures engine power when driving
- DC-DC charger: Safely charges your leisure battery from the vehicle alternator
- Inverter: Converts 12V to 240V for standard appliances
- Distribution board: Routes power safely with proper protection
Lithium batteries offer better efficiency and longer lifespan than AGM, though at higher upfront cost. Your trip style and budget should guide this choice.
Wiring connects everything, but it’s often overlooked. Proper campervan electrical design considers cable gauges, routing, and protection from damage.
Matching Components to Your Lifestyle
Your system should serve your actual usage pattern, not an imagined ideal. Oversizing wastes money; undersizing leaves you stranded.
Start with realistic expectations. How many days between mains charging opportunities? What’s your peak power draw? A 200W solar array generates differently in Scottish winter than Greek summer.
Document your typical loads:
- Fridge: 50–100W continuous
- Lighting: 5–20W per bulb
- Laptop charging: 60–100W
- Heating: 500–2000W (massive consumer)
- Water heating: 1000–3000W
Add these together and you’ll understand why heating and cooking demand careful planning.
To help you visualise typical energy demands, here is a summary table of common campervan appliances and their estimated power usage:
| Appliance | Typical Power Draw | Seasonal Impact |
|---|---|---|
| Fridge | 50–100W | Higher in summer |
| LED Lighting | 5–20W per bulb | Consistent year-round |
| Laptop Charging | 60–100W | Peaks in evenings |
| Electric Heater | 500–2000W | Mainly winter usage |
| Water Heater | 1000–3000W | Irregular, high load |
Pro tip: Start with monitoring your current power use at home, then adjust expectations for campervan living where efficiency matters far more than comfort.
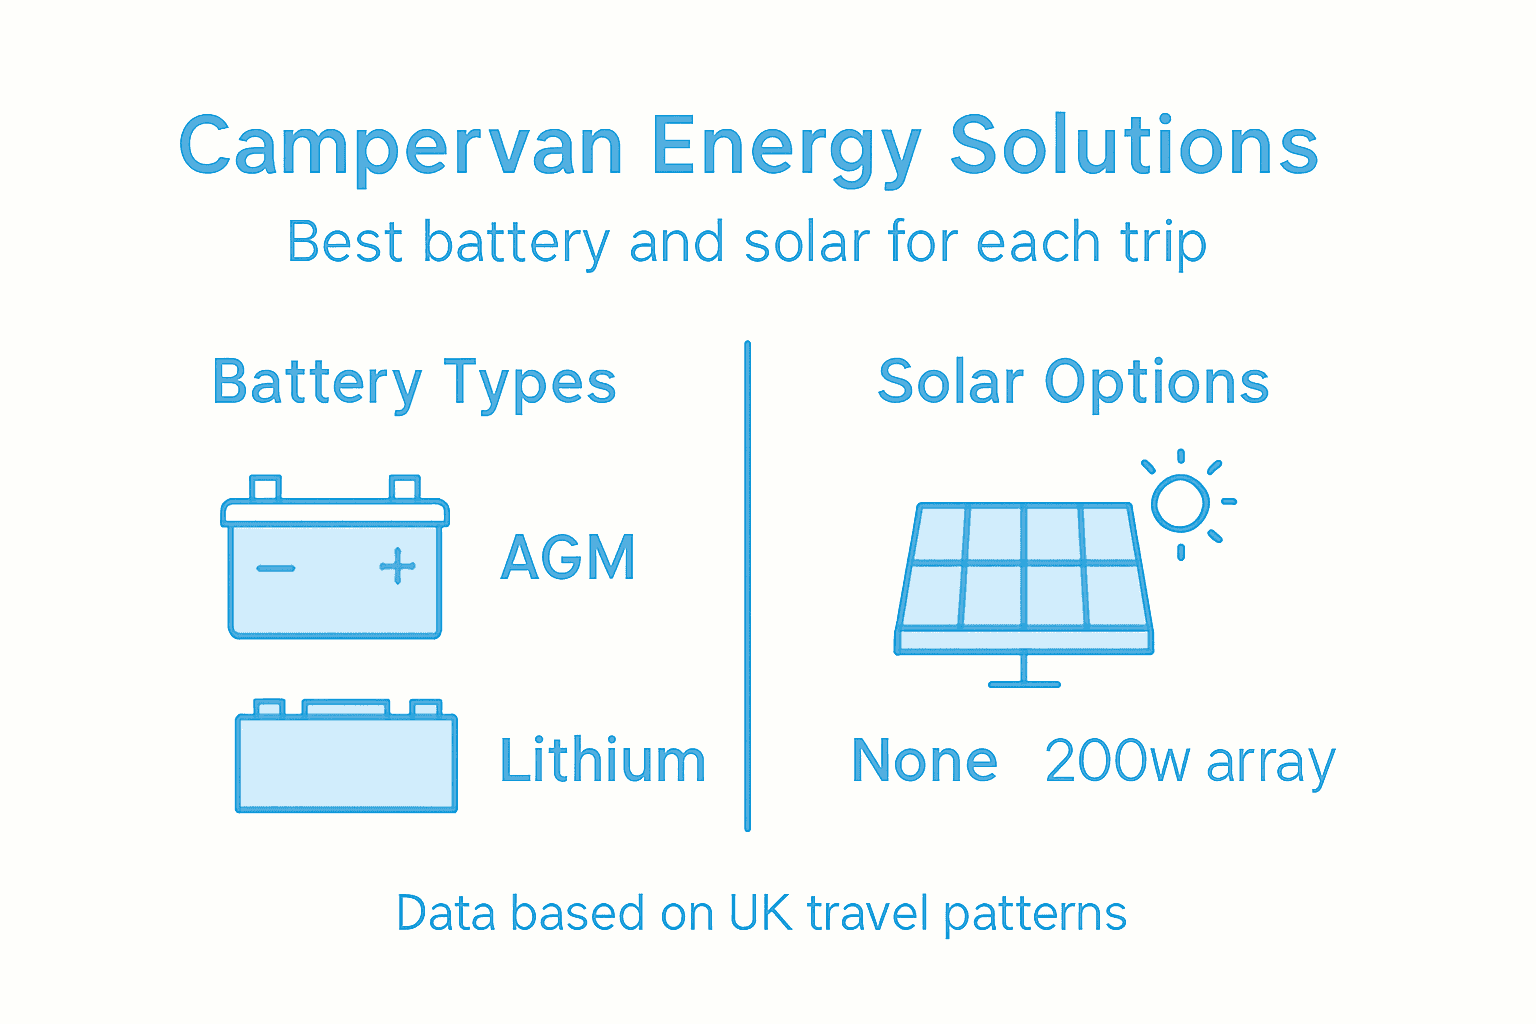
Lithium, AGM and Solar Solutions Compared
Choosing between battery types and solar setups shapes your entire campervan energy strategy. Each option trades cost, weight, efficiency, and lifespan differently, so matching them to your needs requires understanding what each actually delivers.
AGM Batteries: Budget-Friendly Reliability
AGM (Absorbent Glass Mat) batteries have served campervans reliably for years. They’re sealed, maintenance-free, and forgiving if you occasionally overcharge or drain them completely.
Key characteristics of AGM batteries:
- Affordable upfront cost
- Sealed design prevents spillage and corrosion
- Tolerates cold weather reasonably well
- Limited usable capacity at around 50%
- Shorter lifespan than lithium alternatives
- Heavier for equivalent capacity
The 50% usable capacity matters more than you might think. A 100Ah AGM battery only provides about 50Ah of reliable power before damage occurs. That means you need larger and heavier batteries to match lithium systems.
AGM works well for weekend warriors who use their campervan occasionally and don’t mind accepting weight penalties. If budget is your primary constraint, AGM remains a solid entry point.
Lithium Batteries: Efficiency and Longevity
Lithium LiFePO₄ technology offers dramatically better performance than AGM across most metrics. You get significantly more usable power, lighter weight, and vastly longer cycle life.
Lithium advantages:
- 80–90% usable capacity from each charge cycle
- Lightweight, freeing weight allowance for other gear
- 3,000–5,000+ cycle lifespan versus AGM’s 500–1,000 cycles
- Better efficiency during charging and discharging
- Faster charging from solar panels
- Works reliably in cold climates
Lithium batteries cost more upfront, but the extra usable capacity and longer lifespan deliver better value over years of use.
The maths works out differently depending on trip length. A 100Ah lithium battery delivers roughly 80–90Ah of usable power, while a 100Ah AGM delivers only 50Ah. For full-time nomads, lithium becomes the obvious choice despite higher initial investment.
Cost per usable kilowatt-hour drops significantly with lithium over five years of ownership.
Here’s a concise comparison of major battery types for campervans:
| Attribute | AGM Battery | Lithium Battery |
|---|---|---|
| Usable Capacity | ~50% of rated | 80–90% of rated |
| Approx Lifespan | 500–1,000 cycles | 3,000–5,000+ cycles |
| Weight per 100Ah | 25–30 kg | 10–15 kg |
| Upfront Cost | £150–£300 | £450–£900 |
| Charge Speed | Moderate | Fast |
| Cold Performance | Adequate | Excellent |
Solar Power in UK Conditions
Solar panels generate power inconsistently in the UK due to seasonal variation and cloud cover. Understanding realistic output prevents disappointment.
Solar generation varies dramatically by season:
- Summer: 300–500 Wh per day from each 100W panel
- Winter: 30–150 Wh per day from each 100W panel
A 200W solar array in summer generates enough to run fridges and charge devices daily. That same array in December generates barely enough to keep a battery topped up. Plan accordingly.
MPPT controllers optimise power extraction from panels, becoming valuable above 150W installations. They prevent wasted energy and accelerate charging speeds.
Matching Solutions to Your Travel Style
Your trip pattern determines the right combination of batteries and solar.
| Trip Style | Battery Type | Solar | Budget |
|---|---|---|---|
| Day trips | Power bank | None | £200–400 |
| Weekends | 100Ah lithium or 200Ah AGM | Optional | £1,500–3,000 |
| Extended stays | 200Ah lithium + solar | 200–400W | £3,500–6,000 |
| Full-time living | 400Ah+ lithium + solar | 400W+ | £6,000–12,000+ |
Weekend campers save money with AGM. Full-time nomads recoup lithium’s premium cost within 3–4 years through superior performance.
Pro tip: Calculate your actual winter power needs, then choose solar and battery capacity to handle those minimum requirements—you’ll use less in summer anyway.
Integrating Battery Systems and Accessories
Building a reliable campervan energy system means connecting batteries, solar, chargers, and monitoring equipment properly. Each component must work in harmony, or your system becomes unreliable and potentially unsafe.
Understanding System Architecture
Your battery sits at the heart of the system, receiving power from multiple sources and distributing it to your appliances. Everything else connects in a specific sequence to keep power flowing safely.
Power flows through these components in order:
- Solar panels generate DC power
- MPPT controller optimises and regulates solar input
- Battery stores energy from solar, alternator, or mains
- DC-DC charger safely charges the battery from your engine
- Distribution board splits power to appliances
- Inverter converts 12V DC to 240V AC when needed
- Monitoring system tracks everything in real time
Wiring quality matters enormously. Undersized cables lose power as heat and create fire hazards. Oversized cables waste space and weight. Proper sizing prevents these issues entirely.
Battery Management Systems and Monitoring
Modern lithium batteries include intelligent Battery Management Systems (BMS) that protect your investment. They prevent overcharging, over-discharging, overheating, and short circuits automatically.
Key BMS functions include:
- Balancing individual cell voltages
- Shutting down if temperature exceeds safe limits
- Disconnecting the battery if voltage drops dangerously low
- Preventing simultaneous charge and discharge
- Communicating with other components via Bluetooth or CAN bus
A quality BMS is worth every penny—it prevents expensive damage and keeps you safe.
Bluetooth monitoring lets you check battery status, voltage, current draw, and temperature from your phone. You’ll spot problems before they become serious and optimise your power use accordingly.
Victron-compatible components work seamlessly together, sharing information and coordinating charging strategies. This integration creates reliability that disconnected systems cannot match.
DC-DC Chargers and Alternator Integration
Your vehicle’s alternator generates power while driving. A DC-DC charger captures this energy safely and charges your leisure battery without overloading either system.
DC-DC chargers provide several advantages:
- Isolate leisure battery from vehicle electrical system
- Prevent alternator strain from excessive current draw
- Regulate charging voltage and current automatically
- Enable safe charging whilst driving without risk
- Often include solar input capability
Without a DC-DC charger, connecting your leisure battery directly to the alternator risks damaging both. The alternator wasn’t designed to charge large leisure batteries at full output.
Inverters: Converting Power for Standard Appliances
A pure sine wave inverter converts 12V DC battery power to 240V AC for kettles, microwaves, and other standard appliances. Cheap modified sine wave inverters damage sensitive electronics.
Inverter sizing matters. A 1000W inverter handles most cooking and heating, but simultaneous use of multiple high-power appliances requires 2000W or larger. Undersizing causes the inverter to shut down under load.
Installation and Setup Workflow
Lithium battery installation requires careful planning and execution. Mistakes during installation create safety hazards and unreliable performance.
Proper installation sequence:
- Plan cable routes and sizes before purchasing components
- Mount battery in secure, well-ventilated location
- Install distribution board and main isolator switch
- Connect battery to distribution board with correctly sized cable
- Install chargers, inverter, and monitoring equipment
- Connect solar panels through MPPT controller
- Test all safety systems before using the campervan
Never skip testing. Verify that safety switches trip correctly, that all connections are secure, and that the system charges and discharges smoothly. A small problem caught during testing prevents breakdowns on remote tracks.
Pro tip: Label every cable and connector with its function and voltage—this saves hours of troubleshooting if something fails whilst you’re off-grid.
Real-Time Monitoring and System Health
Knowing what your campervan energy system is doing at any moment transforms how you manage power. Real-time monitoring prevents surprises, extends battery lifespan, and helps you optimise your energy use wherever you travel.
Why Monitoring Matters
Without visibility into your system, you’re flying blind. You might drain your battery dangerously low without realising it, or miss opportunities to adjust usage patterns based on available power.
Monitoring reveals critical information:
- Current battery voltage and state of charge
- How much power you’re drawing right now
- Charging rate from solar, alternator, or mains
- Battery temperature and health status
- Historical trends showing power consumption patterns
- Warnings before problems become serious
This data lets you make smart decisions. If your battery is charging slowly due to cloud cover, you’ll reduce non-essential usage. If you’re drawing 500W consistently, you’ll know an electric heater is draining your battery faster than solar can replenish it.
Bluetooth Monitoring Systems
Bluetooth battery monitoring connects your battery’s management system to your smartphone, displaying real-time data via an app. You check your power status as easily as checking your bank balance.
Bluetooth systems typically show:
- Voltage and current (amps) flowing in or out
- State of charge percentage
- Remaining capacity in amp-hours
- Power consumption in watts
- Temperature readings
- Historical logs and usage graphs
- Battery health indicators
Bluetooth monitoring costs very little compared to battery replacement. Catching problems early saves thousands.
Many modern lithium batteries include Bluetooth as standard. AGM batteries can be retrofitted with smart monitoring devices. The investment pays for itself by preventing deep discharge damage and overcharging issues.
Understanding the Data
Battery voltage tells you immediately how much charge remains. A 12V lithium battery reads 13.2V when full and 10.5V when critically low. Voltage drops as charge depletes, but not linearly, so percentage-of-charge estimates rely on more sophisticated calculations.
Current tells you power direction and magnitude. Positive current means the battery is charging; negative current means it’s discharging. Higher numbers in either direction indicate heavier loads or faster charging.
Temperature monitoring protects your battery. Lithium batteries function poorly in extreme cold and risk damage if allowed to charge whilst frozen. Hot batteries degrade faster and can fail suddenly. Most systems warn you when temperature moves outside safe ranges.
Victron Energy Integration
Victron monitoring systems (like the SmartShunt or Cerbo GX) integrate with multiple battery types and chargers. They coordinate charging strategies, preventing conflicts when solar, alternator, and mains chargers all operate simultaneously.
Victron advantages include:
- Works with lithium, AGM, and gel batteries
- Synchronises solar, DC-DC, and mains chargers
- Displays data on built-in screens or via Bluetooth app
- Highly reliable with decades of marine industry use
- Expandable with additional sensors and modules
Victron systems cost more upfront but deliver reliability that justifies the investment for serious campervan enthusiasts.
Optimising Based on Monitoring Data
Actual data changes how you use your campervan. You’ll discover which appliances consume the most power and adjust accordingly. You might find that your heating system uses more energy than everything else combined, prompting you to prioritise insulation over electrical capacity.
Monitoring also reveals seasonal patterns. Winter power generation drops dramatically, so you’ll plan shorter trips or expect to rely more on hook-up facilities. Summer abundance means you can be generous with power use without concern.
Pro tip: Set phone notifications for battery voltage dropping below 20% state of charge—this prevents accidental deep discharge damage that degrades batteries permanently.
Costs, Common Pitfalls and Safe Use
Building campervan energy systems costs money, but poor decisions cost far more. Understanding realistic budgets and avoiding common mistakes prevents expensive failures and keeps you safe on the road.
Understanding Total System Costs
Energy system costs vary wildly depending on your ambitions. A basic setup for weekend trips costs far less than a full-time nomad system, but cutting corners in the wrong places creates problems.
Typical UK campervan energy system costs:
- Day trips only: £200–500 (power banks and USB chargers)
- Weekend breaks: £1,500–3,000 (AGM battery plus basic solar)
- Extended trips: £4,000–7,000 (lithium battery, 200W solar, inverter)
- Full-time living: £7,000–15,000+ (large lithium banks, 400W+ solar, Victron monitoring)
These figures assume professional installation. DIY installation saves labour costs but risks safety and warranty issues.
Remember: the cheapest option rarely offers the best value. A £1,200 AGM battery might seem attractive until you replace it in three years, whilst a £3,500 lithium battery lasts a decade.
Common Electrical Mistakes
New campervan owners repeatedly make the same errors, costing thousands in repairs and replacements. Understanding common mistakes helps you avoid them entirely.
Most frequent pitfalls:
- Undersizing batteries for actual usage patterns
- Installing incompatible chargers that overload alternators or miss smart charging features
- Skipping safety devices like RCDs and proper fusing
- Poor cable sizing creating voltage drop and fire hazards
- Neglecting system maintenance until problems become serious
- Overloading circuits with simultaneous high-power appliances
Each mistake stems from underestimating real-world power demands. A 100Ah AGM battery sounds adequate until you try running a fridge, lighting, and charging devices simultaneously.
Avoiding Undersizing
Battery undersizing creates the most common failures. People buy small batteries to save money, then discover they can’t power essential appliances. Expansion becomes difficult and expensive.
Size batteries for your worst-case scenario. If you park for five days without charging opportunities, your battery must handle five days of power consumption. If you occasionally run electric heating, account for that massive load.
DC-DC chargers also get undersized. A 50A charger sounds powerful until you realise it only adds 600W of charging capacity. Your lithium battery charges slowly from that, extending charging time during short drives.
Undersizing costs money twice: once when you buy inadequate equipment, and again when you upgrade.
Safety Fundamentals
Battery safety requires proper fusing, cable protection, and isolation switches. Electrical fires destroy campervans and endanger lives.
Non-negotiable safety components:
- Main isolator switch allows you to disconnect the battery completely
- Correctly-rated fuses matching cable gauge to prevent overheating
- RCDs protecting against electric shock
- Cable glands protecting wires from damage and water ingress
- Proper earthing preventing voltage floating
Never skip these. They cost hundreds, whilst repair bills from electrical fires reach tens of thousands.
Installation Quality Matters
Professional installation costs more upfront but prevents problems that reveal themselves hundreds of miles from help. A loose terminal connection might work fine for months before causing complete system failure.
If installing yourself, document everything meticulously. Label every connection, photograph cable routes before closing panels, and keep wiring diagrams accessible for troubleshooting.
Pro tip: Request a safety inspection from an electrician even if you install most components yourself—they’ll spot dangerous mistakes you’ve overlooked and save you from catastrophic failures.
Maximise Your Campervan Energy with Skyenergi’s Lithium Solutions
Reliable off-grid power is vital for freedom and peace of mind on the road. If you are facing challenges like battery undersizing, inefficient solar charging, or the frustration of unreliable AGM systems mentioned in the article, Skyenergi has the advanced lithium battery systems and smart energy solutions that match your lifestyle. Our products come with intelligent Battery Management Systems and Bluetooth monitoring so you can track your power use and system health in real time.

Discover how our high-performance, UK-sourced lithium batteries and tailored accessories can help you build a safe, efficient, and expandable campervan energy system. Whether you are a weekend adventurer or a full-time nomad, start your journey towards dependable off-grid power today by exploring the complete range at Skyenergi. Learn more about choosing the right lithium batteries and smart components with our expert guides and solutions designed for seamless integration including our lithium battery range and compatible Victron products.
Frequently Asked Questions
How do I determine my campervan’s power needs?
You can estimate your power needs by considering your planned activities and appliances. Calculate the total wattage of devices you intend to use, factoring in how often and for how long you’ll use them to understand your daily power requirements.
What are the differences between AGM and lithium batteries for campervans?
AGM batteries are typically cheaper and more forgiving but limit usable capacity to about 50%, while lithium batteries offer 80-90% usable capacity, longer lifespans, and faster charging, making them more suitable for full-time living despite a higher initial cost.
Why is it important to calculate voltage drop in my campervan’s wiring?
Calculating voltage drop is essential to ensure that your cables are appropriately sized, preventing power loss and overheating, which can lead to hazards such as electrical fires or system failures.
What safety measures should I implement in my campervan’s electrical system?
Key safety measures include installing RCDs for shock protection, MCBs to prevent overloads, using proper fusing, and ensuring correct cable sizing to avoid hazards. Regular maintenance and inspection of all components also contribute to a safe system.
Recommended
Prev post

6 Practical Solar Setup Examples for Your Campervan
Updated on 26 February 2026
Next post

Step by Step Campervan Battery Upgrade for Off-Grid Freedom
Updated on 24 February 2026


