


How to install campervan solar: DIY guide 2026
Learn how to install campervan solar in this DIY guide! Get reliable power for your adventures with expert tips and step-by-step instructions.
TL;DR:
- Proper planning and component matching are essential for a reliable campervan solar system that performs consistently over time.
- Using the correct mounting hardware, verifying polarity, and conducting thorough system tests before sealing ensure durability and safety.
Running out of battery on a remote site is one of the fastest ways to cut a trip short. Learning how to install campervan solar gives you a reliable, independent power source that works whether you are parked in a Scottish glen or a French vineyard. This guide covers everything from sizing your components and mounting panels to wiring safely and testing the finished system. Follow these steps and you will have a setup that performs day after day without drama.
Table of Contents
- Key takeaways
- How to install campervan solar: planning and components
- Mounting panels and running cables
- Electrical configuration and system testing
- Maintenance and avoiding common failures
- My perspective on getting this right
- Skyenergi solar solutions for campervans
- FAQ
Key takeaways
| Point | Details |
|---|---|
| Size components together | Match solar wattage to battery capacity using the 1W per 1Ah rule before buying anything. |
| Choose the right mount | Select ABS corner mounts for curved fibreglass roofs and Z-brackets for flat metal roofs. |
| Verify polarity before connecting | Test the roof port with a multimeter to avoid damage to your charge controller. |
| Use marine-grade wiring | Tinned copper cable and a near-battery fuse within 30cm of the positive terminal are non-negotiable. |
| Test before closing up | Check voltage, polarity, and controller response before sealing cable entries and tidying runs. |
How to install campervan solar: planning and components
Before a single panel goes on the roof, you need a clear picture of your system. Skipping this stage is where most DIY installs go wrong. Designing a full wiring diagram including fuses, bus bars, and wire gauges before installation prevents the most common integration failures.
Panel types
Rigid monocrystalline panels are the workhorse choice. They are more efficient per square metre, straightforward to mount, and built to last. Flexible panels suit low-profile vans or awkward curved areas, but they run hotter and tend to degrade faster. For most campervan builds, rigid panels offer the better long-term return.
Battery and solar sizing
A practical rule for typical off-grid builds pairs 400 to 600W of solar with a 200 to 300Ah LiFePO4 battery bank. The 1W solar to 1Ah battery guideline keeps the system balanced. Too much solar with too little battery means wasted harvest. Too little solar with a large bank means you never fully recharge.
MPPT charge controllers
An MPPT controller is the correct choice for campervans. It converts excess panel voltage into usable charging current, recovering significantly more energy than a basic PWM unit, especially in partial shade. Size the controller with a safety margin. Multiply your array’s short-circuit current (ISC) by 1.25 to get the minimum amperage rating you need.
Tools and materials reference
| Item | Purpose |
|---|---|
| Multimeter | Polarity and voltage checks |
| Cable glands | Waterproof roof cable entry |
| MC4 connectors and crimping tool | Panel-to-cable connections |
| Marine-grade tinned copper cable | Main wiring runs |
| ABS corner mounts or Z-brackets | Panel mounting hardware |
| Sealant (Sikaflex or similar) | Waterproofing roof penetrations |
| Isopropyl alcohol and primer | Surface prep for adhesive mounts |
| Inline fuse holder | Near-battery protection |
Pro Tip: Measure your roof twice and sketch a layout before ordering panels. Account for roof vents, skylights, and any ridges that would prevent flush mounting.
For guidance on matching wattage to battery banks, Skyenergi’s off-grid power guide covers UK-specific considerations in detail.
Mounting panels and running cables
With your components chosen and a wiring diagram drawn, you can move to physical installation.
Preparing the roof
Clean the mounting area thoroughly with isopropyl alcohol. Remove any wax, grease, or road film. Mark out panel positions with masking tape and double-check clearances around roof features. A clean, measured surface is the foundation of a mount that stays put at motorway speeds.
Choosing your mounting method
ABS corner mounts suit curved fibreglass roofs because they distribute stress across a wider footprint. Z-brackets are better for flat, ribbed metal roofs where you can bolt through the ribs directly. Both methods work well when installed correctly. The key is matching the mount to the roof material.
For a drill-free install, 3M VHB tape is a credible alternative provided you clean with isopropyl alcohol, apply the correct primer, and allow full cure time before driving. Vehicle vibration and aerodynamic forces will test any bond relentlessly, so do not rush the prep or skip the primer.
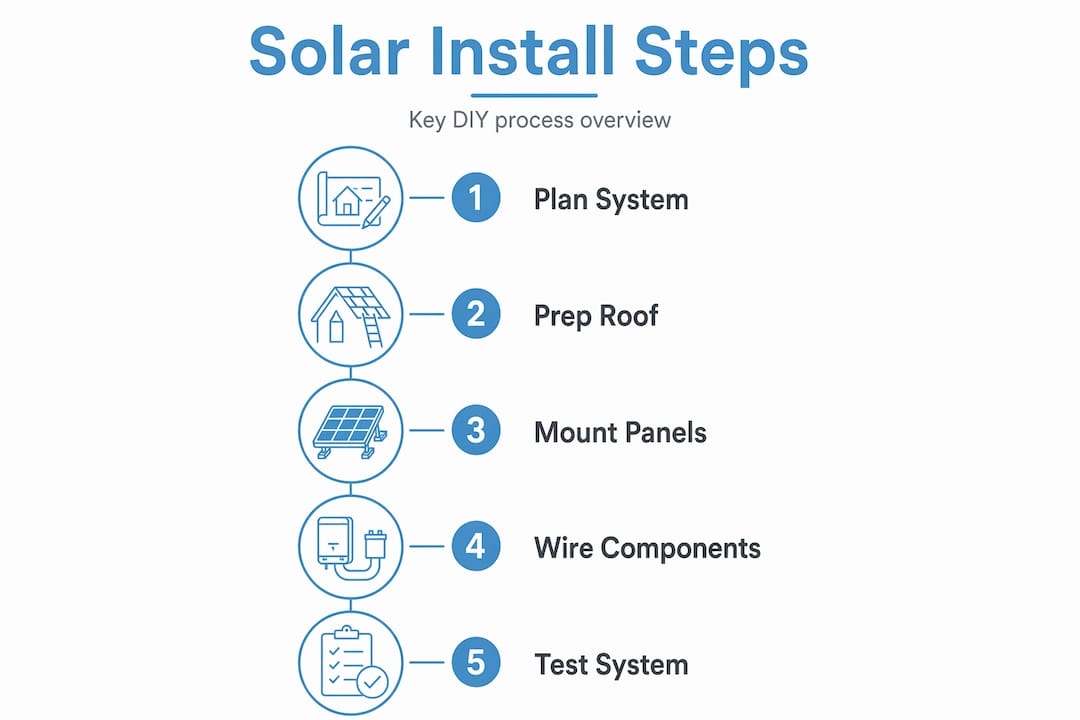
Step-by-step mounting and wiring sequence
- Position the panels on the cleaned, marked roof. Confirm the layout is clear of obstructions.
- Drill or prep mount points. Apply Sikaflex or equivalent sealant to any holes before inserting fixings. This prevents water ingress from day one.
- Attach corner mounts or Z-brackets to the panel frame before placing on the roof.
- Secure panels to the roof with appropriate fasteners or, for adhesive mounts, apply primer and VHB tape with firm, even pressure.
- Install a cable gland at the chosen roof entry point. Seal around it with Sikaflex inside and out.
- Run cables through the gland and route them down into the van. Keep runs short and tidy. Use conduit or cable clips along the interior walls.
- Check polarity at the roof port with a multimeter before making any connections. SAE roof ports can have reverse polarity, which will damage your controller if you connect without checking. Use a polarity reverse adapter if needed.
- Connect cables to the MPPT controller inputs. Follow the controller manual for the correct terminal sequence.
- Connect the controller to the battery bank. Place your inline fuse within 30cm of the battery positive terminal.
Pro Tip: Connect the battery to the controller first, then connect the solar panels. Disconnecting follows the reverse order. This protects the controller from voltage spikes.
- Never run positive and negative cables through the same gland without insulation between them.
- Label every cable end as you go. It saves significant time during testing and future maintenance.
- Keep the wiring run from the panels to the controller as short as practically possible to reduce resistive losses.
Electrical configuration and system testing
With all physical connections made, configure the controller and verify the system before relying on it.
MPPT controller configuration
Set the battery type on the controller. LiFePO4 (lithium iron phosphate) cells require specific charge voltage profiles. Using a lead-acid profile on a lithium bank will undercharge it and shorten battery life considerably. Most modern MPPT controllers have a dedicated LiFePO4 setting.
Confirm the controller’s maximum input voltage does not exceed the panel array’s open-circuit voltage (VOC) at the lowest expected temperature. Cold conditions raise VOC, so this matters in the UK particularly during winter months.
Fuse sizing and cable gauge
| Circuit | Recommended fuse | Minimum cable size |
|---|---|---|
| Solar panels to MPPT | 1.25 x ISC rating | 4mm² for runs under 3m |
| MPPT to battery bank | Controller rated amps | 6mm² for most systems |
| Battery to inverter | Inverter rated amps x 1.25 | 16mm² minimum for 1000W+ inverters |
Marine-grade tinned copper wiring is the correct specification for all campervan electrical work. It resists corrosion from moisture and vibration far better than standard automotive cable.
Inverter connection
If your build includes an inverter for 230V AC loads, connect it directly to the battery bank with appropriately rated cable and fusing. Keep inverter cables as short as possible. High current draw over long thin cables creates heat and voltage drop that degrades performance.
Testing the system
- Verify open-circuit voltage at the controller input matches expected panel VOC.
- Confirm battery voltage on the controller display matches a direct multimeter reading at the battery terminals.
- Check that the controller enters bulk charge mode within a minute of exposure to light.
- Monitor for any unexpected heat at connections or fuse holders in the first 30 minutes of operation.
Pro Tip: Use the controller’s Bluetooth app or display to verify charging current in real time. A sudden drop in current on a clear day often points to a loose MC4 connection rather than a panel fault.
Maintenance and avoiding common failures
A solar system on a campervan lives in a harsher environment than a rooftop home installation. Heat, vibration, and weather cycling all take a toll.
- Inspect all mount fixings every three months. Tighten any that have worked loose due to vibration.
- Check cable gland seals and roof sealant annually. Reapply Sikaflex where any cracking or lifting is visible.
- Clean panels every few weeks on the road. Dust and bird fouling on even part of a panel reduces output from the whole string.
- Verify battery connections are tight and corrosion-free. A thin layer of dielectric grease on terminals slows oxidation.
- Monitor your MPPT controller data regularly. Sustained low-output readings on a clear day signal a connection issue or panel degradation worth investigating.
- Battery and inverter ventilation matters. Heat is the primary enemy of lithium cell longevity, so never enclose them in an unventilated box.
Cutting corners on component compatibility is the single most common cause of DIY solar failures. Mismatched panels, undersized cable, or an incorrect battery profile in the controller will all cause problems that look mysterious but are entirely preventable with upfront planning.
My perspective on getting this right
I have worked through enough campervan solar builds to be direct about something most guides gloss over. The difference between a system that works reliably for years and one that causes constant headaches almost always comes down to the design stage, not the installation itself.
People buy a panel because it fits the budget, then a battery because it is on offer, then a controller to match. That approach produces systems where the controller is undersized for the panel array, or the battery profile is configured incorrectly, and the whole thing underperforms. Buying components separately without a coherent system design is the most consistent mistake I see.
My practical advice: draw the wiring diagram before you buy a single component. Confirm every voltage and current figure on paper. Then buy the parts that fit that design, not the other way around.
On mounting, I favour mechanical fasteners with proper sealant over adhesive-only approaches for anything above 100W. VHB tape works well for smaller panels when the prep is done correctly, but for a full 400W to 600W array, the forces involved during motorway driving are substantial. Bolts and sealant give you peace of mind that tape alone does not, regardless of how well it is applied.
The payoff for doing this properly is genuine. A well-designed system with quality components and correct wiring delivers years of maintenance-free off-grid power. That is worth the extra planning time at the start.
— John
Skyenergi solar solutions for campervans
Ready to put this into practice with quality components you can rely on?

Skyenergi stocks a range of solar panels, MPPT charge controllers, and complete system kits built specifically for campervan and off-grid applications. The Victron 610W solar panel and smart MPPT bundle includes cabling, a mounting gland, and a battery option, covering the core components in one well-matched package. For builds requiring AC power and integrated monitoring, the complete 3kVA solar and electrics system combines an inverter/charger with a battery-to-battery charger and monitoring in a single solution. For a full step-by-step walkthrough tailored to UK campervans, the Skyenergi solar setup guide covers preparation through to commissioning.
FAQ
What size solar system does a campervan need?
A 400 to 600W solar array paired with a 200 to 300Ah LiFePO4 battery is the standard recommendation for a one to two person van. Use the 1W solar to 1Ah battery ratio as your baseline sizing guide.
What solar panel is best for a campervan?
Rigid monocrystalline panels offer the best efficiency and longevity for most campervan roofs. Flexible panels are an option for curved or low-profile areas but typically carry a shorter working lifespan.
How do I avoid roof leaks when installing solar?
Apply a marine-grade sealant such as Sikaflex to all drilled fixing points and around cable glands before fastening. Inspect and reapply sealant annually to maintain the seal against water ingress.
Do I need an MPPT or PWM charge controller?
MPPT is the correct choice for campervans. It recovers significantly more energy from your panels, particularly in variable UK light conditions, and supports the correct charge profiles for LiFePO4 batteries.
How do I check polarity on a campervan roof port?
Use a multimeter to test the positive and negative terminals at the roof port before connecting any cables. Some SAE ports are wired in reverse polarity, and connecting without checking risks damaging the charge controller.
Recommended
Prev post

Top 6 sghomeleisure.co.uk Alternatives 2026
Updated on 29 May 2026
Next post

Campervan energy conversion steps: 2026 guide
Updated on 27 May 2026


