


Off-grid solar installation guide for UK leisure vehicles
Complete off-grid solar installation guide for UK leisure vehicles. Learn proper sizing, safe wiring steps, winter optimisation, and troubleshooting for reliable campervan power.
Reliable power transforms leisure vehicle adventures from stressful energy rationing into comfortable freedom. Yet many UK campervan and motorhome owners struggle with undersized solar systems, winter performance drops, and confusing wiring diagrams that leave them dependent on hook-ups or generators. This comprehensive guide walks you through proper component sizing, safe installation steps, and year-round optimisation strategies to build a robust off-grid solar system that delivers dependable power across British seasons and weather conditions.
Table of Contents
- Key takeaways
- Preparing for your off-grid solar installation
- Step-by-step solar installation process
- Optimising system performance and winter challenges
- Common mistakes and troubleshooting tips
- Explore Skyenergi’s off-grid solar kits and components
- What is the best size solar panel for a UK campervan?
- Can I install off-grid solar myself on my motorhome?
- How do I maintain my lithium batteries in winter?
Key Takeaways
| Point | Details |
|---|---|
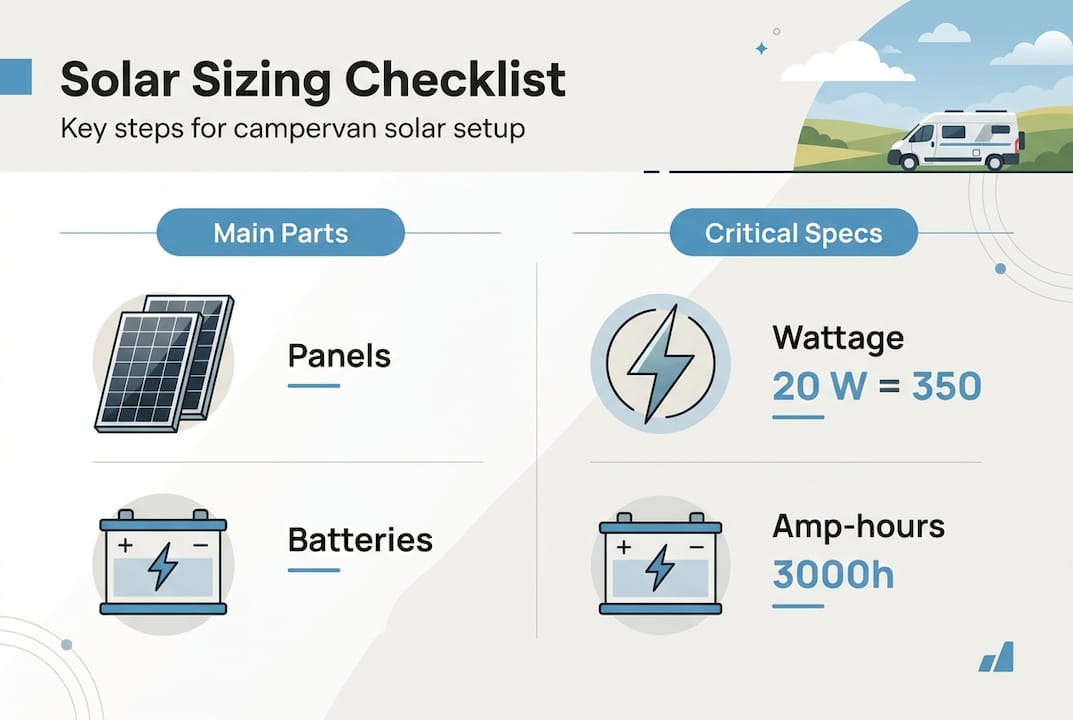
| Panel and battery sizing | Typical UK leisure vehicles require 200 to 400 W of solar panels and 100 to 200 Ah LiFePO4 batteries to meet about 1 to 2 kWh of daily demand. |
| LiFePO4 advantages | LiFePO4 batteries tolerate discharge to twenty per cent, offer more usable capacity and around half the weight with thousands of charge cycles compared with lead acid. |
| Safe wiring order | Always connect the battery first followed by the charge controller and then the inverter to prevent voltage spikes and protect sensitive electronics. |
| MPPT headroom | Size the MPPT controller for twenty five per cent more capacity than your current panel array to allow future expansion. |
| Winter and legality | Consider winter performance and check planning permissions for roof protrusion beyond two hundred millimetres or if the vehicle sits in a conservation area or listed building curtilage. |
Preparing for your off-grid solar installation
Proper preparation prevents expensive mistakes and dangerous wiring faults. Start by calculating your daily energy consumption in kilowatt-hours. List every device you’ll power, its wattage, and hours of daily use. A laptop running 4 hours at 50W consumes 200Wh, whilst a 12V fridge drawing 40W continuously needs 960Wh daily. Add 20% overhead for inverter losses and charging inefficiency.
For typical UK leisure vehicle use, off-grid systems require 200-400W panels and 100-200Ah LiFePO4 batteries to meet 1-2kWh daily demand. Choose rigid monocrystalline panels over flexible types. Rigid panels withstand British weather better, maintain efficiency longer, and provide superior mounting stability on curved motorhome roofs. Flexible panels degrade faster under UV exposure and cannot dissipate heat effectively when bonded directly to roof surfaces.
LiFePO4 batteries deliver transformative advantages over traditional lead-acid options. You can safely discharge them to 20% capacity versus 50% for lead-acid, effectively doubling usable energy storage. A 100Ah LiFePO4 battery provides 80Ah usable capacity, matching a 160Ah lead-acid battery whilst weighing half as much. The chemistry tolerates 3000+ charge cycles compared to 500 for lead-acid, justifying the higher upfront cost through extended lifespan.
Beyond panels and batteries, you’ll need an MPPT charge controller sized for your panel array’s maximum current, a DC-DC alternator charger to harvest engine charging, appropriate gauge cabling, inline fuses, MC4 connectors, and distribution bus bars. For solar setup tips specific to 2026 UK regulations, review updated compliance requirements before purchasing components.
Pro tip: Size your MPPT controller for 25% more capacity than your current panel array. This headroom lets you expand your system later without replacing the controller, saving money and installation time when energy needs grow.
Legal considerations matter for roof-mounted installations. Planning permission becomes necessary if panels protrude more than 200mm above the roofline, or if your vehicle sits in conservation areas or listed building curtilages. Most flush-mounted leisure vehicle installations avoid these restrictions, but verify local authority requirements before drilling mounting holes. Portable off-grid systems face no certification requirements, unlike grid-tied installations that demand professional sign-off.
| Component | Specification | Purpose |
|---|---|---|
| Solar panels | 200-400W rigid monocrystalline | Primary energy generation |
| Battery | 100-200Ah LiFePO4 | Energy storage |
| MPPT controller | Matched to panel voltage/current | Efficient charge regulation |
| DC-DC charger | 20-40A alternator input | Engine charging integration |
| Inverter | 1000-3000W pure sine wave | AC power conversion |
| Cabling | 16mm² for high current paths | Safe power distribution |
Consult the essential solar installation checklist to verify you’ve gathered all necessary components, tools, and safety equipment before beginning physical installation work.
Step-by-step solar installation process
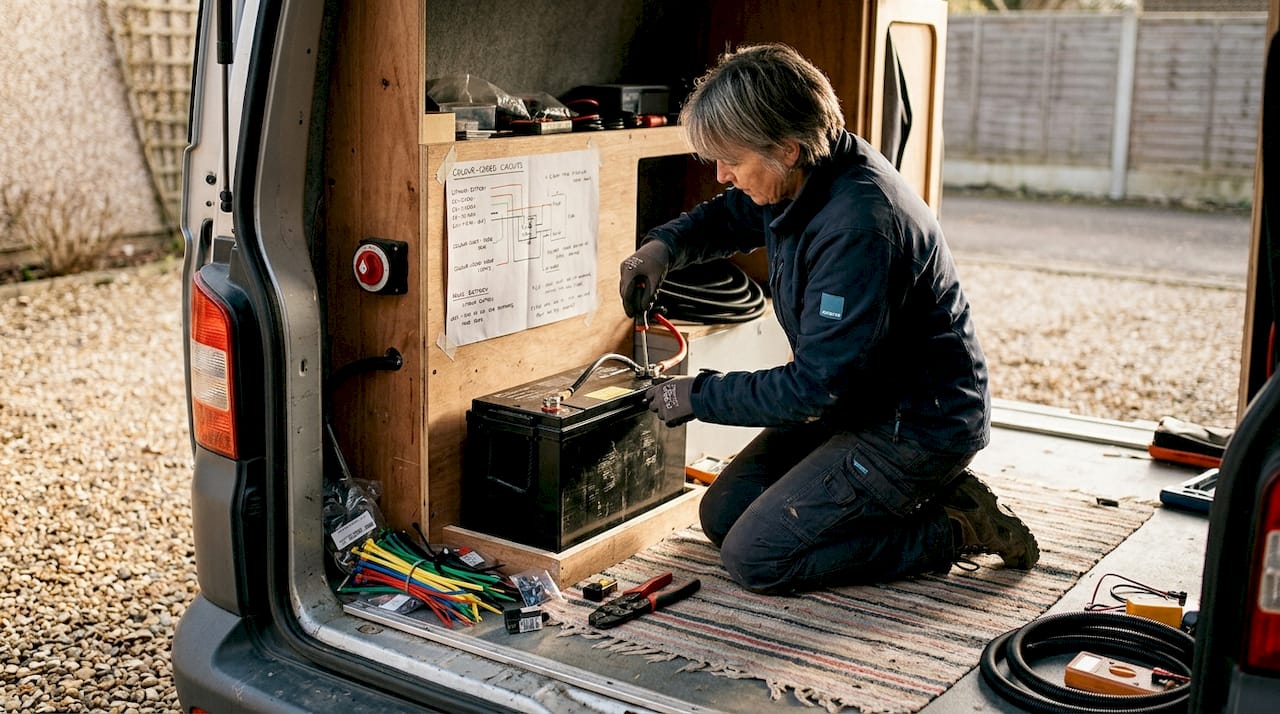
Safe wiring sequence prevents equipment damage and electrical hazards. Always connect components in this exact order: battery first, charge controller second, inverter last. This sequence ensures the controller sees battery voltage before panel input arrives, preventing voltage spikes that destroy sensitive electronics.
Begin by mounting your battery securely in a ventilated compartment. Install a battery disconnect switch on the positive terminal for emergency isolation. Run heavy gauge cables (16mm² minimum for inverter connections) from the battery to your distribution point, keeping runs as short as possible to minimise voltage drop. Wire panels to the MPPT controller using MC4 connectors, fuse all positive leads near the battery, and use bus bars for clean distribution to multiple loads.
Fuse placement protects against catastrophic shorts. Install fuses within 150mm of the battery positive terminal on every outgoing circuit. Size fuses to 125% of the circuit’s maximum expected current. A 30A DC-DC charger needs a 40A fuse, whilst a 3000W inverter drawing 250A at 12V requires a 300A fuse or circuit breaker. Never bypass or oversize fuses, as they’re your primary fire prevention mechanism.
Panel wiring configuration affects performance dramatically. Series wiring adds voltages whilst maintaining amperage, allowing smaller gauge wire and reducing voltage drop over long cable runs. Parallel wiring adds amperage whilst maintaining voltage, providing better shade tolerance since one shaded panel doesn’t cripple the entire array. For leisure vehicle roof installations with potential shading from roof vents or aerials, parallel wiring with individual panel optimisers delivers superior real-world performance despite slightly higher component costs.
Pro tip: Label every wire with its function, voltage, and amperage rating using heat-shrink labels. Six months after installation, you’ll thank yourself when troubleshooting or expanding the system without decoding an unlabelled wire maze.
Follow these numbered installation steps for reliable, safe system assembly:
- Mount battery securely with disconnect switch on positive terminal
- Connect battery monitor shunt on negative cable before any loads
- Install fuses on positive leads within 150mm of battery terminals
- Wire MPPT controller to battery, observing correct polarity
- Connect solar panels to controller using MC4 connectors and appropriate gauge cable
- Wire DC-DC charger between alternator and battery for engine charging
- Install inverter with heavy gauge cabling and dedicated fusing
- Connect distribution bus bars for organised load circuits
- Commission system by verifying voltages at each connection point
- Configure controller settings for your specific battery chemistry
For detailed connection diagrams and voltage verification steps, review the solar battery connection guide covering terminal torque specifications and polarity testing procedures.
| Wiring method | Advantages | Disadvantages |
|---|---|---|
| Series | Higher voltage reduces current and cable size; better for long runs | Shading one panel reduces entire array output; requires higher voltage controller |
| Parallel | Shade-tolerant; one panel failure doesn’t affect others | Higher current needs thicker cables; more connection points |
| Series-parallel hybrid | Balances voltage and current; good shade tolerance | More complex wiring; requires careful panel matching |
The solar charging workflow tutorial demonstrates proper commissioning procedures to verify your installation operates safely and efficiently before connecting sensitive loads.
Optimising system performance and winter challenges
British weather presents unique solar challenges that continental European systems never face. UK winter solar yield plummets to just 20-30% of summer output, with December and January producing minimal useful charging even on clear days. Short daylight hours combine with low sun angles to drastically reduce panel productivity. A 400W array generating 1.6kWh daily in July might produce only 400Wh in January, forcing reliance on alternator charging or generator backup.
Shading devastates solar performance far beyond the shadowed area’s size. A shadow covering just 10% of a series-wired panel can reduce total array output by over 50% because the shaded cells act as resistors, choking current flow through the entire string. Roof vents, satellite dishes, and even bird droppings create disproportionate performance losses. Position panels to minimise shading throughout the day, and clean surfaces monthly to maintain optimal light transmission.
LiFePO4 battery chemistry introduces temperature-related charging constraints that lead-acid users never encountered. These batteries refuse to accept charge below 5°C to prevent lithium plating damage that permanently reduces capacity. Quality batteries include internal heating elements that draw power to warm cells above the charging threshold, but budget options lack this protection. In winter, you must either heat the battery compartment, use batteries with integrated heaters, or accept that freezing overnight temperatures prevent morning solar charging until ambient warmth raises battery temperature naturally.
Monitoring system health prevents unexpected failures and optimises charging efficiency. Battery monitors like Victron SmartShunt devices track state of charge, current flow, and historical consumption patterns via Bluetooth smartphone apps. You’ll spot abnormal discharge rates indicating parasitic loads, verify solar controller output matches panel specifications, and plan generator run times based on actual battery depletion rather than guesswork. For comprehensive monitoring options, explore Victron SmartShunt capabilities that integrate with existing Victron ecosystems.
Key optimisation strategies for UK conditions include:
- Oversize your solar array by 50-100% to compensate for winter yield reduction and frequent cloudy weather
- Angle panels towards the south at 30-40 degrees for optimal year-round performance, or use adjustable mounts to change seasonal tilt
- Install battery temperature sensors to monitor charging conditions and trigger heating systems automatically
- Plan for alternative charging sources like mains hook-up, generator, or DC-DC alternator charging during extended low-light periods
- Reduce energy consumption through LED lighting, efficient 12V appliances, and insulation to minimise heating loads
“Understanding your system’s limitations prevents disappointment. UK off-grid solar works brilliantly from April through September, but winter demands realistic expectations and backup charging strategies. Design for worst-case scenarios, and summer abundance becomes a bonus rather than the baseline.”
For deeper analysis of seasonal performance variations and charging efficiency factors, the guide on solar charge efficiency explains how temperature, cable losses, and controller efficiency affect real-world energy harvest versus theoretical panel ratings.
Common mistakes and troubleshooting tips
Inadequate fusing causes the majority of leisure vehicle electrical fires. Every positive cable needs a fuse rated for the wire’s ampacity, positioned within 150mm of the power source. A 10mm² cable rated for 50A continuous current requires a 50A fuse maximum, even if the connected device draws only 20A. The fuse protects the cable, not the device. Skipping fuses or using oversized ratings eliminates your primary short-circuit protection, allowing cables to overheat and ignite surrounding materials before the fault becomes obvious.
Safety compliance with BS7671 wiring standards isn’t optional for reliable installations. Proper cable sizing, colour coding (brown for positive, blue for negative in DC systems), strain relief at terminations, and appropriate IP ratings for damp environments all prevent failures. Portable off-grid systems face no certification requirements, but following professional standards ensures your installation won’t create hazards or fail prematurely. Grid-tied systems absolutely require certified electrician sign-off, though this rarely applies to mobile leisure vehicle setups.
Shading impact gets consistently underestimated during system design. That small roof vent casting a shadow for two hours daily might reduce your array’s output by 30% across the entire day due to series wiring effects. Before finalising panel positions, observe your roof throughout a sunny day to map shadow patterns. Consider relocating vents, aerials, or other obstructions if they’ll shade panels during peak generation hours. Even partial shading from tree branches during wild camping dramatically cuts charging performance.
Battery monitoring failures shorten expensive battery lifespan significantly. Without tracking state of charge and temperature, you’ll unknowingly over-discharge cells, attempt charging in freezing conditions, or miss gradual capacity degradation until sudden failure occurs. Quality battery monitors cost £100-200 but prevent £1000+ premature battery replacement by alerting you to problems whilst they’re still correctable. The data also helps optimise your energy usage patterns based on actual consumption rather than guesswork.
Common troubleshooting scenarios and solutions:
- No charging from solar panels: Verify controller LED indicators show panel voltage detection; check MC4 connector polarity and cable continuity; confirm battery isn’t already fully charged, preventing controller from accepting input
- Inverter shutting down under load: Undersized battery cables cause voltage drop; upgrade to heavier gauge wire and shorten cable runs; verify battery state of charge isn’t too low, triggering low-voltage protection
- Rapid battery discharge overnight: Parasitic loads from always-on devices drain power; use battery monitor to identify unexpected current draw; install switches to isolate non-essential circuits when not needed
- Poor winter charging performance: Clean panel surfaces; verify no shading from ice, snow, or frost; check battery temperature hasn’t dropped below charging threshold; consider supplemental generator charging
Pro tip: Keep a multimeter and basic electrical testing tools accessible. Measuring voltage at connection points during troubleshooting identifies failed components or poor connections faster than guessing. A £20 multimeter saves hours of frustration and prevents replacing working components unnecessarily.
Review the essential installation checklist periodically to verify your system maintains safety standards as you modify or expand capabilities over time.
Explore Skyenergi’s off-grid solar kits and components
Building a reliable off-grid solar system requires quality components that work together seamlessly. Skyenergi supplies complete turnkey solutions and individual components for UK leisure vehicles and residential installations, from compact campervan setups to substantial static off-grid systems.

Our complete solar power and electrics system integrates 3kVA inverter charger, battery-to-battery charging, and monitoring in a single package designed for straightforward installation. For larger residential requirements, the Victron Energy EasySolar-II system combines 5kVA inverter, 250V/100A MPPT controller, and GX monitoring in one integrated unit. Every product features Bluetooth connectivity for real-time system monitoring, helping you track performance and identify issues before they become failures. Explore our range to find components matched to your specific energy independence goals.
What is the best size solar panel for a UK campervan?
Typically, 200-400W rigid solar panels suit UK campervans depending on daily energy needs and available roof space. A 200W panel generates approximately 800Wh daily in summer, adequate for lighting, phone charging, and a small fridge. Heavier users running laptops, diesel heaters, or larger refrigeration need 300-400W to maintain batteries without alternator charging. Panels should balance summer yield with winter low-light conditions, recognising that December output drops to barely 25% of July performance.
Can I install off-grid solar myself on my motorhome?
DIY off-grid solar installations are legal provided you meet safety standards like BS7671 wiring regulations. Portable and mobile systems don’t require certification, unlike grid-tied installations that demand professional electrician sign-off. You’re responsible for proper fusing, cable sizing, and ventilation to prevent fire hazards. Whilst no legal barrier prevents self-installation, understanding electrical fundamentals and following best practices ensures your system operates safely for years without creating dangerous faults.
How do I maintain my lithium batteries in winter?
Keep batteries above 5°C using heating elements or insulated compartments to allow charging, as LiFePO4 batteries refuse charge below this threshold to prevent permanent damage. Use monitoring tools to track battery temperature and state of charge continuously, triggering heating systems before temperature drops into the danger zone. Quality batteries include integrated heaters that activate automatically, whilst budget options require external heating solutions like heated battery boxes or compartment heaters. Temperature monitoring proves essential for winter reliability, preventing scenarios where solar panels generate power but batteries cannot accept the charge.
Recommended
Prev post

Master marine battery terminology for smarter off-grid boating
Updated on 24 March 2026
Next post

Why battery expandability matters for UK leisure vehicles
Updated on 22 March 2026


