





Campervan Lithium Battery Installation Guide
Lithium battery installation: Install a lithium battery in your campervan safely. Step-by-step guide covering wiring, fusing, BMS setup and solar.
Table of Contents
- What You'll Need Before Installing Your Lithium Battery
- Lithium Battery Safety Precautions and Electrical Hazards
- Removing Your Old Lead-Acid Battery and Preparing the Space
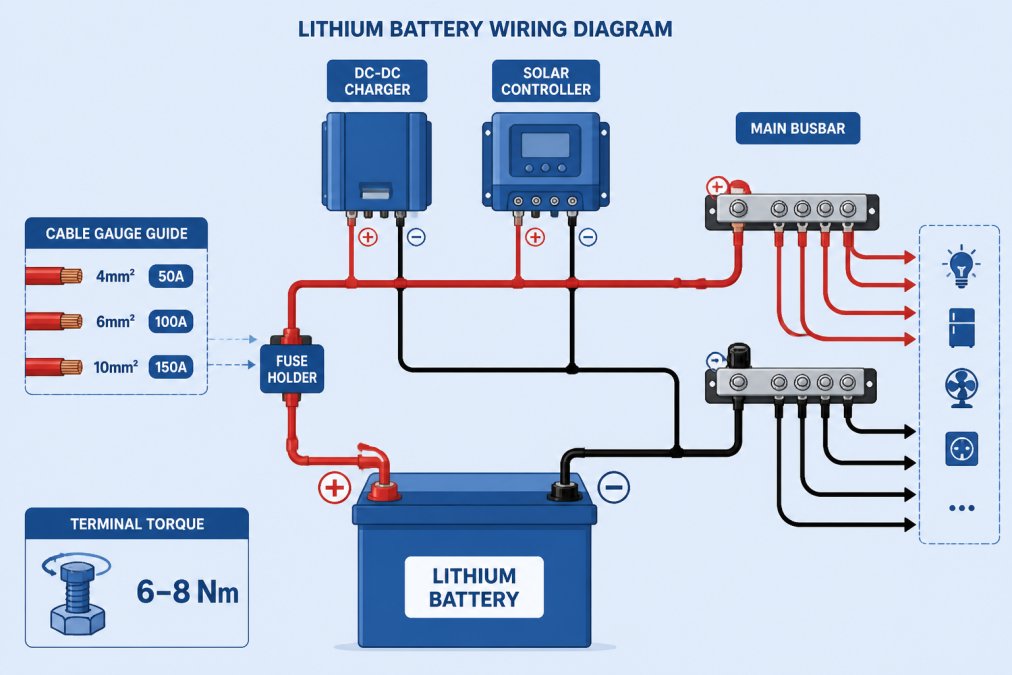
- Wiring Your Lithium Battery: Cable Sizing and Terminal Connections
- Installing Fuses, Circuit Protection and the Battery Management System
- DC-to-DC Charger Installation and Alternator Integration
- Campervan Solar Charge Controller Setup and Lithium Battery Charging Profile
- Cold Weather Performance, Weight Distribution and Testing Your Installation
Last Updated: August 25, 2026
Installing a lithium battery in your campervan transforms your off-grid capability. Unlike lead-acid systems that drain quickly and degrade within a few seasons, lithium iron phosphate (LiFePO4) batteries deliver 3,000 to 5,000 charge cycles, lasting 10 years or more with proper use (dataintelo.com). The weight savings alone free up 50-60% of the mass compared to equivalent lead-acid units. Below, we'll walk you through each stage of campervan lithium battery installation, from safety checks to final testing, so you can install with confidence.

What You'll Need Before Installing Your Lithium Battery
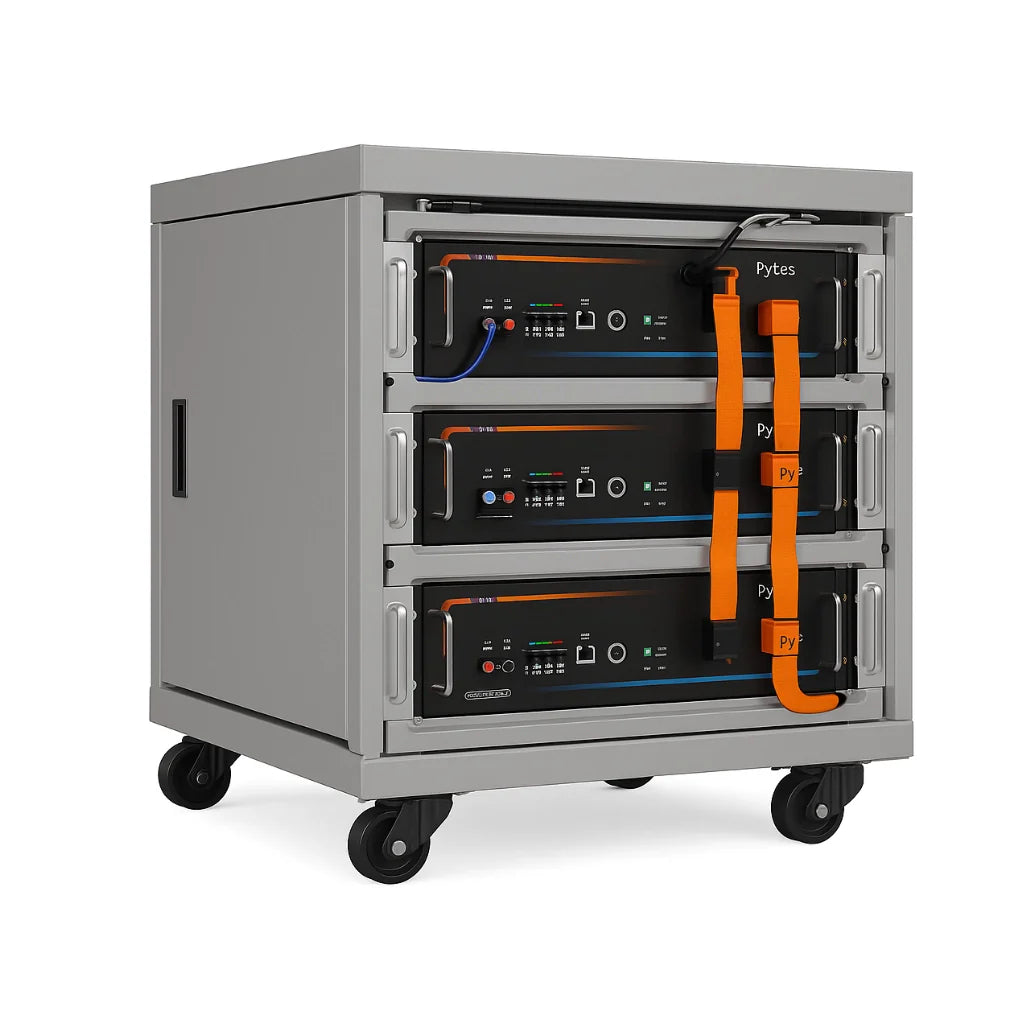
Gather the right components before you start. You'll need a Skyenergi Edge or Elite lithium battery, heavy-duty cable (4mm² to 10mm² depending on distance and current draw), an in-line fuse holder, crimp connectors, a DC-DC charger, a solar charge controller if adding panels, a battery management system (BMS) monitor, and a multimeter. A busbar consolidates multiple wires into one distribution point, reducing voltage drop and improving reliability.
For tools, gather a crimper, wire strippers, a multimeter, a torque wrench (6-8 Nm for terminal connections), and basic hand tools. Safety equipment is non-negotiable: insulated gloves, eye protection, and a fire extinguisher rated for electrical fires.
| Component | Purpose |
|---|---|
| Lithium battery (100Ah) | Primary power storage |
| DC-DC charger | Alternator voltage regulation |
| Solar charge controller (MPPT) | Solar panel integration |
| In-line fuse and holder | Circuit protection |
| Heavy-duty cable (per metre) | Power distribution |
| Busbar and connectors | Connection consolidation |
Lithium Battery Safety Precautions and Electrical Hazards
Lithium batteries demand respect. Fires caused by lithium-ion batteries almost doubled (93 per cent) in the past two years (2022-2024) according to QBE data via UK fire services, so understanding electrical hazards is essential.
The primary risk is short-circuit. If a positive and negative terminal touch through metal, you'll create a direct short that can cause fire or explosion. Always disconnect the negative terminal first when removing old batteries, and keep metal objects away from exposed terminals during installation.
Lithium batteries require proper fusing. Your fuse rating depends on cable gauge and distance from battery to load. For a 100A system with 4mm² cable at 2 metres, use a 100A fuse. The fuse sits within 50cm of the battery's positive terminal, no exceptions.
Battery Management Systems (BMS) are your safety net. A quality BMS monitors cell voltage, temperature, and discharge current, cutting power if any parameter exceeds safe limits. Skyenergi's Edge and Elite models include integrated BMS protection.
Never install a lithium battery in extreme temperatures. Lithium batteries lose usable capacity in cold conditions because the BMS reduces discharge current to protect the cells. The Skyenergi Elite range includes integrated heat pads to maintain internal temperature when temperatures fall below 5°C.
Removing Your Old Lead-Acid Battery and Preparing the Space
Start by disconnecting your existing lead-acid battery. Turn off all loads, then disconnect the negative terminal first, followed by the positive. This sequence prevents accidental shorts.
Remove the old battery carefully, a typical 110Ah lead-acid battery weighs around 30kg. Once removed, inspect the battery box for corrosion, loose fixings, or damage. Clean away any white or blue corrosion powder with a damp cloth and allow it to dry completely.
Lithium batteries are 50-60% lighter than lead-acid equivalents, so your mounting brackets may need adjustment. Measure your lithium battery's dimensions carefully; most 100Ah LiFePO4 units are roughly 330mm × 170mm × 220mm. If your old battery box is significantly larger, secure the lithium battery with straps or a custom bracket to prevent movement during travel.
Check the mounting location for vibration and heat. Lithium batteries perform best in cool, stable environments. Avoid mounting near heating pipes or in direct sunlight.
Wiring Your Lithium Battery: Cable Sizing and Terminal Connections
Cable gauge is non-negotiable. Undersized cable creates voltage drop, starving your appliances of power and generating dangerous heat.
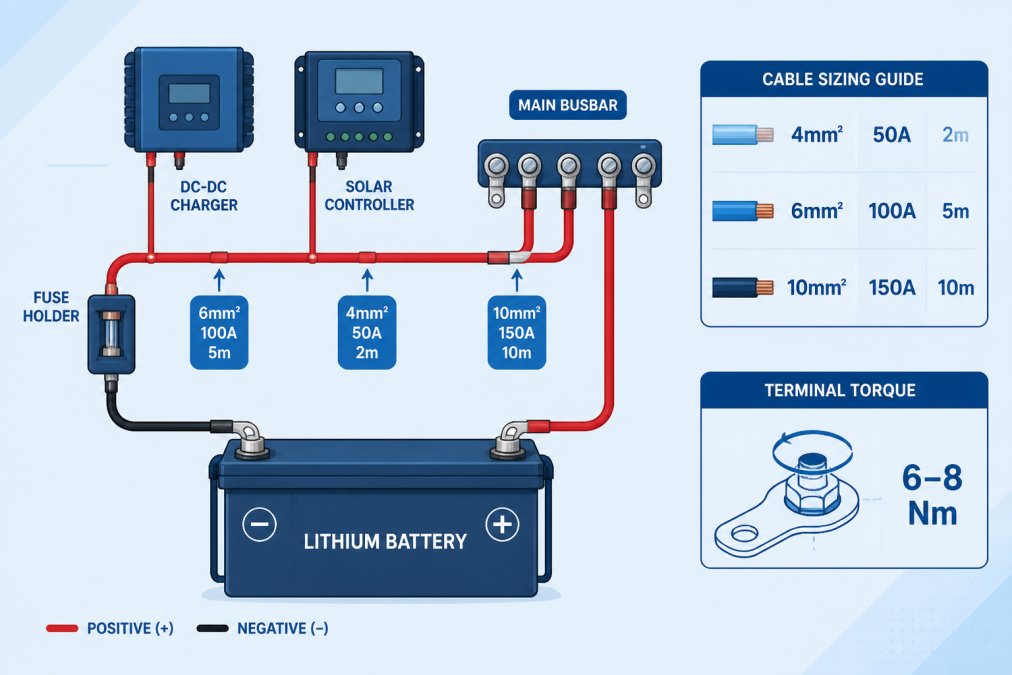
Use this rule: for every 50A of current and every 2 metres of cable run, increase gauge by one step. A 100A system with 2 metres of cable needs 4mm² cable. At 5 metres, jump to 6mm². At 10 metres, use 10mm². Always round up.
Crimp your connections rather than solder. Soldered joints fail under vibration; crimp connectors stay reliable. Strip 8-10mm of insulation from each cable end, insert into the appropriate crimp terminal, and squeeze with a proper crimper.
Terminal torque matters. Use a torque wrench set to 6-8 Nm for most leisure battery terminals. Over-tighten and you crack the battery case; under-tighten and resistance builds, generating heat.
Connect the positive cable first, then the negative. Route cables away from moving parts, hot surfaces, and sharp edges. Use cable clips every 30cm to secure the run and prevent chafing.
If you're adding a second battery in parallel, use identical cable lengths and gauges for each connection to ensure even current distribution.
Installing Fuses, Circuit Protection and the Battery Management System
Mount the in-line fuse holder within 50cm of the battery's positive terminal. Select fuse amperage based on your cable gauge. A 4mm² cable safely handles 100A; a 6mm² cable handles 150A. Choose a fuse rated 10% below your cable's maximum capacity.
Install the fuse in its holder, then connect the holder's input to the battery's positive terminal and its output to your main busbar or DC-DC charger. The negative terminal connects directly to the busbar, no fuse needed on the negative side.
Your Battery Management System (BMS) is built into quality lithium batteries like the Skyenergi Edge and Elite range. The BMS monitors cell voltage, temperature, and current draw. When any parameter exceeds safe limits, the BMS disconnects the battery from your system, protecting it from damage.

You still need a battery monitor to see what's happening. A simple monitor displays state of charge, current draw, and voltage. More advanced monitors offer Bluetooth connectivity and smartphone monitoring. Connect the monitor's shunt between the battery's negative terminal and your main busbar using the same cable gauge as your main negative run.
DC-to-DC Charger Installation and Alternator Integration
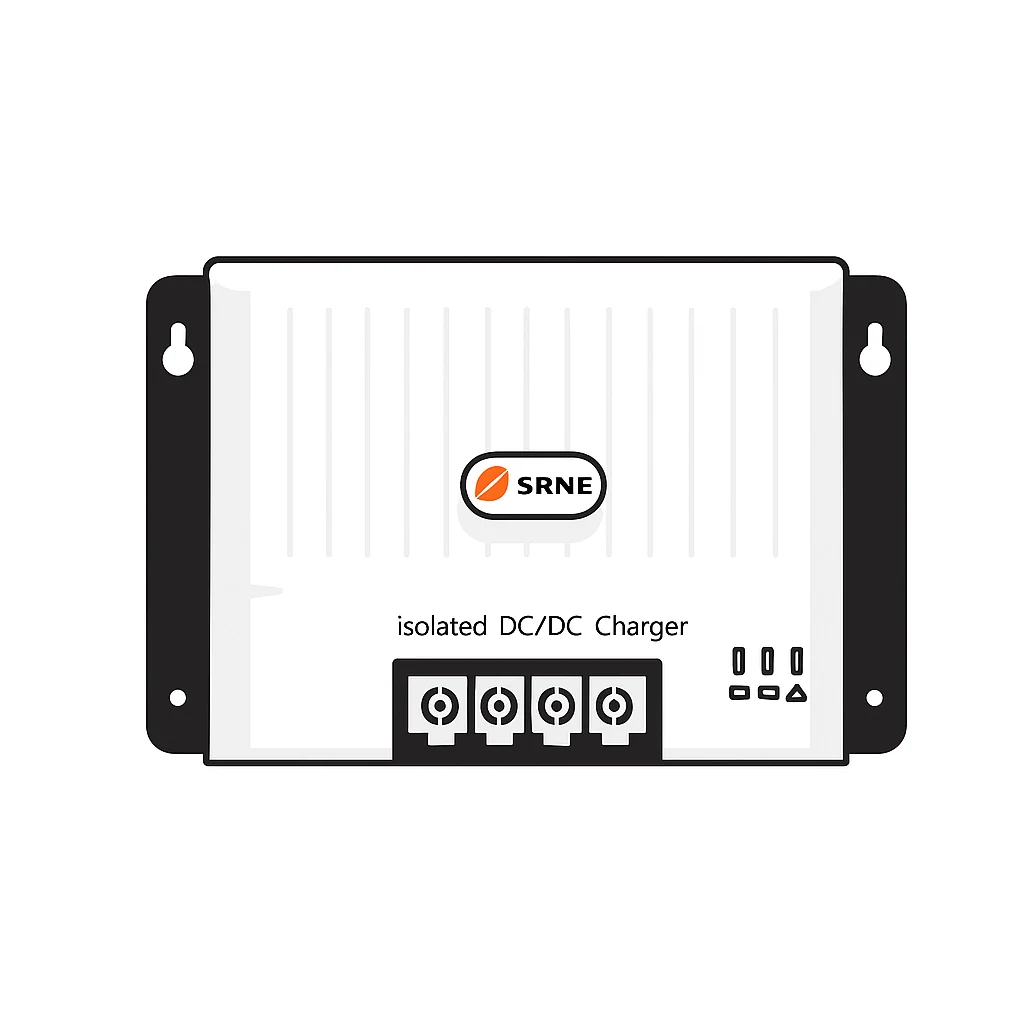
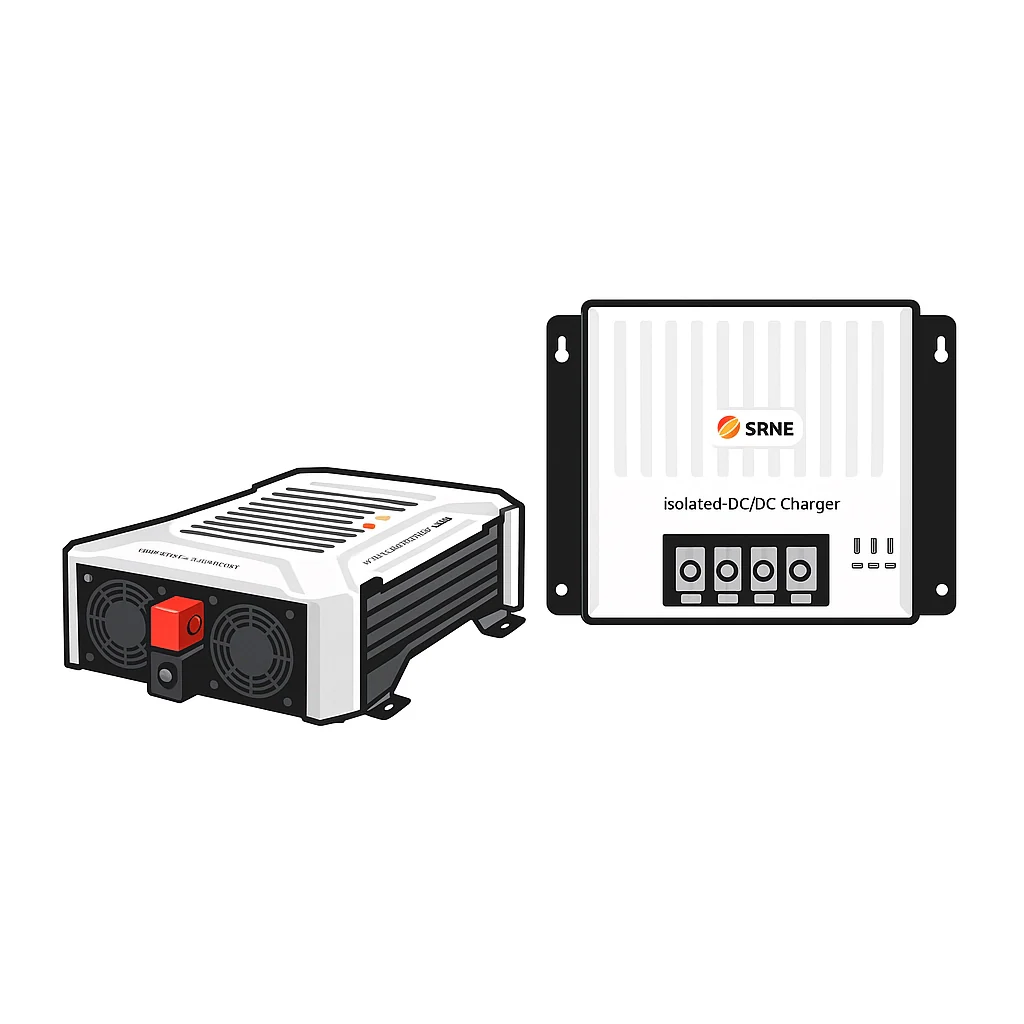
Your alternator generates 13.5V to 14.5V, too high for a lithium battery. A DC-to-DC charger steps down alternator voltage to safe levels and limits charging current to prevent damage.
Mount the DC-DC charger near the battery (within 1 metre if possible) to minimise voltage drop. Ensure adequate ventilation, as chargers generate heat under high current.
Run a cable from your alternator's positive output to the charger's input. This cable must be fused independently with a 100A fuse at the alternator end. The charger's output connects to your battery's positive terminal through your main fuse holder.
The charger's negative connects to a good earth point on your vehicle's chassis. Find a clean metal surface (not painted) and bolt the cable directly to it. A poor earth creates voltage drop and prevents proper charging.
Most DC-DC chargers include a remote on-off switch. Install this near your driver's seat so you can disable charging if needed. Test the charger by starting your engine and checking the output voltage with a multimeter. You should see 13.2V to 14.4V at the battery terminals.
Campervan Solar Charge Controller Setup and Lithium Battery Charging Profile
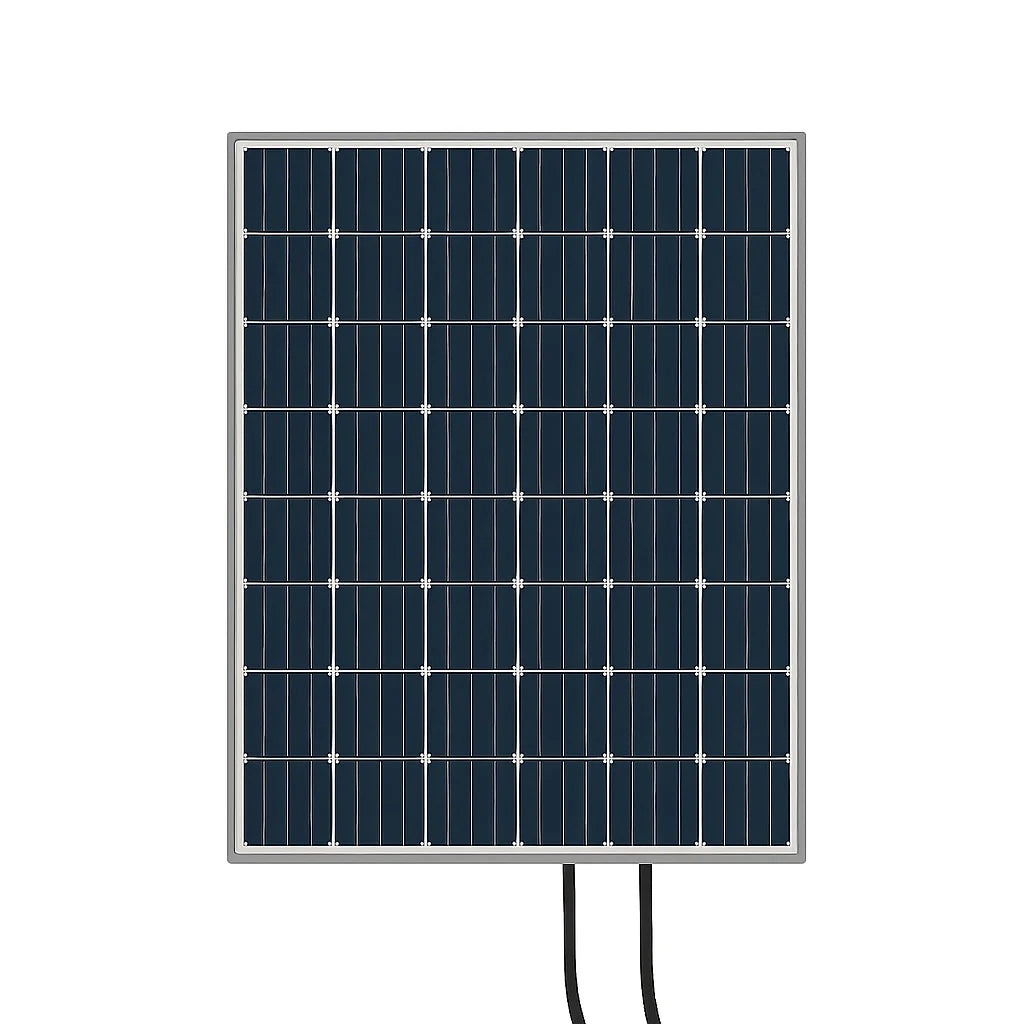
Solar panels add independence to your system. A typical campervan draws 1,500 to 3,000 watt-hours per day, so 200W of solar paired with your lithium battery creates genuine off-grid capability (dataintelo.com).
Your solar charge controller (MPPT controller) sits between your panels and battery. It tracks the panel voltage and adjusts current to maximise power harvest. Skyenergi and SRNE both supply quality MPPT controllers designed for leisure applications.
Mount the controller near your battery (within 2 metres) to minimise cable losses. Route the positive cable from your solar panels to the controller's input, then the controller's output to your battery's positive terminal (before your main fuse). The negative cables connect directly to your battery's negative terminal.
Configure the controller for lithium chemistry. Most controllers default to lead-acid profiles, which charge too aggressively for lithium. Access the controller's menu and select "LiFePO4" or "Lithium" mode. Set the absorption voltage to 14.2V and the float voltage to 13.2V. The controller will charge hard until voltage reaches 14.2V, then taper current to maintain that voltage for a fixed time (typically 1 hour), then drop to 13.2V float mode.
Test your solar setup by placing panels in direct sunlight and monitoring controller output. You should see current flowing into your battery and voltage rising toward 14.2V.
Cold Weather Performance, Weight Distribution and Testing Your Installation
Lithium batteries lose capacity in cold conditions because the BMS reduces discharge current to protect the cells. At 5°C, expect 20-30% capacity loss. Below 0°C, most lithium batteries enter a protective state and won't discharge until they warm up.
If you tour in winter, invest in a heat pad. The Skyenergi Elite range includes integrated heating that maintains internal temperature and preserves capacity. Heat pads draw power from your battery, but for most winter campervan users, this trade-off is worthwhile.
Weight distribution affects your campervan's handling and tyre wear. A lithium battery weighs roughly 15kg (100Ah), compared to 30kg for an equivalent lead-acid unit. Mount your battery low and central, ideally under a seat or in a central locker, to maintain a low centre of gravity.
If you're running multiple batteries in parallel, mount them side by side at the same height to avoid electrical imbalances.
Before you hit the road, test your complete system. Start with your engine off and all appliances on. Record the voltage drop over 30 minutes. A well-designed system should hold voltage above 12V even under full load.
Next, start your engine and monitor charging voltage. You should see the DC-DC charger output climbing toward 14.2V, then the solar controller (if you have panels) stepping in to maintain that voltage.
Finally, run a full discharge test. Turn off the engine, use your appliances until your monitor shows 20% state of charge, then stop. This confirms your BMS is working and your capacity estimate is accurate.
Installing a lithium battery transforms your campervan into a genuinely off-grid power platform. The process demands precision and respect for electrical safety, but it's entirely achievable for a competent DIY builder. Skyenergi's Edge and Elite lithium batteries are designed for exactly this purpose, with integrated BMS protection, proven LiFePO4 chemistry, and the capacity to handle real campervan loads. Get started with Skyenergi and turn your campervan into a reliable, independent power system that keeps your appliances running stable, whether you're parked on a Welsh coast or deep in the Scottish Highlands.
Frequently Asked Questions
How long will a 100Ah lithium battery run a 12V fridge in my campervan?
A 100Ah lithium battery (like the Skyenergi Edge 100Ah) typically powers a 12V fridge drawing 3-5 amps for 15-25 hours before reaching 20% depth of discharge. Real-world duration depends on fridge efficiency, ambient temperature, and whether you're using solar or alternator charging during the day. Most campervan owners pair a 100Ah battery with 200W of solar to maintain continuous fridge operation without depleting the battery.
What do I need to put a lithium battery in my campervan?
You'll need the lithium battery itself, an inline fuse and fuse holder, correctly sized cable (typically 35-50mm² for a 100Ah system), a Battery Management System (BMS) if not integrated, a DC-DC charger for alternator charging, a solar charge controller if using panels, a battery monitor for state of charge tracking, and a secure mounting bracket.
Do I need a new charger when switching to lithium batteries?
Yes. Lithium batteries require a charger or DC-DC charger that supports lithium charging profiles, which differ significantly from lead-acid profiles. Your existing mains charger or solar controller may not be compatible. A lithium-compatible DC-DC charger (for alternator charging) and MPPT solar controller are essential to avoid damaging the battery or triggering the BMS protection. Many DIY installers find they need to upgrade both the charger and solar controller when switching from lead-acid to lithium.
How do I safely connect a lithium battery to my existing electrical system?
Start by disconnecting the negative terminal of your old battery. Install an inline fuse within 30cm of the lithium battery's positive terminal, then run correctly sized cable to your main busbar or distribution panel. Connect the DC-DC charger to your alternator circuit using a suitable relay. Install your solar controller between solar panels and the battery. Finally, configure the BMS settings to match your system voltage and load requirements. Always test with a multimeter before powering appliances. If your existing split-charge relay is compatible with lithium (check voltage drop and switching speed), you can retain it; otherwise, a lithium-rated DC-DC charger is safer.
This article was written using GrandRanker
Prev post

Solar MPPT Controller Setup Guide for 2026
Updated on 26 August 2026
Next post

Best Lithium Leisure Battery 2026
Updated on 24 August 2026


