





How Do You Connect Solar Panels Using MC4 Connectors?
Learn how to connect solar panels using MC4 connectors safely, with step-by-step crimping, wiring and testing for SRNE and Skyenergi setups.
Last Updated: November 5, 2026
Quick Summary
To connect solar panels using MC4 connectors, strip about 6mm of insulation, slide the gland nut and seal onto the cable, insert the bare copper into the contact pin, crimp firmly, and pull test the pin. Push the pin into the connector body until it clicks, then hand-tighten the nut plus a quarter turn with a wrench.
- Match the connector pin to your cable size: 4mm², 6mm² or 10mm² heavy-duty.
- Male MC4 connectors carry the positive pin; female connectors carry the negative.
- Never re-crimp the same pin twice because the metal work-hardens.
- Connect the controller to the battery first, then connect the solar panels.
- Inspect MC4 connectors once a year for UV damage and oxidation.
Table of Contents
- What Are MC4 Connectors and Why They Matter
- Tools and Materials You Need for the Job
- How to Crimp MC4 Connectors: Step-by-Step
- MC4 Connector Polarity: Getting Positive and Negative Right
- Solar Panel Series vs Parallel Wiring: Which Setup?
- Connecting Solar Panels to an MPPT Charge Controller
- Troubleshooting Faulty MC4 Connections
- Order Your MC4 Connectors and Solar Cable from Skyenergi
- Frequently Asked Questions
What Are MC4 Connectors and Why They Matter
MC4 connectors are the standard plug-and-play fittings used to join solar panels, cable runs and charge controllers in a photovoltaic system. The name comes from "multi-contact, 4mm", and the design has become the default across the solar industry. The global solar connector market passed $800 million in 2026, according to Conversionstech's installer guide, which tells you how many of these small fittings are in circulation. These robust connections serve as the essential foundation for integrating solar panels into home energy ecosystems that power modern electric vehicle charging.
Skyenergi supplies these connectors to campervan and motorhome owners building off-grid systems. Solar Vision AI's 2026 safety guide names low-quality MC4 connectors as a primary cause of system failure.
A good MC4 connector does three jobs:
- Locks two cables together with a click you can feel
- Seals the joint against water and dust
- Keeps polarity correct so current flows the right way
Tools and Materials You Need for the Job
You need six things before you start: the connectors, solar cable, a crimping tool, wire strippers, a multimeter and a locking wrench. That is the full kit.
| Item | Why You Need It | Notes |
|---|---|---|
| MC4 connector pairs | Join cable to panel or controller | Buy a matched set from one maker |
| 4mm or 6mm solar cable | Carries the current | Must be UV rated |
| Crimping tool | Forms the pin to the wire | Dedicated MC4 tool, not a generic one |
| Wire strippers | Exposes the copper cleanly | Do not nick the strands |
| Multimeter | Checks polarity and continuity | Test before you plug in |
| Locking wrench | Tightens the gland nut | Two wrenches is easier |
A professional-grade crimping tool costs around £150, while a single service callback from a faulty connection can cost £1,500, according to Portlandia Electric Supply's 2026 field data. That gap is why we tell people not to borrow a cheap tool for this job.
You can pick up MC4 connector pairs and a 6mm solar cable reel from us before you start.


How to Crimp MC4 Connectors: Step-by-Step
Crimping an MC4 connector takes about two minutes once you have done it once. The key is a clean strip, a firm crimp and a click you can hear.
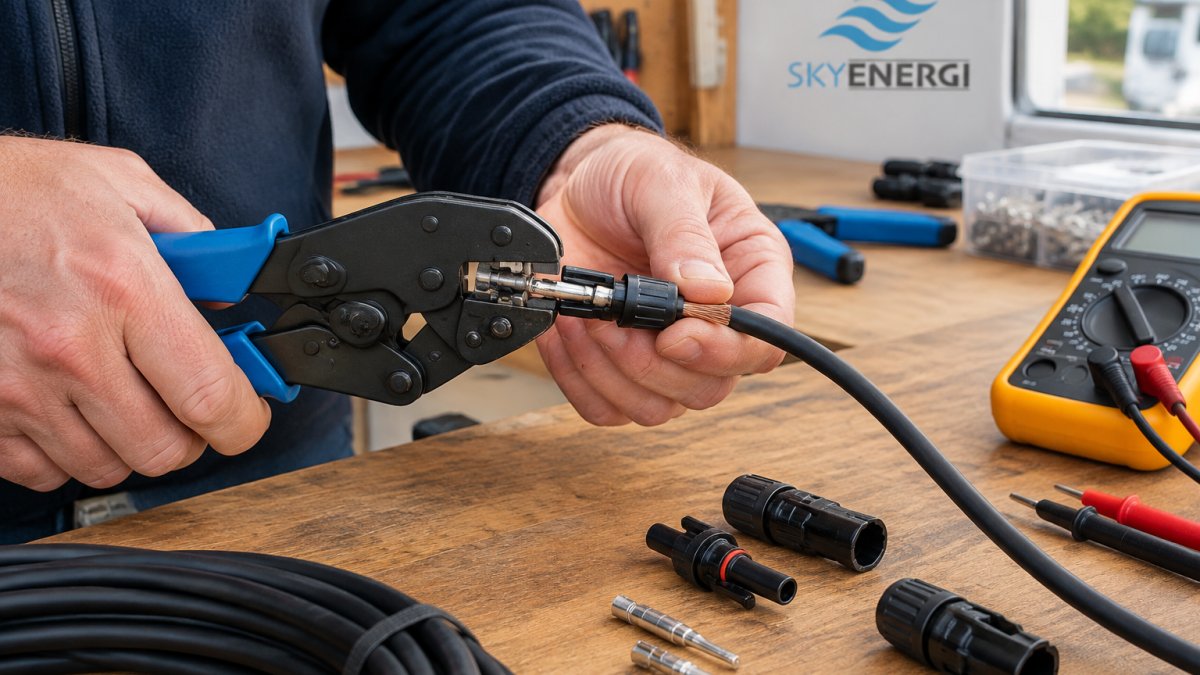
Before you start, match your cable to the connector. MC4 connectors are sized for the cable's cross-section, and using the wrong combination is the most common reason a crimp fails the pull test.
| Cable size | Typical use | Connector fit |
|---|---|---|
| 4mm² | Short panel-to-panel links, low-current arrays | Standard 4mm MC4 pin |
| 6mm² | Longer cable runs, higher-current arrays | 6mm MC4 pin or a connector rated for both |
| 10mm² | High-current runs and long home runs | Heavy-duty MC4 variant only |
If the bare copper will not sit flush inside the pin, the pin is the wrong size for the cable. Do not force it; swap to the correct pin.
Follow these steps:
- Strip the cable. Remove about 6mm of insulation without cutting the copper strands. A strip that is too long leaves bare copper outside the pin; too short and the crimp bites insulation instead of metal.
- Slide on the parts. Push the gland nut and seal onto the cable first. If you crimp before sliding these on, you will have to cut the pin off and start again.
- Insert the pin. Push the bare copper into the contact pin until the strands sit flush with the end. Check through the inspection hole if your pin has one.
- Crimp firmly. Squeeze the tool fully closed in one motion. You should feel it release at the end. A ratchet tool will not open until the crimp is complete, which is why it is preferred over a simple plier-style tool.
- Pull test. Tug the pin gently. If it moves, re-crimp with a fresh pin. Never re-crimp the same pin twice; the metal work-hardens and the second crimp is weaker than the first.
- Click it home. Push the pin into the connector body until it locks. You should hear and feel the click.
- Tighten the nut. Hand-tight, then a quarter turn with the wrench. Over-tightening can crack the seal or strip the thread.
Watch out: a crimp that looks fine but pulls loose will arc under load and melt the housing. Always do the pull test.
If you do not own a dedicated MC4 crimping tool, a good ratchet crimper with interchangeable dies is the budget-friendly route. Avoid the cheapest stamped-metal tools, as they can deform the pin rather than form it.
MC4 Connector Polarity: Getting Positive and Negative Right
Polarity is the direction current flows, and mixing it up is the most common DIY error. Male MC4 connectors carry the positive contact pin; female connectors carry the negative. The plastic shell does not tell you which is which, so check the metal inside.
A few rules keep you safe:
- The male pin goes to the positive cable from the panel
- The female socket goes to the negative cable
- Panel positive connects to controller positive, never crossed
- Test with a multimeter before you plug anything in
If your multimeter reads a negative voltage where you expected positive, you have the probes or the cables reversed. Fix it before connecting.
Solar Panel Series vs Parallel Wiring: Which Setup?
Series wiring joins panels positive to negative in a chain and adds the voltages together. Parallel wiring joins all positives together and all negatives together, and adds the currents instead. Which one you want depends on your controller.
Choose series when:
- Your cable run is long and you want less voltage drop
- Your MPPT controller accepts a higher input voltage
- You have partial shade across only some panels
Choose parallel when:
MC4 Solar Panel Cable Connector Pair Male/Female 5 Pair →
- Shade hits one panel and you want the others to keep working
- Your controller has a lower voltage limit
- You are running short cable runs
For a deeper look, our guide on connecting solar panels in parallel for caravans walks through the wiring. If you are still deciding, our 2026 guide to wiring campervan solar panels covers all five methods.
Connecting Solar Panels to an MPPT Charge Controller
An MPPT charge controller takes the panel voltage and converts it to the voltage your battery needs, and it does this more efficiently than a PWM unit. Connecting it correctly means matching polarities and protecting the cable run.
The order matters:
- Connect the controller to the battery first, with the correct fuse in place
- Then connect the solar panels to the controller
- Check the controller display or app reads the panel voltage
- Confirm the battery is charging
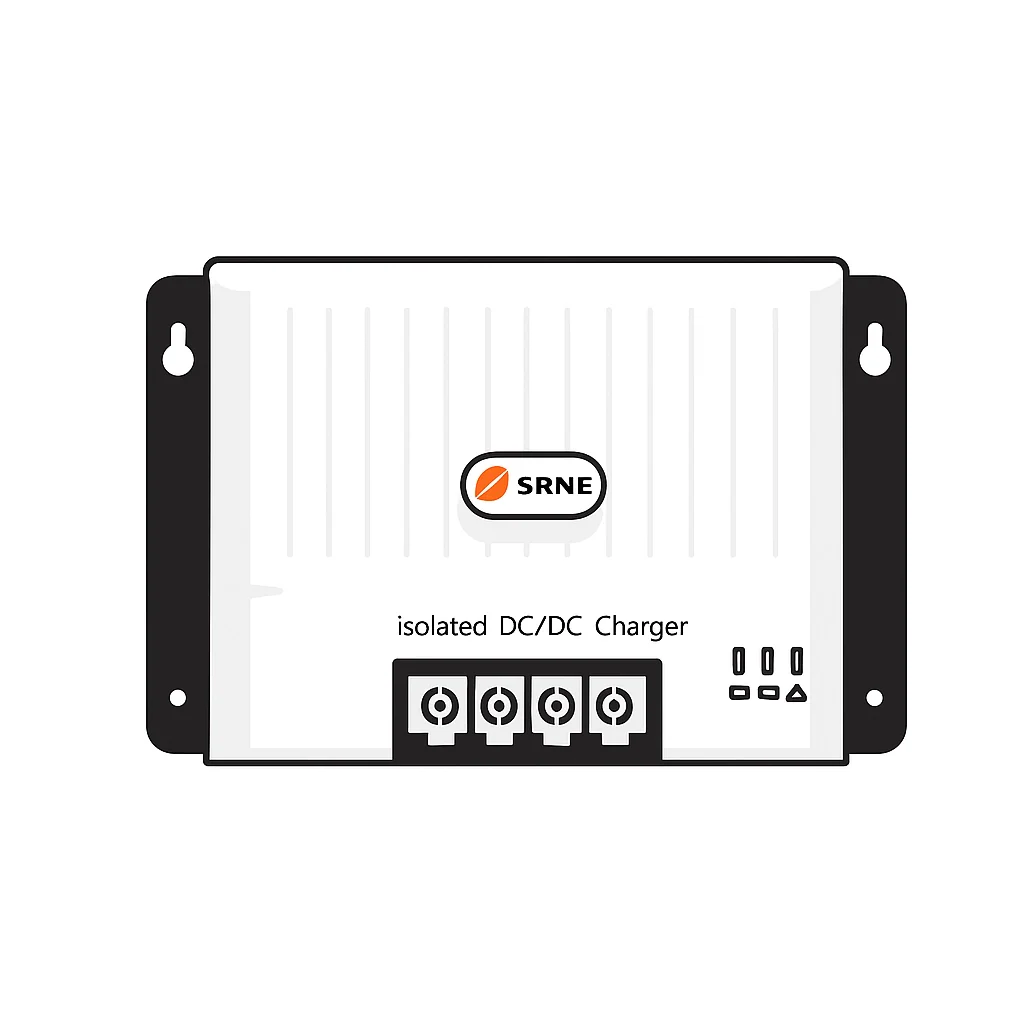
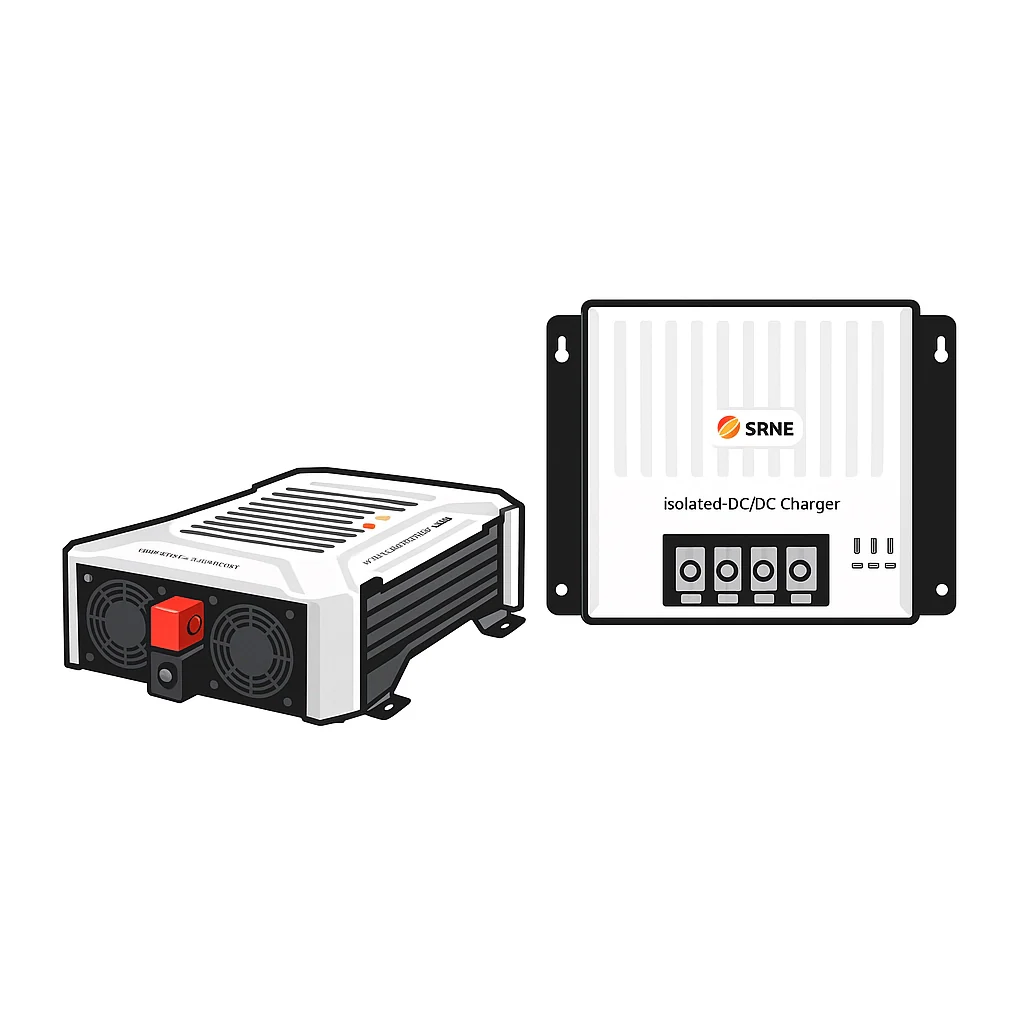
If you want a matched set, our SRNE MPPT Shiner 2430 controller with solar panel kit includes the controller and panels together.
MC4 connectors on the panel side should click into the controller's solar input leads.
Troubleshooting Faulty MC4 Connections
Most MC4 faults show up as three symptoms: no voltage, low voltage or a hot connector. Each one points to a different cause, and working through them in order saves time.
Start with a visual check. Look for:
- Brown or black discolouration on the housing
- Melted plastic around the pin
- Loose or wobbly connector bodies
- Green corrosion on the copper
Discolouration and melted plastic are signs of heat damage, which usually means a high-resistance joint. A joint that is warm to the touch under load is already failing; a joint that is hot enough to smell is a fire risk and should be isolated before you investigate further.
Then run a physical check. Push each connector together firmly and listen for the click. If it does not click, the locking mechanism has failed and the connector needs replacing. Wiggle the cable gently at the gland nut; movement there means the seal is not gripping and water will get in.
Finally, do an electrical check. Use a multimeter to test voltage at the panel leads, then at the controller input. A big drop between the two points points to a bad joint or a damaged cable. To isolate a single connector, measure the voltage across it under load; a healthy joint shows almost no drop, while a failing one shows a reading that climbs as current flows.
Mismatched connectors from different makers are a known risk. Risin Energy's 2026 technical guidance warns that connectors which look like they fit can still cause poor performance and safety problems. Stick to one brand across the whole system.
Long-term maintenance matters as much as first-time installation. After two to five years outdoors, MC4 connectors are exposed to UV and thermal cycling. Inspect them once a year for:
- Chalky or cracked plastic from UV degradation
- Oxidation on the metal pin, which shows as a dull or greenish surface
- Water pooling inside the housing after rain
- Cable insulation that has hardened or split near the gland nut
A connector that shows any of these should be replaced rather than cleaned. Oxidation and UV damage are not reversible, and a cleaned pin will fail again. Keep a few spare pairs on hand so a replacement is a five-minute job rather than a reason to leave the array offline.
Order Your MC4 Connectors and Solar Cable from Skyenergi
Getting the connectors right is the difference between a solar system that runs quietly for a decade and one that keeps tripping you up. The steps above are not complicated, but they reward care.
We stock the parts you need to finish the job properly. Our MC4 connector pairs come in fives, our 6mm solar cable is UV rated for outdoor runs, and our SRNE controllers and monitoring gear tie the whole system together. Every order ships fast from stock, and our team is on hand if you get stuck mid-install.
Frequently Asked Questions
Do MC4 connectors need to be crimped?
Yes, MC4 connectors require a proper crimp to secure the contact pin to the stripped solar cable. A dedicated crimping tool ensures the metal pin is compressed evenly around the conductor, creating a low-resistance joint that won't pull loose. Avoid pliers or generic crimpers, as they can crush the pin or leave it loose, leading to overheating or voltage drop.
How do you check the polarity of MC4 solar connectors?
Use a multimeter set to DC voltage. Touch the red probe to the male connector's metal pin and the black probe to the female connector's socket. A positive reading confirms correct polarity. If the reading is negative, the wires are reversed. Always check polarity before connecting panels to your charge controller, as reversed polarity can damage equipment. Labelling cables during installation helps avoid mistakes.
Can you connect solar panels in series with MC4 connectors?
Yes, MC4 connectors are commonly used to wire panels in series. Connect the positive male connector of one panel to the negative female connector of the next. This adds voltages while current stays the same. Ensure all connectors are the same brand and type to maintain a secure, weatherproof joint. Use a multimeter to verify total voltage before connecting to your MPPT controller.
Are MC4 connectors waterproof?
MC4 connectors are designed to resist dust and water ingress when properly mated and fully locked. However, mismatched or low-quality connectors may not seal correctly, leading to moisture damage. Always use connectors from a reputable supplier and ensure they are fully locked together.
If you are planning a campervan or motorhome solar install and want the right connectors, cable and controller in one order, we can help you spec it. Our team supports DIY builders and professional converters alike, with SRNE charging systems and matched solar components ready to ship.

Prev post

Mounting Solar Panels for UK Weather: 7 Steps
Updated on 06 November 2026
Next post

Preventing Solar Charge Controller Overheating in Van Systems
Updated on 05 November 2026


