





Solar MPPT Controller Setup Guide for 2026
MPPT controller setup: Learn how to set up an MPPT solar charge controller for lithium batteries. Step-by-step guide covering connection, configuration.
Table of Contents
- Why MPPT Controllers Matter for Your Solar System
- Selecting the Right MPPT Controller for Your System
- Safety Precautions and Essential Equipment
- Step-by-Step Connection Sequence
- Configuring Lithium Battery Charging Profile Settings
- Calculating Solar Array Voltage for MPPT Controllers
- Troubleshooting MPPT Solar Controller Errors
- Remote Monitoring and Firmware Updates
Last Updated: August 26, 2026
Why MPPT Controllers Matter for Your Solar System
A solar MPPT controller sits between your photovoltaic array and batteries, constantly adjusting voltage and current to extract maximum power from your panels. Unlike older pulse width modulation (PWM) technology, MPPT controllers recover up to 30% more power, making them essential for energy independence.
According to Sunnal Solar's 2026 analysis of solar charge controllers, MPPT technology boosts solar energy harvests by up to 30% compared to basic alternatives. For campervan owners and off-grid enthusiasts in the UK, this translates to faster battery charging, longer runtime between sunny days, and reliable power for appliances.
The UK's renewable energy landscape is shifting rapidly. According to GreenMatch's 2025 solar energy statistics, the country generated 14.43 billion kWh of solar electricity in 2025, enough to power over 5 million homes. Solar installations hit 1.73 million in 2025, a 6.8% rise from the previous year, reflecting growing demand for reliable solar charge management.
Selecting the Right MPPT Controller for Your System
Choosing the correct MPPT controller requires matching three key specifications: your system voltage (12V, 24V, or 48V), your maximum solar array power in watts, and your battery chemistry (lead-acid, lithium iron phosphate, or other lithium variants).
Start by calculating your total photovoltaic array wattage. If you're installing 400W of solar panels on a campervan, you need a controller rated for at least that capacity. MPPT controllers are rated by current (amperes) at your system voltage. A 100A MPPT controller at 12V handles approximately 1,200W of solar input, while a 30A controller manages around 360W.
For lithium battery systems, which tolerate higher charging currents than lead-acid, most installers recommend stepping up one controller size. If a lead-acid system needs a 75/15 controller, the same solar array on lithium batteries performs better with a 100/30.
The Victron SmartSolar MPPT range offers excellent performance across system sizes. The Victron Energy SmartSolar MPPT 75/15 (£48.95) suits smaller installations with 200-400W arrays, while the Victron Energy SmartSolar MPPT 100/30 (£93.38) handles larger 600-1000W setups typical of professional van conversions. Both feature rapid maximum power point tracking, essential for capturing energy during the UK's frequent cloud cover and seasonal weather changes.


According to research on MPPT controller selection criteria, MPPT controllers are recommended for systems over 150 watts, lithium battery installations, and cold weather climates. The UK's winters and variable cloud patterns make MPPT the standard recommendation for leisure vehicle and off-grid applications.
| System Size | Recommended Controller | Best For |
|---|---|---|
| Small (200-400W) | Victron SmartSolar 75/15 or BlueSolar 75/15 | Campervans, small caravans |
| Medium (500-800W) | Victron SmartSolar 100/30 or BlueSolar 100/30 | Professional van conversions, larger motorhomes |
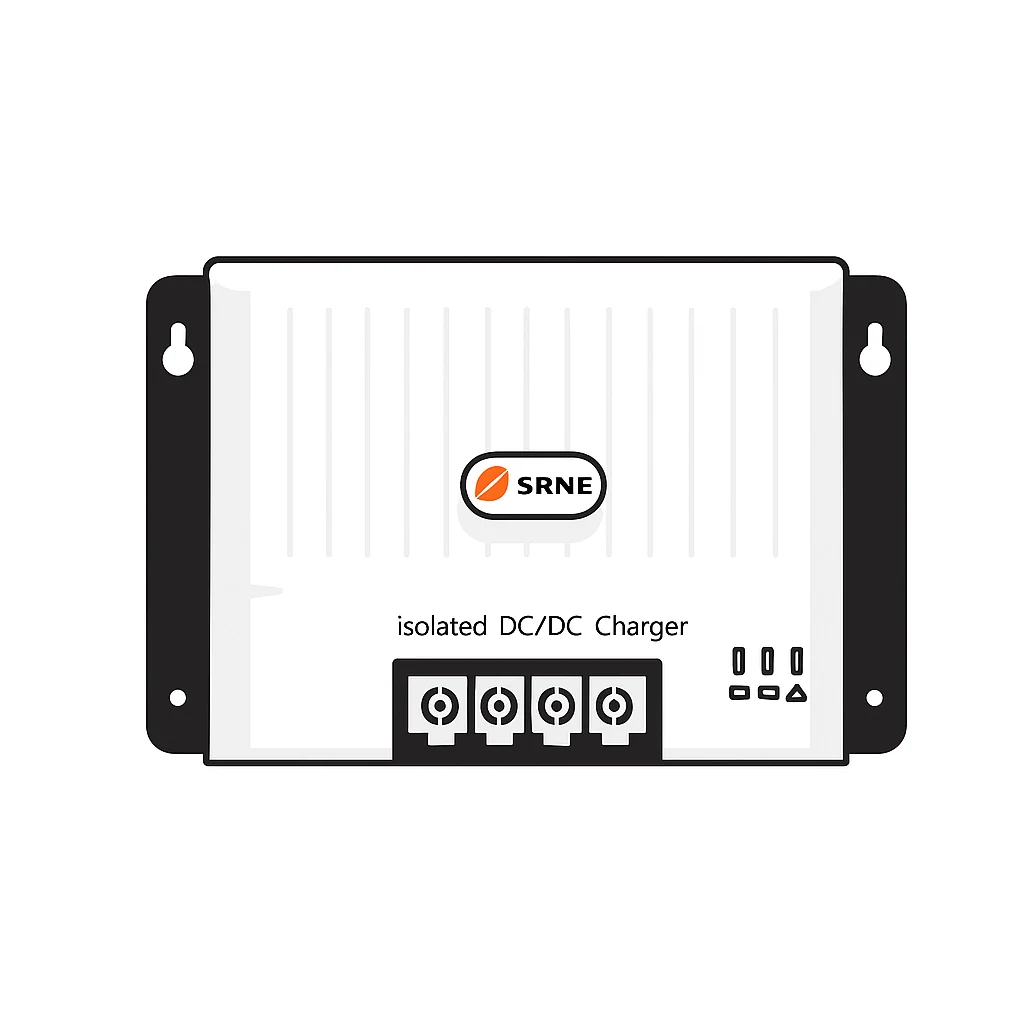
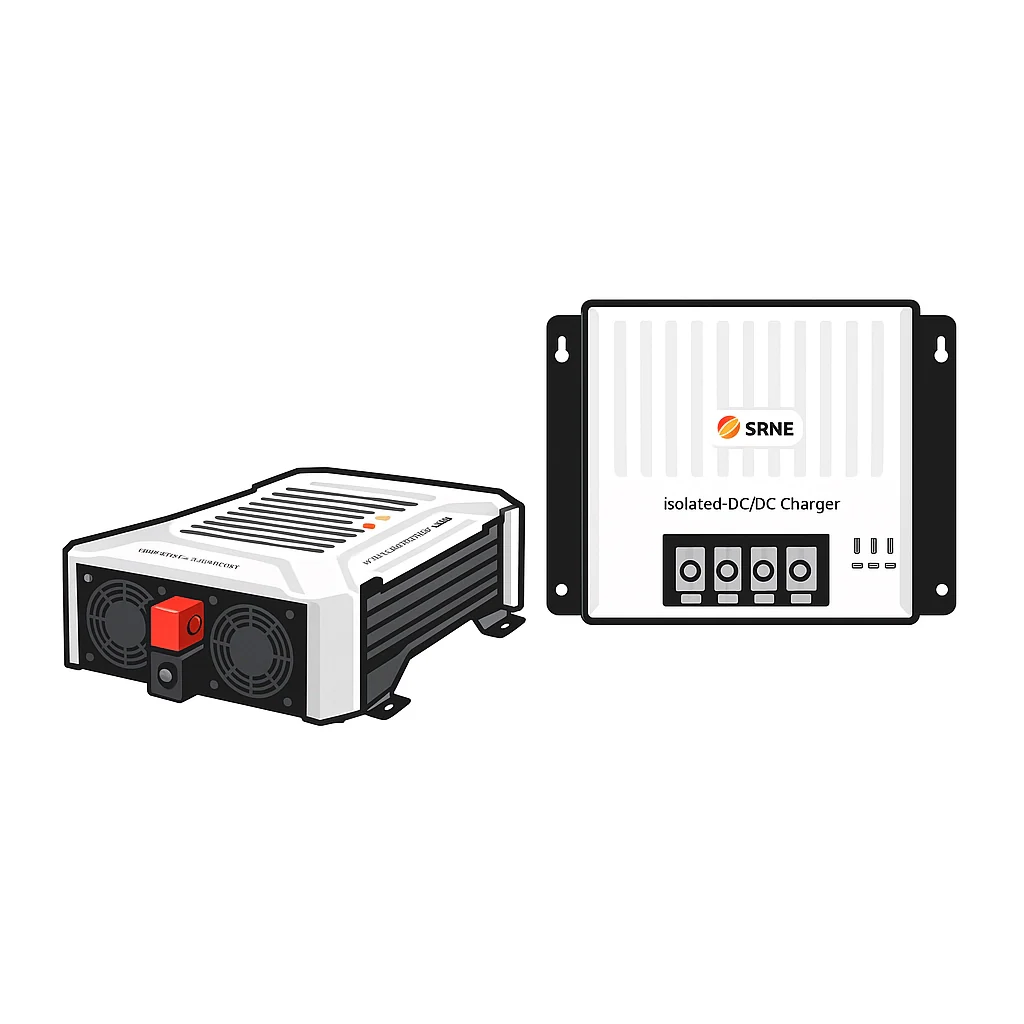
| Large (900W+) | SRNE MPPT controllers or stacked units | Full-time off-grid homes, commercial systems |
Safety Precautions and Essential Equipment
Before connecting any component, disconnect your battery's negative terminal. This prevents catastrophic short circuits that can melt wiring, destroy equipment, and create fire hazards in confined spaces like campervans.
Use proper wire gauge for your system. Undersized wiring generates heat, causing voltage drop that reduces charging efficiency and risks insulation failure. For a 12V system running 30A of charge current, use 10mm² cable between the battery and controller. For 50A systems, use 16mm² cable. Most installers aim for under 3% voltage drop on the battery-to-controller run.
Install a DC breaker or fuse between your battery and the MPPT controller. A 100A breaker protects a 100/30 controller; a 50A breaker suits a 75/15 unit. This breaker must be within 50cm of the battery terminal to meet electrical safety standards. Place the breaker on the positive terminal only.
Your photovoltaic array needs a DC disconnect switch between the panels and the controller. This allows safe maintenance without exposing live circuits. The disconnect must be clearly labelled and accessible.
Connect a grounding conductor (minimum 6mm² copper) from your system's negative bus bar to a dedicated earth point. For campervans, this can be the vehicle chassis if clean and corrosion-free; for static installations, use a copper earth rod driven 1.2 metres into soil. This grounding path protects against lightning strikes and static discharge.
Install a surge protector (DC surge suppressor) across your battery terminals. Lightning can induce voltage spikes exceeding 1,000V, instantly destroying controllers and inverters. A quality surge protector rated for your system voltage costs £30-50 and prevents thousands of pounds in equipment loss.
Step-by-Step Connection Sequence
The order of connections matters enormously. Connecting components in the wrong sequence can trigger voltage spikes that damage sensitive electronics or create dangerous arc faults.
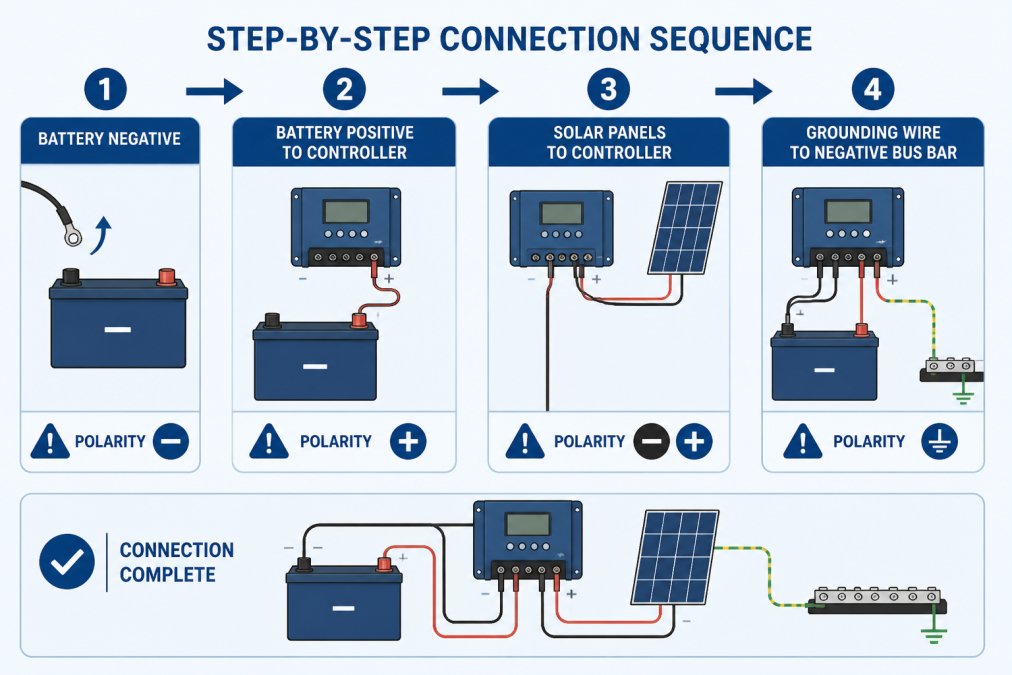
Step 1: Connect the Battery First
Start by disconnecting the negative terminal of your lithium or lead-acid battery. This de-energises the entire system and prevents accidental short circuits during installation.
Run your positive cable (red insulation) from the battery's positive terminal to the MPPT controller's battery positive input. Ensure your breaker or fuse is installed within 50cm of the battery. Tighten all connections firmly; loose connections generate heat and resistance, reducing efficiency.
Connect the negative cable (black insulation) from the battery's negative terminal to the controller's battery negative input. Your controller may display a startup message or LED indicator. Confirm the controller recognises the battery voltage correctly before proceeding.
Step 2: Connect the Solar Panels
Only after the battery is securely connected should you wire your photovoltaic array. Run your positive solar cable from the panel array's positive terminal to the controller's solar positive input. Use wire gauge appropriate to your array current (typically 6-10mm² for most leisure vehicle installations).
Connect the array's negative terminal to the controller's solar negative input. Your MPPT controller will now begin tracking the maximum power point.
Do not connect panels before the battery. Uncontrolled panel voltage can spike the controller's input circuits, especially on bright mornings when panel voltage jumps rapidly as clouds clear.
Step 3: Install Grounding and Surge Protection
With the battery and panels connected, install your grounding conductor from your system's negative bus bar to an earth point. For campervans, this is typically the chassis; for static installations, it's a driven earth rod. sizing home batteries.
Clamp a surge suppressor across your battery terminals. This device sits dormant during normal operation but diverts dangerous voltage spikes to ground during lightning events or equipment faults.
Finally, reconnect the battery's negative terminal. Your system is now live and ready for configuration.
Configuring Lithium Battery Charging Profile Settings
Lithium batteries require different charge management than lead-acid. Lead-acid uses constant-current, constant-voltage charging; lithium uses a multi-stage algorithm that protects cell longevity.
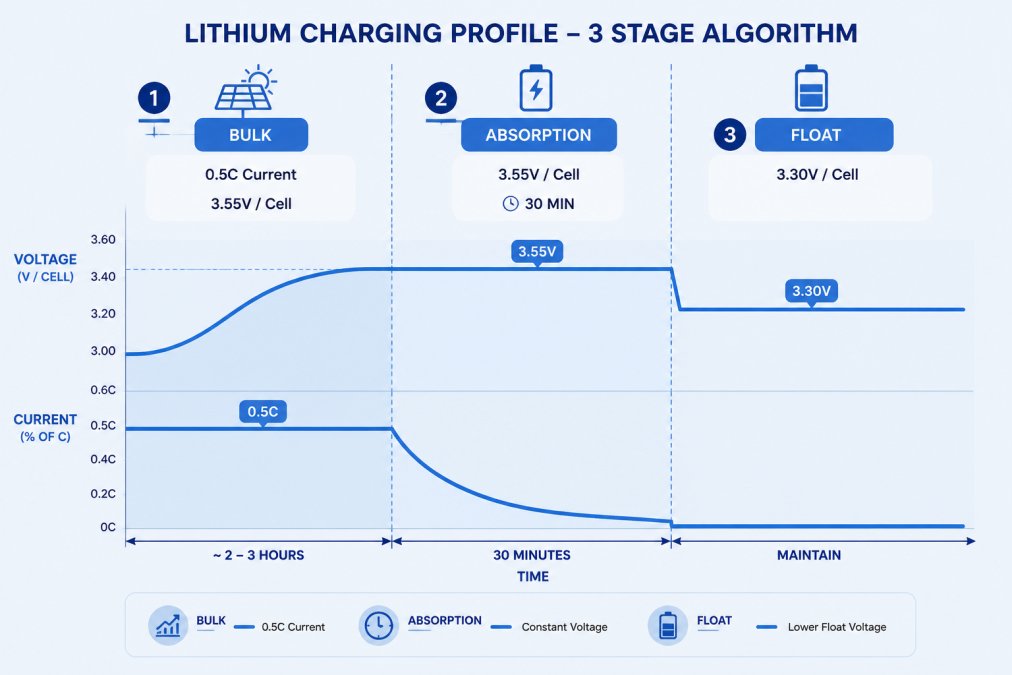
Most MPPT controllers allow you to select battery type in the menu. Choose "Lithium" or "LiFePO4" (lithium iron phosphate) if your battery is LiFePO4 chemistry. This adjusts the charging algorithm automatically.
Set your bulk charge voltage to match your battery's specification sheet. For a 12V LiFePO4 battery, this is typically 14.2V (3.55V per cell × 4 cells). For 24V systems, set 28.4V. This voltage represents the maximum charging current phase.
Configure the absorption stage duration, typically 30-60 minutes. During absorption, the controller maintains bulk voltage while gradually reducing current as the battery fills. This stage completes the final 10-15% of charge while minimising stress on cells.
Set your float voltage lower than bulk voltage. For 12V lithium, float is usually 13.5V (3.375V per cell). This maintenance voltage keeps the battery topped up without overcharging. Check your battery's manual for specific requirements.
Proper charge management extends battery lifespan by over 25%, according to Sunnal Solar's 2026 findings on battery management.
Calculating Solar Array Voltage for MPPT Controllers
Your photovoltaic array voltage must fall within your controller's input range. Most 12V MPPT controllers accept 20-100V input; 24V controllers accept 30-150V; 48V controllers accept 60-200V.
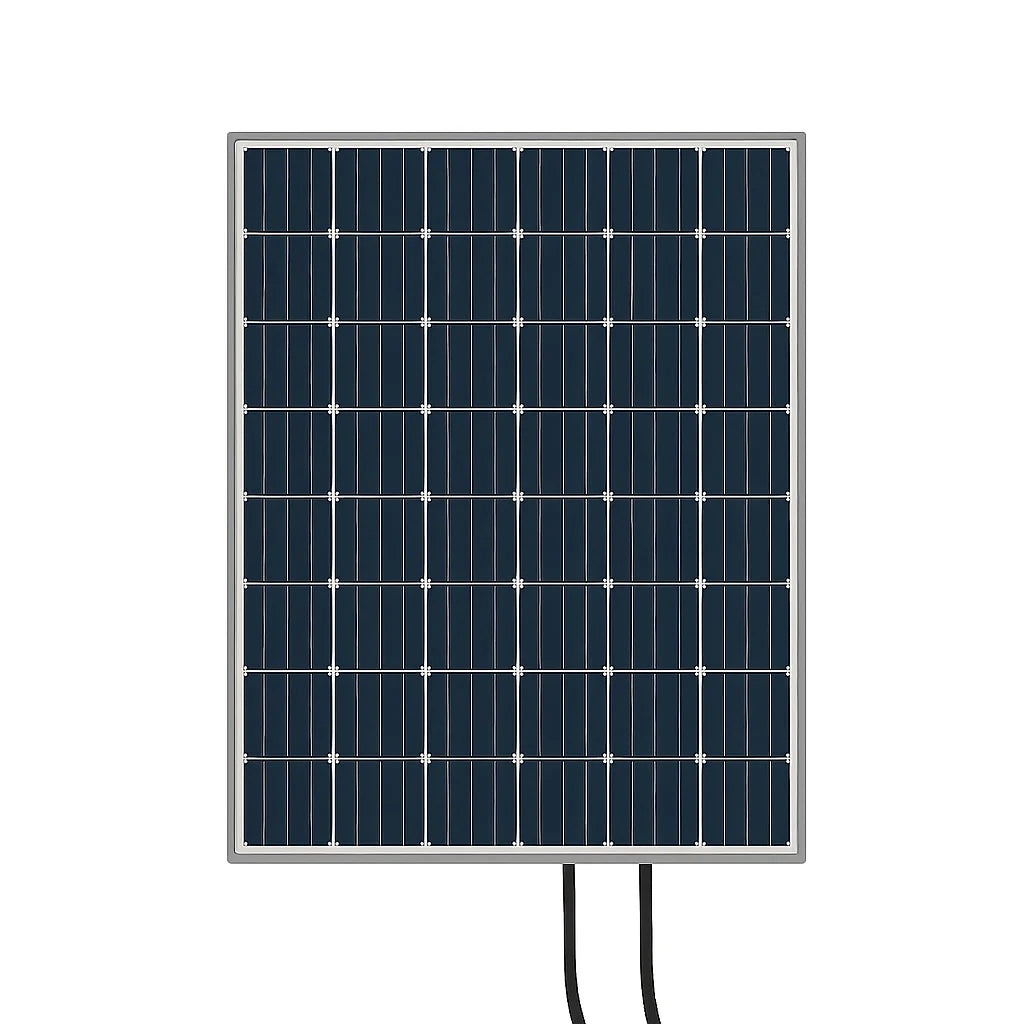
Calculate your array's open circuit voltage (Voc) by checking each panel's datasheet. A typical 400W panel has Voc around 48V. If you're connecting two panels in series, add their voltages: 48V + 48V = 96V total. This must not exceed your controller's maximum input voltage.
For parallel connections (positive to positive, negative to negative), voltage stays the same but current doubles. Most installers configure 24V or 48V systems for larger arrays because higher voltage means lower current, allowing thinner, cheaper wiring with less voltage drop.
Use this formula to check voltage drop: voltage drop = (current × cable length × 0.017) ÷ cross-sectional area in mm². For a 30A system over 10 metres of 10mm² cable: (30 × 10 × 0.017) ÷ 10 = 0.51V drop, or about 4% at 12V. Acceptable.
Troubleshooting MPPT Solar Controller Errors
Your controller displays error codes when something goes wrong. Understanding these codes saves time and prevents damage.
"Bulk charging stuck" usually means your battery voltage hasn't risen after 30 minutes of charging. Check your battery connections; a loose terminal prevents current flow. Verify the battery isn't damaged or deeply discharged below the controller's minimum recovery voltage (typically 8V for 12V systems).
"Over-temperature" indicates the controller is overheating. Ensure it's mounted in shade with airflow around the heatsink. Repositioning often solves this.
"PV over-voltage" means your solar array voltage exceeds the controller's maximum. This occurs when panels are cold and bright (winter mornings are worst). Check your array's Voc rating and recalculate series connections. You may need to reconfigure panels in parallel instead of series.
"Battery under-voltage" happens when your battery voltage drops below the controller's operating minimum, usually 9V for 12V systems. This typically indicates a severely discharged battery or loose negative connection.
"Inverter connection fault" (on controllers with integrated inverter outputs) means the load output is shorted or drawing excessive current. Unplug all loads, then reconnect one at a time to identify the faulty device.
Most MPPT controllers log fault history. Access this through the display menu or via Bluetooth app. Historical data often reveals intermittent issues.
Remote Monitoring and Firmware Updates
Modern MPPT controllers like Victron's SmartSolar range feature Bluetooth connectivity, allowing you to monitor your system from your phone. Install the manufacturer's app, connect to the controller's Bluetooth signal, and you'll see real-time charge current, battery voltage, and daily energy harvested.
Remote monitoring is invaluable for troubleshooting. If your fridge keeps cutting out, check the app to see if battery voltage is dropping during high loads, indicating insufficient solar input or a faulty battery.
Firmware updates improve controller performance and fix bugs. Manufacturers release updates 2-4 times yearly. Connect via Bluetooth, open the app, and select "Update Firmware" if a newer version is available. Back up your controller's settings before updating.
For systems without Bluetooth, some MPPT controllers use wired data cables to connect to monitoring devices. Skyenergi stocks compatible monitoring solutions for customers requiring advanced logging or multi-controller systems.
Setting up a solar MPPT controller correctly transforms your energy independence. The difference between a properly configured system and a poorly installed one is dramatic: reliable power versus frustrating voltage drops, fast charging versus days waiting for full batteries, and equipment longevity versus premature failures.
Your lithium battery system deserves an MPPT controller matched to your array size and configured for your battery chemistry. Skyenergi's range of Victron SmartSolar, BlueSolar, and SRNE MPPT controllers, combined with expert configuration guidance, ensures your campervan, motorhome, or off-grid installation delivers the performance you need. With fast UK delivery and specialist support, get started with Skyenergi and maximise your solar energy harvest.
Frequently Asked Questions
Q: What size MPPT controller do I need for my solar array?
A: Size your MPPT controller based on your solar panel's short circuit current and system voltage. For a 400W solar panel at 12V, you'll need a controller rated for at least 30-35 amps. MPPT controllers are recommended for systems over 150 watts, lithium batteries, or cold weather conditions. Skyenergi's Victron SmartSolar MPPT 100/30 (£93.38) handles larger arrays, while the 75/15 (£48.95) suits smaller setups. Always add a 20-30% safety margin to your calculated current rating.
Q: What are the recommended lithium battery charging profile settings for an MPPT controller?
A: Lithium batteries require specific charge parameters: set bulk charging voltage to 14.2-14.4V for 12V systems, absorption stage at 14.0-14.2V, and float voltage at 13.6V. Most modern MPPT controllers like Victron SmartSolar include lithium battery presets that automatically apply these settings. Avoid lead-acid profiles on lithium batteries, they'll overcharge and damage the cells. Always consult your battery manufacturer's specifications.
Q: Why must I connect the battery before the solar panels?
A: Connecting the battery first prevents dangerous voltage spikes and arc flash when solar panels are exposed to sunlight. Solar panels generate voltage instantly when illuminated; if the controller is unpowered, connecting the panel creates an uncontrolled surge that can damage components and injure you. Battery-first connection allows the controller to initialise safely and regulate incoming power from the photovoltaic array. This sequence is critical for both safety and equipment longevity.
Q: How do I troubleshoot common MPPT controller errors?
A: Check for low voltage disconnect warnings, verify your battery voltage hasn't dropped below the controller's minimum threshold. If the controller shows no charging, confirm solar panel polarity and wire gauge are correct; undersized wires cause voltage drop that prevents MPPT tracking. Overheating errors indicate poor ventilation or excessive current; ensure adequate airflow around the controller. Firmware updates often resolve tracking issues; Skyenergi's Victron controllers support Bluetooth connectivity for wireless updates and real-time monitoring via smartphone apps. Contact Skyenergi support if errors persist after checking these basics.
This article was written using GrandRanker
Prev post

Best Lithium Battery for Motorhome 2026
Updated on 27 August 2026
Next post

Campervan Lithium Battery Installation Guide
Updated on 25 August 2026


