





Mounting Solar Panels for UK Weather: 7 Steps
Solar panel mounting for UK weather: set the right tilt, secure brackets against wind and rain, and keep panels performing. Learn the steps now.
Quick Summary
The best approach to solar panel mounting for UK weather is to choose a sensible tilt, use secure corner and centre brackets designed for wind and rain, and seal every cable route. Rain and cloud reduce output, so mounting should focus on keeping panels secure, angled sensibly and clear of shade.
- Check roof orientation and measure usable space before buying any mounting kit.
- Typical UK solar PV systems are 3 to 5 kW, or 8 to 14 panels.
- Flat-roof tilt guidance from SFS UK is 10 to 15 degrees, balancing energy capture against wind resistance.
- Fit centre brackets on longer panels so no single bracket carries the full snow load.
- Seal every cable route with an entry gland and check all fixings after the first storms.
Table of Contents
- Why UK Weather Changes the Way You Mount Solar Panels
- Step 1: Check Your Roof Orientation and Available Space
- Step 2: Choose the Best Angle for Solar Panels on a UK Roof
- Step 3: Plan Solar Panel Tilt for Winter Sun and Snow
- Step 4: Fit Solar Panel Mounting Brackets for Wind and Rain
- Step 5: Match Your MPPT Solar Charge Controller to the Array
- Step 6: Check for Shading, Cloud Cover and Coastal Conditions
- Booking Your Mounting Kit and Next Steps
- Frequently Asked Questions
Mounting Solar Panels for UK Weather: 7 Steps
Last Updated: November 5, 2026
Why UK Weather Changes the Way You Mount Solar Panels
Most solar mounting advice comes from sunny countries. Mounting for UK weather is a different job. Rain, wind, snow and low winter sun all change how a solar panel mounting system should be planned and fixed. Skyenergi builds lithium leisure batteries and solar components for campervans, motorhomes and off-grid systems, and the steps below focus on getting solar panel mounting right for the conditions you will actually face here.
Rain and cloud cut output on a regular basis. A study of PV panels in south-east England found that rainy or cloudy conditions can considerably reduce system output (Ghazi and Ip, The effect of weather conditions on the efficiency of PV panels in southeast of UK). Mounting cannot fix that.
This guide walks through seven steps in order: orientation and space, tilt angle, winter sun, brackets and wind loading, charge controller matching, shading and coastal conditions, and finally booking your kit.
Step 1: Check Your Roof Orientation and Available Space
Start by working out which direction your roof faces and how much clear space you have. In the UK, a south-facing surface generally gives the strongest generation over the year, but east and west faces can still work well for a smaller array.
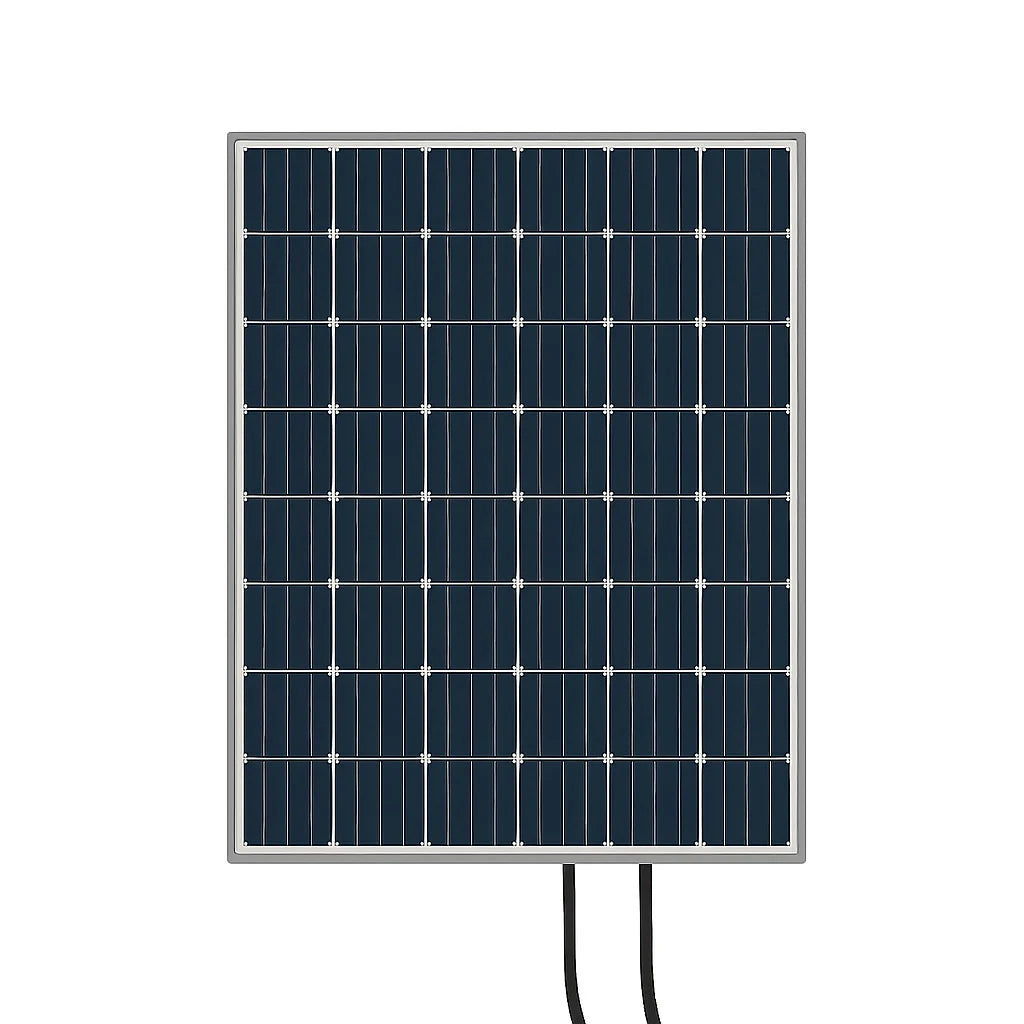
Measure the usable area before you buy anything. A typical UK solar PV system is 3 to 5 kW, or 8 to 14 panels, according to Renewable Energy Hub (Solar Panels UK: A Guide for 2026). Use that as a scale reference, then check whether your roof or van top can take the number of panels you need.
- Note the compass direction of the main mounting surface
- Measure length, width and any obstacles such as vents or aerials
- Mark the clear zones where brackets can be fixed
- Check that nothing will shade the panels for part of the day
Step 2: Choose the Best Angle for Solar Panels on a UK Roof
Tilt matters, but there is no single perfect number. A general reference from Renewable Energy Hub gives 30 to 40 degrees as the typical angle for optimal generation in most regions (Solar Panels UK: A Guide for 2026). Use that as a starting point, not a rule.
The best angle depends on your location, your roof pitch and how you use the system. A fixed roof with little room to adjust will usually be set by the existing pitch. A tilting frame gives you more control, but it also adds mounting complexity.
Why a Steeper Tilt Is Not Always Better
A steeper tilt is not automatically the right choice for a roof-mounted system. Flat-roof guidance from SFS UK gives a typical tilt range of 10 to 15 degrees, because it balances energy capture against wind resistance (SFS UK, Flat Roof Solar Panel Installation Guide).
For a van or motorhome, the wind on a raised panel matters as much as the angle. A steeper panel catches more wind, which puts more load on the brackets. Choose a tilt that works for your roof and gives you a secure fixing.
Step 3: Plan Solar Panel Tilt for Winter Sun and Snow
Winter sun is low in the sky, so the panels catch less energy even on clear days. A steeper tilt can help in winter, but only if the mounting can handle the extra wind load and snow sitting on the panels.
Snow is a practical problem. A panel that tilts slightly more lets snow slide off more easily, but a flat or shallow panel can hold snow for longer. Plan the tilt around the conditions in your area, and check whether your mounting system is rated for the load.
Keep these points in mind:
- Low winter sun means less output, so expect lower winter figures
- A steeper tilt helps shed snow but raises wind loading
- Clear panels of snow and debris when it is safe to do so
- Never climb onto a roof in icy or windy conditions
Snow Load and the Mounting Structure
Snow load is a structural question as well as an efficiency one. Wet snow is heavy: a modest depth across a large array adds a substantial downward force on every bracket, and the load is uneven when snow slides and piles against the lower frame edge.
A common pattern is for the lower brackets to carry far more than their share after a partial thaw and refreeze, because meltwater runs down, refreezes at the bottom rail and anchors the snow there. The same attention to load paths matters when installing solar on roofs, where the supporting structure must carry the panels and the weather loads together.
Tilt choice is a trade-off between shedding and wind. A steeper panel sheds snow sooner but presents more area to the wind, so the bracket and fixing specification has to suit the tilt you choose, not the other way round. If you cannot inspect the array safely in winter, design for the load rather than relying on clearing it.
Watch out: never clear snow by climbing onto a snowy or icy roof, and never strike a panel to break ice off it, because the glass and frame can crack and the impact can loosen fixings you cannot see.
Step 4: Fit Solar Panel Mounting Brackets for Wind and Rain
This is where UK weather matters most. Rain gets into any gap, and wind tests every fixing. Use a corner bracket system designed for the job, and seal every cable route.
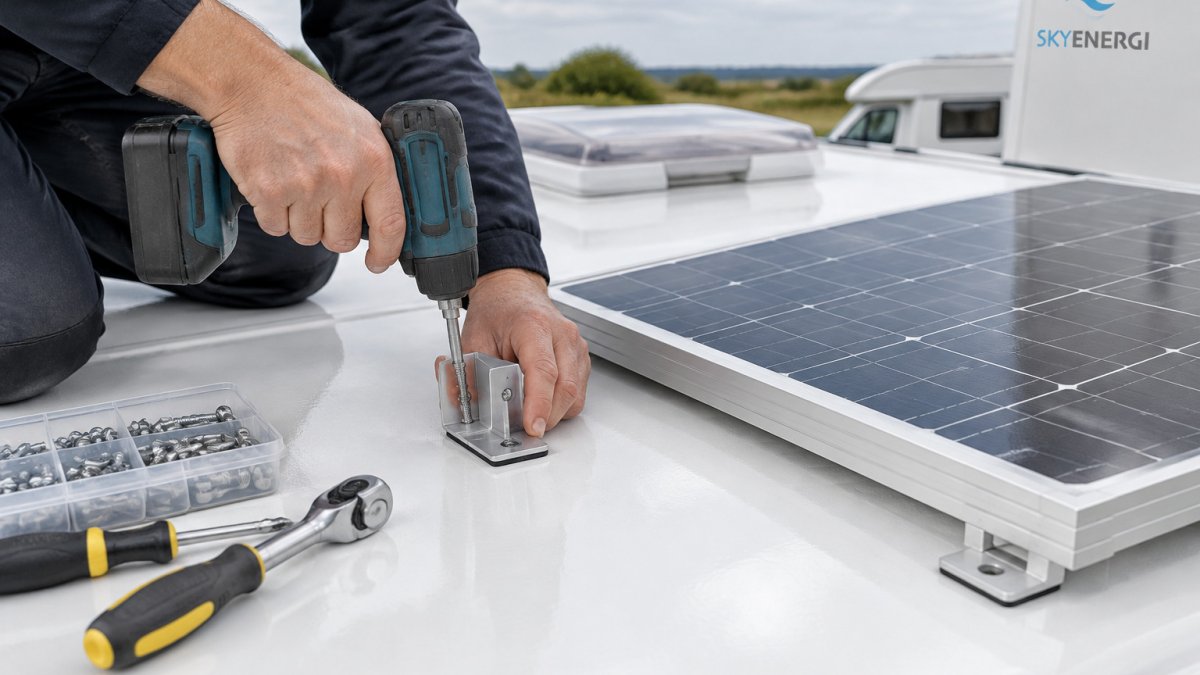
The Skyenergi 7 Pieces ABS Solar Panel Mounting Kit is designed for rigid-framed solar panels. It includes four corner sections, two centre sections and an entry gland, and its brackets are designed for bonding with a suitable adhesive rather than drilling. Skyenergi 7 pieces ABS Solar Panel Mounting Kit gives you the full set for this step.
Skyenergi 7 pieces ABS Solar Panel Mounting Kit →

For cable routing, the Skyenergi Solar Panel Entry Gland is a double cable entry gland for 3 to 7 mm cables. It seals against water ingress when bonded with a suitable sealant. Use it wherever a cable passes through the roof or wall, and pair it with the mounting kit so the whole install stays weatherproof.

Fit the brackets in this order:
- Clean and dry the mounting surface completely
- Mark the bracket positions against your panel layout
- Bond or fix the corner sections first
- Add centre sections for longer panels
- Route cables through the entry gland and seal it
- Check every bracket is level and secure before fitting panels
Wind Loading and Structural Fixings
Wind is the most underrated load on a roof-mounted panel. The Z Bracket Set from Skyenergi uses 2mm aluminium Z-shape brackets with stainless steel screws, spring washers, bolts, washers and nuts. Z Bracket Set - Solar Panel Fixings lists the full contents.

Where wind is a concern, consider Z brackets at the corners and along the leading edge so the load is not carried by adhesive alone. For campervan and motorhome roofs, check that the roof skin can take a point load before you rely on bonding alone.
Inspection matters as much as installation. Check your fixings after the first few weeks of wind and rain, then again before winter. Loose screws, lifting corners and wear on sealant are early warnings. Tighten, reseal or replace before a storm finds the weak point.
Watch out: a bracket bonded to a damp or contaminated surface can release in the first strong gust, taking the panel with it; prepare and prime the surface exactly as the adhesive manufacturer specifies before bonding anything.
Step 5: Match Your MPPT Solar Charge Controller to the Array
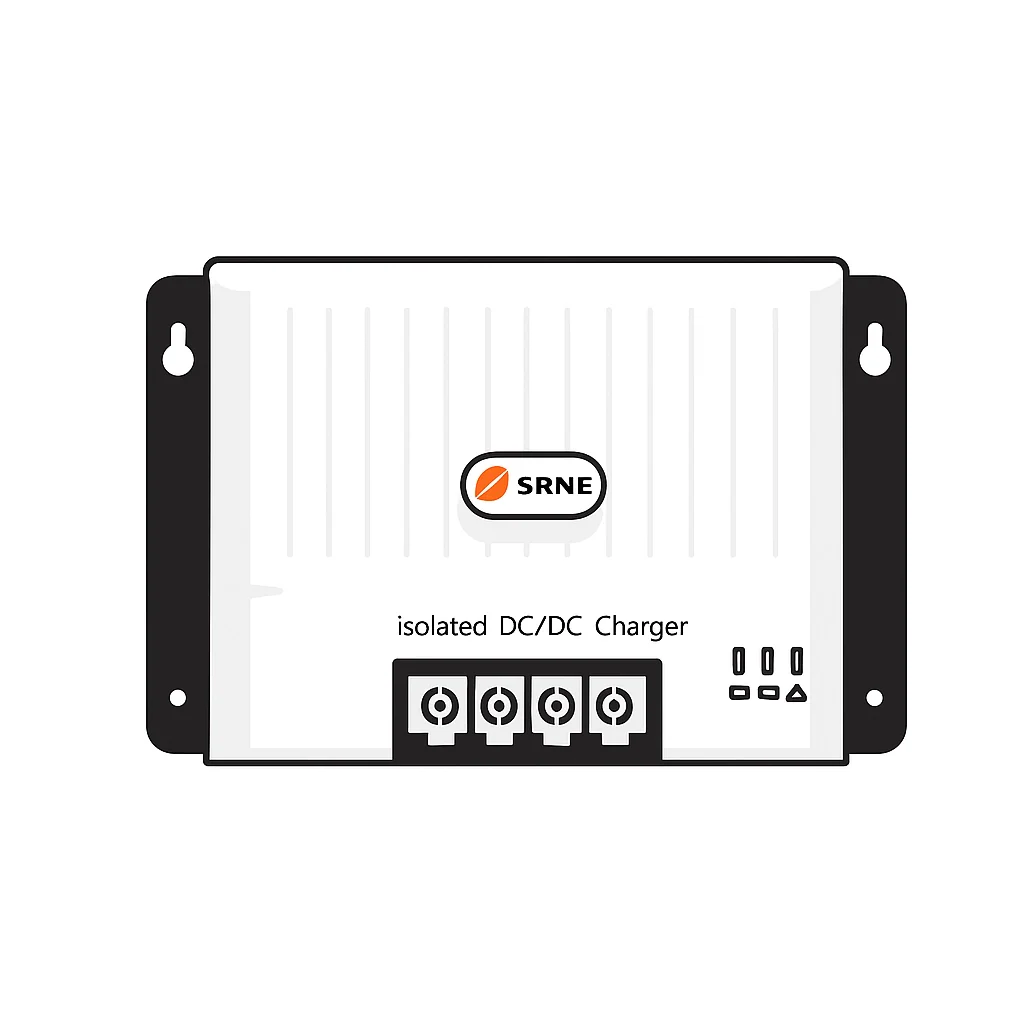
A correctly sized MPPT solar charge controller gets the most from your panels. Match the controller to the total array wattage and the battery voltage, and leave some headroom for cold days, when panel voltage rises.
Charge controllers and batteries work as one system. A battery monitoring setup shows you how the controller, battery and panels are performing together. Our 12V Lithium Battery Monitoring System review explains how that tracking works in practice, and Solar Products UK: A 2026 Guide to Panels, MPPT and Batteries covers panels, MPPT controllers and batteries in one place.
When choosing a controller, check:
- Total panel wattage against the controller's rated input
- Battery voltage compatibility, usually 12V for most leisure systems
- Maximum charge current for your battery size
- Whether the controller supports the monitoring you want
Step 6: Check for Shading, Cloud Cover and Coastal Conditions
Shading and cloud cover reduce output more than most people expect. Even a small shadow from a vent or aerial can cut the output of a whole string of panels, so check the array at different times of day.
Diffuse light from cloud still generates power, but output drops sharply under heavy cloud. The south-east England study mentioned earlier found that cloud and rain both reduce output considerably, so plan for lower figures on dull days (Ghazi and Ip, The effect of weather conditions on the efficiency of PV panels in southeast of UK).
Coastal sites can bring extra challenges. Salt spray can corrode fixings and degrade seals over time, so check sealants regularly and rinse panels when you can. Wind is often stronger near the coast too, which makes the wind loading points in Step 4 even more important.
Watch out: a bracket fixed to a surface that is not clean, dry and sound can lift in the first strong wind. Prepare the mounting area before you bond or fix anything.
Booking Your Mounting Kit and Next Steps
Mounting for UK weather comes down to four things: a sensible tilt, secure fixings, sealed cable routes and a charge controller matched to the array. Work through the seven steps in order, check your fixings after the first storms, and keep your monitoring running so you can see how the system performs through the seasons.
Skyenergi supplies the mounting kit, Z bracket fixings and entry gland, along with MPPT charge controllers and lithium batteries, with fast UK delivery. Order the mounting kit and fixings first, then add your controller and battery once the layout is settled.
Frequently Asked Questions
What is the best angle for mounting solar panels in the UK?
Most UK guides cite 30 to 40 degrees as a typical tilt for maximum generation in most regions. Roof-mounted systems, especially flat or low-pitched roofs, often use a shallower angle, for example 10 to 15 degrees, which balances energy capture against wind resistance. For vans and motorhomes the roof pitch is fixed, so focus on keeping panels clear of shade and securely fixed rather than chasing an ideal tilt.
Do solar panels need to be tilted to shed rain?
Panels with some tilt shed rain and debris more readily than flat ones, which helps keep the glass clear. Rainy or cloudy conditions reduce output, so tilt alone will not offset weather losses. Regular cleaning and checking for debris on the panel surface remain important, particularly after leaves or dust build up.
How do I choose a solar charge controller for a mounted panel?
Match the MPPT solar charge controller's maximum input voltage and current to your panel array and battery bank voltage. Check that the controller's rating covers the array's peak output, not just its nameplate figure, so it does not clip or overheat in bright conditions.
How should solar panels be mounted to withstand strong winds?
Use mounting brackets that fix into the structure, not just adhesive, and check the fixings after the first few weeks of use. Corner brackets are designed for bonding with a suitable adhesive on rigid-framed panels, and Z brackets are fixed with screws. Inspect fixings regularly and tighten any that have loosened after windy spells.

Next post

How Do You Connect Solar Panels Using MC4 Connectors?
Updated on 05 November 2026


