





How to Get a Lithium Battery System Installed
Lithium battery system installed: Step-by-step guide to installing a lithium battery system. Learn what you need, safety standards, professional vs DIY.
Table of Contents
- Assess Your Power Needs and Battery Capacity
- Understand Lithium Battery Safety Standards in the UK
- Gather Tools and Equipment for Installation
- Professional vs DIY Installation: What's Right for You
- DC-to-DC Charger Installation Guide for Existing Systems
- Campervan Lithium Battery Upgrade: Step-by-Step Installation
- Post-Installation Testing and Performance Monitoring
- Troubleshooting Common Installation Errors
Last Updated: August 22, 2026
Assess Your Power Needs and Battery Capacity
Before installing a lithium battery system, calculate your actual power consumption based on appliances, daily usage patterns, and desired off-grid runtime. List every device you plan to power with its wattage and estimated daily usage hours. A typical campervan draws 1,500-3,000 watt-hours per day, though this varies significantly depending on whether you're running a 12V fridge constantly or just occasional LED lights.
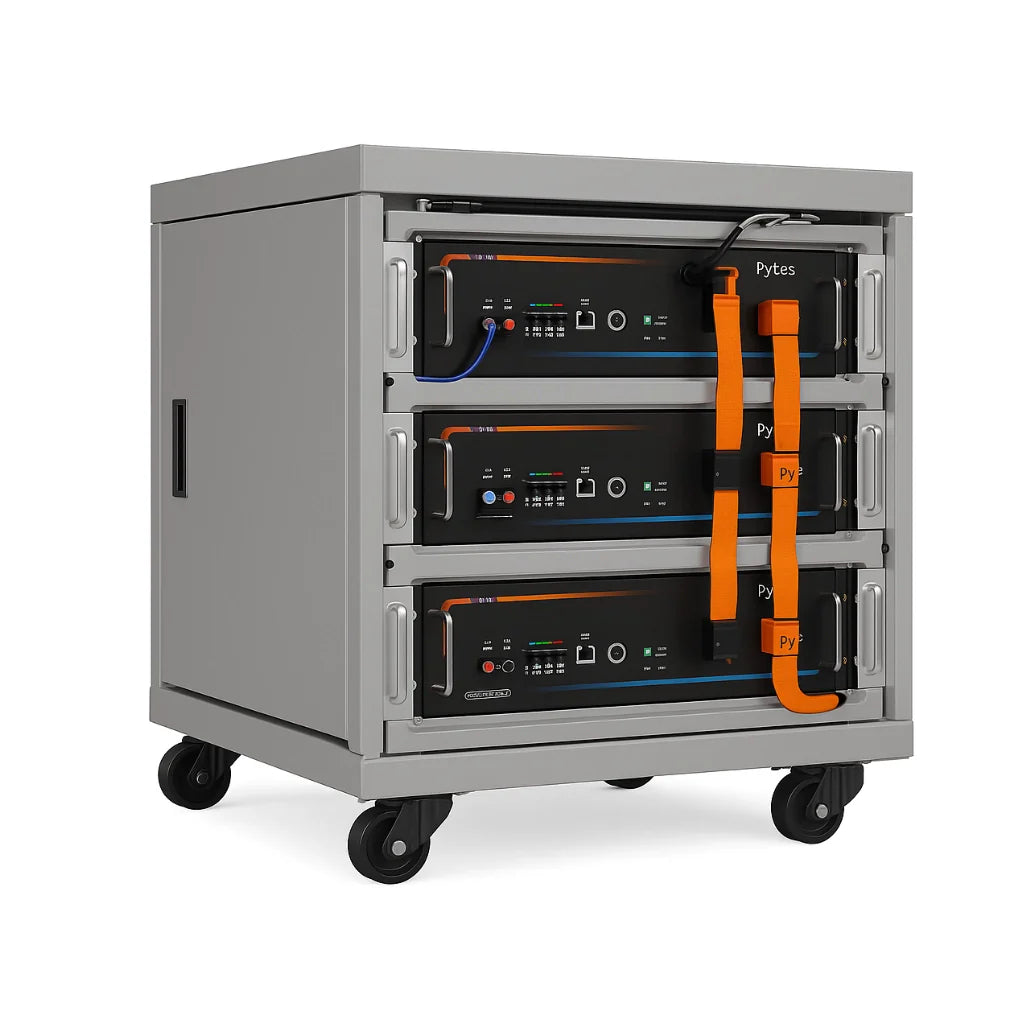
The key metric is amp-hours (Ah). A 100Ah lithium battery at 12V delivers 1.2 kWh of usable energy. The Skyenergi Edge 100Ah provides reliable capacity for smaller setups, while the Skyenergi Elite 560Ah offers substantially more for extended off-grid living. Most DIY builders pair approximately 2.4 kWh of lithium battery capacity with around 200W of solar. For larger systems, you might need 4-7 kWh or more.

Lithium batteries can safely discharge to 20% without damage, unlike lead-acid systems, meaning you get more usable energy from the same physical capacity. A 280Ah lithium system genuinely outperforms a 400Ah lead-acid setup.
Understand Lithium Battery Safety Standards in the UK
Safety is essential when installing a lithium battery system. The UK has specific electrical safety requirements governing installation, protection, and monitoring.
MCS Certification and Electrical Compliance
MCS (Microgeneration Certification Scheme) certification is the gold standard for domestic battery installations in the UK. Between April 2024 and March 2025, over 22,000 energy storage systems were installed on domestic properties through MCS-certified installers, with a total capacity of 193.39MWh, according to Department for Energy Security and Net Zero data. This certification proves your installation meets Building Regulations and electrical safety standards.
Professional MCS-certified installation protects your warranty, ensures Part P Building Regulations compliance, and may be required by your insurer. DIY installations can be safe but require meticulous attention to electrical standards, with you responsible for compliance.
Battery Management System (BMS) Requirements
Every quality lithium battery includes a Battery Management System (BMS), the electronic brain that protects the cells by monitoring voltage, temperature, and current to prevent overcharging, over-discharging, and thermal runaway. Without a functioning BMS, your battery is a fire risk.
The Skyenergi Elite models feature Victron Can-Bus compatibility, allowing direct integration with Victron MPPT charge controllers and inverters. This smart communication prevents voltage conflicts and optimises charging efficiency. The BMS cuts power if cell voltage exceeds safe limits or temperature climbs dangerously, non-negotiable protection you cannot skip.

Gather Tools and Equipment for Installation
You'll need specific tools to install a lithium battery system safely. Essential tools include a multimeter for voltage and continuity testing, a torque wrench for tightening terminal connections to specification (usually 10-15 Nm for battery terminals), wire strippers, and a crimper for creating secure terminal connections. You'll also need a circuit breaker or fuse holder rated for your system's maximum current, insulated screwdrivers, and cable ties.
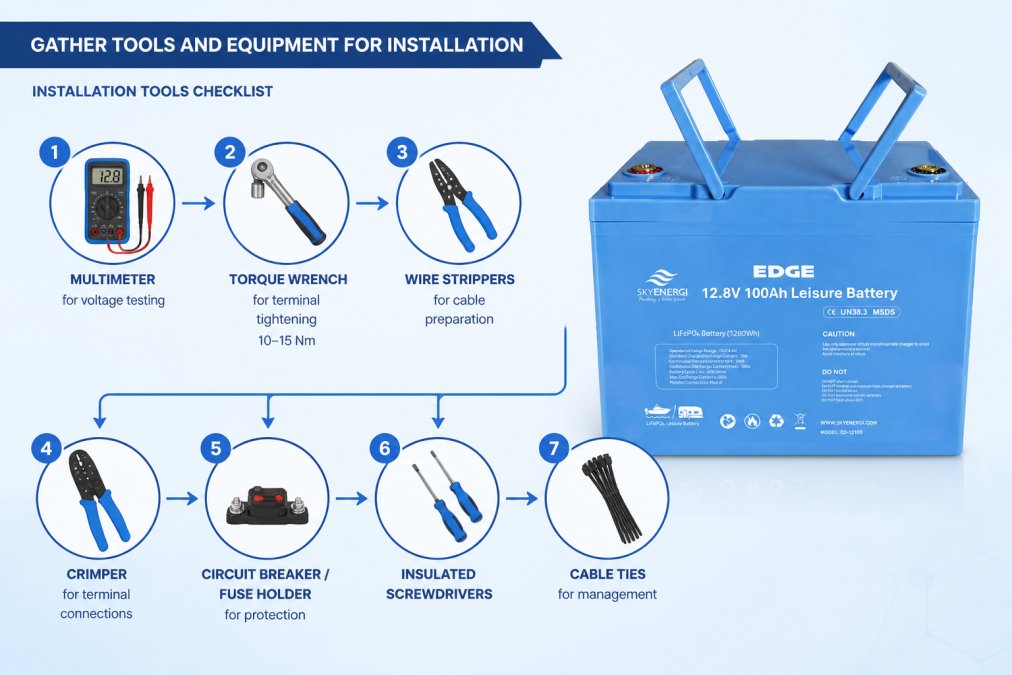
Safety equipment is equally critical. Wear insulated gloves when working with high-current connections, use eye protection against potential arcing, and keep a fire extinguisher nearby. Ensure adequate ventilation in confined spaces like campervans.
Professional vs DIY Installation: What's Right for You
Professional installation through an MCS-certified installer guarantees compliance, includes a warranty covering installation faults, and saves weeks of troubleshooting. You'll pay more upfront but avoid wiring errors that damage equipment or create safety hazards. For most motorhome and campervan owners, this is the sensible choice, especially when upgrading from lead-acid.
DIY installation works if you're comfortable reading electrical schematics, understand voltage drop calculations, and can verify work with a multimeter. You'll save money and gain deep system knowledge, but any installation mistake is yours to fix, and your warranty may be voided if the manufacturer determines incorrect installation.
Skyenergi supports both paths. We supply batteries and components to certified installers across the UK, and our technical team can review DIY wiring diagrams and answer installation questions.
DC-to-DC Charger Installation Guide for Existing Systems
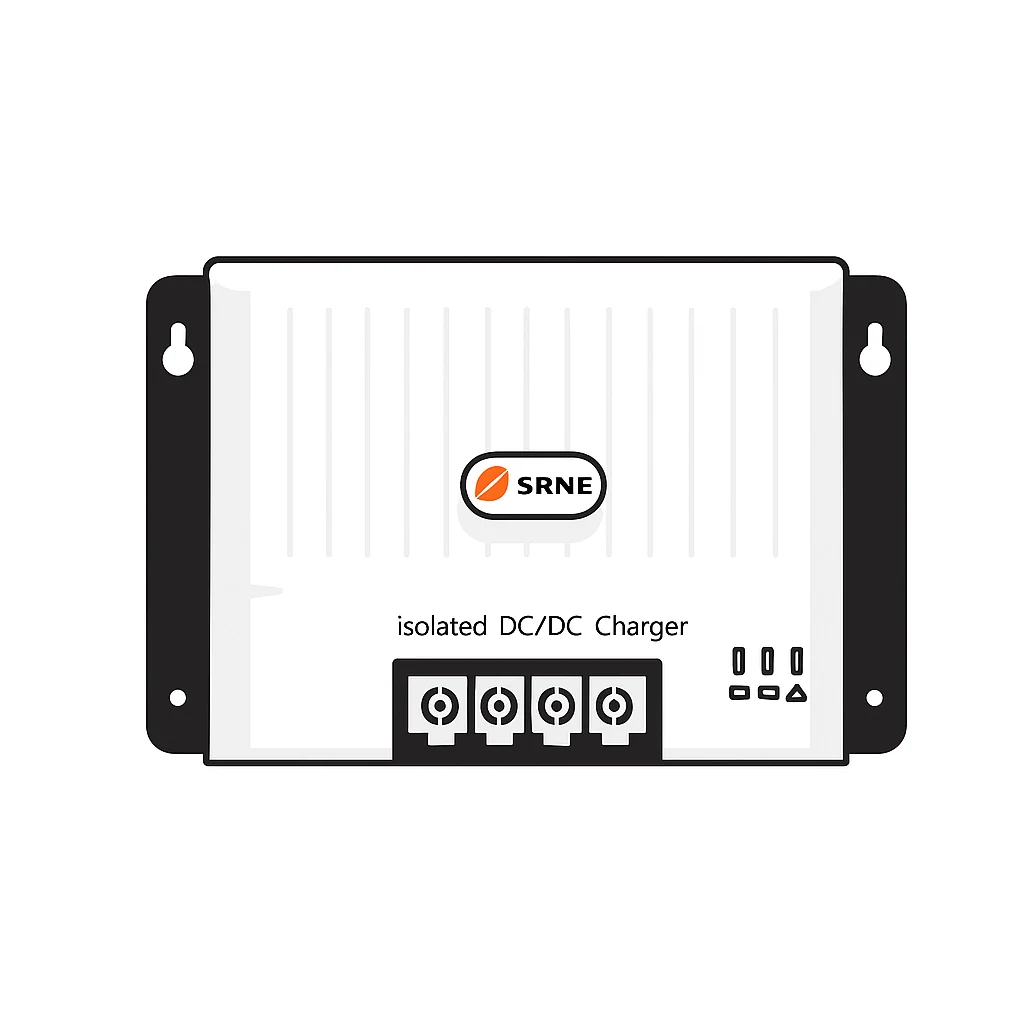
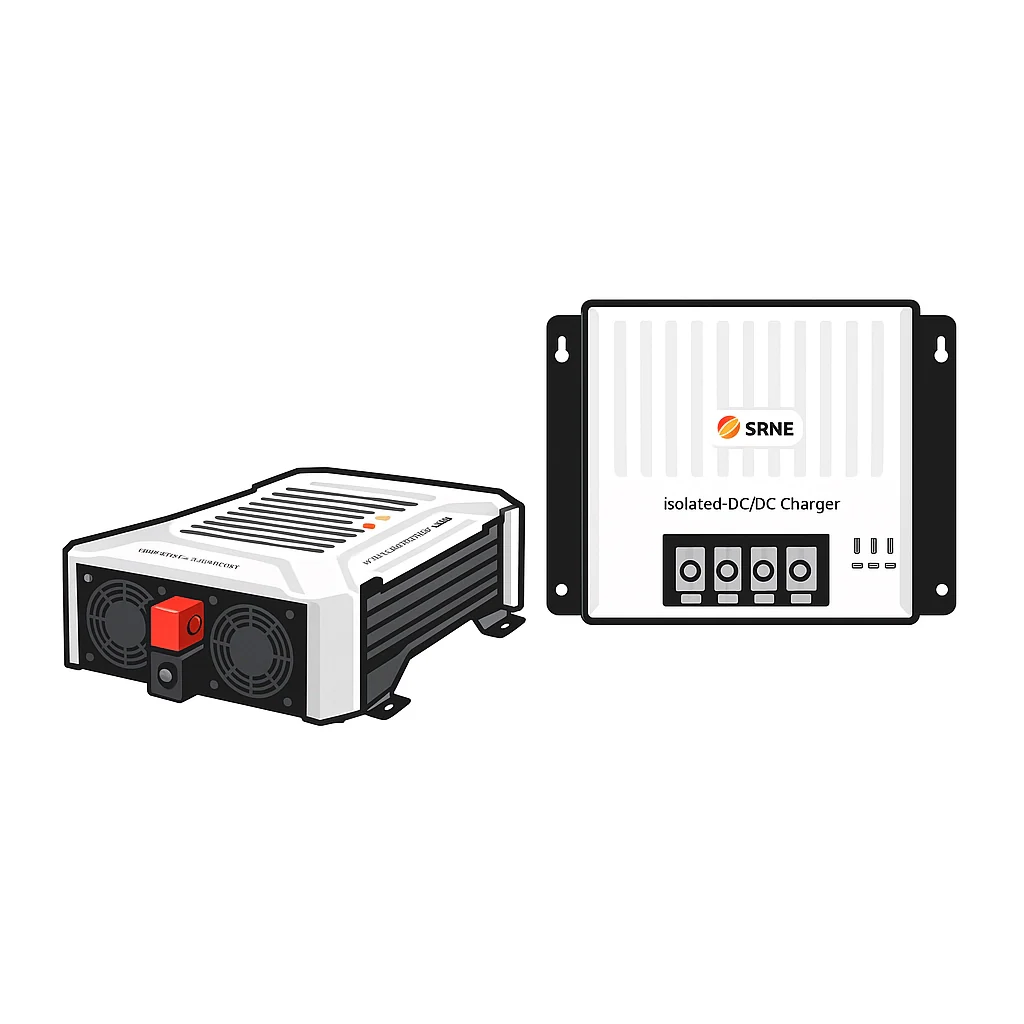
A DC-to-DC charger is essential when upgrading existing campervan or motorhome electrical systems. This device manages charging from your vehicle's alternator to your lithium battery bank without overloading either system.
The DC-to-DC charger sits between your alternator and leisure battery, regulating current flow when the engine runs, typically limiting charge to 50-100A depending on alternator capacity. This prevents voltage spikes that could damage your lithium BMS and prevents alternator strain.
Installation involves running a heavy-gauge cable (typically 16-25mm² depending on current) from the alternator through a circuit breaker to the charger input. The charger output connects to your battery positive terminal through another circuit breaker. Use a multimeter to verify voltage at each connection point, aiming for minimal voltage drop.
Most SRNE and Skyenergi systems include documentation specifying the exact DC-to-DC charger model required for your battery capacity. Undersizing the charger means slow charging; oversizing risks overwhelming your battery's BMS.
Campervan Lithium Battery Upgrade: Step-by-Step Installation
Disconnecting Your Old Battery
Start with the engine off and keys removed. Disconnect the negative terminal first (black cable), then the positive (red cable) to prevent accidental short circuits. Dispose of lead-acid batteries properly, they're recyclable and shouldn't go to landfill.
Take a photo of the old battery's terminal configuration before removing it, noting which cable was positive, which was negative, and any additional connections. This reference prevents confusion when connecting your new lithium system.
Mounting and Wiring the New Lithium Battery
Choose a location with adequate ventilation and minimal temperature extremes. Lithium batteries perform best between 0°C and 45°C; excessive heat degrades cycle life (grandviewresearch.com). In a campervan, an external locker with airflow is ideal.
Secure the battery with a bracket or strap to prevent movement during cornering or rough terrain. The Skyenergi Edge and Elite models are compact enough to fit standard leisure battery boxes.

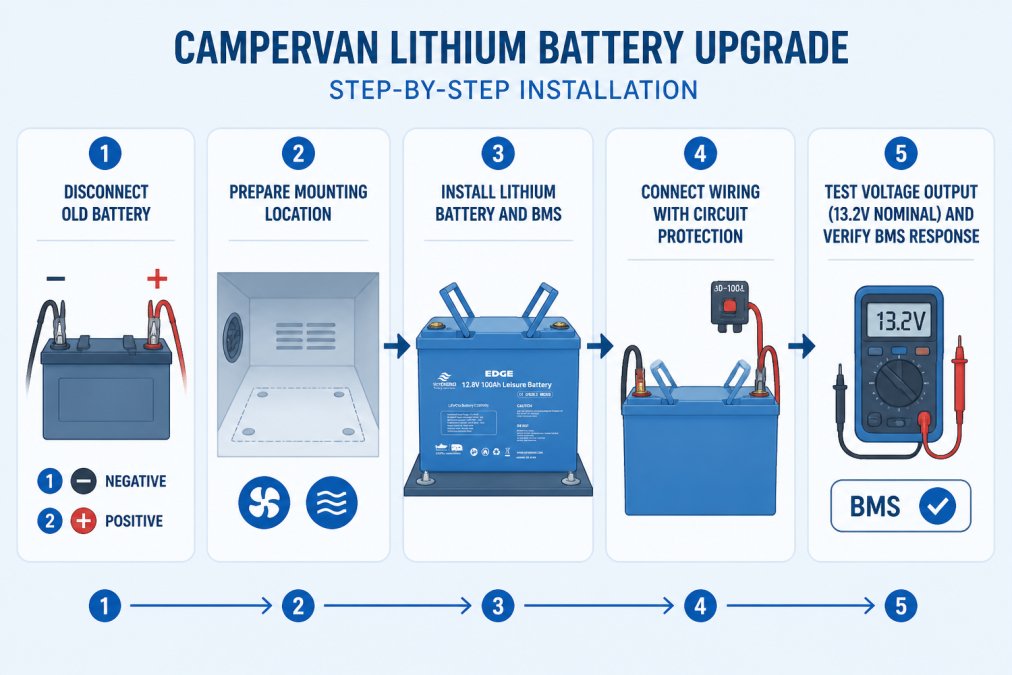
Run the positive cable from your battery through a circuit breaker rated for your system's maximum current (typically 50-100A for leisure systems) to your distribution panel or inverter input. This breaker cuts power if current exceeds safe limits, preventing cable fires. photovoltaic panel installation.
Run the negative cable directly from the battery negative terminal to a grounding point on the vehicle chassis. Use a multimeter to verify continuity. Poor grounding causes voltage drop and erratic BMS behaviour.
The BMS has internal connections to battery cells and external terminals for positive and negative loads. Don't modify these connections, the BMS is pre-configured and sealed. Your job is only to connect external wiring to its terminals.
Connecting Solar and Charging Equipment
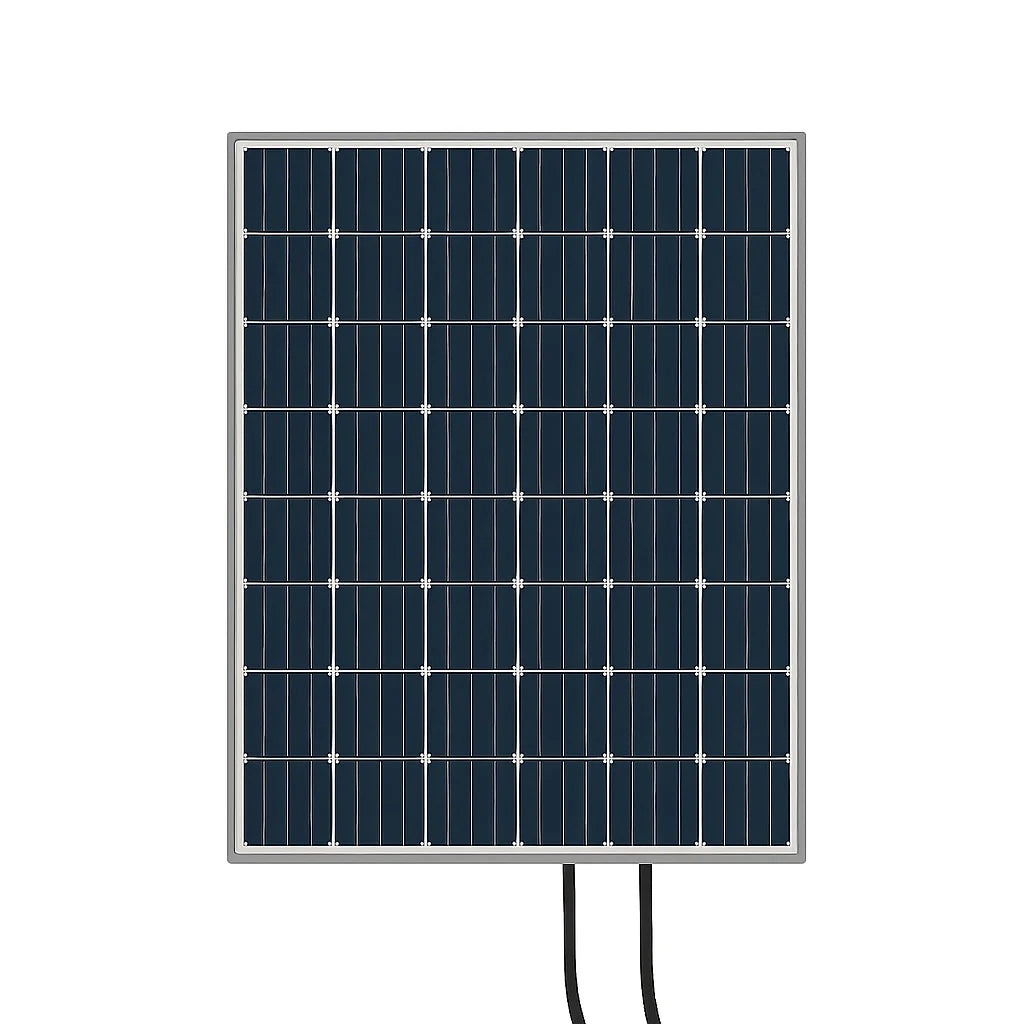
If adding solar, the MPPT charge controller sits between your solar panels and battery, optimising solar input voltage to match your battery's charging requirements, typically delivering 25-40A depending on panel size and sun intensity.
Run solar cables from roof panels through the campervan wall (using a proper gland to prevent water ingress) to the MPPT controller. The controller output connects to your battery positive through a circuit breaker, then to battery negative. The MPPT displays real-time charging current and battery voltage on its screen or via mobile app.
If using a DC-to-DC charger for alternator charging, its output also connects to the battery positive through a separate circuit breaker. You can run solar and alternator charging simultaneously, the BMS manages priority and prevents overcharging.
Post-Installation Testing and Performance Monitoring
Once wired, testing is non-negotiable. Use your multimeter to verify voltage at every connection point. A healthy lithium battery should read approximately 13.2V nominal when fully charged.
Turn on a 12V load and watch voltage stability. A properly installed system should maintain voltage within 0.5V under load. Sharp voltage drops indicate excessive resistance, likely from poor terminal connections or undersized cable.
Check the BMS display or app for state of charge, voltage, current draw, and temperature. Take a screenshot for your records, this baseline helps you spot problems later.
Monitor charge and discharge cycles over the next week. On sunny days with solar, the battery should reach 100% state of charge. During night use, it should discharge smoothly without voltage sag. If the BMS cuts power suddenly during normal use, it's protecting against an internal fault, contact the supplier immediately.
Many Skyenergi batteries integrate with Victron monitoring systems via Can-Bus, allowing real-time tracking from your phone. This remote visibility is invaluable when travelling.
Troubleshooting Common Installation Errors
Low voltage despite full charge: Poor terminal connections usually cause this. Remove terminal bolts, clean contact surfaces with a wire brush, and retighten with your torque wrench to specification. Loose connections generate heat and resistance, dropping voltage under load.
BMS cuts power unexpectedly: The BMS is protecting the battery from an unsafe condition. Check for extreme temperature, verify your charging source isn't exceeding the BMS's maximum charge current, and confirm loads aren't drawing more than the BMS's maximum discharge current. Most leisure systems are rated 100-200A continuous discharge; a 3000W inverter (250A at 12V) will trigger protection.
Solar isn't charging the battery: Verify the MPPT controller is receiving power. Use a multimeter to confirm voltage at the solar panel input. If panels generate voltage but the MPPT shows zero, the controller may be faulty. Check that the MPPT output breaker is closed and cables are properly connected.
Alternator charging isn't working: Confirm the DC-to-DC charger is receiving power from the alternator. Start the engine and check for 13.5-14V at the charger input. If voltage is present but the charger isn't outputting, the charger may be faulty or the output breaker may be tripped. If the breaker keeps tripping, your alternator may be overloaded.
Voltage drop between battery and loads: Measure voltage at battery terminals and again at your distribution panel. A difference greater than 0.5V indicates undersized cable or excessive connection resistance. For systems over 100A, use 16-25mm² cable depending on run length.
Getting a lithium battery system installed properly transforms your off-grid capability. Whether you choose professional installation through an MCS-certified installer or tackle the work yourself, the fundamentals remain the same: understand your power needs, respect electrical safety standards, use proper tools, and test thoroughly.
Skyenergi supplies the batteries, charge controllers, and DC-to-DC chargers that make reliable installations possible. Our Edge and Elite lithium batteries are designed for campervans, motorhomes, and off-grid homes where dependable power matters. With fast UK delivery and technical support from our team, you have the components and guidance to build a system that works.
=== FAQ ANSWERS (audit these too, same rules) ===
[1] Q: Can I replace my existing lead-acid leisure battery with a lithium battery system? A: Yes, you can upgrade from lead-acid to lithium, but the installation differs significantly. Lithium batteries require a Battery Management System (BMS) and may need a DC-to-DC charger if your existing alternator or solar charge controller isn't compatible. Check your current wiring gauge and circuit protection first, most lead-acid setups need upgrades to handle lithium safely. Skyenergi's Edge and Elite lithium batteries are designed as direct replacements in campervans and motorhomes, with full BMS integrated.
[2] Q: Do I need a special charger to get a lithium battery system installed? A: Your existing charger may work, but lithium batteries charge differently than lead-acid. A lithium-compatible charger (or DC-to-DC charger for vehicle alternators) ensures faster charging and protects your battery. SRNE charge controllers and Skyenergi-compatible chargers are designed to work with lithium BMS, preventing overcharging and voltage damage. If you're upgrading from lead-acid, a DC-to-DC charger is highly recommended to safely integrate your existing solar or alternator setup.
[3] Q: What are the safety requirements for installing lithium batteries in a vehicle? A: Lithium battery installations must meet UK electrical safety standards and include proper circuit protection (fuses or circuit breakers), grounding, and insulation. Your BMS monitors voltage and temperature to prevent dangerous conditions. Installations should follow BS 7909 or similar standards for leisure vehicle electrics. If you're installing in a motorhome or campervan, MCS-certified installers follow strict safety protocols. Always use a multimeter to verify connections and voltage before powering on.
[4] Q: What is the role of a Battery Management System (BMS) in lithium installations? A: The BMS protects your lithium battery by monitoring voltage, current, and temperature in real time. It prevents overcharging, over-discharging, and short circuits, all critical for lithium safety and longevity. Skyenergi Elite batteries include integrated smart BMS with Victron Can-Bus compatibility, allowing remote monitoring via app. The BMS also communicates with your charge controller and inverter, optimising energy flow and extending cycle life to 3,000-5,000+ cycles.
Frequently Asked Questions
Can I replace my existing lead-acid leisure battery with a lithium battery system?
Yes, you can upgrade from lead-acid to lithium, but the installation differs significantly. Lithium batteries require a Battery Management System (BMS) and may need a DC-to-DC charger if your existing alternator or solar charge controller isn't compatible. Check your current wiring gauge and circuit protection first, most lead-acid setups need upgrades to handle lithium safely. Skyenergi's Edge and Elite lithium batteries are designed as direct replacements in campervans and motorhomes, with full BMS integrated.
Do I need a special charger to get a lithium battery system installed?
Your existing charger may work, but lithium batteries charge differently than lead-acid. A lithium-compatible charger (or DC-to-DC charger for vehicle alternators) ensures faster charging and protects your battery. SRNE charge controllers and Skyenergi-compatible chargers are designed to work with lithium BMS, preventing overcharging and voltage damage. If you're upgrading from lead-acid, a DC-to-DC charger is highly recommended to safely integrate your existing solar or alternator setup.
What are the safety requirements for installing lithium batteries in a vehicle?
Lithium battery installations must meet UK electrical safety standards and include proper circuit protection (fuses or circuit breakers), grounding, and insulation. Your BMS monitors voltage and temperature to prevent dangerous conditions. Installations should follow BS 7909 or similar standards for leisure vehicle electrics. If you're installing in a motorhome or campervan, MCS-certified installers follow strict safety protocols. Always use a multimeter to verify connections and voltage before powering on.
What is the role of a Battery Management System (BMS) in lithium installations?
The BMS protects your lithium battery by monitoring voltage, current, and temperature in real time. It prevents overcharging, over-discharging, and short circuits, all critical for lithium safety and longevity. Skyenergi Elite batteries include integrated smart BMS with Victron Can-Bus compatibility, allowing remote monitoring via app. The BMS also communicates with your charge controller and inverter, optimising energy flow and extending cycle life to 3,000-5,000+ cycles.
This article was written using GrandRanker
Prev post

Best Lithium Battery for Off-Grid: 2026 Guide
Updated on 23 August 2026
Next post

SRNE MD12100 Review: Dual-Battery Charging for Campervans
Updated on 21 August 2026


