





DIY Van Conversion Electrical Setup: Complete UK Guide
Plan a safe DIY van conversion electrical setup with our UK guide. Calculate loads, choose lithium batteries, and wire your campervan correctly.
Table of Contents
- Plan Your Van Conversion Electrical Setup Before You Buy Anything
- How to Calculate Van Electrical Load for Your Daily Power Budget
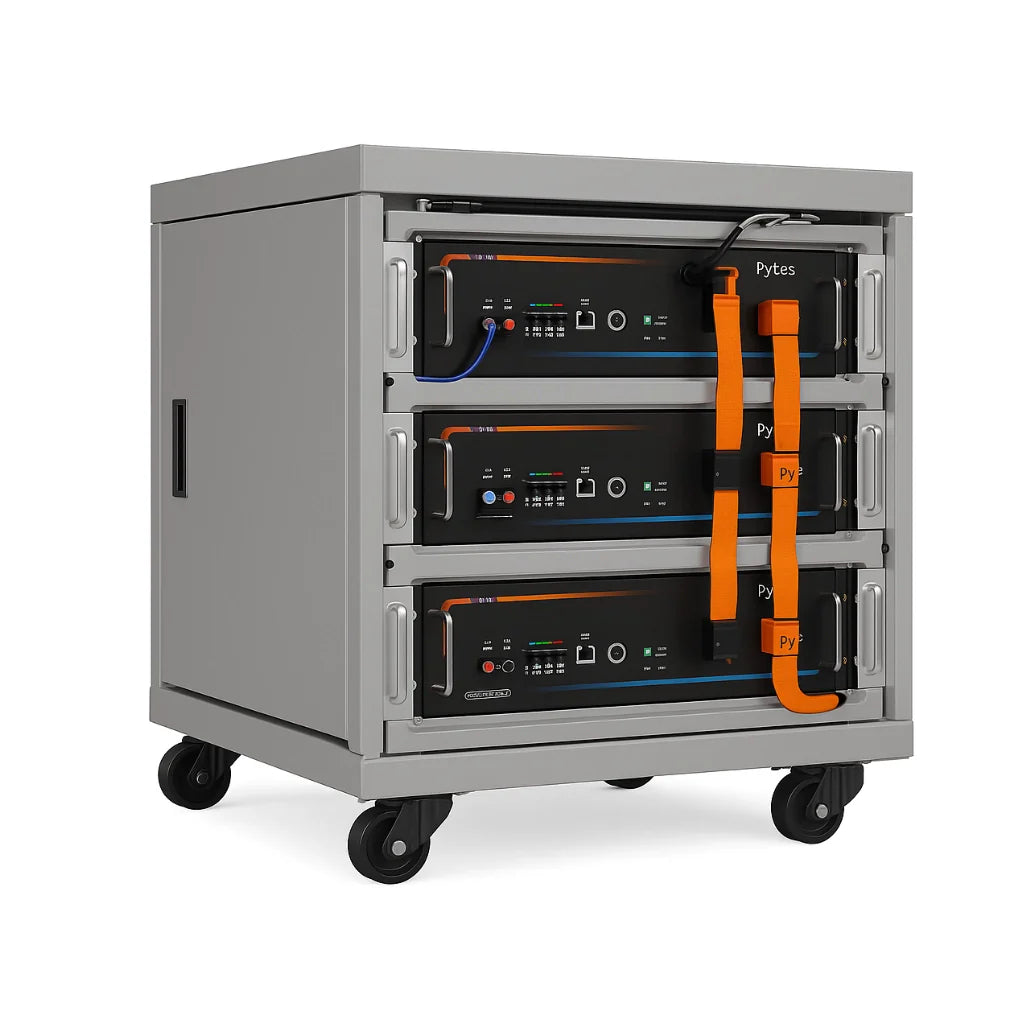
- Choosing the Best Lithium Leisure Batteries for Campervans
- Wiring, Fusing, and Campervan Electrical Safety Standards
- SRNE MPPT Controller Setup and Solar Charging Explained
- DC-to-DC Charging: Keeping Your Leisure Battery Full on the Move
- Common Electrical Mistakes in DIY Van Builds and How to Avoid Them
- Final Thoughts on Your Van Conversion Electrical Setup
- Frequently Asked Questions
Last Updated: September 7, 2026
Plan Your Van Conversion Electrical Setup Before You Buy Anything
A DIY van conversion electrical setup typically costs between £1,000 and £2,000 for components alone, and the electrical rough-in phase takes around 25 hours of work Infinity Vans 2026 campervan build guide. Getting this stage wrong is expensive, and at worst, dangerous. At Skyenergi, we supply complete 12V systems across the UK, and the most common thread running through every failed build we hear about is the same: people buy components before they understand their energy needs.
The electrical system is the most complex part of any campervan conversion, with installers frequently citing 15 common failure points Nohma technical guide on electrical errors. A van conversion electrical plan should start with an honest energy audit, not a shopping list. Before you order a single cable or battery, you need to know what you will run, for how long, and in what conditions. That single decision determines your battery capacity, solar array size, and charger specifications.
What You Will Need for a Safe 12V System
A safe 12V leisure system requires these core components working together:
- Leisure battery bank (lithium iron phosphate or AGM) sized to your daily watt-hour consumption
- MPPT solar charge controller to manage solar array input safely
- DC-to-DC charger for alternator charging while driving
- Fused distribution block and appropriate circuit protection for every branch circuit
- Busbar for clean positive and negative distribution
- Battery management system (BMS) integrated into the lithium battery
- Inverter sized for your peak AC loads, if you need 230V power
Each component must be rated to handle your calculated loads, and every cable must be sized for the current it carries. The system is only as safe as its weakest connection.
How to Calculate Van Electrical Load for Your Daily Power Budget
Calculating van electrical load starts with listing every appliance you will use and multiplying its wattage by the hours of daily use. The result is your daily watt-hour figure, which directly determines battery bank size and solar requirements.
Sum the wattage of every 12V device, estimate daily run hours, and convert to watt-hours. For example, a compressor fridge drawing 40W running 8 hours per day consumes 320Wh. Add LED lighting at 10W for 4 hours (40Wh), a diesel heater at 20W for 6 hours (120Wh), and a laptop charger at 60W for 2 hours (120Wh). Your daily total lands around 600Wh.
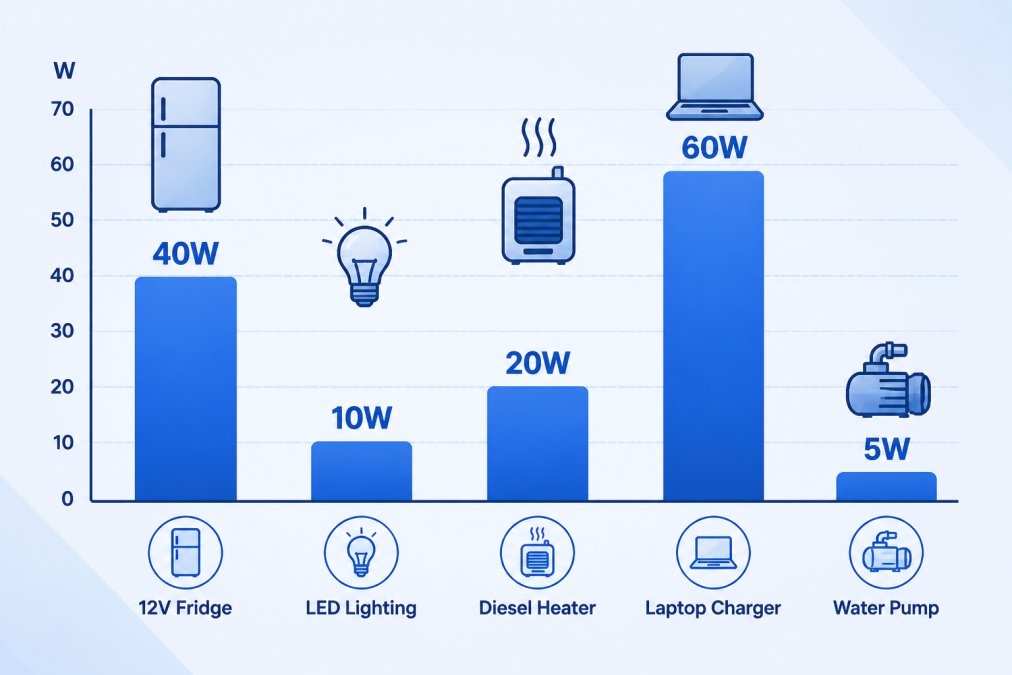
Once you have a daily figure, size your battery bank to cover at least two days of autonomy without charging. That protects you during cloudy stretches when solar yield drops. Digital load-calculation tools are increasingly used by DIYers to size battery banks and solar arrays based on specific daily consumption patterns Vanlife Conversions load planning guidance.
Choosing the Best Lithium Leisure Batteries for Campervans
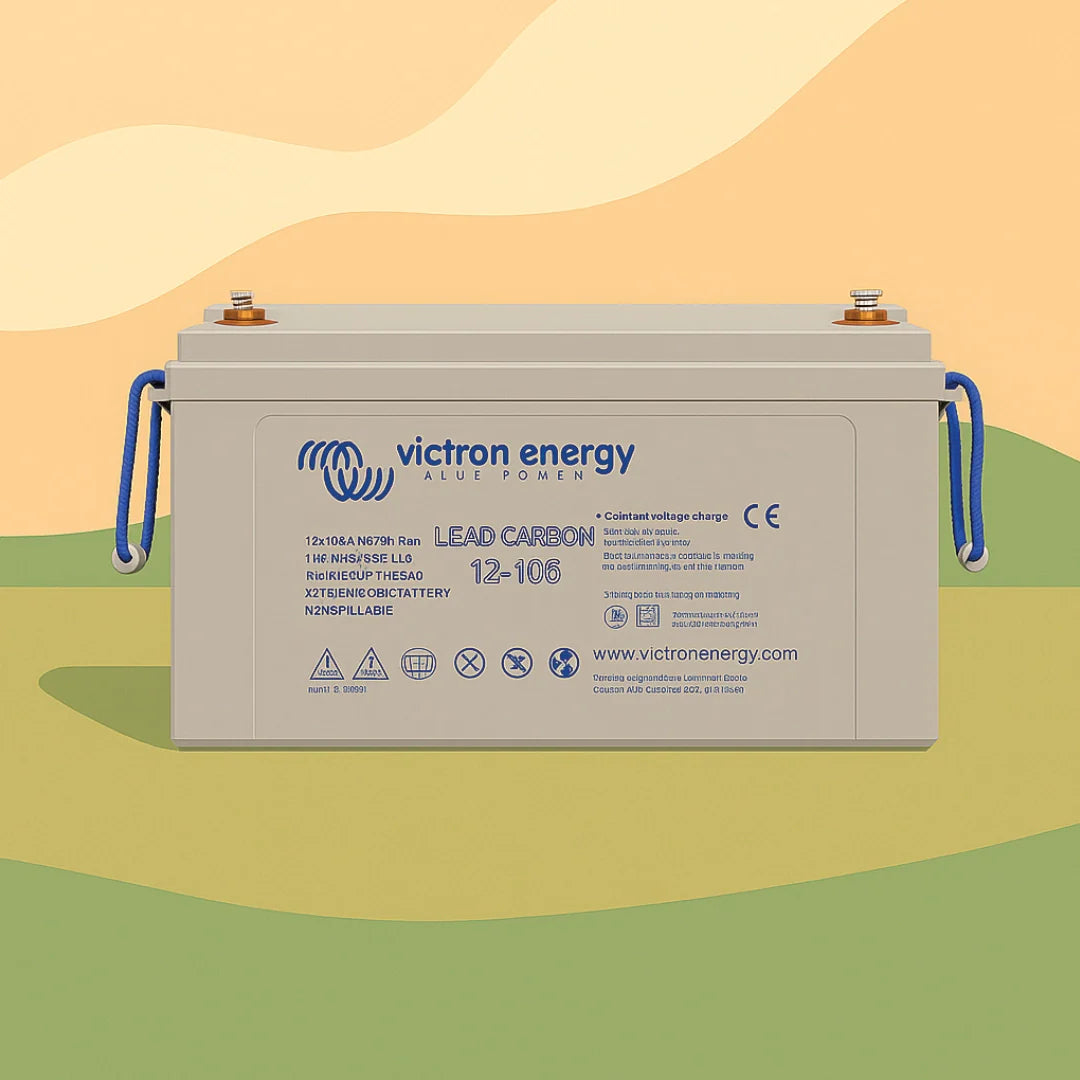
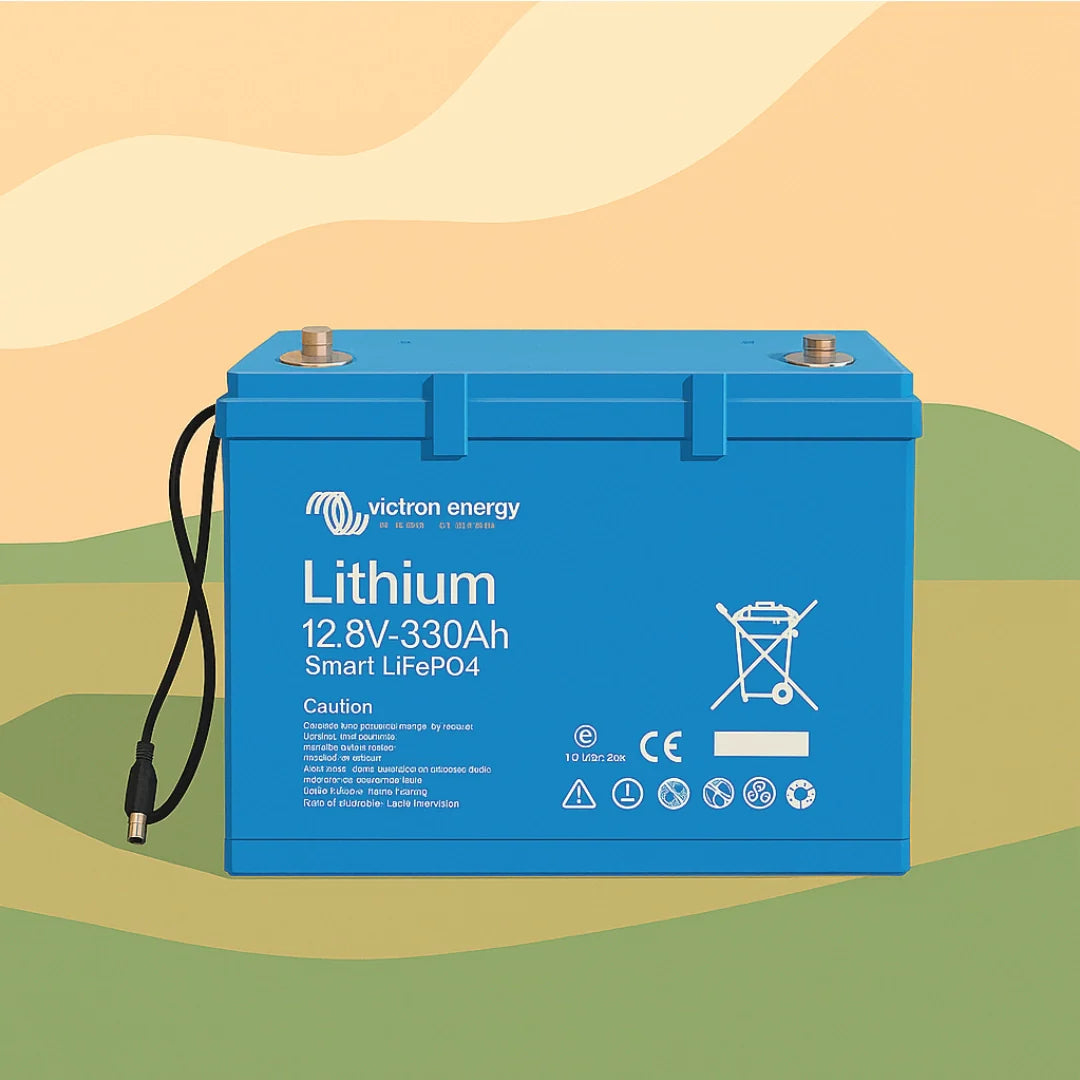
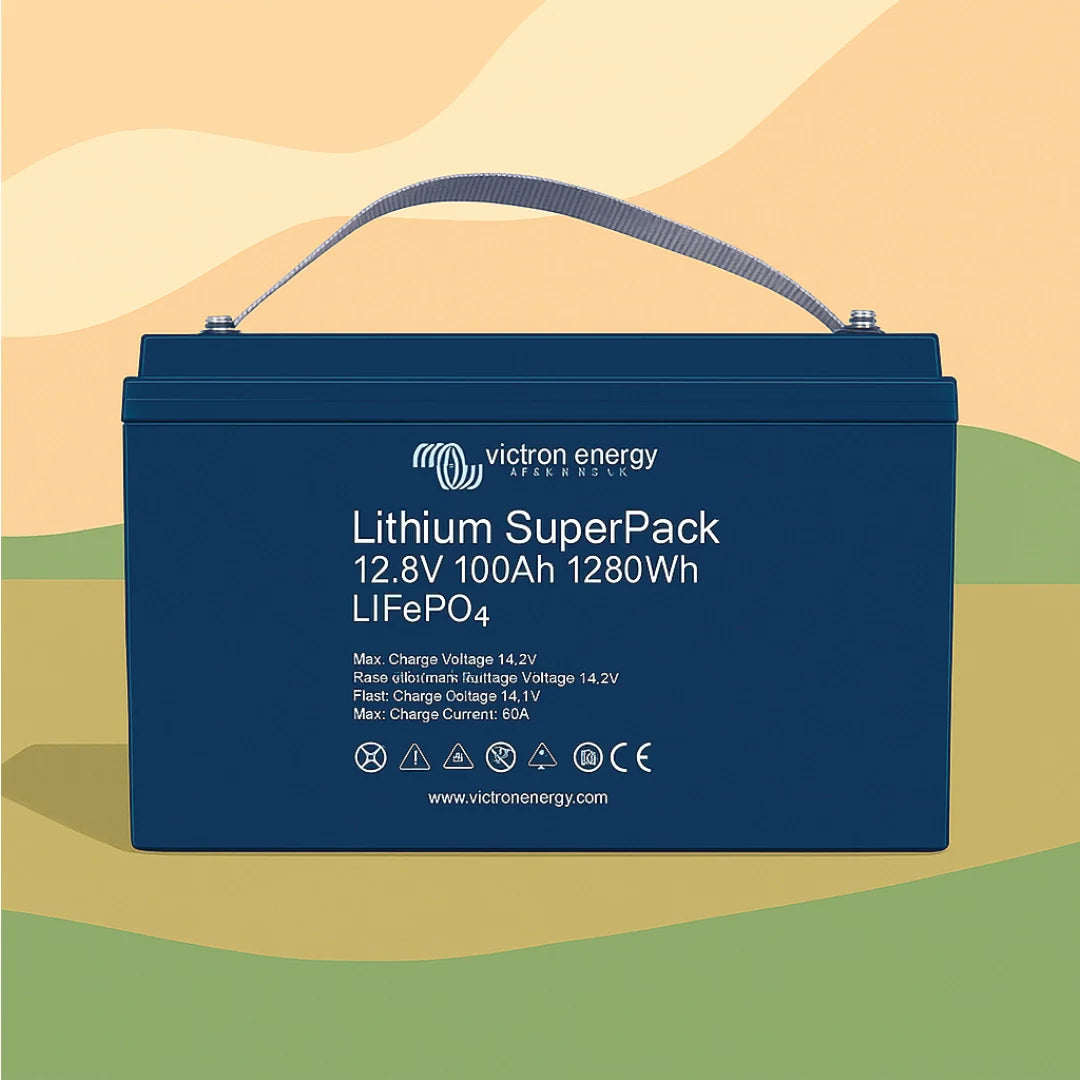
The best lithium leisure batteries for campervans use lithium iron phosphate (LiFePO4) chemistry with an integrated BMS, delivering around 3,000 to 5,000 charge cycles compared to roughly 500 for lead-acid. The upfront cost is higher, but the usable capacity and lifespan change the economics completely.
A 100Ah lithium battery delivers close to 100Ah of usable capacity, whereas a lead-acid battery of the same rating only safely provides around 50Ah before depth of discharge becomes a problem. Lithium batteries also hold voltage under load far better, which matters when your fridge cuts out because voltage drops too quickly on an ageing lead-acid unit.
Weight matters in a van build too. A 100Ah lithium leisure battery typically weighs around 10kg, while an equivalent AGM battery can weigh 25kg or more. That saving reduces fuel consumption and keeps you within payload limits. For most UK campervan builds, a 100Ah to 280Ah lithium bank provides comfortable off-grid autonomy. The Skyenergi Edge 100Ah offers dependable 12V power at £219.00, while the Edge 280Ah at £445.00 suits longer off-grid trips or higher-consumption setups.

| Battery Type | Usable Capacity | Cycle Life | Weight (100Ah) | Best For |
|---|---|---|---|---|
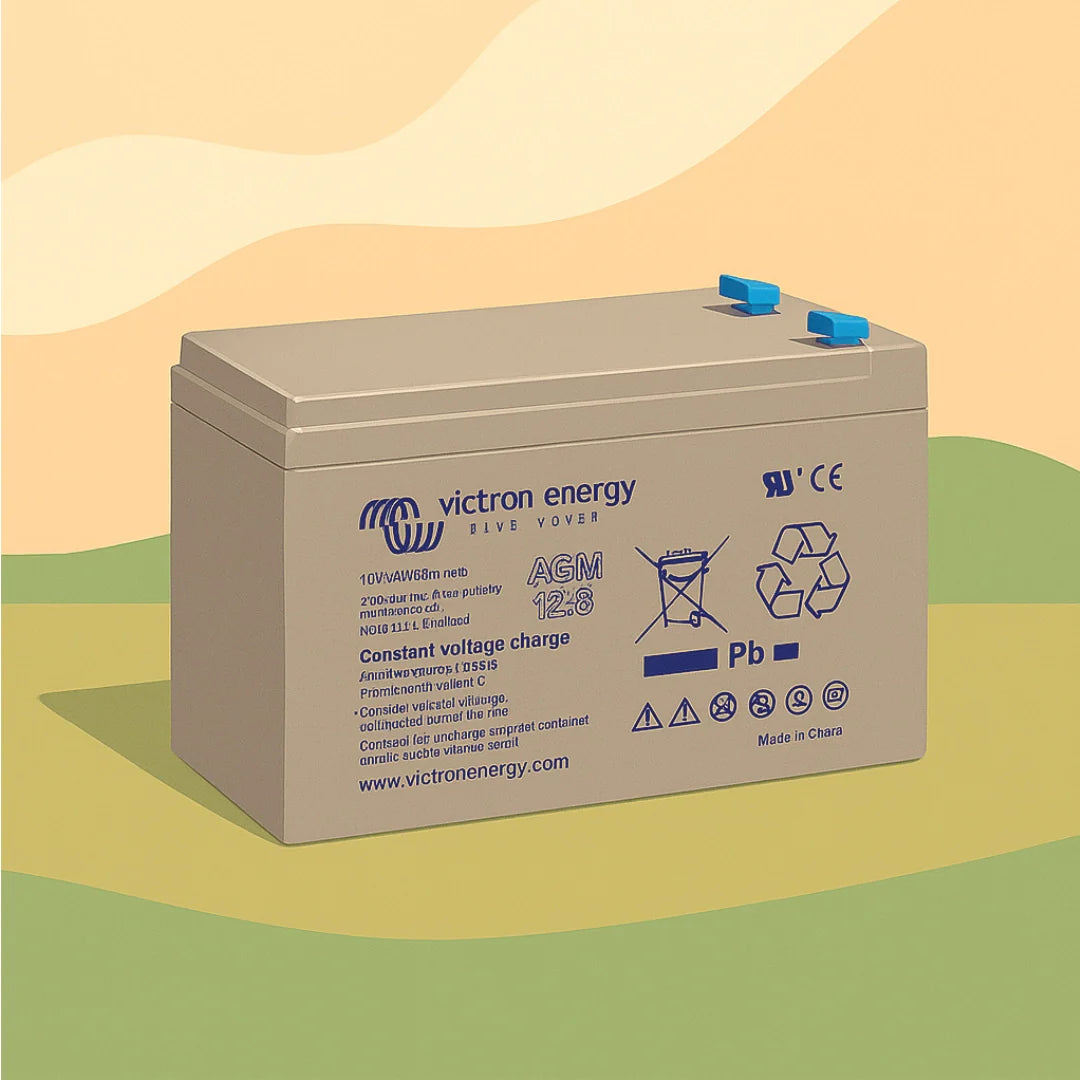
| Lithium LiFePO4 | 90-100% | 3,000-5,000 cycles | ~10kg | Off-grid autonomy, daily use |
| AGM Lead-Acid | 50% | ~500 cycles | ~25kg | Budget builds, occasional use |
Wiring, Fusing, and Campervan Electrical Safety Standards
Improper wire gauge selection and failure to use appropriate circuit protection are the primary causes of electrical system malfunctions in DIY builds Top 15 mistakes to avoid with your campervan electrical system. This is not an area for guesswork. Under-rated cabling heats up under load, insulation degrades, and the result can be a fire hazard hidden inside your van walls.
Cable Sizing and Circuit Protection Essentials
Every circuit needs a fuse or breaker rated below the cable's maximum current capacity. That protects the cable, not the appliance. A 6mm² cable carrying 40A needs a 40A fuse at the distribution point; the fuse blows before the cable overheats.
Use proper tinned marine-grade cable, not automotive wire, for high-load 12V circuits. One documented DIY failure involved automotive-grade wire powering high-load appliances, creating a fire hazard after six months of continuous use The Van Smith case study on wiring failure. Crimp every connection with the correct tool, use heat shrink to seal joints, and secure cables to prevent chafing against sharp metal edges.
SRNE MPPT Controller Setup and Solar Charging Explained
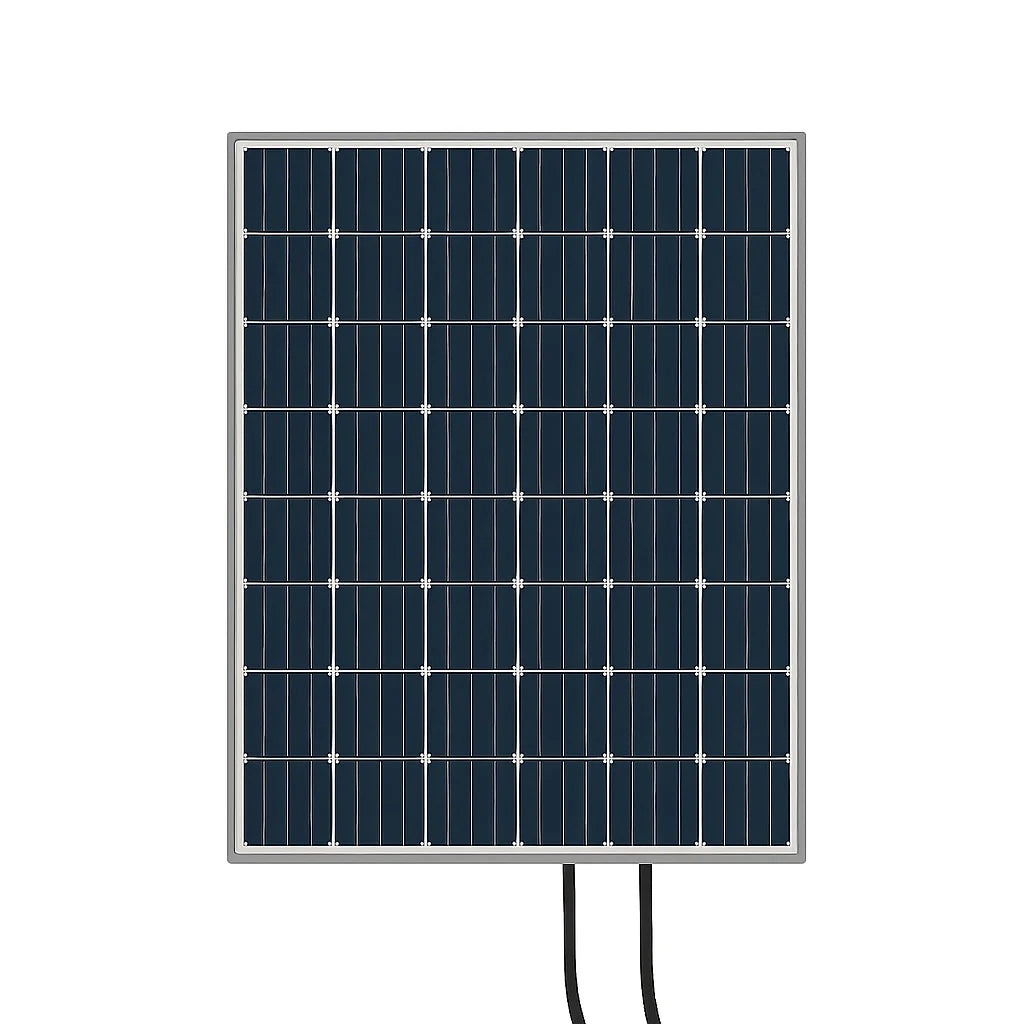
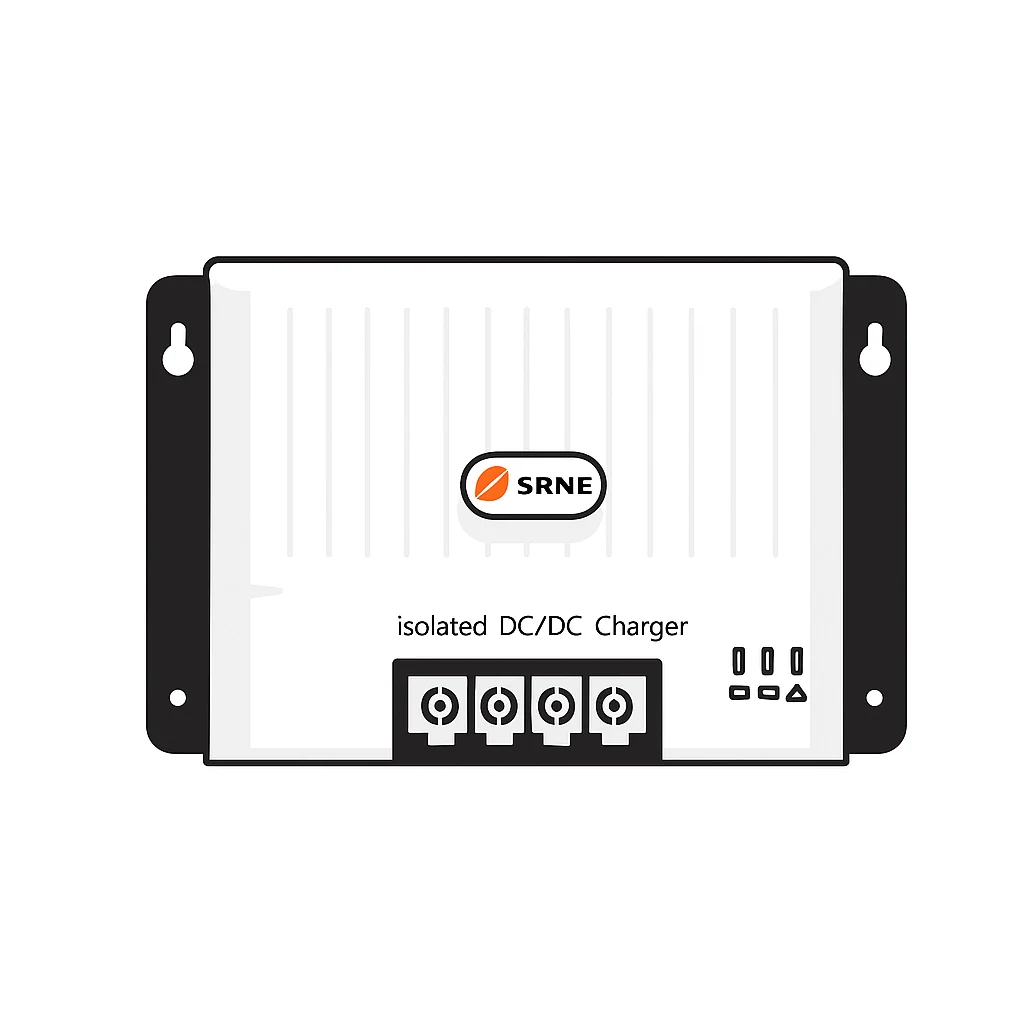
SRNE MPPT controllers manage the voltage from your solar array to charge your leisure battery at its optimal rate. MPPT (Maximum Power Point Tracking) extracts more energy than a basic PWM controller, particularly in low-light UK conditions, by matching the panel's operating point to the battery's charge state.
Setting up an SRNE MPPT controller follows a straightforward sequence:
- Connect the battery bank to the controller first, so it detects system voltage
- Connect the solar array positive and negative leads
- Configure battery type (lithium requires the correct charge profile)
- Set absorption and float voltages to match your battery manufacturer's specification
- Verify the display shows charging current from the array
SRNE controllers integrate cleanly with lithium battery systems, including Skyenergi's Edge and Elite ranges. A correctly configured MPPT controller keeps your battery within its safe voltage window, protecting the BMS and extending cycle life. For a full off-grid setup, Skyenergi offers a Complete Solar Power and Electrics System with a 3kVA inverter-charger, battery-to-battery charging, and monitoring, priced at £1,825.00.

DC-to-DC Charging: Keeping Your Leisure Battery Full on the Move
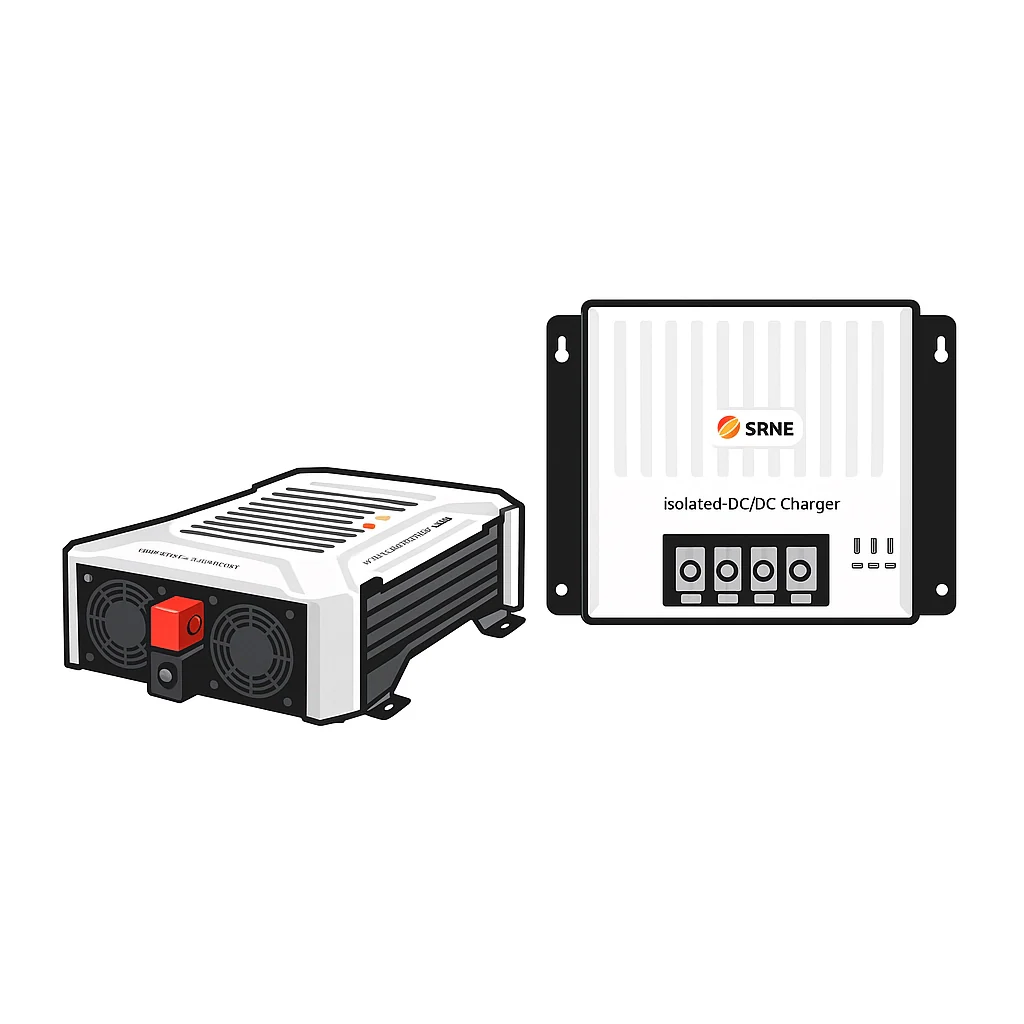
A DC-to-DC charger takes power from your vehicle's alternator and charges the leisure battery at the correct voltage and current profile. It replaces the old split charge relay, which simply connected both batteries together and risked overcharging or undercharging either one. installing custom cabinetry.
The reason lithium batteries need a DC-to-DC charger rather than a simple relay is the charge profile. Lithium cells require a specific constant current, constant voltage curve, and a standard alternator cannot deliver that safely. A DC-to-DC charger also prevents the leisure battery from draining your starter battery when parked.
Professional builders argue that integrating DC-to-DC chargers, MPPT controllers, and lithium BMS units requires more than basic knowledge to prevent fire risks The Van Smith professional builder perspective. The DIY-only approach underestimates the safety complexity of these systems. If you are not confident with 12V electrics, a pre-built kit with matched components removes most of the guesswork.
Common Electrical Mistakes in DIY Van Builds and How to Avoid Them
The most frequent mistakes in DIY van conversion electrical setups are predictable, and all of them trace back to planning shortcuts. The shift toward pre-packaged electrical kits exists precisely because sourcing errors cause so many failures The Van Conversion kit availability analysis. A kit that includes every fuse, breaker, and terminal removes the risk of mismatched components.
Common failure points include undersized cabling, missing circuit protection, poor crimping, and incorrect battery charging profiles. Each one is avoidable with proper planning. Use a load calculation to size the system, buy quality cable with the right ampacity, fuse every branch, and set charger voltages to your battery's specification.
Voltage drop is another silent killer. Long cable runs to rear appliances need larger gauge wire to maintain voltage at the load. A fridge that receives 11.5V instead of 12.5V draws more current, runs hotter, and shortens its lifespan.
Final Thoughts on Your Van Conversion Electrical Setup
A successful DIY van conversion electrical setup comes down to planning discipline: calculate your loads first, size the battery bank for real autonomy, fuse every circuit, and use components that are properly rated for continuous 12V use. The industry data is clear that most failures trace back to wire sizing and circuit protection errors, not exotic component faults.
The shift toward complete electrical kits reflects a broader truth: matched components designed to work together outperform individually sourced parts. Skyenergi supplies the full chain, from lithium leisure batteries to SRNE MPPT controllers, DC-to-DC chargers, and inverter-chargers, all backed by UK-based technical support.
Maintaining Your Electrical System
Your work does not end once the system is installed. A regular maintenance schedule is crucial for safety and longevity. A common pattern is that DIYers check their system thoroughly after installation, then never look at it again until something fails.
Monthly Checks:
- Visual Inspection: Look for any signs of corrosion, loose connections, or chafed cables.
- Voltage Check: Use a multimeter to verify the resting voltage of your leisure battery. A 12V LiFePO4 battery should rest around 13.2V to 13.4V when fully charged.
- Terminal Torque: Check the torque on all main battery and busbar connections. Vibration from driving can loosen terminals over time. A loose connection adds resistance, generates heat, and is a primary cause of voltage drop.
Quarterly Checks:
- Clean Connections: Disconnect, clean, and re-grease battery terminals and main connections with a dielectric grease to prevent corrosion.
- Test Charging: Verify that your SRNE MPPT controller and DC-DC charger are bringing the battery to the correct absorption voltage.
- Check Cell Balance: If your battery has a BMS with a mobile app, check the cell voltages to ensure they are balanced within 0.05V of each other.
Annually:
- Full System Test: Run a full load test by turning on all your appliances for an hour to ensure the system handles the load without excessive voltage drop.
- Inspect All Cables: Look for any signs of heat damage or insulation degradation along the entire length of your cable runs.
The Weight and Balance Factor
One often-overlooked aspect of a van conversion is the weight and balance impact of your electrical system. A 280Ah lithium battery weighs around 28kg, and a full electrical setup with inverter and cabling can easily add 50kg or more. Where you place this weight matters.
Mounting heavy components like batteries and inverters on the same side of the van as your water tank and kitchen can create a significant list, affecting handling and tyre wear. A common pattern is to distribute weight evenly across the vehicle. If you have a choice, mount the battery bank on the opposite side of the van to your water tank. This is a unique consideration that most DIY guides ignore, but it is critical for safe driving.
Whether you need a 100Ah Edge battery for a weekend van or a 560Ah Elite system for full-time off-grid living, the components are designed to work as one system. Get started with Skyenergi and build an electrical setup that delivers reliable power for years of UK road trips, without the safety compromises that plague rushed DIY builds.
Frequently Asked Questions
How much does it cost to put electrics in a van?
A DIY van conversion electrical setup typically costs between £1,000 and £2,200 for parts. This covers a 100Ah lithium battery, solar panel, MPPT controller, DC-to-DC charger, inverter, fuse box, cabling, and busbars. Costs rise with capacity: a 280Ah battery and 3kVA inverter-charger system costs more but supports bigger loads like induction hobs and air conditioning. Labour is free if you do it yourself, but a professional install adds £500 to £1,500 depending on complexity.
Which is better for a campervan, 12V or 24V?
For most UK campervans, a 12V system is the right choice. It matches standard leisure batteries, solar panels, and vehicle alternators, so components are cheaper and easier to source. A 24V system suits larger builds with long cable runs or high-power inverters, because higher voltage reduces current and voltage drop. Unless you are running heavy equipment like air conditioning or power tools, 12V keeps your van conversion electrical setup simple, compatible, and easier to troubleshoot.
Is it necessary to use a DC-to-DC charger in a van conversion?
Yes, if you want to charge your leisure battery while driving. A DC-to-DC charger protects your starter battery and delivers the correct charging profile for lithium batteries. A split charge relay is cheaper but can overheat and undercharge lithium units. The Skyenergi Complete Solar Power & Electrics System includes a battery-to-battery charger, so you get safe alternator charging built into one package. Without one, your leisure battery will rely only on solar and mains hook-up.
What is the difference between MPPT and PWM solar charge controllers?
MPPT (Maximum Power Point Tracking) controllers convert excess voltage into usable current, giving up to 30% more charging efficiency than PWM (Pulse Width Modulation) units. PWM controllers simply connect the panel to the battery, wasting any voltage above the battery level. For a van conversion electrical setup, an MPPT controller like the SRNE range makes sense because it extracts more energy from your solar array on overcast UK days. The efficiency gain means you need fewer panels.
What are the essential components for a 12V campervan electrical system?
You need a leisure battery, typically lithium iron phosphate, as the energy store. Then a DC-to-DC charger for alternator charging, an MPPT solar charge controller for solar input, and a fuse box protecting every circuit. A busbar distributes power cleanly, and a battery monitor shows state of charge. Add an inverter if you need 240V for appliances. The Skyenergi Complete Solar Power & Electrics System bundles these into a pre-built unit, which removes most wiring errors.
How do I safely fuse my campervan electrical circuits?
Every positive wire leaving the battery must have a fuse within 30cm of the battery terminal. Choose the fuse rating based on the cable size, not the appliance: a 2.5mm² cable takes a 20A fuse, while 6mm² handles 30A. Use a fused distribution block for multiple circuits, and an ANL fuse for the main battery cable. This protects against short circuits and prevents fires. UK safety standards for campervan electrical work follow the same principles as boat wiring.
Prev post

Efficient Energy Management with Solar and MPPT Integration
Updated on 08 September 2026
Next post

Off Grid Solar Battery Storage Guide (2026 UK)
Updated on 06 September 2026


