





12V Campervan Electrical System Kits: Complete Guide
Find the right 12V campervan electrical system kit for off-grid power. Compare options, components, and installation steps. Learn more.
Table of Contents
- What Is a 12V Campervan Electrical System Kit?
- Core Components of a 12V Electrical System
- Lithium Leisure Battery Benefits for Campervan Conversions
- DC-to-DC Charger Installation Guide for Dual Battery Systems
- Campervan Off-Grid Power Solutions: Solar Integration
- Pre-Built Kits vs Component Selection: What Suits Your Build
- Safety, Compliance, and Installation Considerations
- Conclusion
- Frequently Asked Questions
Last Updated: September 4, 2026
What Is a 12V Campervan Electrical System Kit?
A 12v campervan electrical system kit is a pre-assembled collection of components designed to generate, store, and distribute power for lighting, appliances, and devices in a van conversion. Rather than sourcing each part separately and hoping it works together, a kit bundles matched components with wiring diagrams, reducing installation complexity for DIY builders. This approach has become increasingly popular as more owners tackle their own conversions, with dedicated kit packages now widely available to simplify the process The Van Conversion's guide to campervan electric kits.
The core question most buyers face is whether a complete kit or a custom component selection suits their build. A kit offers convenience and tested compatibility; individual selection gives you precise control over capacity and budget. In this Skyenergi guide, we break down what these systems contain, how to size them correctly, and where pre-built solutions save you time without compromising safety.
Below, we'll cover the essential components, compare charging technologies, and show you exactly how to plan an installation that meets your energy demands and stays compliant with UK electrical safety expectations.
Core Components of a 12V Electrical System
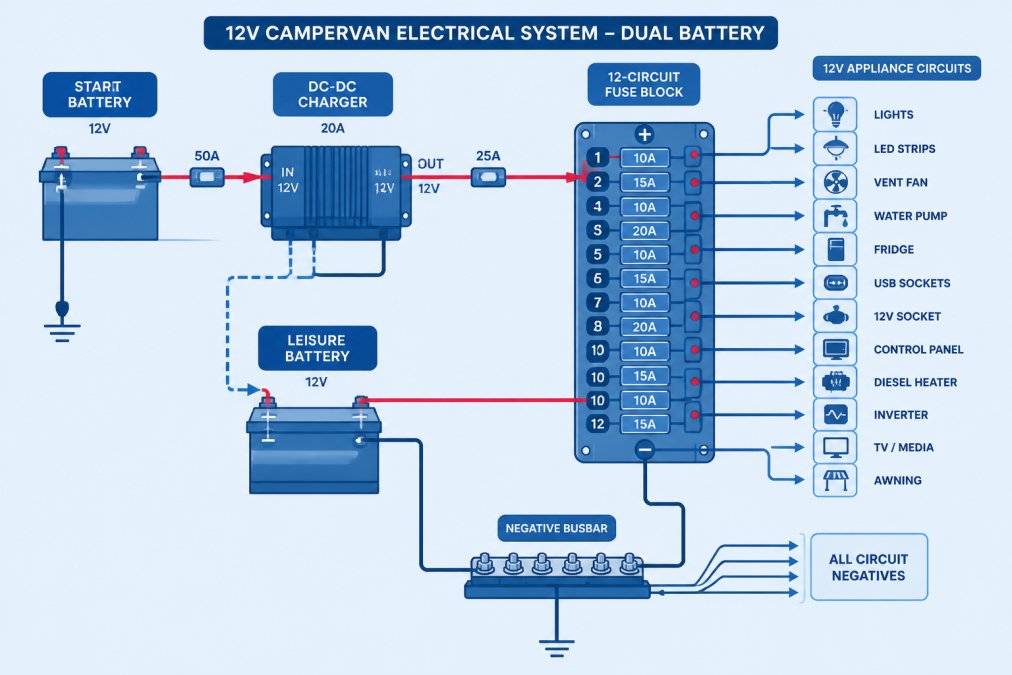
Every 12V system, whether a complete kit or a custom build, relies on the same fundamental architecture: a power source, a storage bank, and a distribution network. The three main sub-systems are the leisure battery, the charging input, and the circuit protection that sits between them.
The typical layout runs from your charging sources (alternator, solar, or mains hook-up) into the battery bank, then out through a fuse block or busbar to individual 12V circuits. Getting this architecture right from the start determines how reliably your system performs and how easy it is to upgrade later.
Leisure Battery and Battery Bank
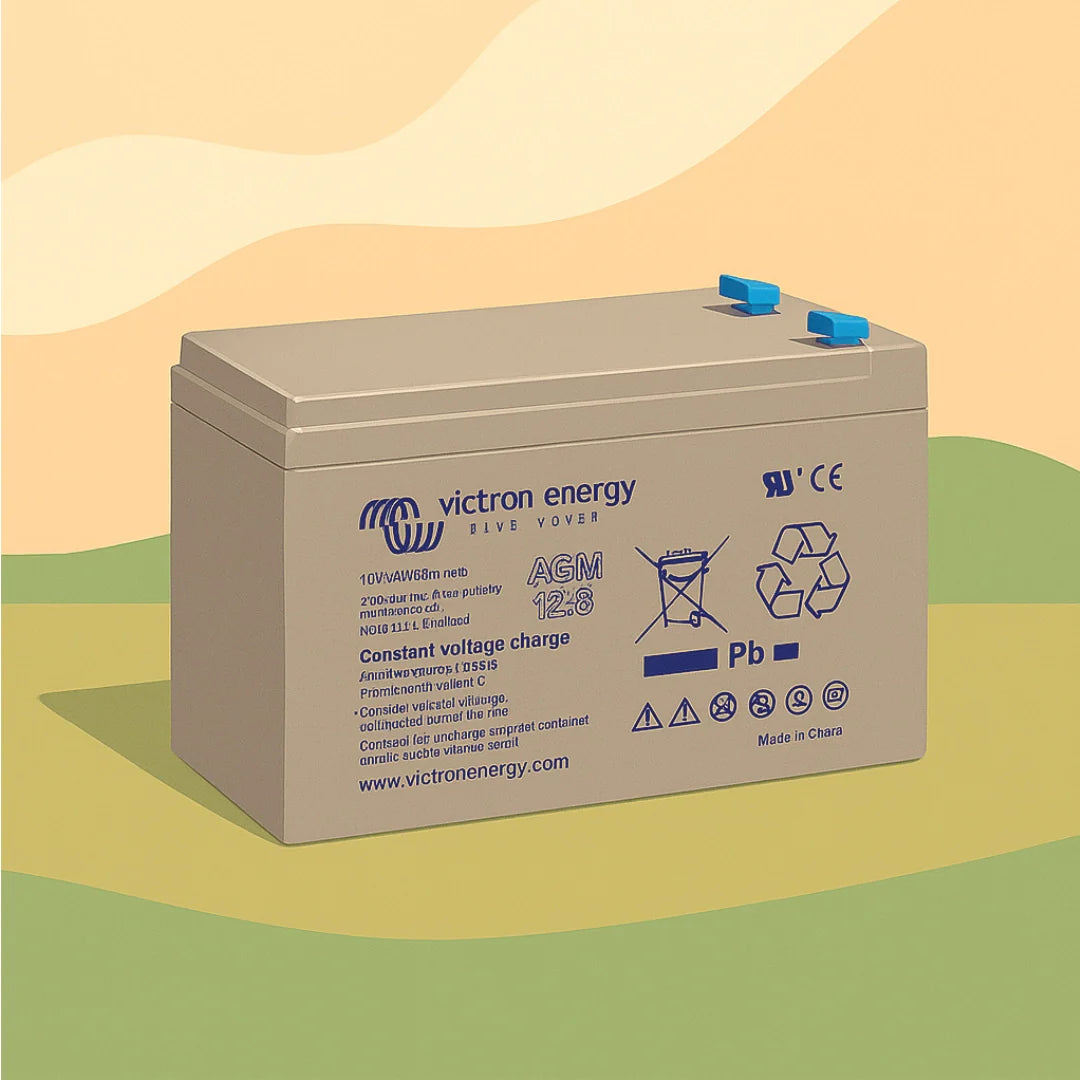
The leisure battery is the heart of your electrical system, storing energy for when you are off-grid. Most modern conversions use either AGM (absorbent glass mat) or lithium iron phosphate (LiFePO4) batteries, with lithium increasingly the default choice for new builds.
Battery capacity is measured in amp-hours (Ah), which tells you how much current the battery can supply over time. A 100Ah battery can theoretically deliver 5 amps for 20 hours, though in practice you should only discharge most batteries to a safe depth to preserve their lifespan.
Charging Solutions: Split Charge Relay vs DC-DC Charger
The split charge relay has been the traditional method for charging a leisure battery from the vehicle alternator. It is a simple voltage-sensitive relay that connects the starter and leisure batteries once the engine is running. While inexpensive, it has a significant limitation: it does not regulate voltage, which can overcharge or undercharge modern batteries.
A DC-DC charger is the more sophisticated alternative. It takes the alternator output, conditions it through a multi-stage charge algorithm, and delivers a controlled charge to the leisure battery. For lithium batteries, a DC-DC charger is strongly recommended because lithium cells require a specific charging profile that a relay cannot provide.
Circuit Protection and Power Distribution
Circuit protection is non-negotiable in any 12V installation. Industry standard practice now emphasises fuse blocks for 12V circuits and MIDI or MEGA fuses for high-current components such as inverters and DC-DC chargers The Van Conversion's guidance on circuit protection standards. Every positive cable leaving the battery should be fused as close to the battery terminal as possible.
For distribution, a busbar consolidates multiple connections at a single point, while a blade fuse block distributes power to individual circuits with dedicated fuses. A 12-circuit fuse block with an integrated negative bus, for example, keeps all return wiring in one place, simplifying fault-finding and maintenance.
| Component | Function | Typical Rating | Best For |
|---|---|---|---|
| Blade fuse block | Distributes power to 12V circuits | 30A per circuit, 100A total | Lighting, fridge, USB sockets |
| MEGA fuse holder | Protects high-current cable runs | 100A-500A | Inverter, battery-to-battery |
| Busbar | Central connection point | 600A DC | Battery bank, inverter, charger |
| DC-DC charger | Conditioned alternator charging | 30A output | Lithium leisure batteries |
Lithium Leisure Battery Benefits for Campervan Conversions
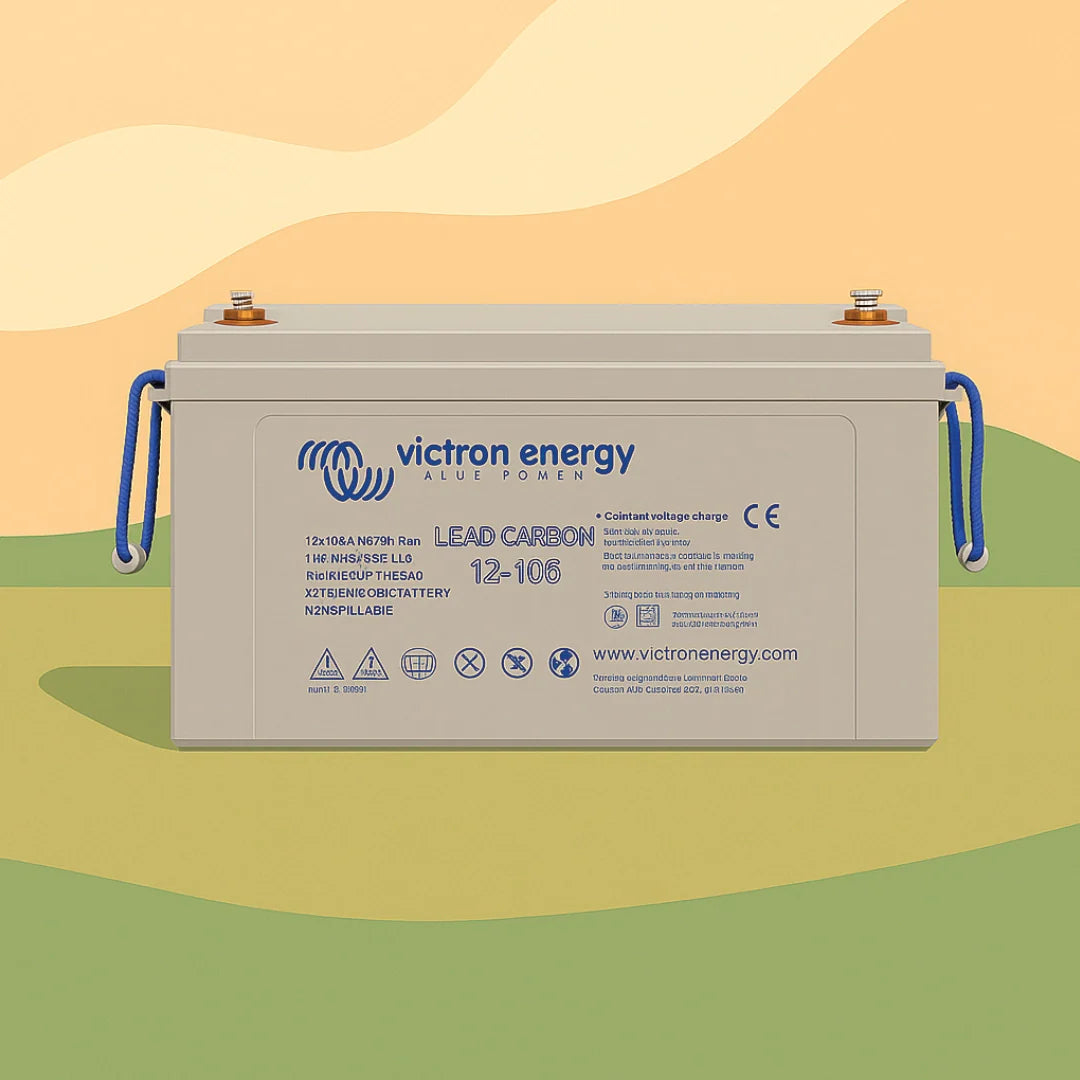
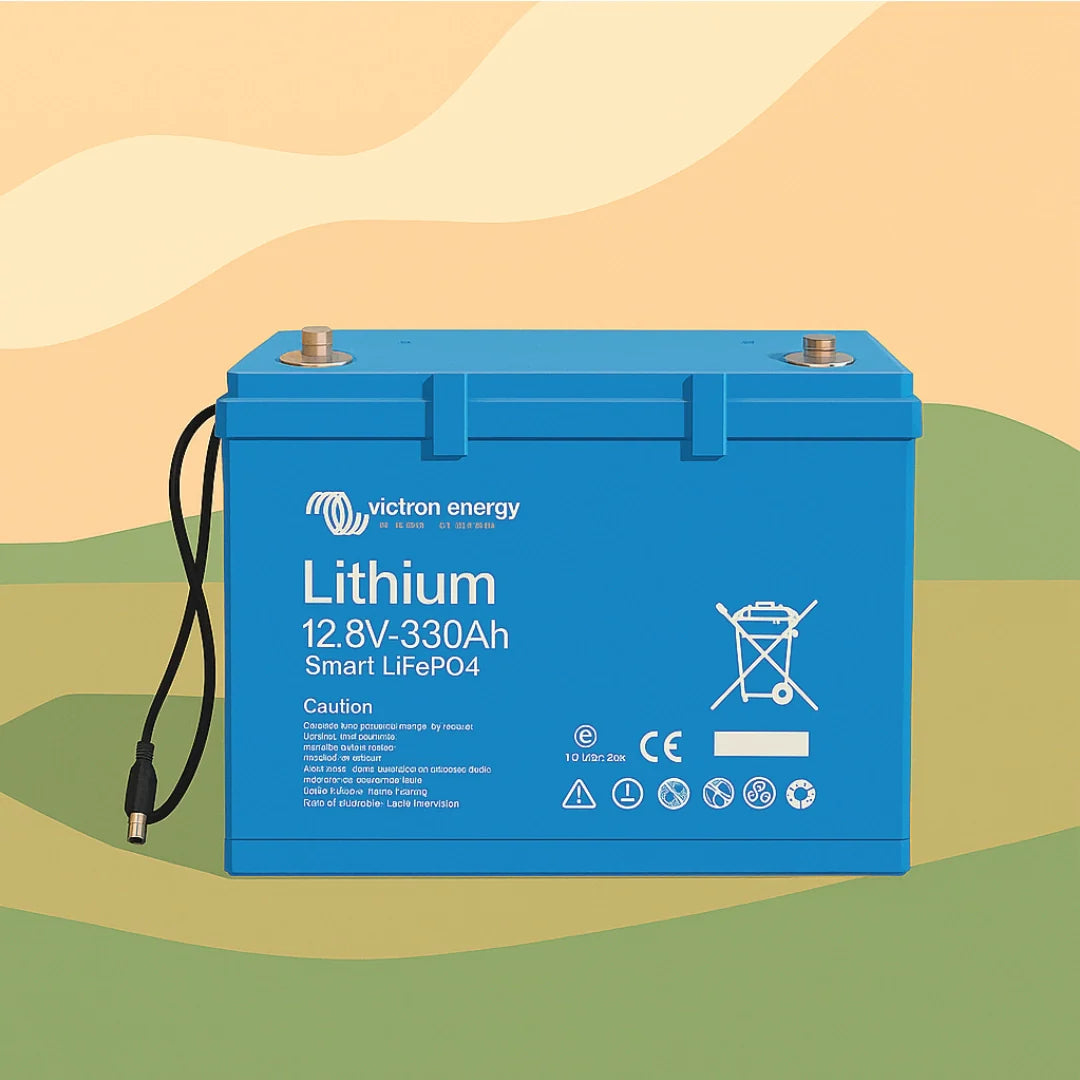
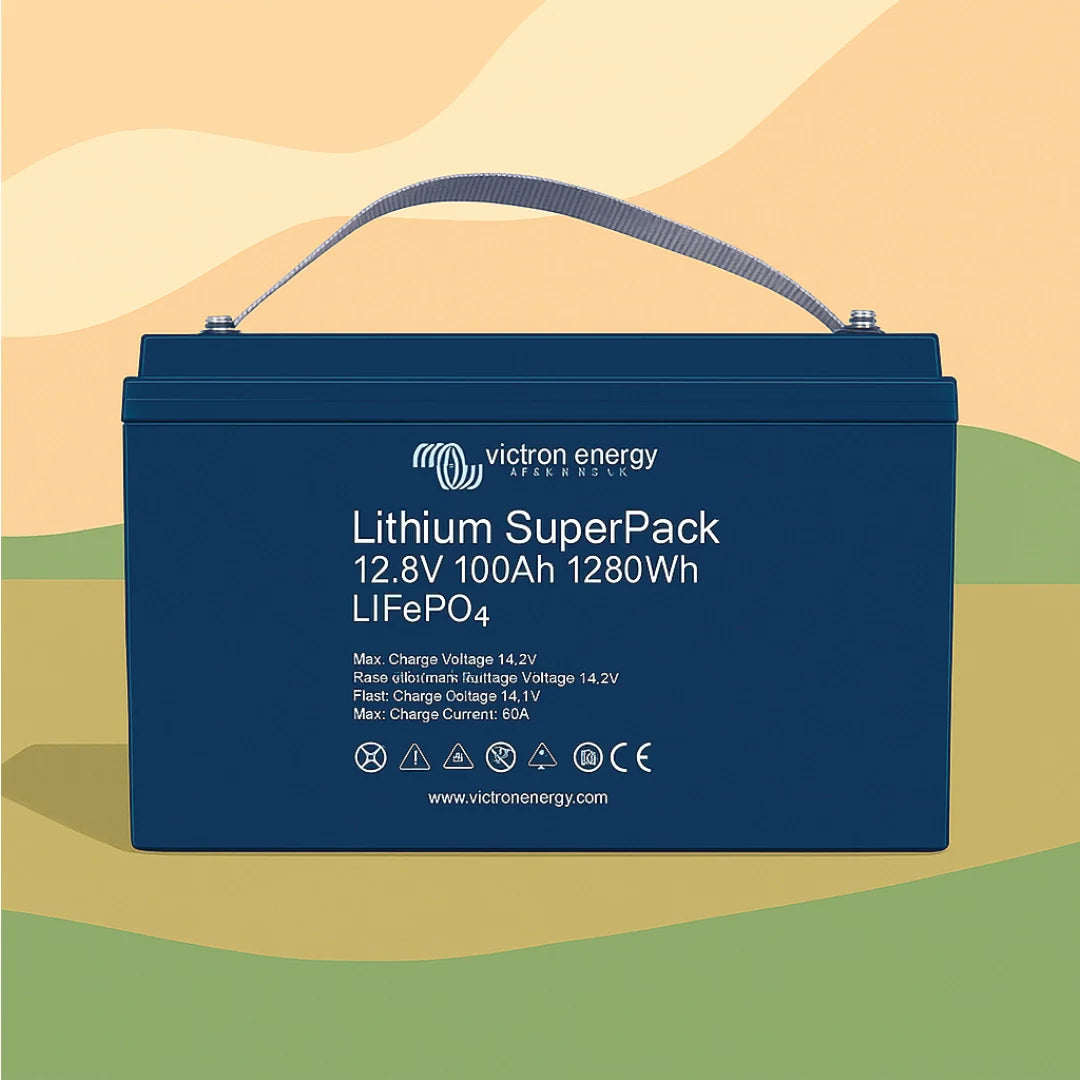
Lithium leisure batteries offer clear advantages over lead-acid for campervan use. They are significantly lighter, typically around a third of the weight of an equivalent AGM battery, which matters for payload-limited conversions. They also tolerate deeper discharge, allowing you to use more of the rated capacity without damaging the cells.
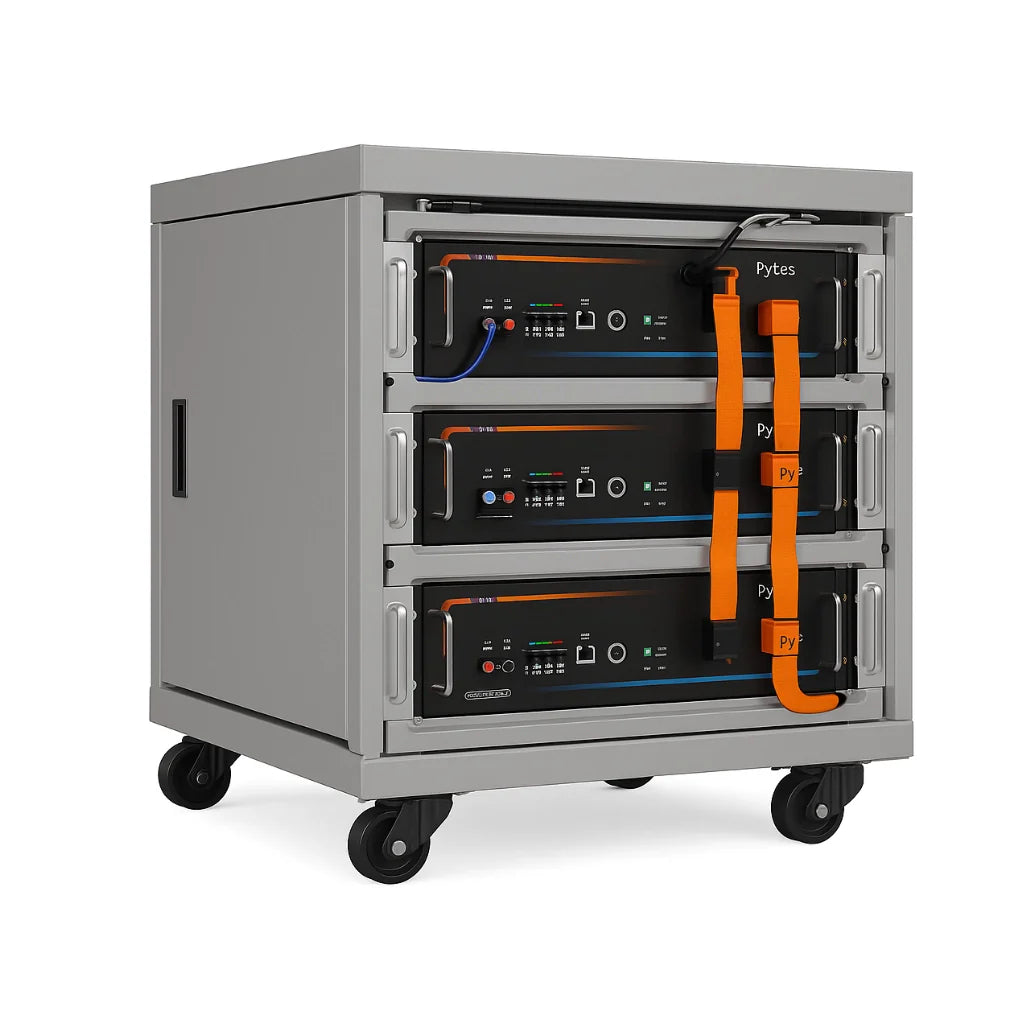
The Skyenergi Edge 100Ah lithium leisure battery, priced at £219.00, demonstrates the practical benefits: a 100A battery management system protects against overcharge and over-discharge, while Grade A EVE cells provide consistent output over many cycles. Its IP65-rated housing handles the vibration and moisture of life on the road.
What most guides miss is that lithium's higher upfront cost is offset by longevity. A quality lithium battery can outlast several lead-acid replacements, and the weight saving improves fuel economy and payload capacity for the life of the vehicle.
DC-to-DC Charger Installation Guide for Dual Battery Systems
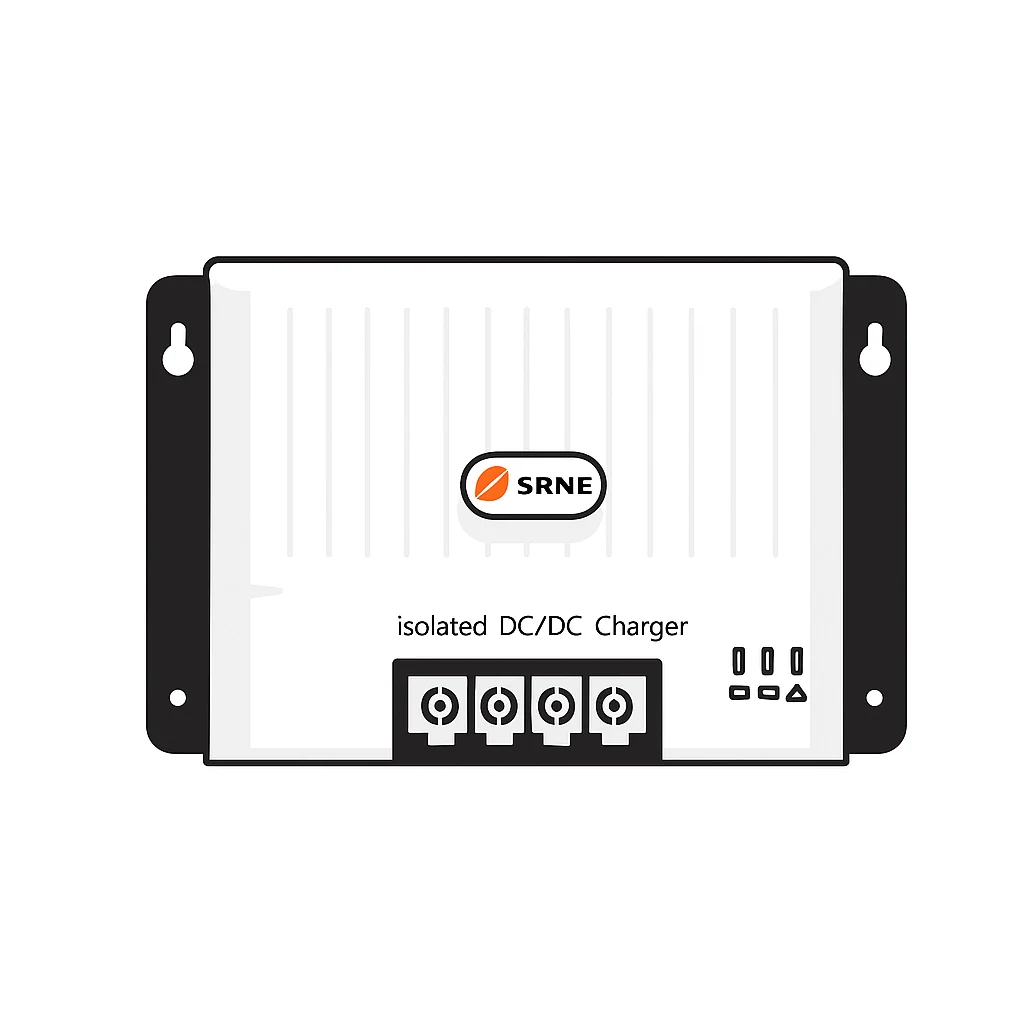
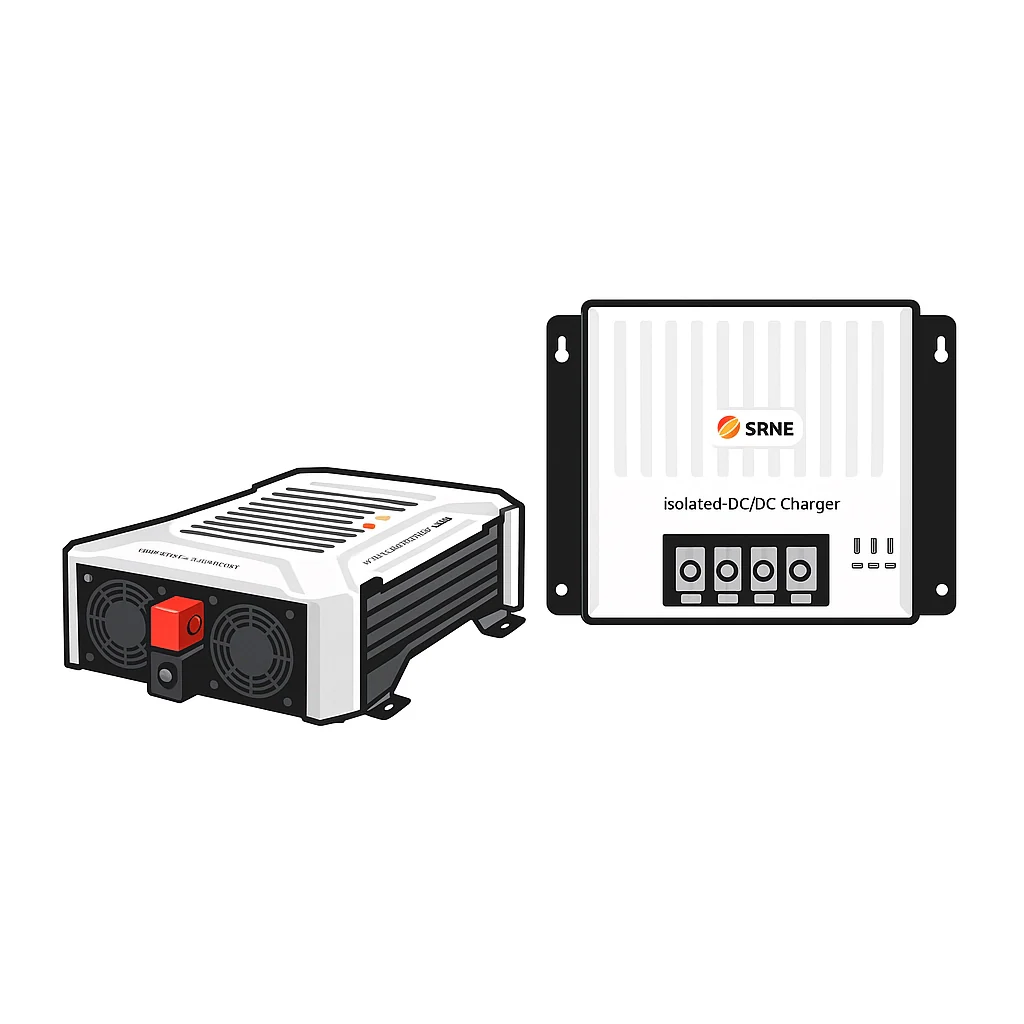
A DC-DC charger installation follows a straightforward sequence, but the details determine whether your system charges reliably. The Skyenergi 12V battery-to-battery charger kit, at £210.00, includes the Victron Orion 30A DC-DC charger with Bluetooth, MIDI fuse holders, and pre-terminated 16mm² cable, removing most of the guesswork.

The installation connects the charger between the starter battery and the leisure battery. The charger senses when the engine is running and begins a three-stage charge: bulk, absorption, and float. For lithium batteries, the absorption time is fixed at two hours, ensuring a complete charge without overvoltage.
Installation steps:
- Disconnect both batteries and mount the charger in a dry, ventilated location near the leisure battery
- Run 16mm² positive and negative cable from the starter battery to the charger input, fused within 30cm of the starter battery
- Connect the charger output to the leisure battery through the included MEGA fuse holder
- Wire the remote on-off terminal if you want manual control over charging
- Reconnect the batteries and program the charger via Bluetooth using the VictronConnect app installing compact power strips.
The kit includes a remote on-off switch connection and supports parallel units if you need more than 30A of charging current. For cable runs exceeding 10 metres, upgrading from 16mm² to 25mm² cable reduces voltage drop and maintains charging efficiency.
Campervan Off-Grid Power Solutions: Solar Integration
Solar power extends your time off-grid by replenishing the leisure battery during daylight hours. A typical setup pairs solar panels on the roof with a charge controller that regulates the voltage flowing into the battery. The controller is the critical component here, as it prevents overcharging and manages the charge profile for your specific battery chemistry.
For a 12V system, the two controller types are PWM (pulse width modulation) and MPPT (maximum power point tracking). MPPT controllers extract more energy from the panels, particularly in overcast conditions when light intensity fluctuates. The efficiency gap between MPPT and PWM can reach up to 30% in cloudy conditions, which matters in the UK climate.
MPPT Solar Charge Controller Setup
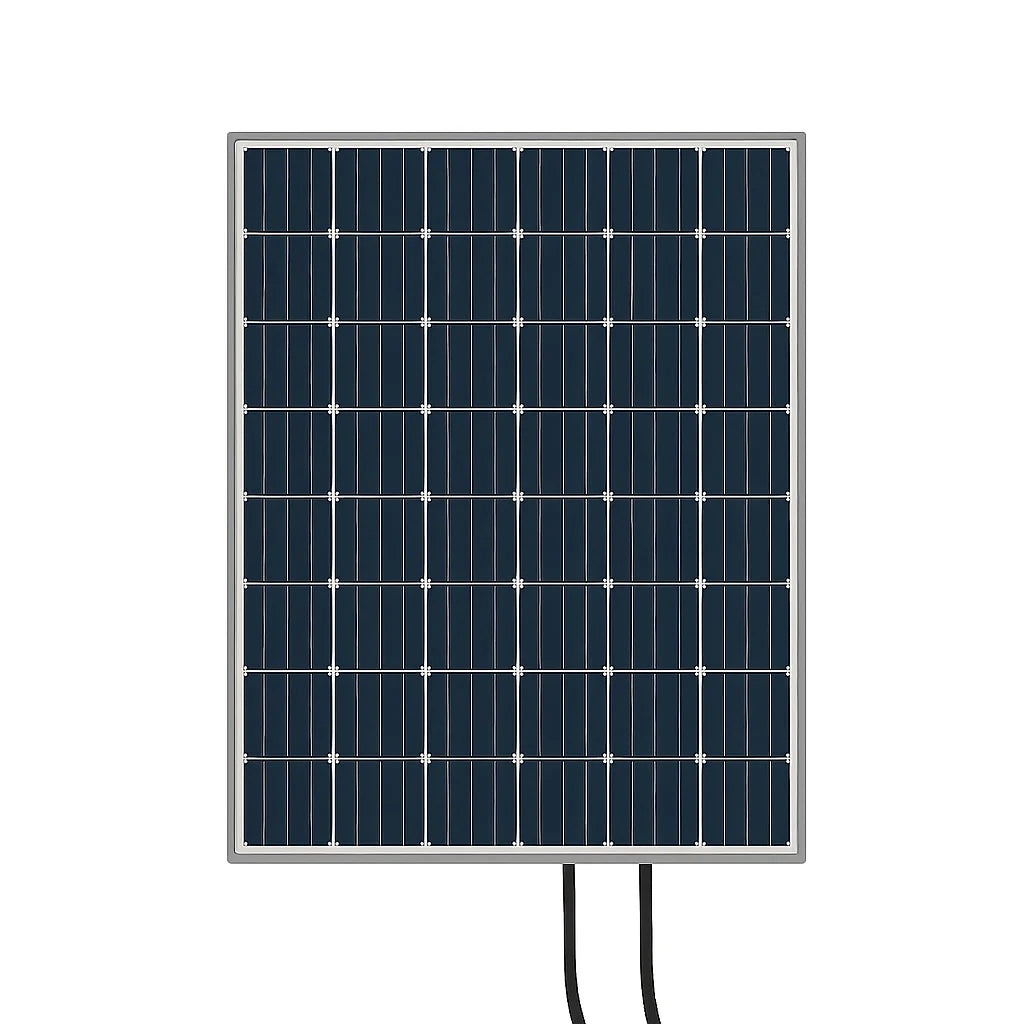
An MPPT solar charge controller setup begins with matching the controller's voltage and current ratings to your solar array and battery bank. The Victron 175W mono solar panel kit with SmartSolar MPPT 75/15, priced at £202.82, pairs a 185W panel with a 75V, 15A controller, a combination suited to charging a 100Ah-200Ah leisure battery bank.
The SmartSolar controller includes Bluetooth for wireless setup and monitoring, a load output that prevents over-discharge of the battery, and a battery life algorithm that adjusts the disconnect threshold to protect battery health. The kit also includes 5 metres of 4mm² solar cable and Z-bracket mounts, so the physical installation is covered.
For the cable entry through the roof, a solar panel entry gland provides a watertight seal. The Skyenergi double cable entry gland, at £4.75, accepts 3-7mm cables and bonds with sealant, protecting against water ingress without requiring additional drilling.
Pre-Built Kits vs Component Selection: What Suits Your Build
The choice between a pre-built kit and selecting components individually comes down to your experience level and how bespoke your requirements are. Pre-built kits bundle matched components with wiring diagrams, reducing installation complexity and the risk of incompatible parts. Component selection offers flexibility for unusual layouts or specific performance targets.
For most DIY converters, a pre-built kit is the pragmatic choice. The Skyenergi Complete Solar Power and Electrics System, at £1,825.00, includes a Victron MultiPlus-II 3000VA inverter/charger, Cerbo GX monitoring, Lynx distributor, fuse blocks, and all cabling. You select the solar array, DC-DC charger, and battery capacity to match your energy needs.

| Option | Starting Price | What's Included | Best For |
|---|---|---|---|
| Complete Solar and Electrics System | £1,825.00 | Inverter/charger, monitoring, distribution, cabling | Full conversions wanting a turnkey 240V and 12V system |
| DC-to-DC Charger Kit | £210.00 | Orion 30A charger, fuses, 16mm² cable | Adding alternator charging to an existing system |
| 175W Solar Kit with MPPT | £202.82 | Panel, MPPT controller, cable, mounts | Entry-level solar generation |
| Edge 100Ah Lithium Battery | £219.00 | LiFePO4 battery with 100A BMS | Core energy storage for small to medium builds |
The main drawback of a complete kit is that you pay for components bundled together, some of which you may not need. If your build is minimal, such as a weekend van with a single leisure battery and no inverter, individual selection can be more cost-effective. However, the engineering and design work required to match components correctly should not be underestimated.
Safety, Compliance, and Installation Considerations
Electrical safety is the area where DIY installations most often fall short. Faulty wiring or inadequate protection can cause fires or damage vehicle electronics, and first-time installers frequently worry about the complexity of the wiring and the risk of damaging the vehicle VanLifeUK community discussions on DIY electrical safety. The consequences of an improperly installed system range from nuisance tripping to catastrophic battery failure.
In the UK, 240V AC installations in campervans should follow the requirements set out in the IET Wiring Regulations (BS 7671), which cover the fixed wiring of caravans and motorhomes. While 12V DC systems fall outside the scope of most formal certification, the same principles of adequate fuse protection, correct cable sizing, and secure terminations apply.
Key safety practices:
- Fuse every positive cable within 30cm of the battery terminal
- Use the correct cable gauge for the current draw and cable run length
- Crimp and terminate all connections properly, never twist or tape wires
- Fit a battery isolator to disconnect the system for maintenance or emergencies
- Install a battery monitor such as the Victron SmartShunt 300A to track state of charge and prevent deep discharge
The Victron SmartShunt, at £54.84, connects via Bluetooth to the VictronConnect app, giving you real-time data on state of charge, time remaining, and historical performance. It also monitors a second battery or temperature sensor, which extends battery life by alerting you to conditions that shorten it.

For insurance purposes, it is worth checking with your provider whether a professionally installed or inspected electrical system is required for your conversion. Some insurers ask for evidence that 240V work was carried out by a qualified electrician, while others accept a DIY installation that follows BS 7671. Keeping a record of your wiring diagram and component specifications strengthens any claim.
Conclusion
Designing a 12v campervan electrical system kit does not have to be overwhelming, but it does require careful planning around your energy needs, battery chemistry, and charging sources. The shift toward pre-configured kits has made reliable installations achievable for DIY builders, provided you respect the fundamentals of circuit protection and correct cable sizing.
Skyenergi supplies the complete range of components needed for a modern campervan electrical system, from the Edge and Elite lithium leisure batteries to SRNE charging systems, Victron inverters, and MPPT solar controllers. Our team supports both professional converters and DIY enthusiasts across the UK with practical product knowledge and dependable UK-based support.
Get started with Skyenergi and build a power system that keeps your appliances running reliably wherever you park.
Frequently Asked Questions
What should be included in a 12V campervan electrical system kit?
A complete 12V campervan electrical system kit typically includes a leisure battery (lithium or AGM), a DC-DC charger or split charge relay, a fuse block with circuit protection, a busbar for power distribution, battery monitoring equipment such as a SmartShunt, wiring and terminals, and optional components like solar panels and an MPPT charge controller. Pre-configured kits from suppliers like Skyenergi include all necessary components and wiring diagrams, reducing installation complexity and the risk of safety issues.
Are lithium leisure batteries worth the investment for campervan conversions?
Lithium leisure batteries offer significant advantages over lead-acid alternatives. They deliver greater usable capacity, charge faster, weigh less, and last considerably longer. The Skyenergi Edge 100Ah lithium battery (£219.00) combines affordability with Grade A EVE cells and a trusted JBD battery management system. While the upfront cost is higher, the extended lifespan, superior performance in demanding conditions, and reduced maintenance make lithium a sound long-term investment for serious van converters.
What is the role of a DC-to-DC charger in a campervan electrical system?
A DC-to-DC charger bridges your vehicle's alternator and leisure battery, charging your leisure battery safely while the engine runs. Unlike basic split charge relays, DC-DC chargers like the Victron Orion-Tr Smart (£210.00) use adaptive 3-stage charging algorithms to protect battery health, support both lead-acid and lithium batteries, and include Bluetooth monitoring for system control via smartphone. This intelligent charging is essential for maintaining battery longevity and ensuring stable power during travel.
Do I need a professional to install my 12V campervan electrical kit?
Professional installation is strongly recommended, especially for systems involving high-current connections, lithium batteries, and mains hook-up components. Improper wiring and circuit protection can cause fire risk or damage expensive components. Pre-configured kits like Skyenergi's Complete Solar Power & Electrics System (£1,825.00) include detailed wiring diagrams and all components, making the installer's job clearer, but qualified electrician installation ensures safety compliance and warranty protection.
How do I size my campervan electrical system for off-grid use?
Size your system by calculating your daily energy consumption in amp-hours (Ah). List all appliances, their power draw (watts), and daily usage hours. Multiply watts by hours and divide by 12V to get amp-hours. For example, a 60W fridge running 24 hours = 120Ah daily demand. Choose a leisure battery with at least 1.5× your daily requirement to avoid deep discharge. Add solar generation capacity via an MPPT solar charge controller to replenish the battery during daylight. The Victron 175W Solar Panel Kit with SmartSolar MPPT (£202.82) is ideal for smaller systems, whilst larger builds may require multiple panels.
This article was written using GrandRanker
Prev post

How to Maintain Lithium Batteries: 2026 UK Guide
Updated on 05 September 2026
Next post

Lithium Battery Weight Saving for Campervans: A 2026 Guide
Updated on 03 September 2026


