





Are Campervan Battery Isolators Worth It?
A battery isolator keeps your starter battery charged and leisure battery separate. Compare SRNE and Skyenergi kits and learn the installation steps.
Last Updated: October 25, 2026
Quick Summary
A battery isolator connects your starter battery to your leisure battery only when the engine is running, so you can camp without risking a flat starter. It prevents the leisure load from draining the starter battery and lets the alternator recharge your leisure battery while driving. It does not regulate charge voltage or monitor state of charge, so it suits fixed-voltage alternators and lead-acid batteries best.
- An isolator prevents one failure: the leisure load draining the starter battery while the engine is off.
- Parasitic draw of 20-50 mA can pull roughly 3-8 Ah over a week of standing.
- A smart alternator may drop below the isolator's threshold, so the leisure battery never quite charges.
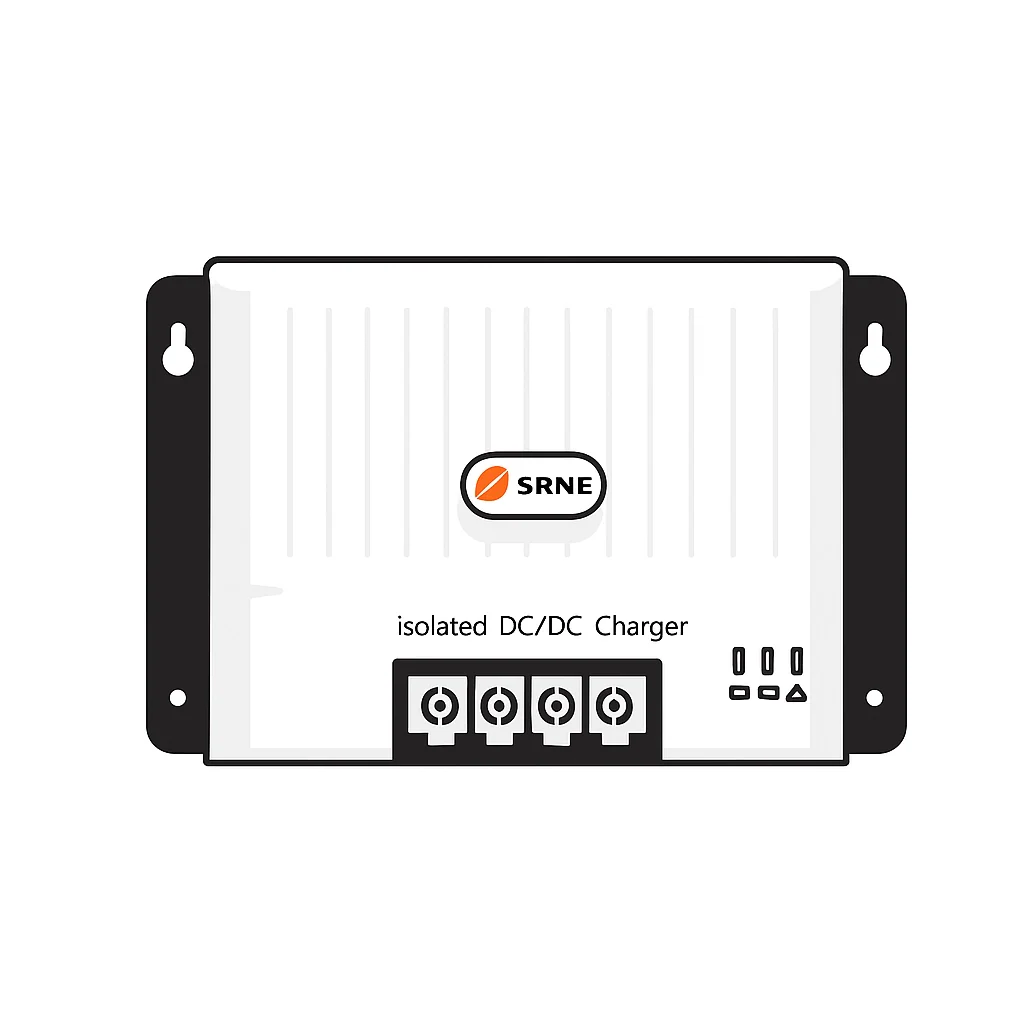
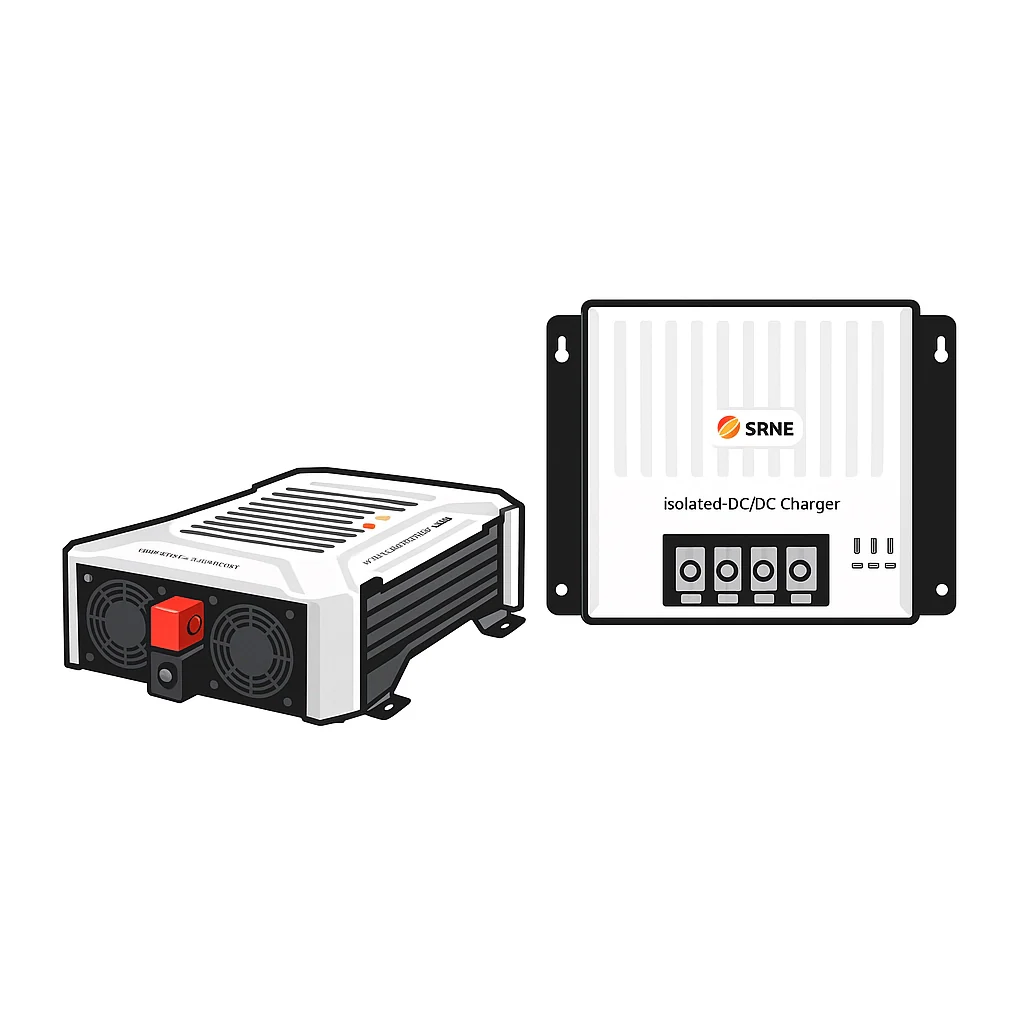
- For lithium batteries or smart alternators, fit an SRNE DC-to-DC charger instead.
- Match ratings down the chain: isolator above charge current, cable above isolator, fuse above cable.
Table of Contents
- What a Campervan Battery Isolator Actually Does
- The Benefits of Installing a Campervan Battery Isolator
- Do I Need a Battery Isolator on a Campervan?
- Battery Isolator Switch vs Charging Isolator
- DC-to-DC Charger vs Battery Isolator: Which Suits Your Van?
- Battery Isolator Wiring Diagram: What Connects Where
- Fitting a Battery Isolator Between Battery and Inverter
- Step-by-Step: Installing Your Isolator with SRNE and Skyenergi Kit
- Frequently Asked Questions
What a Campervan Battery Isolator Actually Does
Two batteries, one alternator, and a switch that decides who gets the charge. That is the whole concept.
At Skyenergi, we supply isolators, SRNE charging components and lithium leisure batteries, and the question we hear most is simple: is it worth fitting one at all?
The short answer: yes, if you want to camp without worrying about a flat starter battery.
The Benefits of Installing a Campervan Battery Isolator
The core benefit is independence. You run lights, a fridge, fans and charging points from a separate battery bank, and your starter battery stays untouched. But most guides stop at the list. The useful question is what an isolator actually prevents, what it does not, and how to tell the difference before you buy.
Here is what that buys you in practice:
- No flat starts. Your engine battery keeps its charge for the morning.
- Free charging while driving. The alternator refills the leisure battery as you go.
- Longer battery life. Neither battery gets drained below a healthy level.
What an Isolator Prevents, and What It Does Not
An isolator prevents one specific failure: the leisure load draining the starter battery while the engine is off.
Parasitic draw. A campervan's stereo memory, alarm, and central locking can pull 20-50 mA continuously.
Charging performance. An isolator connects the alternator to the leisure battery, but it does not regulate the charge profile.
Battery monitoring. An isolator does not tell you the state of charge of either battery.
The Benefit Only Appears If the Isolator Matches Your System
The benefit is conditional. An isolator matched to a fixed-voltage alternator and a lead-acid leisure battery delivers everything on the list above. An isolator fitted to a modern van with a smart alternator may never connect, because the alternator's output drops below the isolator's threshold when the battery looks full.
If your van has a fixed-voltage alternator and a lead-acid leisure battery, a charging isolator is a simple, low-cost win.
Do I Need a Battery Isolator on a Campervan?
You need a battery isolator if your campervan has a separate leisure battery charged from the alternator. Without one, either the two batteries stay linked and drain together, or the leisure battery never charges while driving.
The exception is a van running a modern smart alternator with a DC-to-DC charger, which handles separation and charging in one unit.
Ask yourself three questions:
- Do I have a leisure battery separate from the starter?
- Do I want it charged while driving?
- Do I want to camp without risking a flat starter?
Three yeses means you need one.
Battery Isolator Switch vs Charging Isolator
These two get confused constantly, and the confusion causes bad purchases. They are not the same thing.
A battery isolator switch is a manual device. You turn it to disconnect the battery from a load or circuit.
A charging isolator is automatic. Readers comparing isolator types can explore alternatives to split charge relays for van conversions before choosing a setup.
Our Skyenergi Mini On-Off Battery Switch with Knob - Red - 6006 is a good example of the first type: a 300A continuous, 500A intermittent switch rated to 48V, with an isolating cover over the rear contacts.

DC-to-DC Charger vs Battery Isolator: Which Suits Your Van?
A DC-to-DC charger suits modern vans with smart alternators. A traditional battery isolator suits older vans with fixed-voltage alternators.
Smart alternators drop their output voltage when the battery looks full. A voltage-sensing isolator reads that as "engine off" and stops charging.
Skyenergi Mini On-Off Battery Switch with Knob - Red - 6006 →
A DC-to-DC charger takes a variable input and delivers a stable, correct charge profile. For a deeper look at DC-to-DC options, see the DC to DC charger buyer's guide.
Our rule of thumb:
| Van Type | Best Choice | Why |
|---|---|---|
| Pre-2010, fixed alternator | Battery isolator | Simple, low cost, works |
| Modern van, smart alternator | DC-to-DC charger | Stable charge profile |
| Lithium leisure battery | DC-to-DC charger | Correct charging voltage |
| Basic split-charge setup | Isolator plus relay | Budget option |
Battery Isolator Wiring Diagram: What Connects Where
A basic isolator wiring diagram has four connections: starter battery positive, leisure battery positive, chassis earth, and the ignition signal wire if the unit needs one. But the diagram alone does not tell you whether the install is correct. The table below gives the connection points, the expected reading at each point, and the most common mistake.
| Connection | Where it goes | Expected reading (engine off) | Expected reading (engine running) | Common mistake |
|---|---|---|---|---|
| Starter battery positive | Isolator input, via a fuse at the battery end | 12.4-12.7 V | 13.5-14.8 V (fixed alternator) or 12.0-13.0 V (smart alternator) | Fuse fitted at the isolator end instead of the battery end |
| Isolator output | Leisure battery positive, via a fuse at the battery end | 0 V (isolated) | Within 0.2 V of the starter battery reading | Cable undersized for the charge current |
| Negative terminals | Chassis earth, cable sized to match the positive | 0 V to chassis | 0 V to chassis | Relying on the chassis return alone without a dedicated earth cable |
| Ignition wire | Switched live if the isolator requires it | 0 V | 12 V | Tapping a permanent live instead of a switched live |
Cable and fuse sizing. Work down the chain, never up. The isolator current rating must be above your expected charge current; the cable must be above the isolator rating; the fuse must be above the cable rating.
Verification after wiring. Before you connect the leisure battery, check for shorts with a multimeter set to continuity between the positive and negative terminals of each run. Then connect and test in order:
- Engine off: isolator output reads 0 V (or within 0.5 V of the leisure battery if the unit has a small standby draw)
- Engine running: isolator output rises to within 0.2 V of the starter battery
- Engine off after a run: isolator disconnects within 5-30 seconds, depending on the unit's delay setting
If the isolator output stays at 0 V with the engine running, the most common causes are a blown fuse at the battery end, a loose ignition signal wire, or a voltage-sensing unit that has not seen the alternator rise above its threshold.
Fitting a Battery Isolator Between Battery and Inverter
Place the isolator between the leisure battery and the inverter so you can cut inverter power without touching the battery terminal.
An inverter can pull heavy current. A manual isolator gives you a clean way to shut it down before you work on the system.
Our Skyenergi ELR2 DC Isolator Switch, 4 Pole 32 Amp is a 4-pole, 32A unit with an IP65 enclosure and a lockable rotary handle, rated to EN 60947-3.

Step-by-Step: Installing Your Isolator with SRNE and Skyenergi Kit
Total time: 3-5 hours. Difficulty: intermediate. You need basic 12V wiring confidence, a crimping tool, a torque screwdriver and a multimeter.
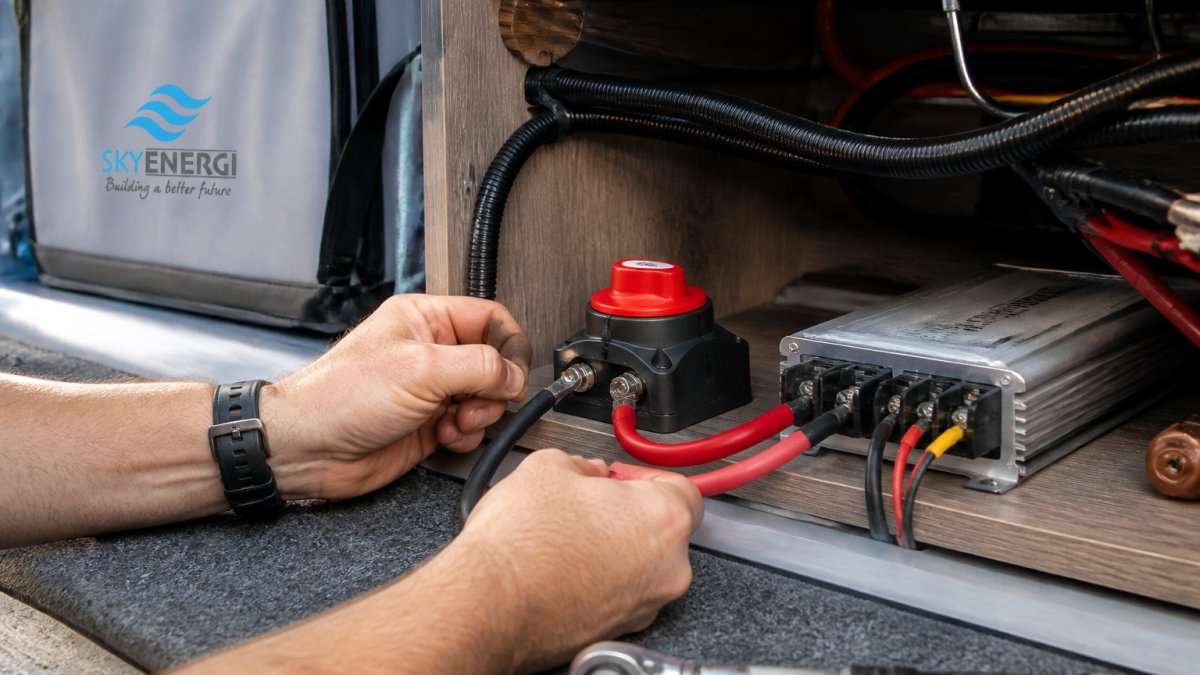
Step 1: Plan the Cable Route and Ratings
Map the run from starter battery to isolator to leisure battery before you drill anything. Note every fuse point, every grommet and every cable tie.
Then match the ratings: isolator current rating above your expected charge current, cable above the isolator rating, fuse above the cable rating.
Expected result: a written route plan and a parts list with ratings that stack correctly.
Step 2: Mount the Isolator and SRNE Charging Components
Mount the isolator on a solid surface near the leisure battery, clear of heat and water. Keep the SRNE DC-to-DC charger or MPPT controller within cable reach so the run stays short.
Use the isolating cover on the Skyenergi battery switch to protect the rear contacts. Leave room to reach the terminals with a screwdriver.
Expected result: every component fixed, accessible and dry.
Step 3: Wire, Fuse and Test the System
Wire the positives through fuses at the source end, earth the negatives to the chassis, and torque every terminal to spec. Then test in order:
- Check for shorts with the multimeter before connecting the battery
- Confirm isolator connects only with the engine running
- Confirm it disconnects within seconds of engine off
- Check charge voltage at the leisure battery
If something reads wrong, our guide to troubleshooting common 12V electrical issues in motorhomes walks through the usual suspects. For a fuller install sequence, see our 7 steps to install a battery to battery charger.
Watch out: wiring the isolator without a fuse at the battery end turns a small fault into a fire risk. Fuse both positive runs.
Frequently Asked Questions
Do I really need a battery isolator in my campervan?
If your leisure battery is charged from the vehicle alternator, yes. Without a battery isolator, the two batteries stay connected and your fridge, lights and fans can pull the starter battery flat while you camp. A charging isolator or DC-to-DC charger separates the circuits once the engine stops, so the starter battery keeps its charge for starting. If you only ever charge from solar or mains hook-up and never link to the vehicle, you can skip it.
Can a battery isolator prevent a leisure battery from draining the starter battery?
A voltage-sensitive relay or charging isolator disconnects the leisure battery when alternator output stops, which stops house loads pulling from the starter battery. A manual battery isolator switch does the same job, but only when you remember to turn it. Pair either with a DC-to-DC charger such as the SRNE units Skyenergi supplies for controlled charging and a clean separation between the two battery banks.
Do you put a battery isolator on the positive or negative terminal?
Fit the isolator in the positive cable, as close to the battery as practical, and protect the cable with a fuse rated to the cable. Switching the negative is possible but leaves the positive live throughout the run, which is a fault risk. Use the [Skyenergi Mini On-Off Battery Switch with Knob - Red - 6006](https://skyenergi.com/products/skyenergi-mini-on-off-battery-switch-with-knob-red-6006), rated 300A continuous and 500A intermittent at up to 48V, for a single battery feeding one load group.
Is a battery isolator the same as a battery disconnect switch?
No. A battery disconnect switch is a manual on-off device, such as the [Skyenergi ELR2 DC Isolator Switch, 4 Pole 32 Amp](https://skyenergi.com/products/skyenergi-elr2-dc-isolator-switch-4-pole-32-amp) or the [Victron Energy Battery switch ON/OFF 275A - VBS127010010](https://skyenergi.com/products/victron-energy-battery-switch-on-off-275a-vbs127010010), used to cut power for maintenance or storage. A charging isolator, including a voltage-sensitive relay or DC-to-DC charger, works automatically to separate starter and leisure batteries while the engine runs or stops. Many campervans use both: an automatic charging device plus a manual switch for safe isolation.
Fitting an isolator is one of the cheapest upgrades you can make to a campervan, and one of the easiest to get wrong on ratings alone. If you want the components matched correctly the first time, Skyenergi supplies SRNE charging systems, isolators and lithium leisure batteries with UK-based support and fast delivery. Browse the range and get your 12V system built around the right isolator, not whatever was on the shelf.

Next post

How to Troubleshoot Common 12V Electrical Issues in Motorhomes
Updated on 25 October 2026


