


Solar Panel Mounting Kits for Rainy UK Conditions
Compare drill-free and roof-bracket solar panel mounting kits built for wet UK weather, and learn how to keep water out of your roof.
Quick Summary
Solar panel mounting kits for rainy UK conditions should shed water, seal every roof penetration and stay secure on wet surfaces. Drill-free bonded kits avoid leak points, but only if the surface is clean, dry and fully cured before you rely on them.
- Judge a kit by how it handles water at every point where it touches the roof.
- Treat any "weatherproof" label as a claim to verify, not a guarantee.
- Bonded, drill-free kits remove roof penetrations, but the bond must be clean and dry.
- Seal the cable entry point with the Skyenergi Solar Panel Entry Gland, which suits 3-7mm cables.
- Check every bond, seal and fixing after the first storm, then at least once a year.
Table of Contents
- Why Rain Changes How You Should Choose a Solar Panel Mounting Kit
- Solar Panel Roof Mounting Brackets for Wet Pitched Roofs
- Solar Panel Mounting for Metal Roofs in Wet Weather
- Drill-Free Solar Panel Mounting Kit: Waterproofing Without Roof Penetrations
- Ground-Mounted Solar Panel Fixing Kits and Drainage Considerations
- Step-by-Step: Weatherproofing a Solar Panel Mount Installation
- Maintaining Your Mounts and Choosing Your Rain-Ready Kit
- Frequently Asked Questions
Why Rain Changes How You Should Choose a Solar Panel Mounting Kit
Rain is the stress test most mounting kits never face in a showroom. A kit that looks sound on a dry afternoon can let water track into a roof penetration after a spell of heavy rain. For motorhome and campervan owners in the UK, the mounting decision is as much about water management as it is about holding the panel down.
Customers often ask which kit suits a wet roof, whether a drill-free fixing is safe in heavy weather, and how the cable route is sealed.
Rain changes three things. Water runs off a surface, pools against a fixing, or finds its way through any gap you create. A mounting kit therefore has to shed water, seal every penetration, and stay secure while the surface is wet and slippery. Our advice is simple: judge a kit by how it handles water at every point where it touches the roof, not by its headline specification alone.
Be cautious with any "weatherproof" label. Treat wet-weather suitability as a claim to verify, not a guarantee.
Solar Panel Roof Mounting Brackets for Wet Pitched Roofs
Pitched roofs collect and channel water, so the bracket design matters as much as the fixing method. A bracket that holds the panel clear of the roof lets water drain beneath the frame rather than soaking into the fixing point.
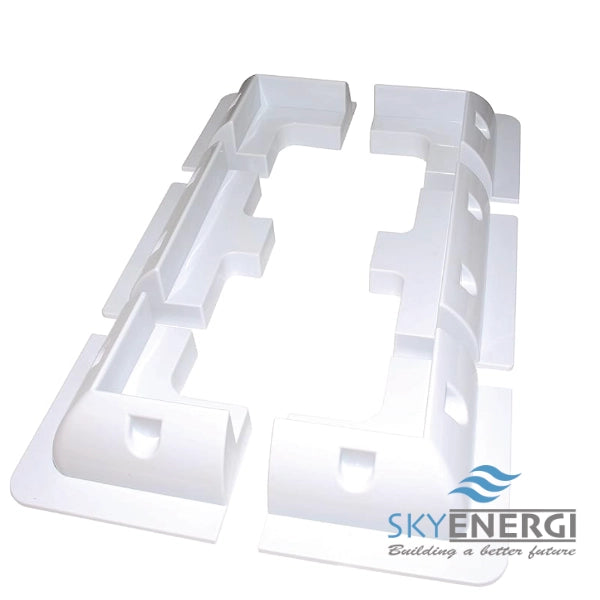
The Skyenergi 7 Pieces ABS Solar Panel Mounting Kit (https://skyenergi.com/products/skyenergi-7-pieces-abs-solar-panel-mounting-kit) uses corner brackets designed for rigid-framed panels on flat surfaces, and it can be bonded without drilling. For a wet pitched roof, check that the kit's footprint suits the roof you have and that the adhesive you choose is rated for the surface.
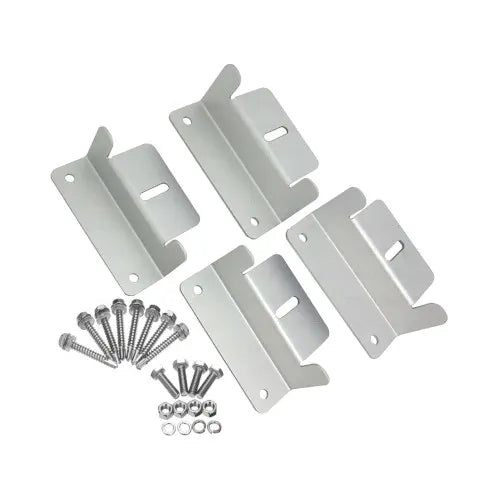
If you prefer mechanical fixing, the Z Bracket Set of solar panel fixings is built from 2mm aluminium and includes stainless steel screws, washers and nuts.
Best for: owners who want a bonded, drill-free option on a flat or gently pitched surface. Skip if: your roof is steeply pitched or you have no suitable area for adhesive bonding.
Solar Panel Mounting for Metal Roofs in Wet Weather
Metal roofs shed water quickly, but they also create two risks: galvanic reactions between dissimilar metals, and fixings that loosen as the sheet expands and contracts. Choose fixings that suit the metal and avoid mixing materials that corrode each other when wet.
The Z Bracket Set (https://skyenergi.com/products/z-bracket-set-solar-panel-fixings) uses 2mm aluminium brackets with stainless steel screws, washers and nuts. Where a fixing passes through the sheet, the hole should be sealed with a sealant suited to the metal and the roof coating.
Check the roof material before you buy, as mixing metals can accelerate corrosion at contact points.
Check each fixing point after the first few weeks, when the bracket has settled and any sealant has cured. Look for water tracking at the screw heads and for any loosening as the sheet expands. For a deeper comparison of SRNE solar kits for UK rooftops, see our guide to choosing the right kit for your setup.
Drill-Free Solar Panel Mounting Kit: Waterproofing Without Roof Penetrations
Every hole in a roof is a potential leak. A drill-free kit removes that risk by bonding the mount to the surface, so there is no fixing passing through the roof covering. The trade-off is that the bond must be clean, dry and properly cured before you rely on it.
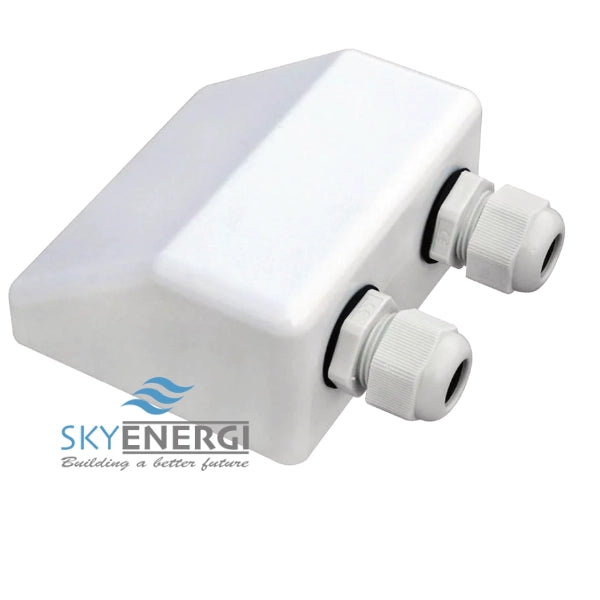
Where cables must leave the roof, the entry point becomes the weak spot. The Skyenergi Solar Panel Entry Gland (https://skyenergi.com/products/skyenergi-solar-panel-entry-gland) is a double cable entry gland designed for 3-7mm cables. It is bonded with a suitable sealant rather than drilled, and its compact, low-profile design keeps the finish neat.
Practical steps for a drill-free fit:
- Clean and degrease the bonding surface thoroughly
- Allow the surface to dry before applying adhesive or sealant
- Use a sealant suited to your roof material
- Let the bond cure fully before exposing it to rain
Best for: owners who want to avoid roof penetrations altogether. Skip if: the surface cannot be cleaned and dried properly, since a poor bond is worse than a mechanical fixing.
Ground-Mounted Solar Panel Fixing Kits and Drainage Considerations
Ground mounts avoid roof penetrations, but they bring their own wet-weather considerations. Standing water can undermine a frame. Site the mount on ground that drains away from the fixings, and keep the base clear of soil and debris that can trap water. Keeping water away from fixings matters on roofs as well as ground mounts, so prepare your roof for heavy rain before installing panels.
A practical approach is to set the frame on a slight slope or on a free-draining base such as compacted gravel, so rainwater runs away rather than pooling under the fixings. Where the ground is heavy clay, a shallow drainage channel around the footprint can prevent water sitting against the metal. Check the frame after heavy rain for any sign of water standing at the base or running along the lower rail.
Keep cable runs above ground level where possible, and protect any joints with an appropriate gland or seal. The same principles of sealed entry points apply whether the panel sits on a roof or on the ground. For a deeper comparison of SRNE solar kits for UK rooftops, see our guide to choosing the right kit for your setup.
Step-by-Step: Weatherproofing a Solar Panel Mount Installation
Working in the dry, with the surface cleaned first, helps the bond and seal perform as intended.
- Clean the surface. Remove dirt, oil and loose debris, then dry it completely.
- Position the brackets. Mark the layout and check that drainage paths stay clear.
- Bond or fix the mounts. Follow the adhesive or fixing instructions for your kit, and avoid working when rain is forecast.
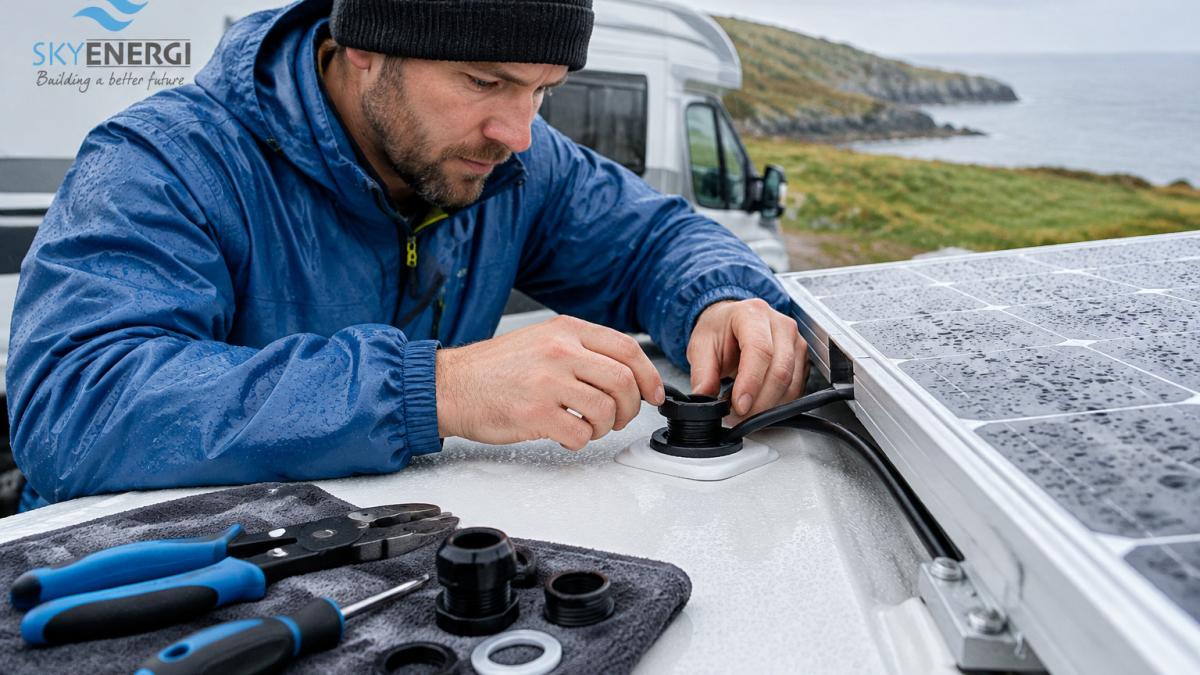
- Seal the cable entry. Fit the Skyenergi Solar Panel Entry Gland using a suitable sealant, and run cables so they do not sag and collect water.
- Allow full cure time. Keep the installation dry until the sealant and adhesive have set. For a full walkthrough, see how to mount solar panels on a UK roof with a Skyenergi kit.
- Inspect after the first storm. Check every bond, seal and fixing for movement or water tracking.
Maintaining Your Mounts and Choosing Your Rain-Ready Kit
Check the brackets, bonds and seals at least once a year, and after any heavy storm. Look for cracked sealant, loose fixings and any sign of corrosion on metal parts.
When choosing a kit for rainy conditions, consider these points:
- Roof type and pitch
- Whether drill-free bonding is practical for your surface
- Corrosion resistance of the fixings
- How cables leave the roof and how they are sealed
- Access for inspection after bad weather
For a deeper comparison of SRNE solar kits for UK rooftops, see our guide to choosing the right kit for your setup. If you are unsure which combination suits your vehicle, Skyenergi provides technical support to help you match the mount, fixings and entry gland to your roof.
Frequently Asked Questions
Which solar panel mounting kit is best for a rainy climate?
For rainy UK conditions, prioritise a kit with a sealed cable entry, corrosion-resistant fixings and a mounting method that suits your roof. The Skyenergi 7 Pieces ABS Solar Panel Mounting Kit (£18.99) uses durable ABS plastic with UV stability and includes an entry gland for bonding without drilling. The Z Bracket Set (£9.95) uses 2mm aluminium brackets with stainless steel fixings. Check that any kit you choose is compatible with your panel frame before buying.
How do you stop rainwater getting under solar panel roof mounts?
Seal every penetration and cable exit with a suitable sealant, and make sure the bracket base sits flat so water runs off rather than pooling. Use the double cable entry gland, which is designed for 3 to 7mm cables and provides a watertight seal when bonded correctly. Leave enough clearance for water to drain, and inspect the seals after heavy rain or storms to catch any early failure.
Are drill-free solar panel mounts suitable for exposed roofs?
Drill-free mounts avoid roof penetrations, which removes one common route for leaks. They rely on a suitable adhesive bond, so surface preparation matters: clean and dry the roof before bonding. The product listings do not give rainfall test results or a quantified waterproof rating, so treat any wet-weather claim as a general suitability statement and check the adhesive manufacturer's guidance for exposed use.
How much roof clearance should solar panels have for drainage and ventilation?
Leave a gap between the panel and the roof surface so that rainwater can drain and air can circulate. The exact clearance depends on your mounting kit and roof type, so follow the manufacturer's installation instructions. Good ventilation under the panels also reduces condensation and helps prevent damp in the roof structure over time.

Next post

How Do You Connect an SRNE Inverter to Wi-Fi?
Updated on 19 November 2026


