





DC to DC Charger: The 2026 Buyer's Guide
Find the best DC to DC charger for your campervan in 2026. We compare top models for lithium leisure battery charging and off-grid power. Start.
Table of Contents
- What Is a DC to DC Charger and How Does It Work?
- Why Your Campervan Needs One: Smart Alternator Compatibility
- Lithium Leisure Battery Charging: Getting the Profile Right
- DC-to-DC Charger Installation Guide: Step-by-Step
- Choosing the Right Amperage and Understanding Leisure Battery Charging Time
- Top DC to DC Charger Options for Your Van
- Conclusion: Building a Reliable Off-Grid System
- Frequently Asked Questions
Last Updated: September 15, 2026
What Is a DC to DC Charger and How Does It Work?
A DC to DC charger is a voltage conversion device that takes power from your vehicle's alternator and delivers a stable, regulated charge to your leisure battery. Unlike a basic split charge relay, it maintains the correct charging voltage regardless of what the alternator is doing.
The problem it solves is straightforward. Modern vehicles use smart alternators that drop their output voltage once the starter battery reaches roughly 80% state of charge (Energy intensive industries (EIIs)). That's fine for the engine, but it starves a leisure battery of the voltage it needs to charge properly. A DC to DC charger sits between the two systems, boosting and regulating the voltage to match the leisure battery's requirements.
The charger also isolates the starter battery from the leisure bank, so you can't drain your vehicle's battery while camping. Multi-stage charging profiles then handle the bulk, absorption, and float phases automatically.
Why Your Campervan Needs One: Smart Alternator Compatibility
Smart alternators are the single biggest reason traditional split charge systems fail in modern vans. A split charge relay simply connects the two batteries together when the engine runs. With a smart alternator, the voltage drops to around 12.4V once the starter battery is topped up, which is barely enough to maintain a leisure battery, let alone charge it.
A DC to DC charger solves this by accepting a wide input voltage range and boosting it to the correct charge voltage for your battery chemistry. It also includes engine running detection, so it only activates when the alternator is genuinely producing power.
The one scenario where a DC to DC charger does nothing useful is when your auxiliary battery is already fully charged. In that state, the unit won't draw power from the alternator and sits inactive, which is exactly what you want. For most campervan owners running a smart alternator, though, it's essential equipment.
Lithium Leisure Battery Charging: Getting the Profile Right
Lithium leisure battery charging requires a different approach to lead-acid. Lithium iron phosphate (LiFePO4) batteries need a higher absorption voltage and don't require the float stage that AGM, GEL, or calcium batteries rely on (pubmed.ncbi.nlm.nih.gov). Get the profile wrong and you'll either undercharge the battery or shorten its lifespan.
Most quality DC to DC chargers offer selectable charge profiles for lithium, AGM, GEL, and standard lead-acid. The charger should also support temperature-compensated charging.
For lithium specifically, the charger needs to deliver a constant current during the bulk phase, then hold a steady absorption voltage until the current tapers off. Unlike lead-acid, there's no need for an extended float phase.
DC-to-DC Charger Installation Guide: Step-by-Step
DC-to-DC charger installation follows a consistent sequence regardless of vehicle type.
What you'll need:
- DC to DC charger unit
- Cable sized to the charger's amperage rating
- Fuse or circuit breaker at the starter battery end
- Ignition feed wire
- Crimping tools and heat shrink
- Multimeter
- Disconnect the starter battery negative terminal before starting any work.
- Mount the charger in a ventilated location close to the leisure battery, away from heat sources.
- Run the input cable from the starter battery positive terminal to the charger input, fitting a fuse within 30cm of the battery.
- Connect the ignition feed so the charger only activates when the engine runs.
- Wire the output to the leisure battery positive terminal.
- Connect the shared negative to a solid chassis ground point.
- Reconnect the starter battery and check voltages with a multimeter before powering up.
- Configure the charge profile via the charger's app or DIP switches to match your battery chemistry.
Expected result: With the engine running, the charger should show input voltage around 13-14V and output voltage matching your battery's absorption profile.
Choosing the Right Amperage and Understanding Leisure Battery Charging Time
Leisure battery charging time depends directly on the charger's amperage rating and your battery's capacity. A 100Ah lithium battery charged at 18A takes roughly six hours from empty (Battery University). The same battery at 30A takes about three and a half hours. At 50A, you're looking at around two hours. These figures assume the charger can sustain its rated output, which depends on alternator capacity, cable sizing, and thermal conditions.
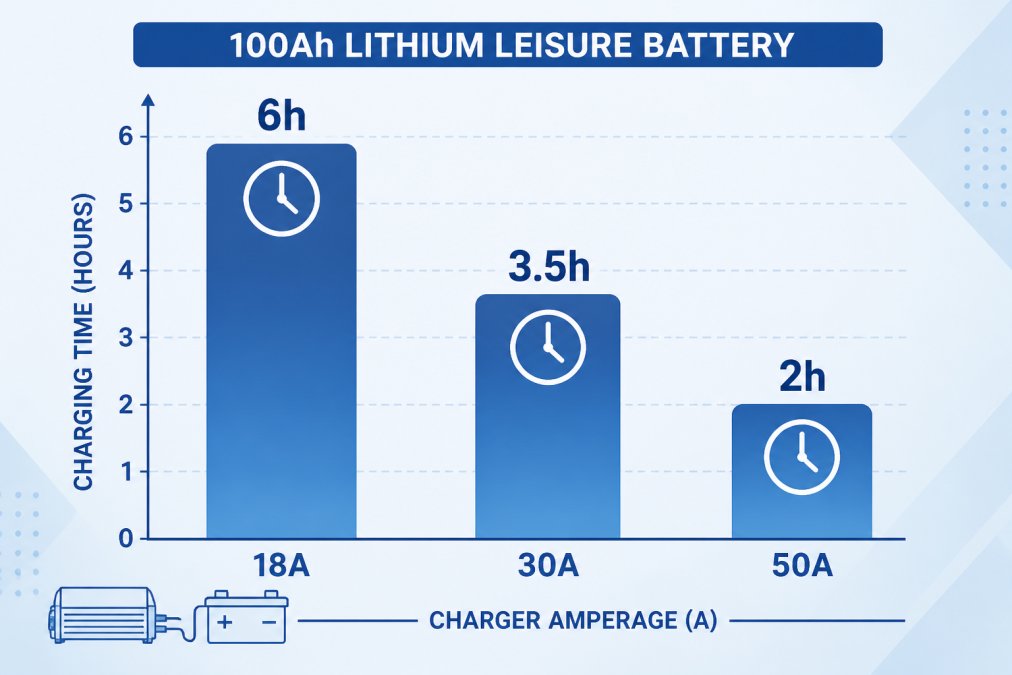
| Charger Amperage | Time to Full (100Ah lithium) | Typical Alternator Load | Best For |
|---|---|---|---|
| 18A | ~6 hours | ~20A | Occasional use, short drives, smaller alternators |
| 30A | ~3.5 hours | ~33A | Most campervan setups with 100-200Ah banks |
| 50A | ~2 hours | ~55A | Full-time off-grid, 300Ah+ banks, high-output alternators |
A common mistake is buying a charger that's too powerful for the alternator. A 50A charger pulls roughly 50A from the alternator on top of the vehicle's own electrical load. Many standard alternators can handle this, but smaller units may struggle. Match the charger to both your battery bank and your alternator's spare capacity.
Cable sizing is equally important. Undersized cable causes voltage drop, and the charger compensates by drawing more current, which generates heat. Size your cable for the full amperage rating over the actual run length, not the shortest possible path. For a 30A charger on a 5-metre run, 10mm² cable is a common starting point; for 50A, 16mm² or larger is often needed. Always check the manufacturer's voltage drop tables.
Thermal management matters in confined campervan spaces. A charger running at full output in a sealed cupboard will derate or shut down. Mount it where air can circulate, and avoid enclosing it with the leisure battery.
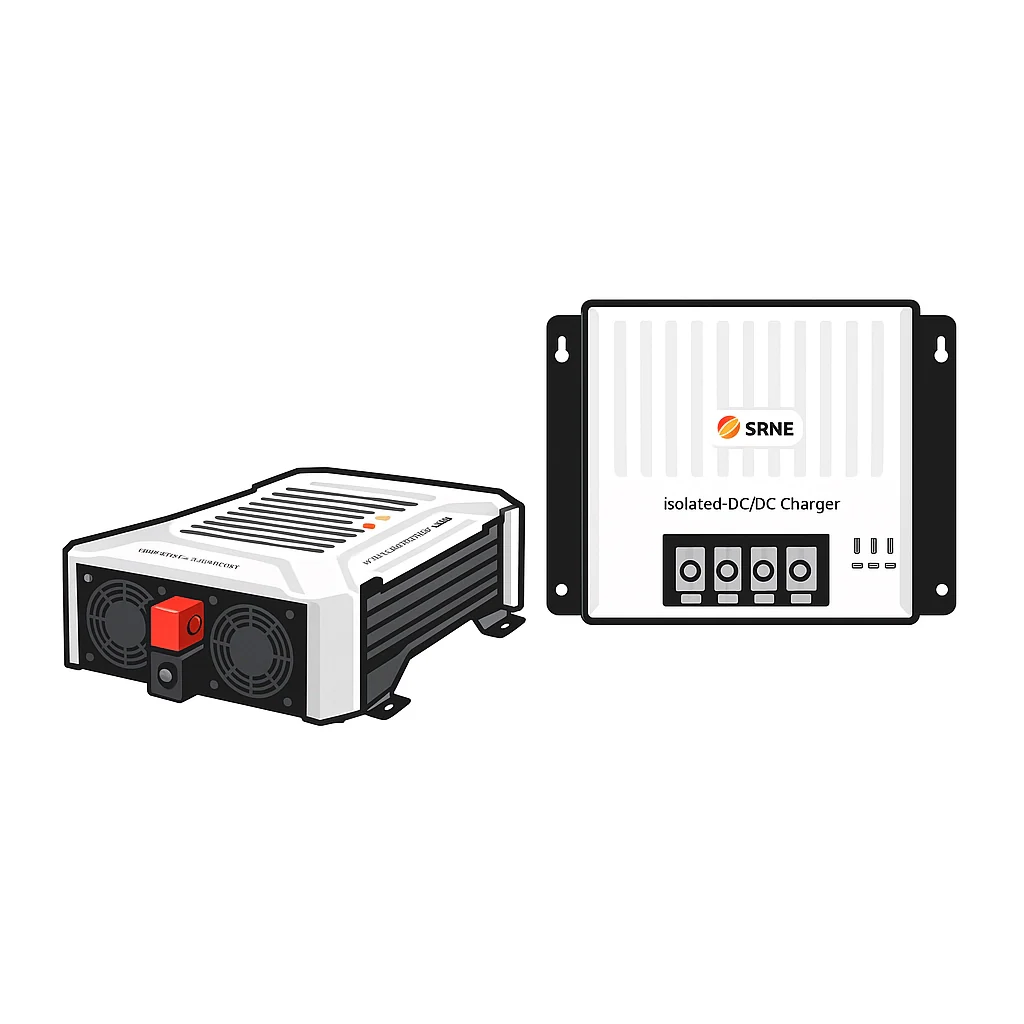
If your vehicle has a smart alternator, the charger must be able to accept a wide input voltage range and boost it to the correct charge voltage. SRNE's DC to DC range is designed for this, with engine running detection and multi-stage profiles for lithium, AGM, GEL, and lead-acid. For most campervan owners running a smart alternator, a 30A unit is the sweet spot between charging speed and alternator load.
Top DC to DC Charger Options for Your Van
Skyenergi offers a focused range of DC to DC charger kits. These are the units we recommend most often, and here's how they compare.
For example, the 12V Battery To Battery Charger Kit - Includes Victron Orion 30A DC-DC Charger with built-in Bluetooth is a professional DC to DC adaptive 3-stage charger with built-in Bluetooth. It is designed for dual battery systems in vehicles or on boats where the (smart) alternator and the start battery are used to charge the service battery. The unit can be monitored and programmed via Bluetooth and remotely controlled via a remote on/off switch, and it has engine running detection. This kit is available for £210.00.

For higher output needs, the 12V Battery To Battery Charger Kit - Includes Victron Orion XS 12/12-50A DC-DC Battery Charger with built-in Bluetooth is a next-generation power management solution designed to deliver fast, reliable, and efficient charging for your 12V auxiliary battery system. It is ideal for campervans, motorhomes, and off-grid vehicles, and is available for £339.00.
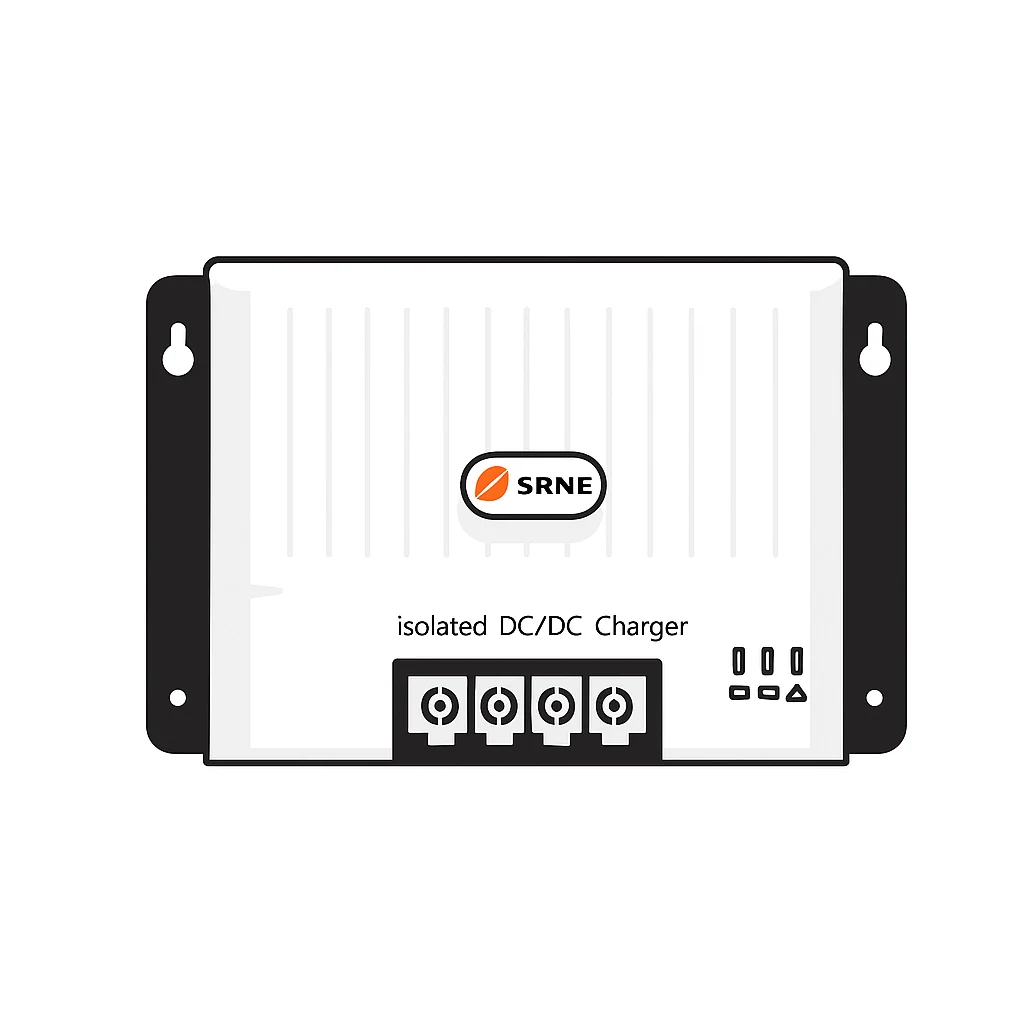
For situations requiring electrical isolation, the Victron Energy Orion-Tr Smart 12/12V 18A (220W) Isolated DC-DC Charger - ORI121222120 is a professional DC to DC adaptive 3-stage charger with built-in Bluetooth. It is suitable for dual battery systems in vehicles or on boats and can be monitored and programmed via Bluetooth. This isolated unit is available for £122.40.
Conclusion: Building a Reliable Off-Grid System
Getting your charging setup right is the difference between a campervan that keeps the fridge running for a week and one that fails on day two.
Frequently Asked Questions
What does a DC-to-DC charger do?
A DC-to-DC charger takes power from your vehicle's alternator and converts it to the correct voltage and current to safely charge your leisure battery. Unlike a simple split charge relay, it manages voltage fluctuations from smart alternators, ensuring your lithium or lead-acid battery receives a stable, multi-stage charge profile. This protects both your starter battery and your expensive leisure battery, giving you reliable off-grid power.
Do I need a DC-to-DC charger for a lithium battery?
Yes, a DC-to-DC charger is essential for lithium batteries in modern vehicles. Smart alternators vary their output voltage, which can prevent a lithium battery from fully charging or cause damage. A DC-to-DC charger provides the correct charging profile for lithium iron phosphate (LiFePO4) batteries, ensuring safe and efficient charging. It also isolates the starter battery, preventing it from being drained by your leisure system.
How does a DC-to-DC charger differ from a split charge relay?
A split charge relay simply connects the starter and leisure batteries when the engine runs, allowing the alternator to charge both. However, it doesn't regulate voltage, so smart alternators can cause undercharging. A DC-to-DC charger actively converts and regulates voltage, providing a multi-stage charge profile tailored to your battery chemistry. It also offers features like reverse polarity protection and thermal management, making it far safer for modern vehicles.
What size DC-to-DC charger do I need for my battery bank?
The right size depends on your leisure battery capacity and how quickly you need to recharge. A 30A charger is suitable for most campervans with a 100Ah lithium battery, taking around 3-4 hours to charge from 50%. If you have a larger battery bank or limited driving time, a 50A charger can cut charging time significantly. Always check your alternator's capacity and follow the manufacturer's recommendations for cable gauge and fusing.
Prev post

MPPT vs PWM Solar Charge Controller for Campervan
Updated on 16 September 2026
Next post

How to Install a Lithium Campervan Battery: 2026 Guide
Updated on 14 September 2026


