





How to Calculate Campervan Power Needs: 2026 Guide
Learn how to calculate campervan power needs using a power audit, Wh and Ah maths, battery bank sizing and solar matching for reliable off-grid trips.
Table of Contents
- Step 1: Run a Power Audit to Work Out Your Campervan Power Needs
- Step 2: Convert Your Daily Load into Amp-Hours with a Leisure Battery Amp Hour Calculator
- Step 3: Size Your Battery Bank Around Lithium Battery Depth of Discharge
- Step 4: Match Solar Panel Sizing for Campervans to Your Energy Budget
- Step 5: DC-to-DC Charger Benefits for Alternator Charging on the Road
- Step 6: Account for Inverter Efficiency, Voltage Drop and Days of Autonomy
- Conclusion: Turning Your Campervan Power Needs into a Working System
- Frequently Asked Questions
Last Updated: September 10, 2026
Step 1: Run a Power Audit to Work Out Your Campervan Power Needs
Working out your campervan power needs starts with a power audit: listing every appliance, its wattage, and daily run-time. Get this wrong and every later decision compounds the error.
Start by listing each load:
- Continuous loads: fridge compressor, router, standby draw on chargers
- Heavy intermittent loads: diesel heater, induction hob, kettle, hair dryer
- Light intermittent loads: LED lighting, water pump, phone and laptop charging
Note the wattage from the rating plate, then estimate daily run-time. A 12V compressor fridge rated at 45W cycling half the time draws about 45Ah per day; a diesel heater running four hours draws around 15Ah. These figures add up fast.
Educational content on this exact process has drawn significant engagement: a single instructional video on campervan power calculations passed 27,000 views, with over 1,300 likes (Tory Delury campervan power calculation video). The appetite for getting this right is real.
Watt-hours vs Amp-hours: Which Unit to Use
Watt-hours (Wh) measure total energy; Amp-hours (Ah) measure charge capacity at a given voltage. Use Wh when comparing appliances across different voltages, then convert to Ah for battery bank sizing.
The conversion is simple: Ah = Wh ÷ system voltage. A 500Wh daily consumption at 12V equals roughly 42Ah. The industry has largely standardised on Ah for battery bank sizing because leisure batteries are rated that way (Project Van Life forum discussion on electrical units).
One warning: never mix units mid-calculation. Pick Ah, convert everything, and stay there.
Step 2: Convert Your Daily Load into Amp-Hours with a Leisure Battery Amp Hour Calculator
A leisure battery amp hour calculator converts your appliance list into a single daily Ah figure. You can do this by hand, but digital calculators remove arithmetic errors and produce a wiring diagram as a by-product.
FarOutRide built a standardised calculator that sizes battery banks and solar arrays directly from a power audit, generating customised schematics for van conversions (FarOutRide electrical calculator). Explorist.life takes a similar route, using a full power audit to determine exact battery bank requirements and eliminate guesswork in minutes (Explorist.life power audit guide).
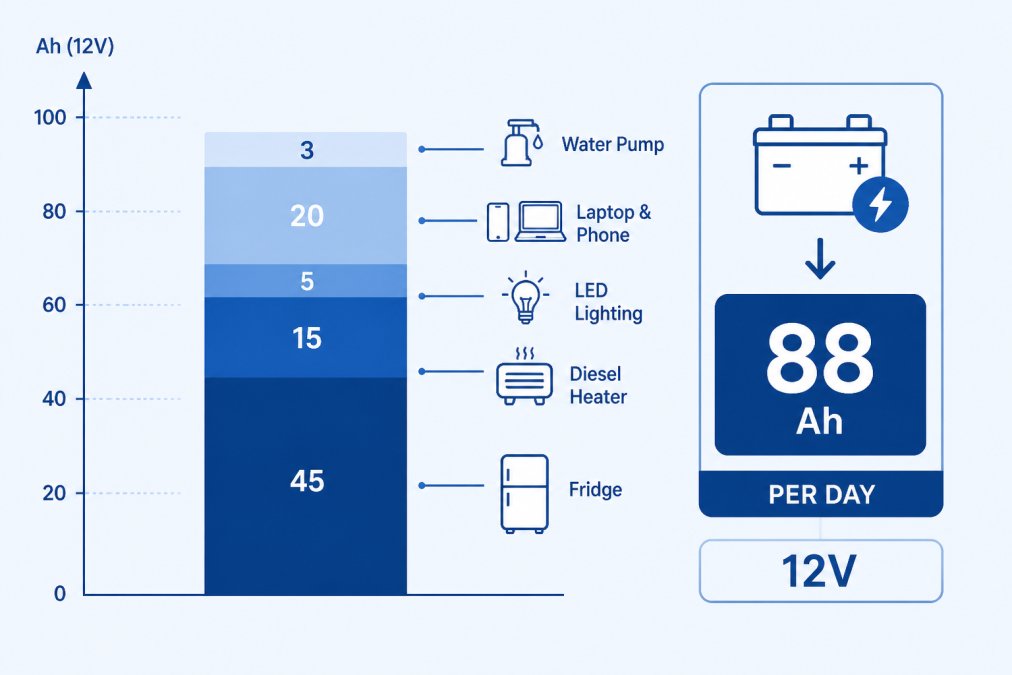
That 88Ah total is your energy budget. Everything downstream, battery capacity, solar array, charge controller rating, is sized against it.
Step 3: Size Your Battery Bank Around Lithium Battery Depth of Discharge
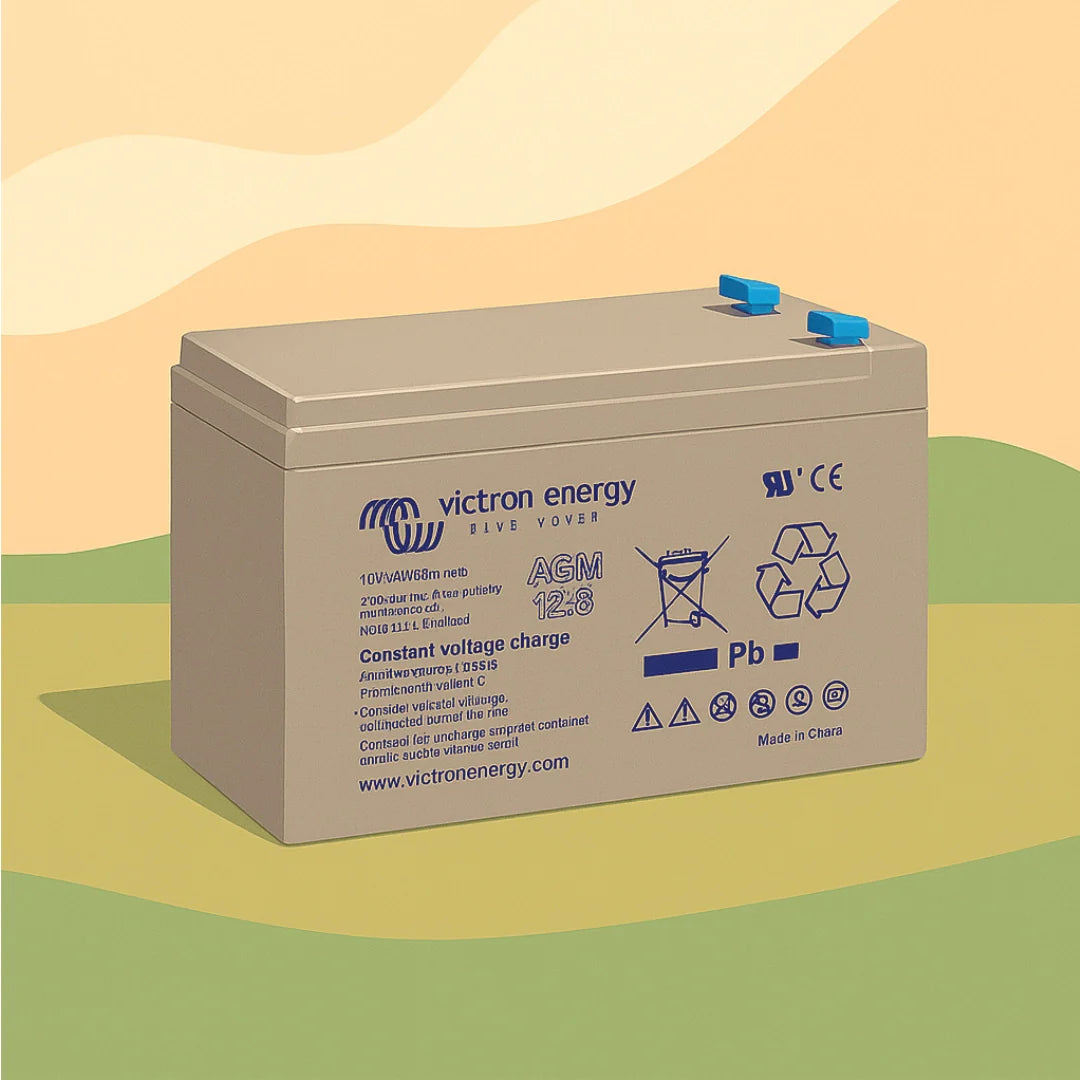
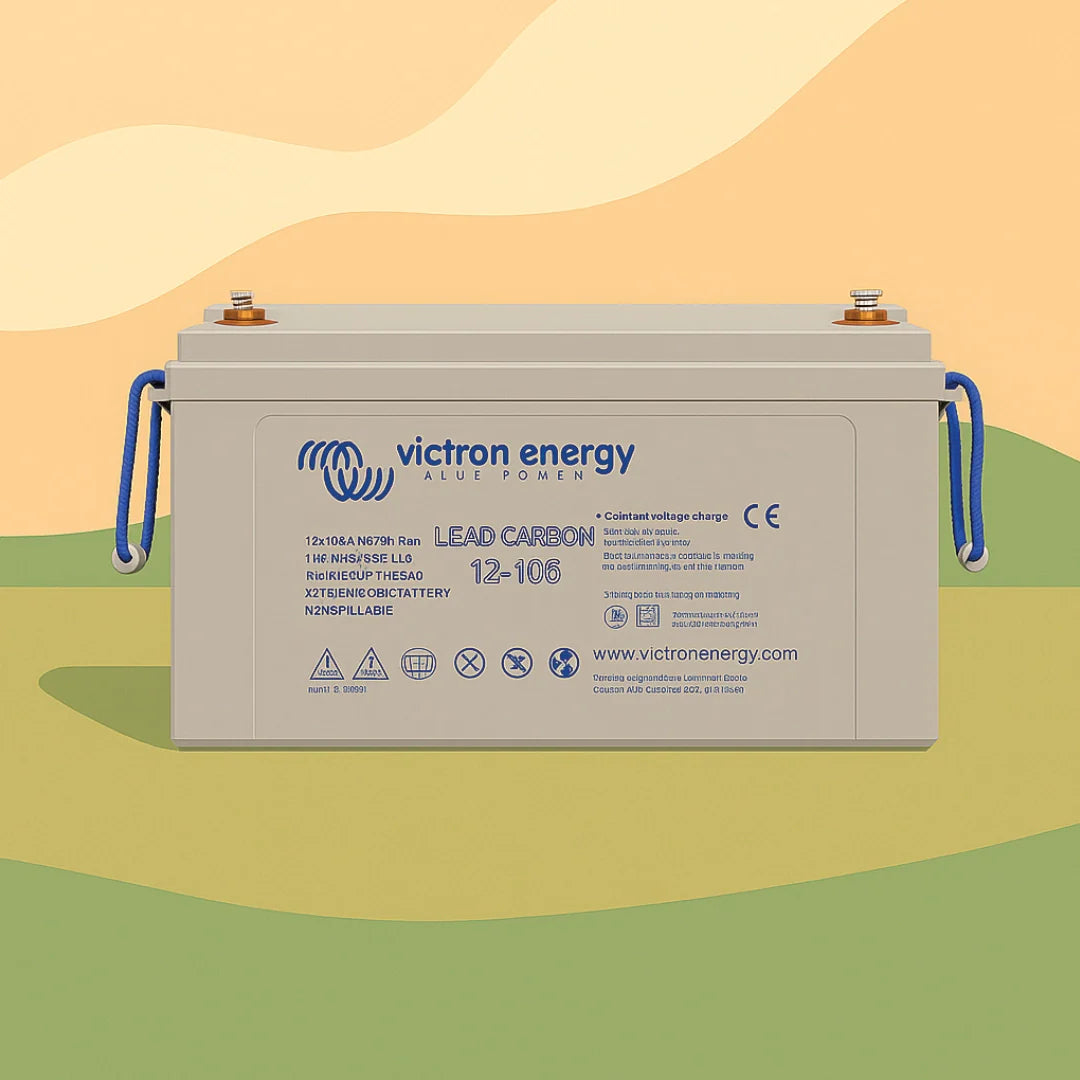
Battery bank sizing hinges on depth of discharge (DoD): the percentage of capacity you can safely draw before recharging. Lead-acid tolerates roughly 50% DoD; lithium iron phosphate (LiFePO4) routinely handles 80-90%.
That difference changes the maths. If your daily campervan power needs total 88Ah, a lead-acid bank needs about 176Ah at 50% DoD; a lithium bank needs only around 110Ah at 80% DoD, in less space.
Usable capacity vs nameplate capacity
A battery advertised as 100Ah does not give you 100Ah. Usable capacity is nameplate capacity multiplied by your chosen DoD, then by the temperature derating factor for your worst-case camping conditions.

| Battery chemistry | Typical usable DoD | Cold-weather derating (0°C) | Effective usable capacity from a 100Ah bank |
|---|---|---|---|
| Flooded lead-acid | 50% | ~80% | ~40Ah |
| AGM / gel | 50% | ~85% | ~42Ah |
| LiFePO4 (no heating) | 80% | ~80% | ~64Ah |
| LiFePO4 (with low-temp protection and self-heating) | 80% | ~95% | ~76Ah |
The pattern is consistent: a 100Ah lithium bank that looks like it covers an 88Ah daily budget delivers closer to 64Ah in a cold snap. That is why the two-day autonomy buffer matters more than the headline Ah rating.
Days of autonomy and the winter reality
Engineers Who Van Life recommend a minimum of two full days of storage capacity to keep a system reliable (Engineers Who Van Life battery guidance). Applied to the 88Ah example, that means a lithium bank of roughly 220Ah gives you genuine autonomy rather than a system that dies on day two of bad weather.
Most full-time UK van dwellers size for three days between November and February: solar input collapses, diesel heaters run longer, and lights are on by 4pm. A 220Ah lithium bank with a 200W solar array and a DC-to-DC charger is winter-viable; the same bank with solar alone is not.
Charge and discharge rate limits
A battery must accept charge as fast as your sources deliver it and discharge as fast as your inverter demands. LiFePO4 typically accepts 0.5C (a 100Ah battery takes 50A). Lead-acid prefers 0.1-0.2C, so a 200Ah AGM bank should not be charged above 20-40A, a constraint that catches people fitting a 50A DC-to-DC charger to an AGM bank.
On discharge, a 1000W inverter pulling 1,150W from a 12V battery draws roughly 96A. A single 100Ah lithium battery rated at 100A continuous discharge copes, but only just and only when warm. Two batteries in parallel halve the per-battery load and are safer for an induction hob or 2kW inverter.
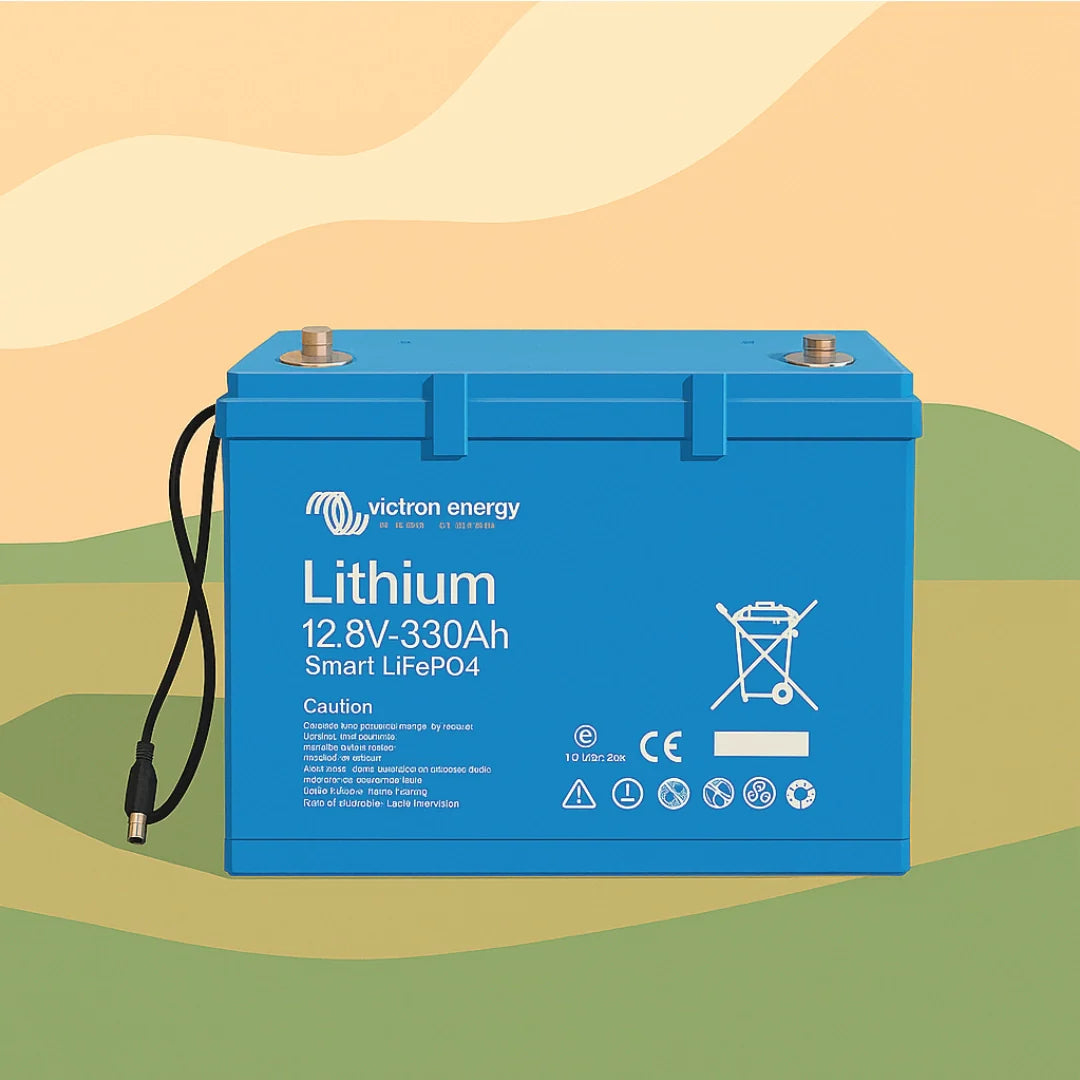
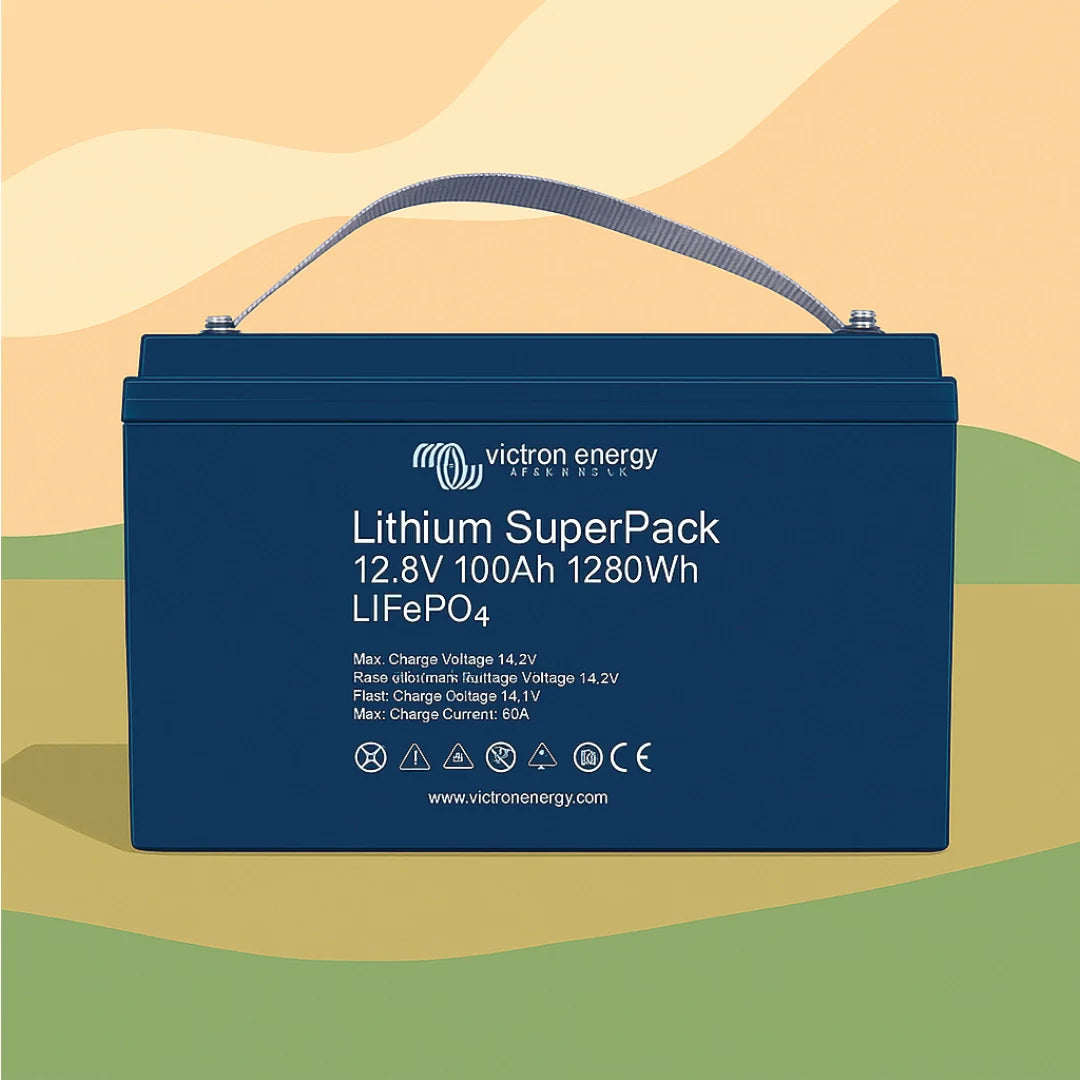
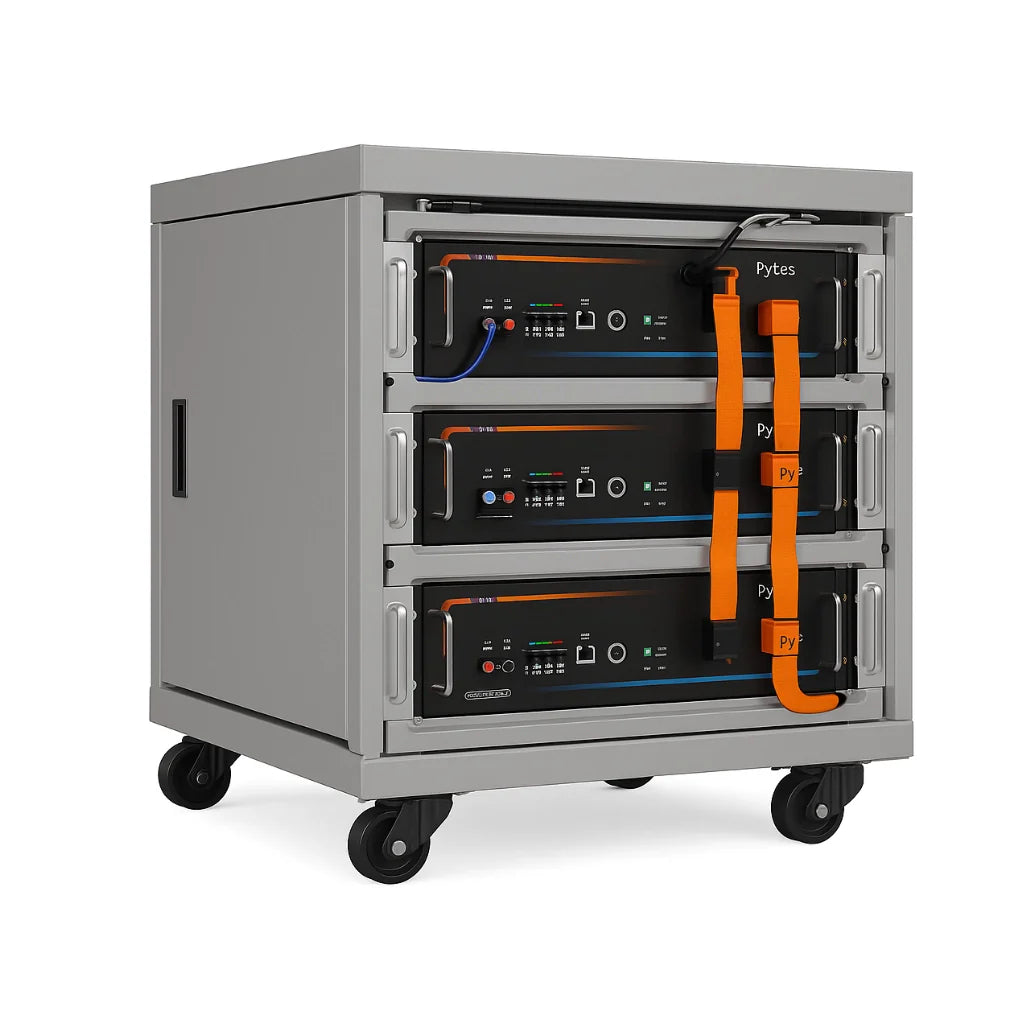
Skyenergi supplies Edge and Elite lithium batteries built for exactly this calculation, with capacity headroom for two days off-grid without mains hook-up. The Elite range includes low-temperature charge protection, which matters if the battery lives in an unheated garage or under a cold van floor.
A worked example for a UK winter trip
Daily consumption: 88Ah. Worst-case temperature: 0°C. Desired autonomy: 3 days.
- Required usable capacity = 88 × 3 = 264Ah
- Temperature derating for LiFePO4 at 0°C ≈ 80%
- Nameplate capacity needed = 264 ÷ 0.8 = 330Ah
That is bigger than most first-time builders expect, and it is the honest answer for year-round off-grid use. If 330Ah is impractical, reduce loads (swap the induction hob for gas), add a DC-to-DC charger to top up while driving, or accept two days of autonomy.
Step 4: Match Solar Panel Sizing for Campervans to Your Energy Budget
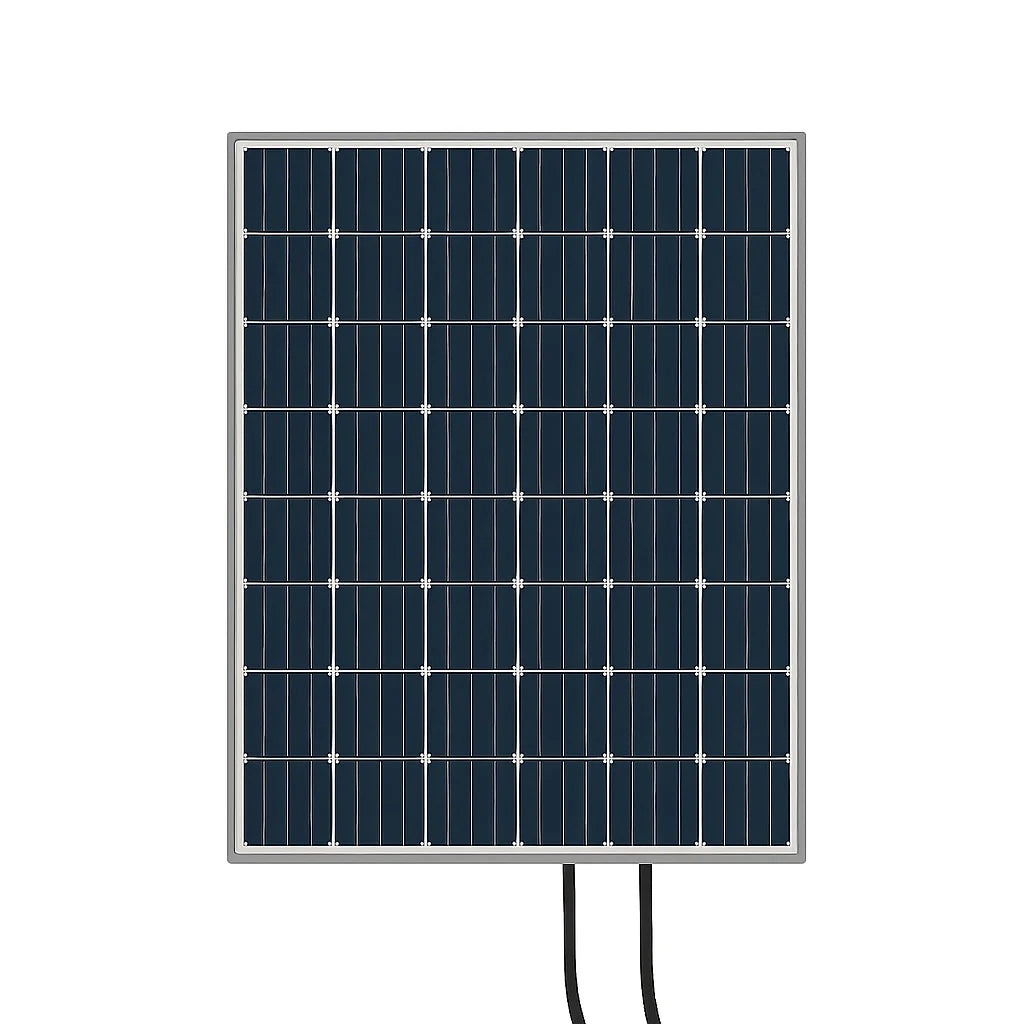
Solar panel sizing for campervans is a replacement calculation, not a capacity calculation. The question is not "how much can I fit?" but "how many Ah can I put back each day?"
The yield formula
Daily solar yield in Ah ≈ panel wattage × peak sun hours × controller efficiency ÷ system voltage.
Peak sun hours (PSH) is the number of hours per day when sunlight is strong enough to produce the panel's rated output, not the same as daylight hours. In the UK, typical PSH figures for a flat-mounted panel are: calculating solar savings.
| Season | Peak sun hours (flat mount) | 200W array daily yield at 12V, MPPT |
|---|---|---|
| June | 4.5-5.5 | 75-90Ah |
| September | 3.0-3.5 | 50-58Ah |
| December | 0.8-1.2 | 13-20Ah |
A 200W array in decent summer conditions might produce 60-80Ah daily through an MPPT controller; in winter, expect a third of that. If your budget is 88Ah per day, a 200W array covers summer comfortably and falls short in winter, where a DC-to-DC charger earns its place.
Tilt, shading and mounting
A flat-mounted panel loses 10-15% versus a tilted panel in winter because low sun angles hit the glass shallowly. Portable folding panels angled towards the sun recover much of that loss, but only when you are stationary and prepared to move them.
Shading is the bigger killer. A single leaf or roof vent shadow across one cell can cut output by 30-50% because panels are wired in series internally. If you cannot avoid shading, two smaller panels in parallel outperform one large panel in the same footprint.
MPPT vs PWM controllers
Two controllers dominate: MPPT and PWM. MPPT extracts meaningfully more power in variable conditions and low light, which matters for flat-mounted van panels. PWM is cheaper but wastes the voltage difference between the panel's Vmp and the battery voltage, typically 20-30% of available power. Above a 100W array, MPPT is the sensible choice.
SRNE's MPPT solar charge controllers are built for exactly this use case, with lithium charging profiles and low-light tracking that suits UK conditions. Pairing an SRNE controller with a Skyenergi Edge or Elite lithium battery keeps the charge profile matched to the battery's requirements.
Sizing the array to the budget
Work backwards from your daily Ah figure:
- Daily consumption: 88Ah
- Winter PSH: 1.0
- Controller efficiency: 95%
- Required panel wattage = (88 × 12) ÷ (1.0 × 0.95) ≈ 1,110W
That is impractical on a van roof, which is why most year-round off-grid systems rely on a DC-to-DC charger as the primary winter source and treat solar as a summer bonus. A realistic compromise is a 300-400W roof array plus a 30-50A DC-to-DC charger, covering summer from solar alone and winter from driving plus whatever sun appears.
Future-proofing for high-draw loads
If you plan to run a Starlink dish (typically 50-75W continuous), an induction hob (1,200-1,800W when in use) or a laptop dock, add those to the audit before sizing the array. A Starlink alone can add 40-60Ah per day, more than a 200W panel produces in winter. Sizing the array for today's loads and the battery for tomorrow's avoids rebuilding in two years.
Step 5: DC-to-DC Charger Benefits for Alternator Charging on the Road
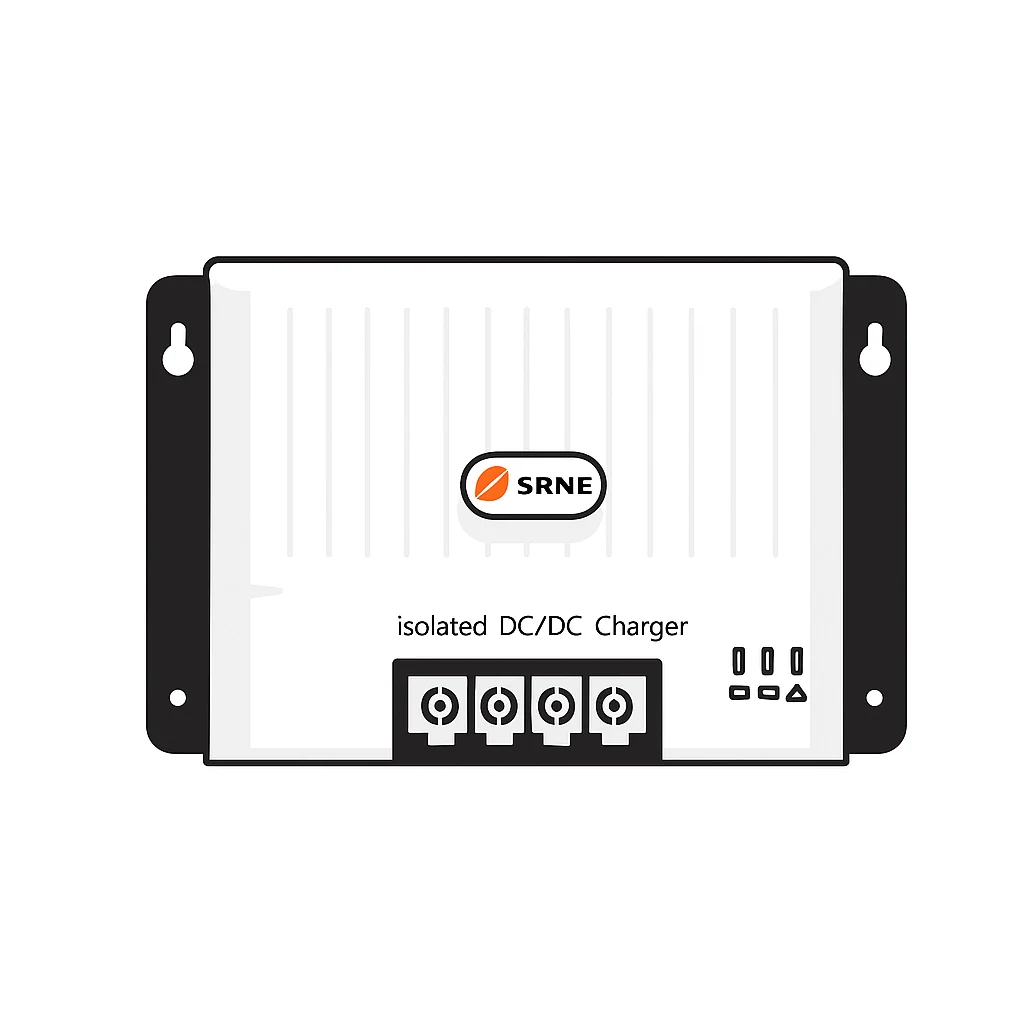
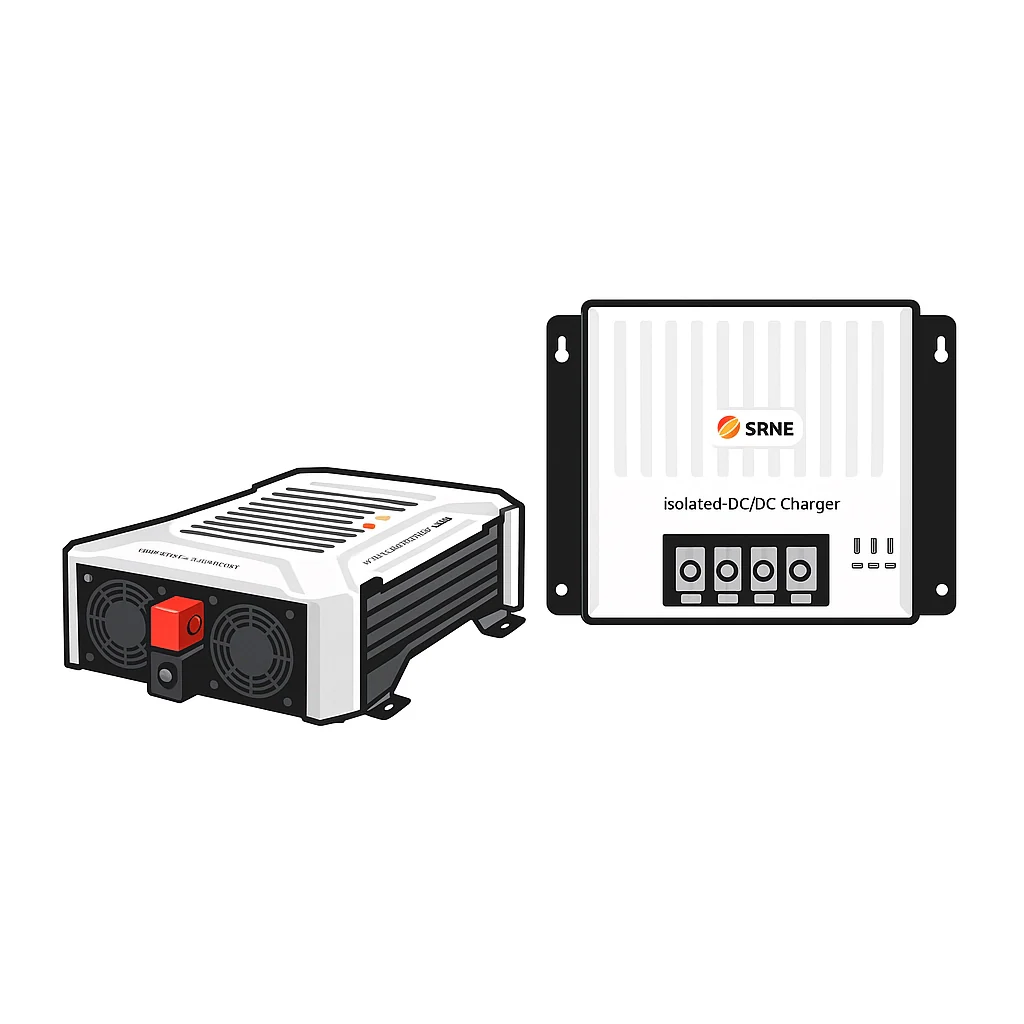
The core DC-to-DC charger benefit is a stable, voltage-correct charge from your alternator regardless of the vehicle's charging system. It takes the alternator output, steps it up or down, and delivers a proper lithium charging profile.
Without one, a smart alternator on a modern van may only push 13.2V, which will never fully charge a lithium bank. A DC-to-DC charger solves that and isolates your starter battery so you never wake up to a flat engine battery.
| Charging Source | Typical Daily Input | Best For | Limitation |
|---|---|---|---|
| Solar array (200W) | 60-80Ah summer, 20-30Ah winter | Quiet, free charging at camp | Weather dependent |
| DC-to-DC charger | 30-60Ah per hour driven | Winter and long drives | Only works when driving |
| Mains hook-up | Full recharge overnight | Campsites and home | Requires a hook-up point |
Pair solar with a DC-to-DC charger and you cover both stationary and mobile charging. That combination is what makes year-round off-grid viable.
Step 6: Account for Inverter Efficiency, Voltage Drop and Days of Autonomy
Inverter efficiency, voltage drop and days of autonomy are the real-world losses theoretical calculations ignore. Miss them and your system underperforms from day one.
Inverters typically run at 85-90% efficiency: a 1000W load pulls closer to 1,150W from the battery. Voltage drop across undersized cable wastes more, which is why wiring gauge and fuse sizing matter as much as battery capacity. Keep cable runs short and size the gauge generously.
Then there's parasitic load: standby draw from inverters, monitors and chargers that never fully switches off, quietly consuming 5-10Ah a day. A battery monitor makes this visible rather than theoretical. The Victron Energy SmartShunt 300A connects via Bluetooth and reports state of charge, time-to-go and historical data from your phone, so you can see exactly where the energy is going.
Temperature is the variable competitors gloss over. Lithium batteries lose usable capacity in cold weather, and charging below freezing can damage them. If you camp in winter, keep the battery in a heated space or choose one with low-temperature protection built in.
For future-proofing, plan for remote work now: a laptop, monitor and router can add 30-50Ah a day. Sizing your bank for that today saves rebuilding in two years.
Conclusion: Turning Your Campervan Power Needs into a Working System
The calculation is only half the job. The other half is choosing components that match your numbers, where the wrong battery chemistry or an undersized charge controller quietly undoes good planning.
Skyenergi builds complete 12V systems around this exact process, from Edge and Elite lithium batteries and MPPT solar charge controllers to DC-to-DC chargers and SRNE charging and monitoring equipment. If you would rather see your consumption in real time, the Victron Energy BMV-712 Smart Battery Monitor adds Bluetooth monitoring to the system.
Get started with Skyenergi and build a campervan power system sized to your actual energy budget, not a guess.
Frequently Asked Questions
How much power do I need for a campervan?
It depends on your appliances and how long you run them. A typical two-person campervan with a 12V compressor fridge, diesel heater, LED lights and device charging uses roughly 80-100Ah per day at 12V. Build your campervan power needs around a power audit: list every appliance, multiply its watts by hours used, then divide the total watt-hours by 12 to get amp-hours. Add a buffer of at least 20% for real-world losses.
How many amp hours do I need for my camper?
Aim for at least two full days of storage. If your daily consumption is 90Ah, that means 180Ah of usable capacity. With lithium iron phosphate batteries at 80% depth of discharge, you need roughly 225Ah of nominal capacity. An AGM battery at 50% DoD would need 360Ah for the same usable energy, which is why lithium batteries save significant space and weight.
Is a 200W solar panel enough for a campervan?
In summer, a 200W array with an MPPT charge controller can produce around 60-70Ah per day in southern parts of the UK, enough to cover a modest load of lights, a fridge and device charging. If you run a compressor fridge plus a diesel heater or work remotely, plan for 300-400W instead. Solar panel sizing for campervans should always start from your measured daily consumption, not the other way around.
Why is a DC-to-DC charger essential for lithium battery setups?
Lithium batteries accept a high, stable charge current and need the correct absorption voltage to reach full capacity. A DC-to-DC charger takes the alternator output and converts it into a controlled lithium charging profile, protecting both the battery and your vehicle's electrical system. The DC-to-DC charger benefits are most obvious on short drives: you get meaningful charge in 30-60 minutes rather than a slow trickle that never fills the bank.
Prev post

Home Solar Array: Costs, Sizing & Battery Storage
Updated on 11 September 2026
Next post

Best Lithium Leisure Battery for Motorhomes (2026 UK Guide)
Updated on 09 September 2026


