





How to Upgrade Your Caravan to Lithium Power
A practical guide to a caravan lithium upgrade: sizing, charger compatibility, SRNE MPPT solar, safety and step-by-step installation.
Table of Contents
- What to Know Before You Start a Caravan Lithium Upgrade
- Assessing Your Existing Caravan Electrical System
- Using a Caravan Lithium Battery Capacity Calculator
- Caravan Lithium Battery Charger Compatibility
- SRNE MPPT Solar Charge Controller for Lithium Battery
- Lithium Battery Installation Safety in a Caravan
- Step-by-Step: Upgrading Your Caravan to Lithium
- Conclusion
- Frequently Asked Questions
Last Updated: October 17, 2026
What to Know Before You Start a Caravan Lithium Upgrade
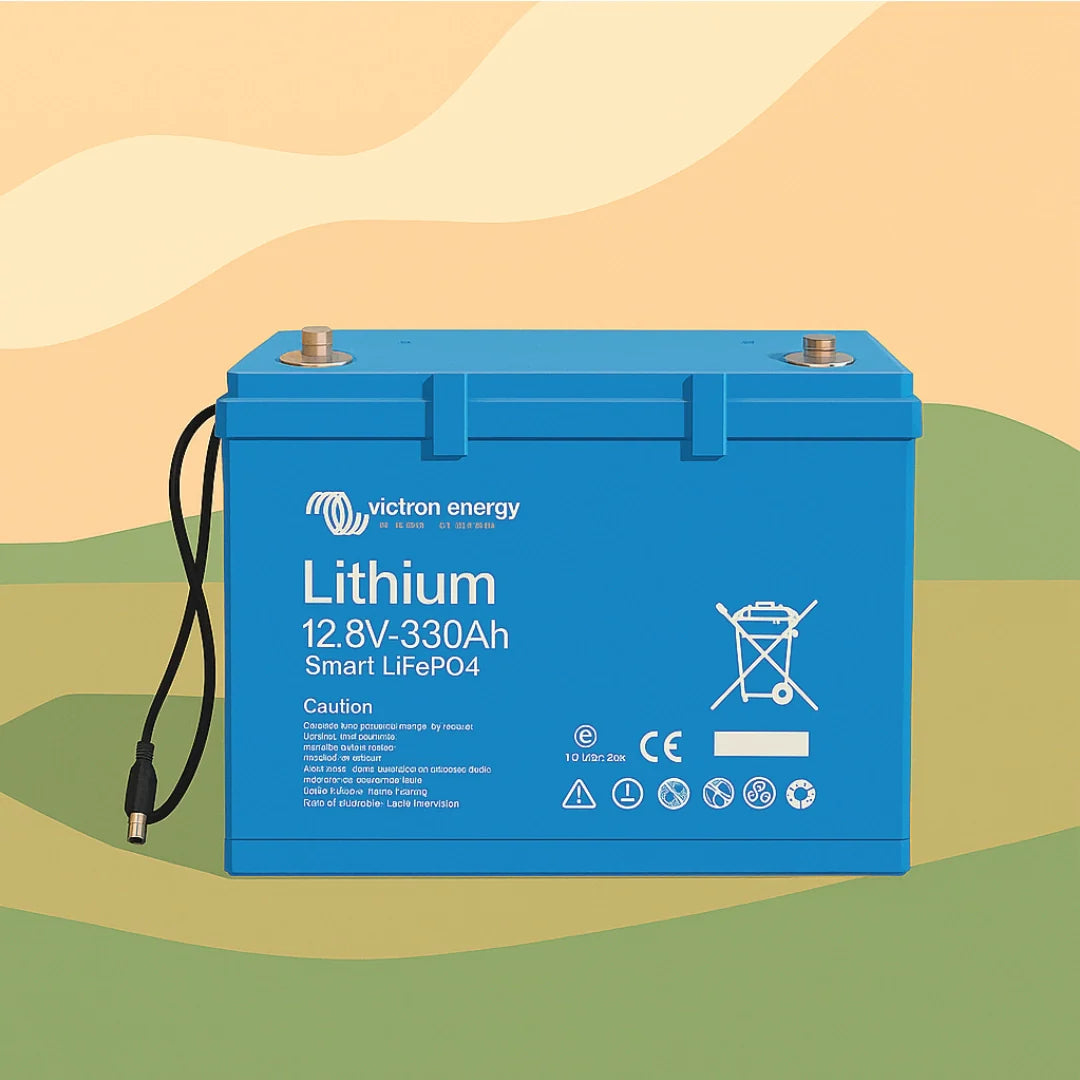
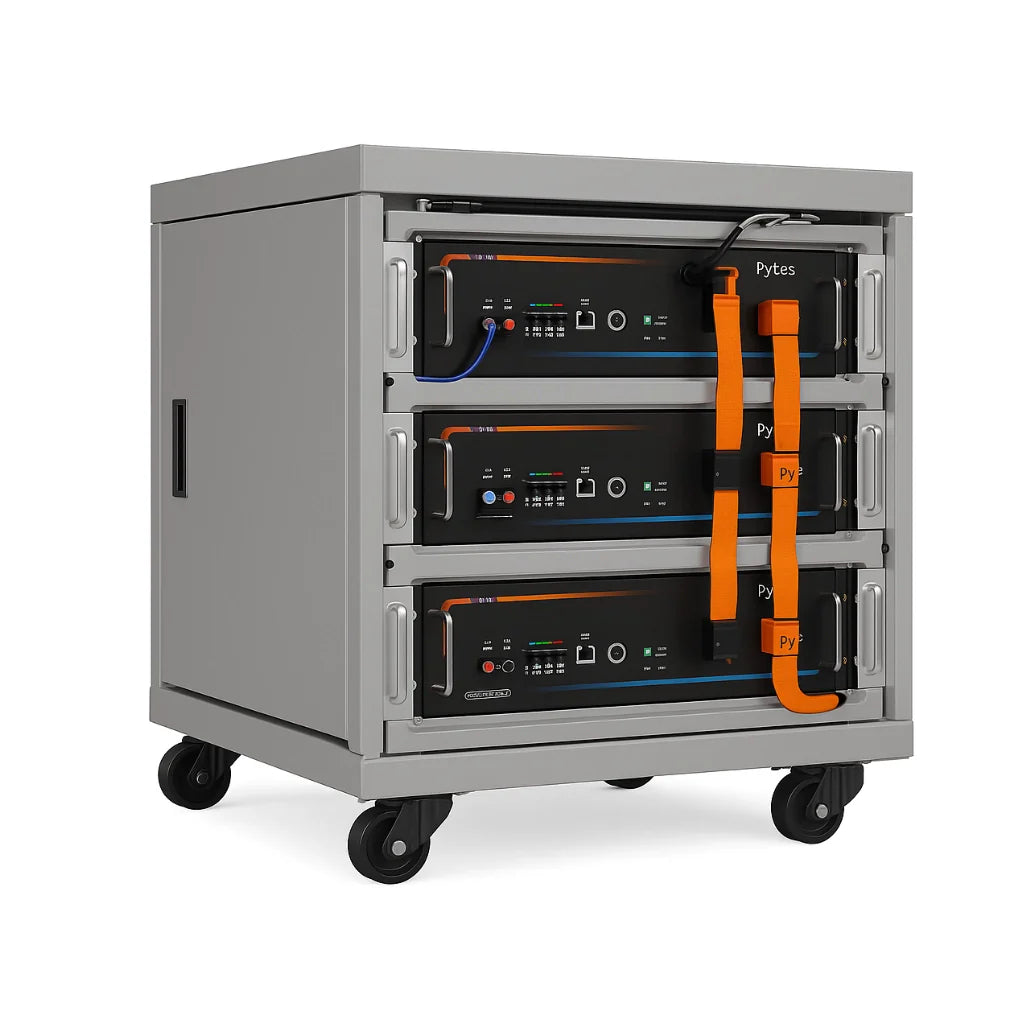
A caravan lithium upgrade swaps your tired lead-acid battery for a LiFePO4 battery that holds more usable power, weighs less, and lasts far longer.
The core problem is voltage. A lead-acid battery sags under load, so your fridge cuts out early. A lithium battery holds a steady voltage until it's nearly empty.
So before you buy anything, know three things:
- Your daily power use in amp-hours
- Whether your charger has a lithium profile
- How much space you have in the battery locker
Get those right and the rest follows. Skip them and you'll be troubleshooting for weeks.
Assessing Your Existing Caravan Electrical System
Start with a full audit of what you already have. A common mistake is buying a battery before checking whether the rest of the system can support it.
Work through this list:
- Battery location and size: measure the locker so the new unit fits
- Charger model: find the make and check for a lithium profile
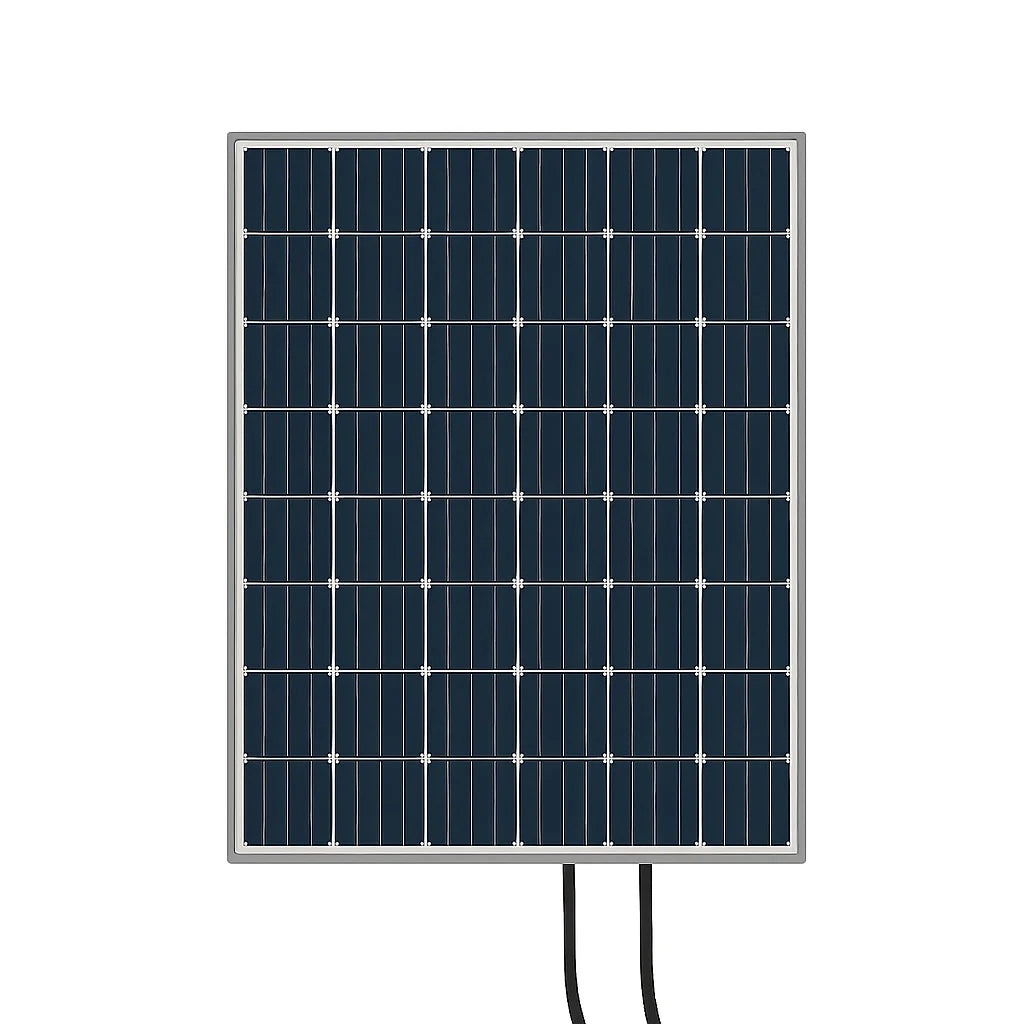
- Solar setup: note panel wattage and regulator type
- Wiring: check cable thickness and fuse ratings
Add up your loads. A compressor fridge, lights, water pump and phone charging might total 40-60Ah a day in summer. That figure drives your battery size.
Also check the age and condition of your cables. Old, thin wiring adds resistance and wastes power.
Using a Caravan Lithium Battery Capacity Calculator
A caravan lithium battery capacity calculator works out how much battery you need from your daily load.
Here's how to run it yourself:
- List each appliance and its amp draw
- Multiply amps by hours used per day
- Add the totals for your daily Ah figure
- Multiply by days off-grid
- Add 20% headroom
For example, 50Ah a day over three days is 150Ah. Add 20% and you're at 180Ah. Two 100Ah batteries in parallel give you 200Ah.
Our Skyenergi Edge 100Ah Lithium Leisure Battery at £219.00 is a sensible building block. It uses Grade A EVE cells and a 100A JBD BMS, and it's IP65-rated for damp lockers.

| Daily use | Days off-grid | Headroom | Battery needed |
|---|---|---|---|
| 40Ah | 2 | 20% | 96Ah |
| 50Ah | 3 | 20% | 180Ah |
| 60Ah | 3 | 20% | 216Ah |
| 80Ah | 2 | 20% | 192Ah |
Caravan Lithium Battery Charger Compatibility
Caravan lithium battery charger compatibility is not a single yes/no question, it is a system-wide audit of every charging source before you buy a battery. Most upgrade failures trace back to one mismatched charger, so work through each source methodically. Ensuring these electrical components remain protected from environmental degradation is just as critical as the initial installation when you are storing your caravan.
Mains charger (hook-up)
Check the charger’s manual for a dedicated LiFePO4 profile. If it only lists lead-acid, AGM, or gel, do not assume a generic ‘gel’ setting will work. Lithium needs a higher absorption voltage (typically 14.2-14.6 V for a 12 V pack) and a float that does not keep topping up (often 13.5-13.6 V). If the charger has no lithium mode and no user-definable voltages, replace it.
Solar regulator
Confirm the regulator has a lithium mode and that you can set absorption, float, and (where available) tail-current or re-bulk parameters. An MPPT controller with user-adjustable voltages is preferable to a sealed PWM unit. If your existing regulator only offers preset lead-acid profiles, budget for an MPPT controller with a lithium setting.
Alternator and DC-to-DC charging
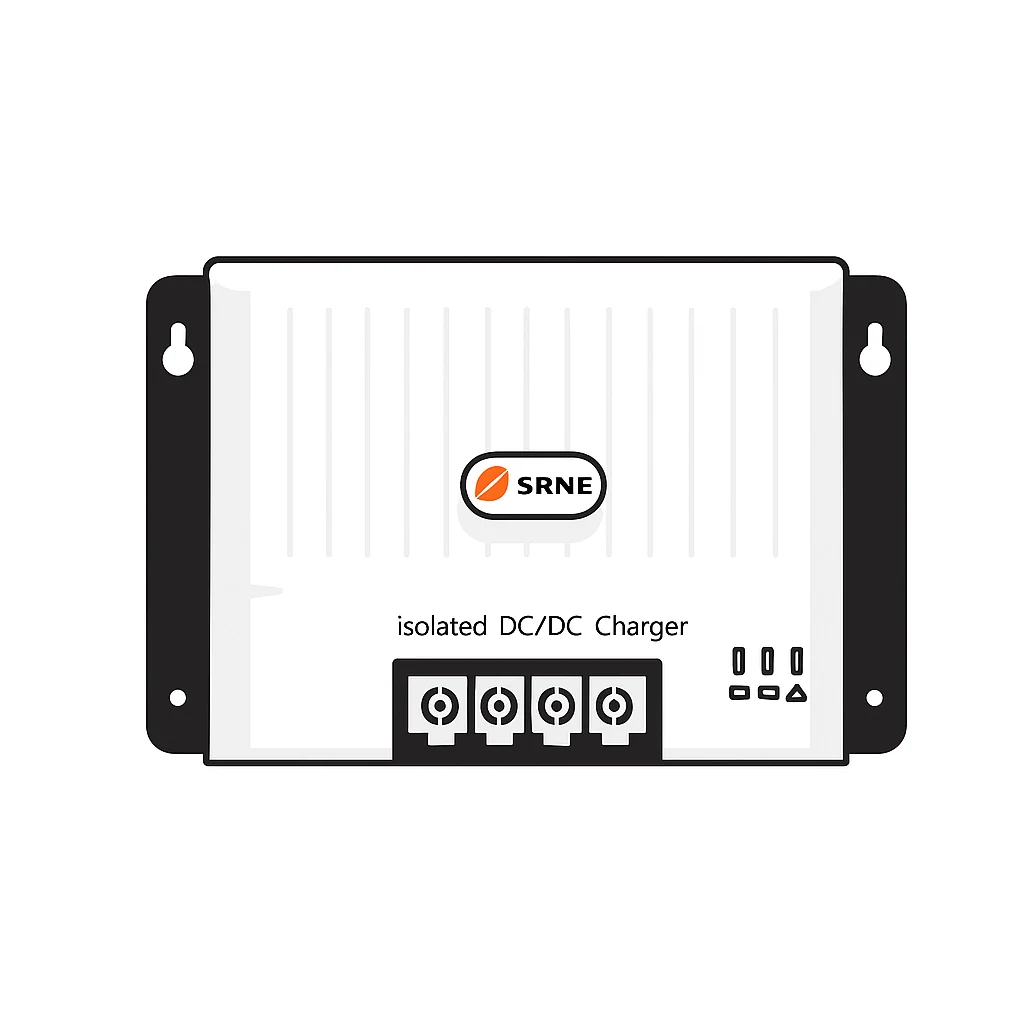
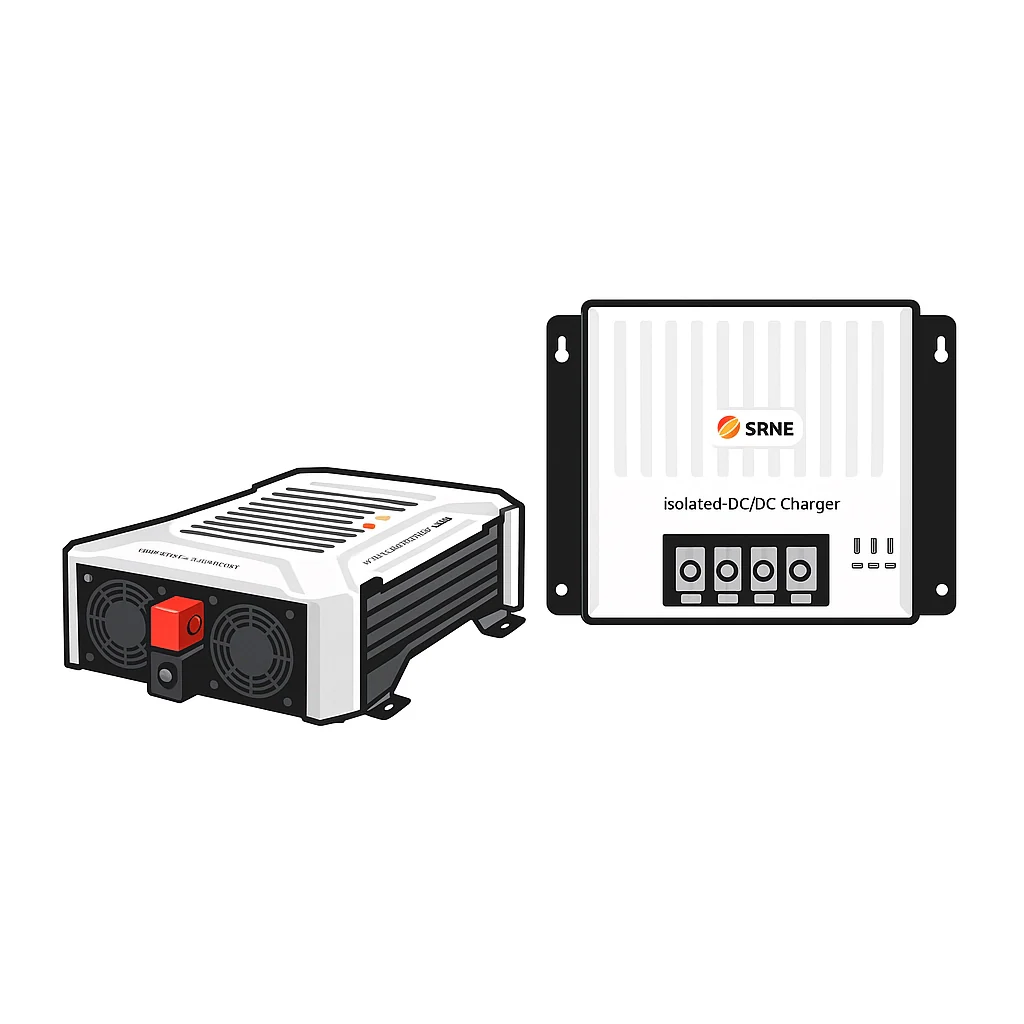
Smart alternators can drop voltage to save fuel, which starves a lithium battery. A DC-to-DC charger isolates the starter battery, boosts voltage, and applies a lithium profile. Check that the unit supports lithium and can be programmed for your battery’s absorption voltage. For example, the Victron Orion XS 12/12-50A DC-DC charger kit at £339.00 includes Bluetooth programming and a lithium mode, and it handles variable alternator voltages.

Inverter and battery monitor
An inverter does not charge the battery, but it draws high current and can expose wiring weaknesses. Check that the inverter’s low-voltage cutoff is compatible with lithium’s flat discharge curve, many lead-acid-oriented cutoffs are too low and can trip the BMS. A battery monitor with a lithium profile (or user-set capacity and Peukert exponent) will give accurate state-of-charge readings; without it, voltage-based gauges are misleading on lithium.
Compatibility checklist
Use this before buying components:
- Mains charger has a lithium profile or user-definable absorption/float voltages
- Solar regulator has a lithium mode and adjustable voltages
- Alternator charging is via a DC-to-DC charger with a lithium profile
- Inverter low-voltage cutoff is above the BMS cutoff and suits lithium
If any source fails the checklist, address it before installation. A single mismatched charger will undermine the entire upgrade.
Skyenergi Edge 100Ah Lithium Leisure Battery →
SRNE MPPT Solar Charge Controller for Lithium Battery
An SRNE MPPT solar charge controller for lithium battery setups squeezes more power from your panels than a basic regulator.
Why MPPT matters: on a cloudy day, panel voltage drops. An MPPT controller adjusts to keep pulling usable power. A cheaper PWM regulator simply loses that energy.
When choosing, match the controller's current rating to your panel array and confirm it lists a lithium mode.
For alternator charging while driving, pair the solar side with a DC-to-DC charger. Our Victron Orion XS 12/12-50A DC-DC charger kit at £339.00 handles smart alternators and lithium profiles, and you can program it from your phone.
Lithium Battery Installation Safety in a Caravan
Lithium battery installation safety in a caravan means correct fusing, proper cable sizing, and a BMS that protects the cells, but it also means commissioning the system methodically and knowing how to fault-find when readings look wrong. This section covers the safety essentials plus the post-install test sequence that most guides omit.
Safety essentials
- Fuse every positive cable close to the battery positive terminal.
- Size cables for the full charging current and the inverter’s peak draw.
- Mount the battery securely and upright; avoid locations where it can shift.
- Keep terminals covered and use insulated tools.
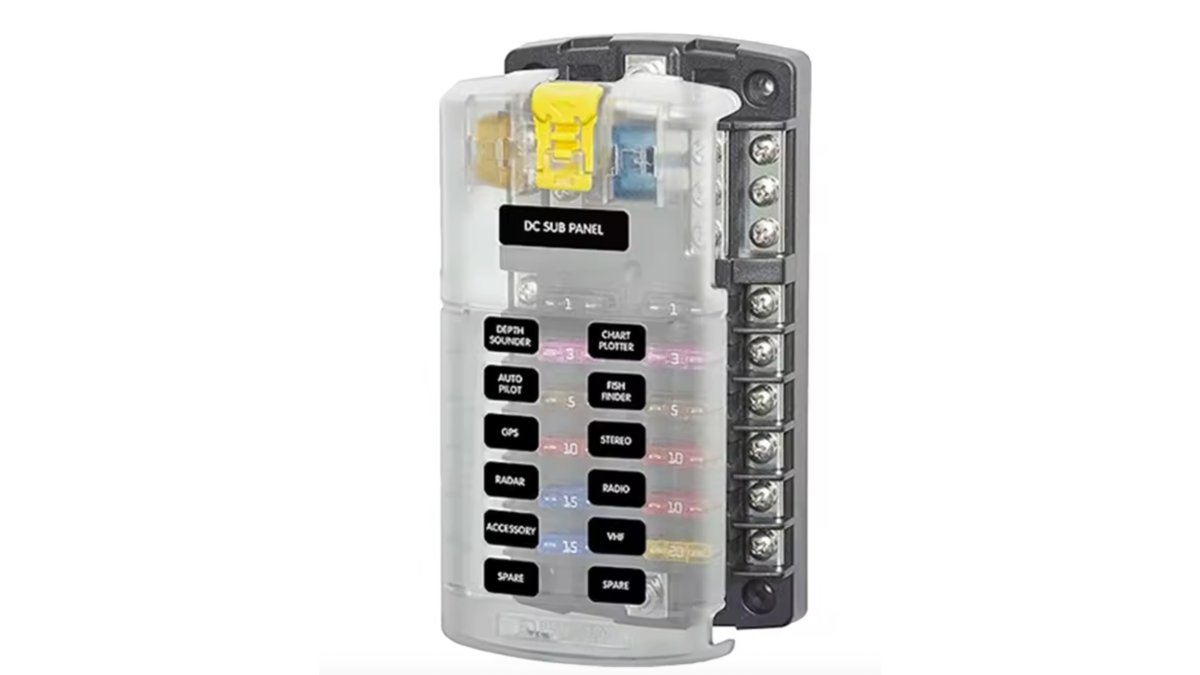
Our Skyenergi 12-circuit blade fuse block at £24.95 gives you clean, fused circuits with a built-in negative bus. It is rated to 100 A total and 30 A per circuit, which covers most caravan loads.
Cold-weather charging
LiFePO4 cells should not be charged below 0 °C. Many batteries, including the Skyenergi Edge, have no built-in heat pads, so plan charging around temperature or choose a battery with low-temperature cut-off. If your BMS has low-temperature protection, it will block charging until the cells warm up, do not bypass this. In practice, this means avoiding charging from solar or the alternator on freezing mornings until the locker has warmed, or fitting a battery with an integrated heater if you tour in winter.
Commissioning and test sequence
After installation, work through this sequence before relying on the system:
- Visual and polarity check. Confirm positive and negative are correct at every connection. A reversed polarity can destroy the BMS.
- Resting voltage. Measure the battery voltage with no load and no charging. A fully charged LiFePO4 pack should rest around 13.3-13.6 V.
- Charger activation. Connect mains hook-up and confirm the charger enters its lithium profile. Check the absorption voltage at the battery terminals with a multimeter.
- Solar input. With the regulator set to lithium, confirm it raises voltage and current in daylight. Compare the controller’s displayed voltage with a multimeter at the battery.
- DC-to-DC operation. Start the engine and confirm the DC-to-DC charger raises voltage and current to the leisure battery. Check that it does not back-feed the starter battery.
- Load test. Switch on the fridge and other loads. Monitor voltage drop at the battery and at the fuse block. A steady voltage that holds above 12.8 V under moderate load is a good sign.
- BMS behaviour. If possible, trigger a high-voltage or low-voltage cutoff (or check the BMS app’s event log) to confirm protection works.
Fault-finding guide
- Charger not charging: Check the lithium profile is selected, the fuse is intact, and the BMS has not blocked charging due to temperature or cell imbalance.
- Solar not charging: Confirm the regulator’s lithium mode, check panel voltage at the controller, and verify the battery voltage is below the absorption setpoint.
- Voltage reads low under load: Check cable sizing and terminal torque; a loose connection or undersized cable causes voltage drop.
- State of charge inaccurate: A voltage-based monitor will mislead on lithium; use a shunt-based monitor with a lithium profile.
If you are unsure about any part of the installation, use a qualified auto-electrician or caravan technician. Safety and compliance are not areas to learn by trial and error.
Step-by-Step: Upgrading Your Caravan to Lithium
Here's the full process, from isolation to first charge.
Total time: a weekend for a DIYer. Difficulty: moderate.
What you'll need: new lithium battery, compatible charger or DC-to-DC unit, MPPT regulator, fuse block, cables, tools.

- Isolate all power. Disconnect the mains, solar and battery negative first.
- Remove the old battery. Note the cable layout before you pull it.
- Check the locker. Confirm the new battery fits and is secure.
- Fit the fuse block and fuses. Mount close to the battery positive.
- Wire the battery. Positive to fuse block, negative to the bus.
- Connect the charger and solar regulator. Set both to the lithium profile.
- Fit the DC-to-DC charger. Wire it between starter and leisure battery.
- Test the system. Check voltages at rest and under charge.
- Run a load test. Switch on the fridge and monitor voltage drop.
- Label everything. Future you will thank present you.
Expected result: steady voltage under load, and the fridge running without cutting out.
Conclusion
The hardest part of a caravan lithium upgrade isn't the battery, it's making every charger, regulator and cable work together. Get the compatibility right and you get steady power, less weight and a longer lifespan.
At Skyenergi, we stock the full chain: Edge lithium batteries, SRNE MPPT controllers, Victron DC-to-DC chargers and fused distribution, all with fast delivery and UK-based support.
Frequently Asked Questions
Can I use my existing caravan charger with a lithium battery?
Only if it has a lithium charging profile or can be set to one. Many older caravan chargers use lead-acid profiles with an absorption voltage around 14.4V and a float of 13.8V, which will not fully charge a lithium battery and may shorten its life. Check the charger's manual for a LiFePO4 setting. If it lacks one, budget for a replacement mains charger or a DC-to-DC charger with a lithium profile, such as the Victron Orion XS. Never rely on a charger with no lithium mode.
Do I need a DC-to-DC charger for a caravan lithium upgrade?
Yes, in most cases. A DC-to-DC charger protects your alternator from the high current a lithium battery can draw and provides the correct charging profile. It also compensates for voltage drop over long cable runs. The Victron Orion XS 12/12-50A is a popular choice, offering 50A output and Bluetooth monitoring. Without one, you risk overloading the alternator or undercharging the battery, especially on smart alternator vehicles.
How do I size a lithium battery for my caravan?
Start by listing every appliance and its daily watt-hours, then divide by 12V to get amp-hours. Add a 20-30% buffer for inverter losses and depth of discharge. For example, a 100Ah lithium battery gives about 80Ah usable. Use a caravan lithium battery capacity calculator to avoid guesswork. If your daily consumption is 60Ah, a 100Ah battery is a sensible minimum; for heavy users, 200Ah is common.
Are lithium batteries safe inside a caravan?
LiFePO4 batteries are safe when installed correctly. They are chemically stable and do not vent explosive gases like lead-acid. However, you must protect against short circuits with fuses, use a BMS, and keep the battery away from direct heat. Ensure ventilation around the battery and secure it against movement. Follow the manufacturer's installation instructions and any local safety guidance for leisure vehicles.
Next post

Lithium battery lifespan in motorhomes: 2026 guide
Updated on 17 October 2026


