





5 Ways to Wire Campervan Solar Panels: 2026 Guide
5 ways to wire campervan solar panels: Campervan solar wiring made clear: five methods, series vs parallel, MPPT sizing and battery connections.
Table of Contents
- What You'll Need Before You Start Campervan Solar Wiring
- The 5 Ways to Wire Campervan Solar Panels
- Series vs Parallel Solar Wiring for a Campervan: Which to Choose
- MPPT Solar Charge Controller Sizing for Your Array
- Connecting Solar Panels to Lithium Leisure Batteries Safely
- Cable Sizing, Crimping and Roof Entry: The Details That Decide Reliability
- Common Mistakes to Avoid with Campervan Solar Wiring
- Conclusion
- Frequently Asked Questions
Last Updated: September 24, 2026
What You'll Need Before You Start Campervan Solar Wiring
Getting the parts right before you drill saves hours later. At Skyenergi, we supply the batteries, charge controllers and cable that form the backbone of that setup.
Here's your checklist:
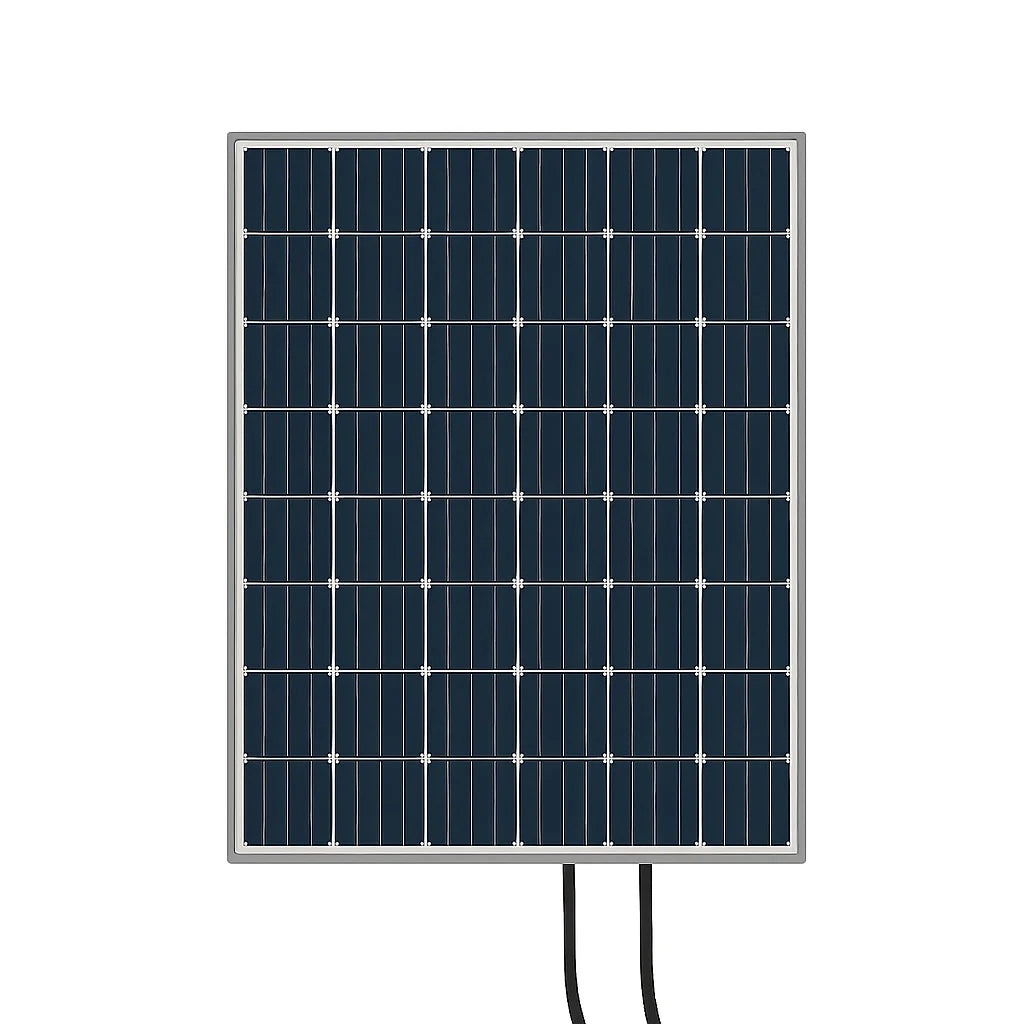
- Rigid or portable solar panels
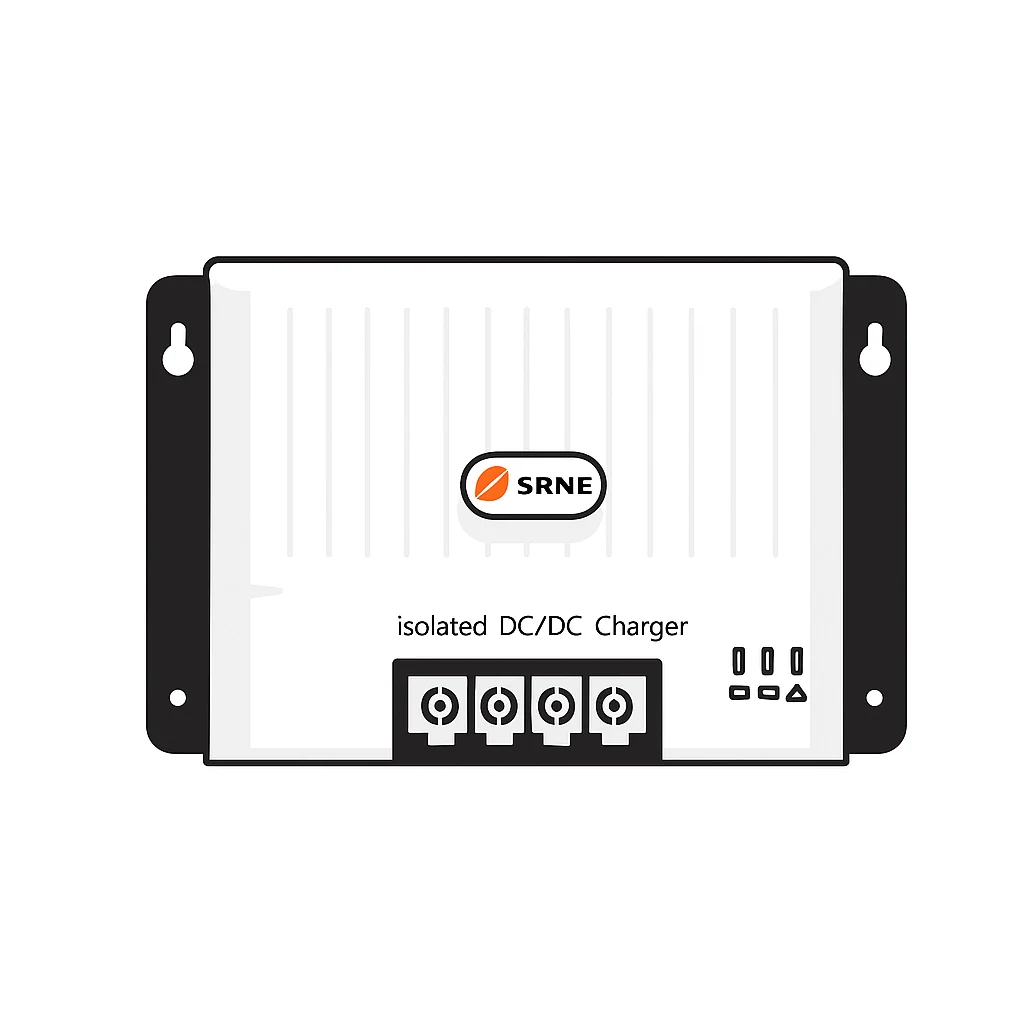
- MPPT charge controller sized to your array
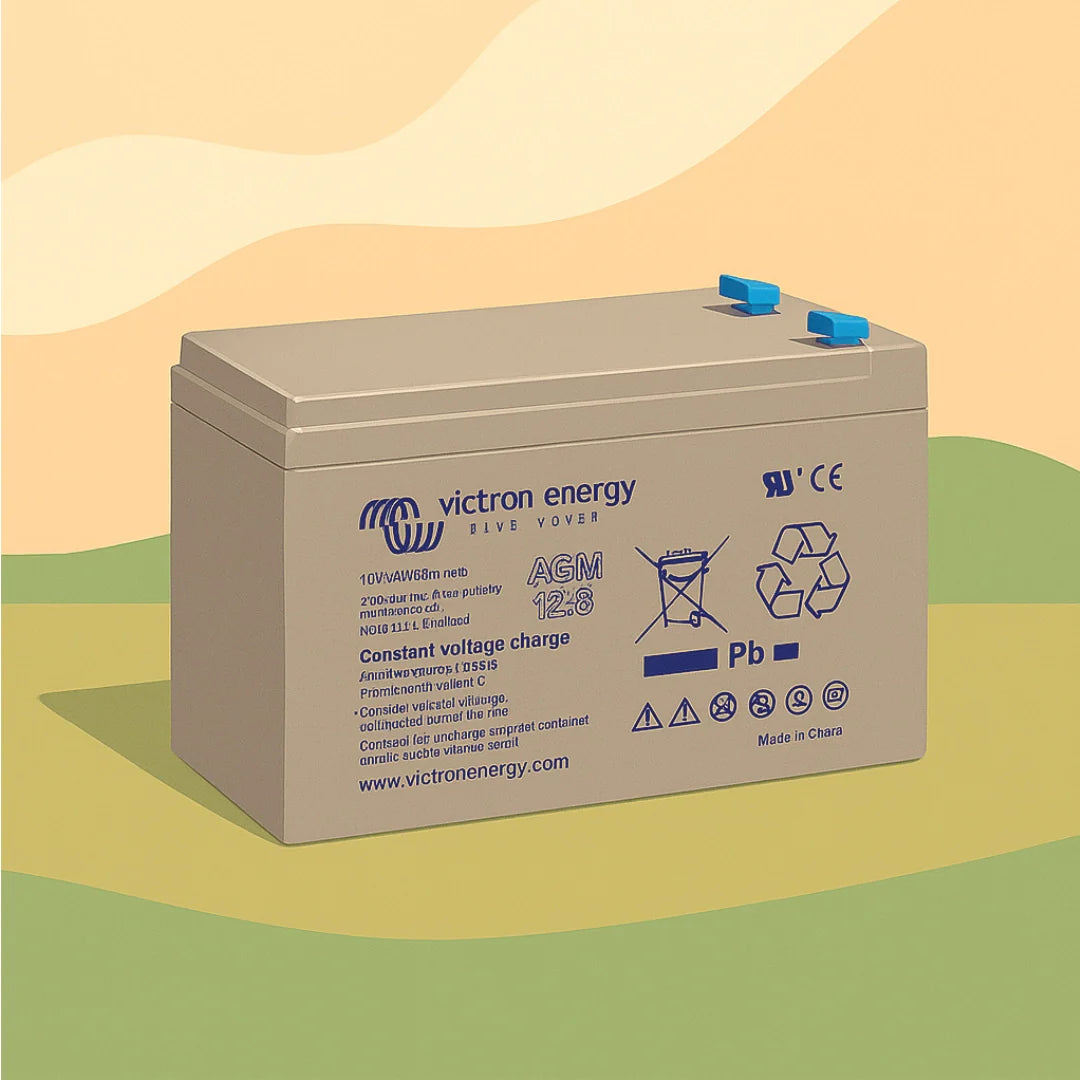
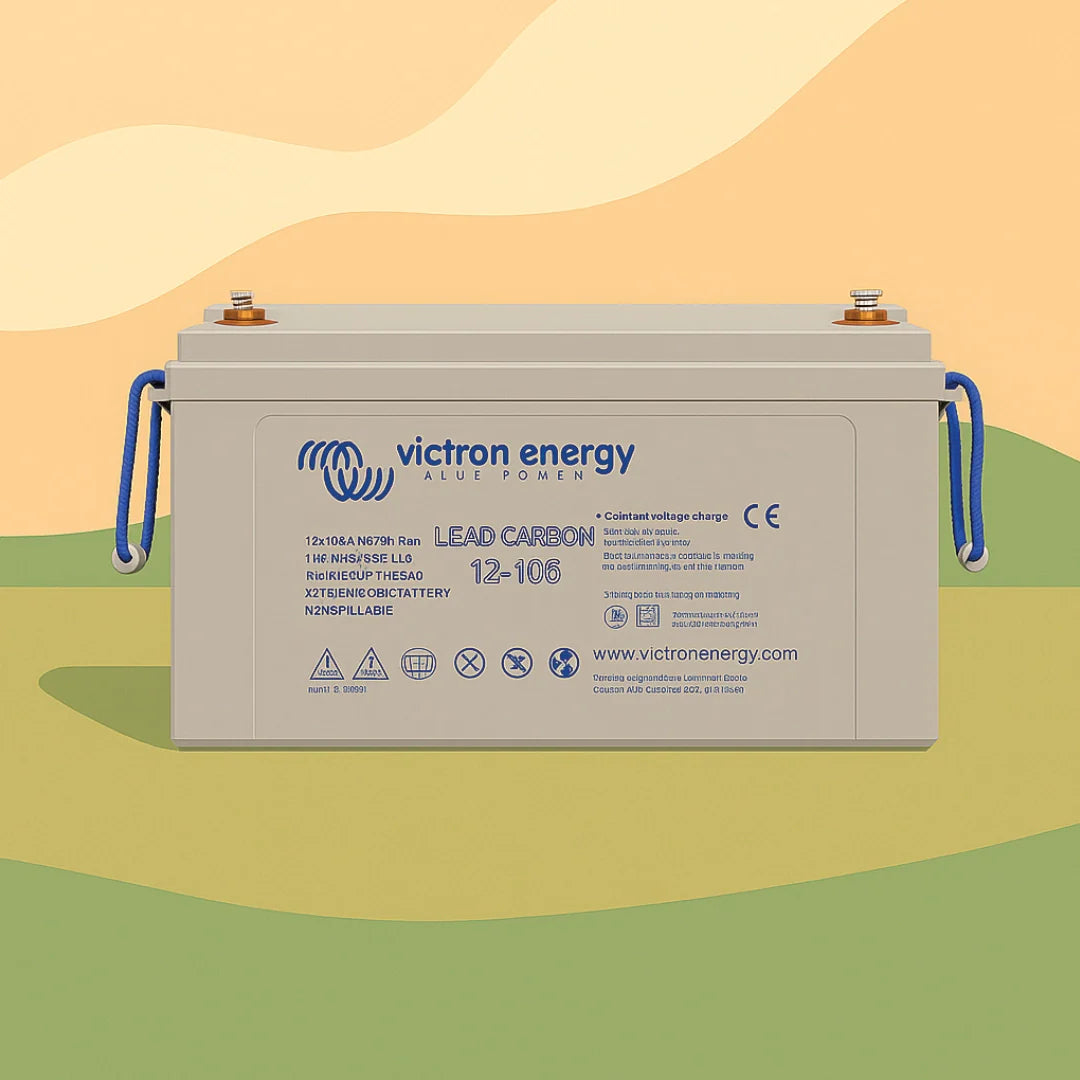
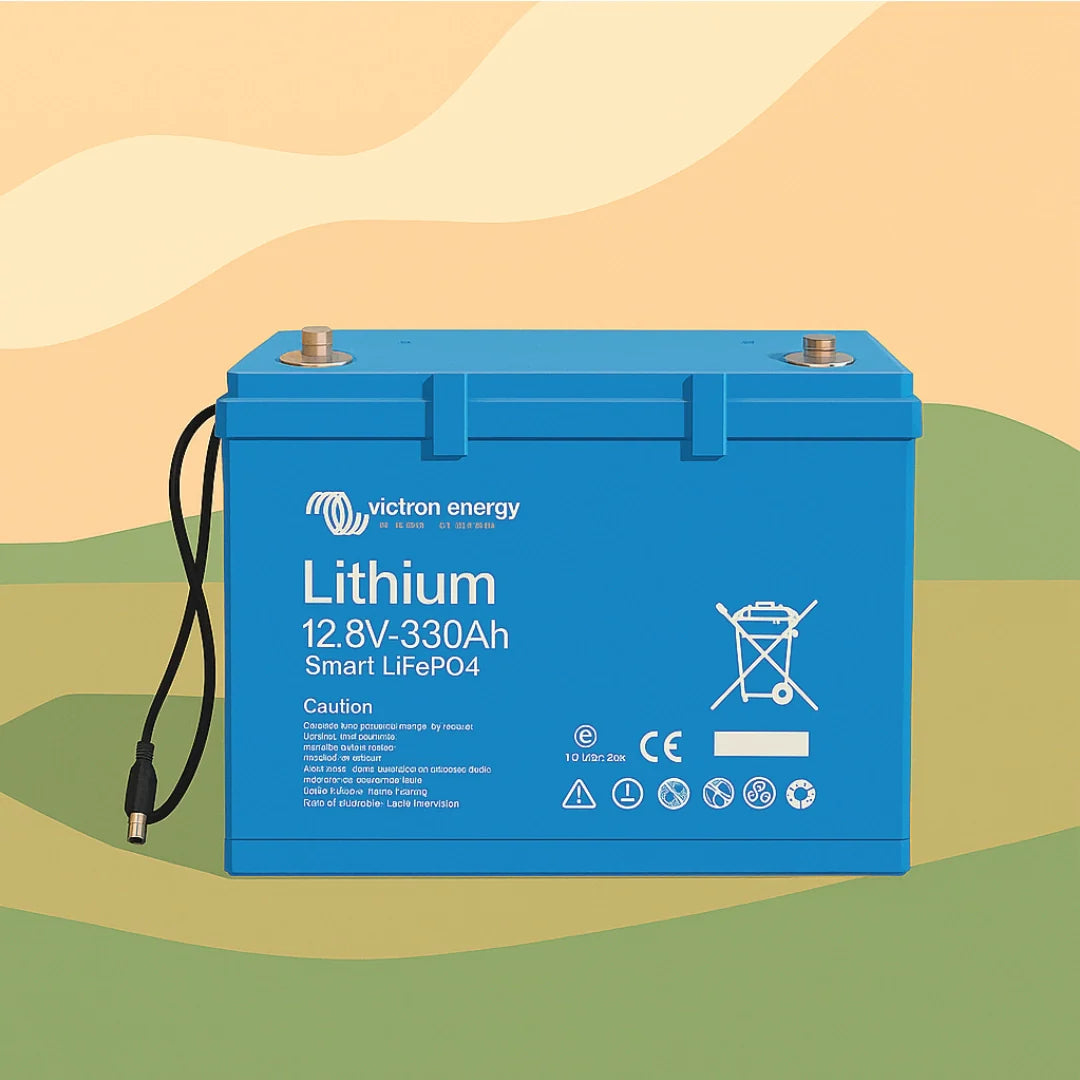
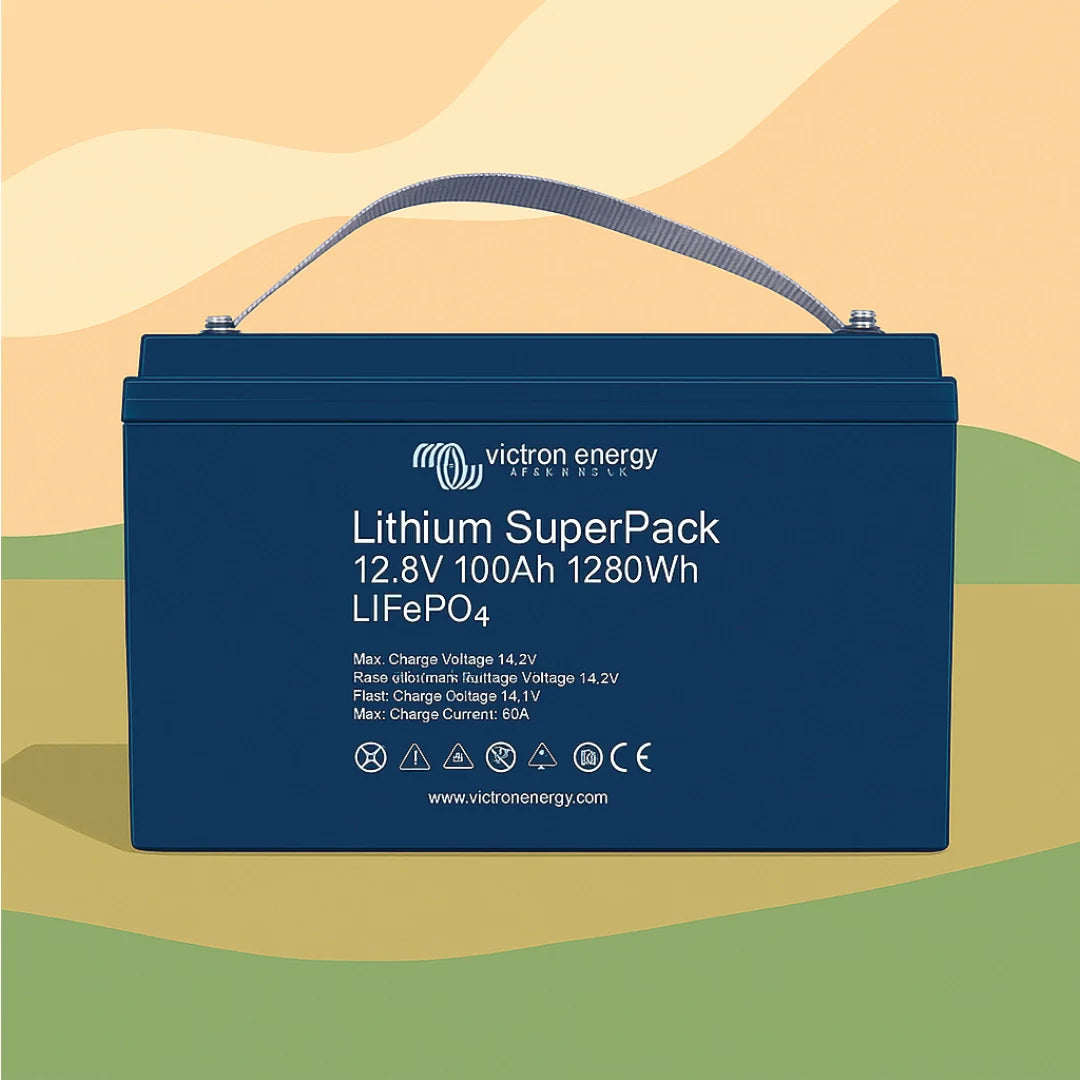
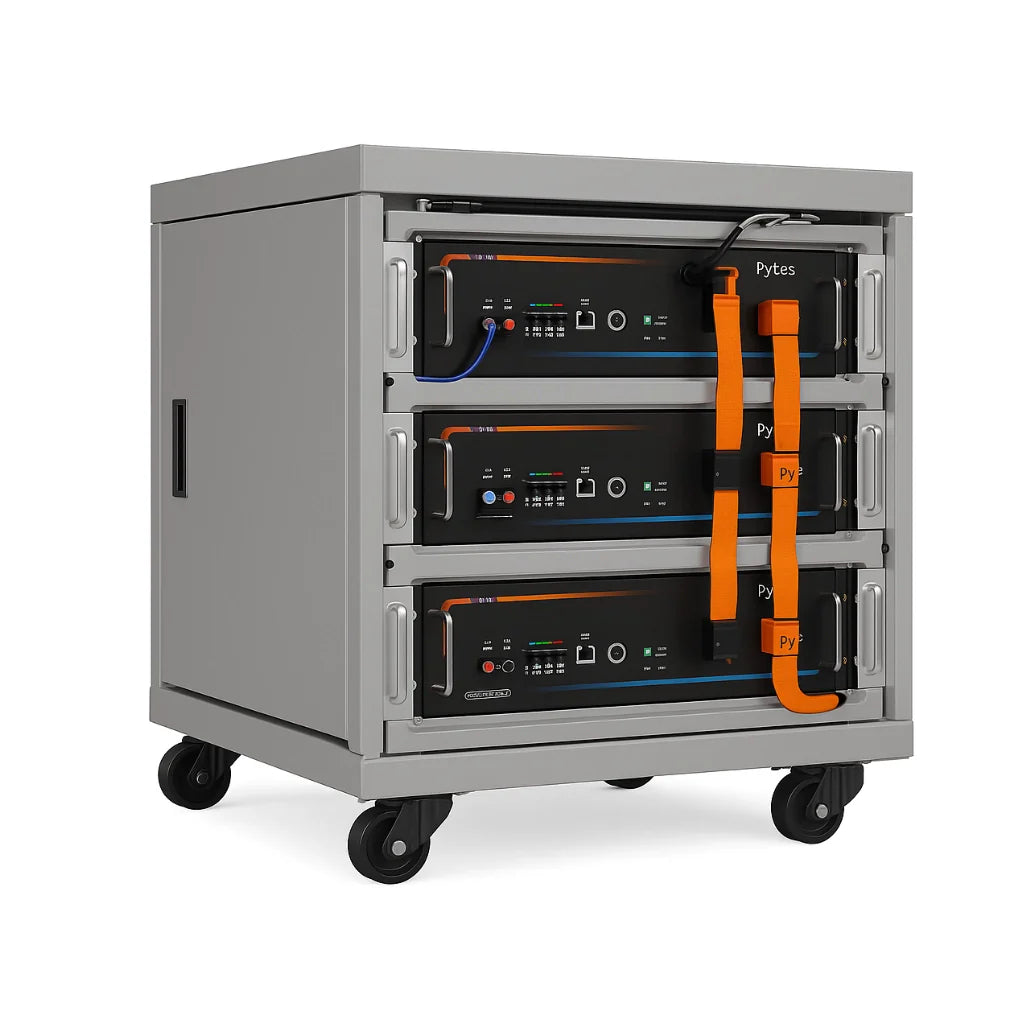
- Lithium leisure battery or battery bank
- 6mm photovoltaic solar cable
- MC4 connectors
- Double cable entry gland
- Inline fuses and a fuse block
- Crimping tool, terminal lugs and heat shrink tubing
- ABS mounting brackets and sealant
Grab all of it before you climb on the roof.

The 5 Ways to Wire Campervan Solar Panels
There are five practical wiring layouts for a campervan array, each suiting a different roof size, budget and shading pattern. The right pick comes down to your power draw, roof space and spend. Below we break down all five, and for each, how the wiring changes for a LiFePO4 versus an AGM leisure battery.
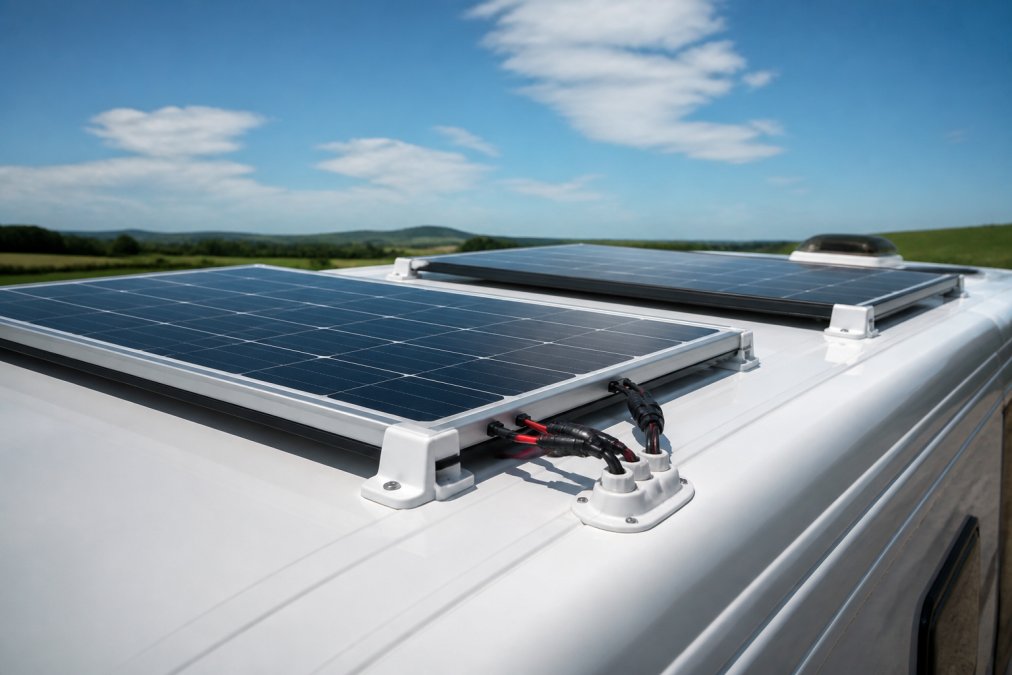
Method 1: Single Panel, Direct to Charge Controller
One panel, one cable run, one controller, the simplest way to wire campervan solar panels and the best starting point for a small van.
Run positive and negative cables from the panel straight to the charge controller. Keep the run short to limit voltage drop. Fit an inline fuse on the positive cable near the battery.
A typical 200W rigid panel puts out around 22-23V open circuit and 11A short circuit; on a 3m run of 6mm² cable that's well under 1% voltage drop. For LiFePO4, set the controller to a 14.2-14.6V absorption stage; for AGM, 14.4-14.8V. SRNE's MPPT controllers ship with preset lithium and lead-acid profiles you can select from the menu.
Method 2: Parallel Connection for Partial Shading
Parallel wiring keeps voltage the same while doubling amperage, making it the go-to choice when a roof vent, aerial or tree cover shades part of your array.
Connect all positives together and all negatives together using MC4 branch connectors or a busbar, one shaded panel won't drag the whole array down.
Two 200W panels in parallel give roughly 22V and 22A.
Method 3: Series Connection for Long Cable Runs
Series wiring adds voltage while keeping amperage the same, so you lose less power over long runs.
Method 4: Series-Parallel for Four Panels or More
Four panels or more? Split them into two series strings, then wire those strings in parallel, you get series' voltage benefits and parallel's shading tolerance.
Skyenergi Solar Panel Entry Gland →
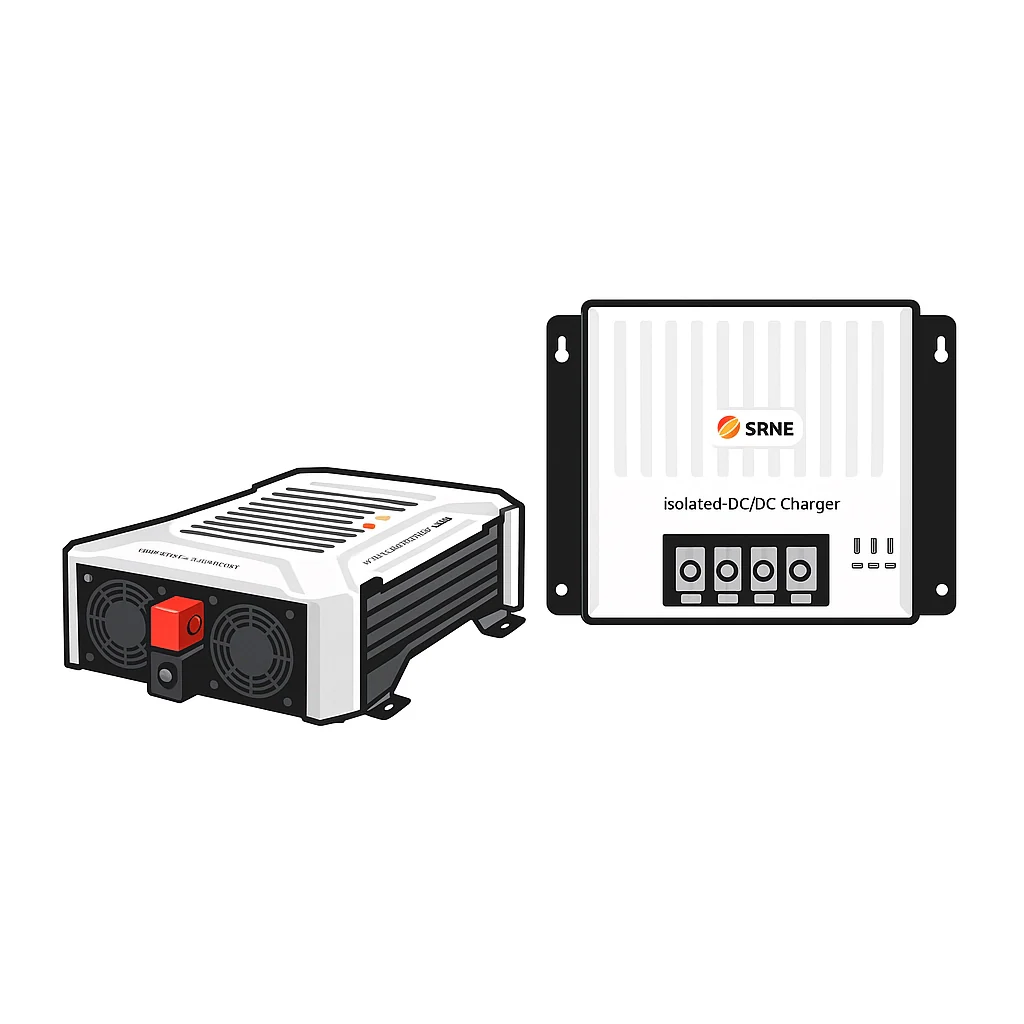
Method 5: Portable Panel with a DC-to-DC or Solar Input
Series vs Parallel Solar Wiring for a Campervan: Which to Choose
Series wins for long cable runs and low light; parallel wins when shading is your main problem. The longer answer depends on your controller's voltage limit and roof layout.
| Layout | Voltage | Amperage | Best For |
|---|---|---|---|
| Series | Adds up | Stays same | Long cable runs, low light |
| Parallel | Stays same | Adds up | Partial shading |
| Series-parallel | Mixed | Mixed | Four panels or more |
MPPT Solar Charge Controller Sizing for Your Array
MPPT solar charge controller sizing comes down to two numbers: your array's open circuit voltage and short circuit current. Both must sit inside the controller's rating with headroom to spare.
Connecting Solar Panels to Lithium Leisure Batteries Safely
Connecting solar panels to lithium leisure batteries follows a fixed sequence: panels to charge controller, then controller to batteries. Get that order wrong and you risk damaging the controller.
Cable Sizing, Crimping and Roof Entry: The Details That Decide Reliability
Cable sizing, crimping and roof entry decide whether your system lasts a season or a decade. Undersized cable causes voltage drop and heat. Poor crimps cause resistance. Bad roof entry causes leaks.
For crimping:
- Strip the cable to the depth of the terminal lug
- Slide heat shrink tubing onto the cable first
- Insert the conductor fully into the lug
- Crimp with the correct die for your lug size
- Tug-test the joint
- Seal with heat shrink tubing
Common Mistakes to Avoid with Campervan Solar Wiring
The biggest mistakes in campervan solar wiring are reversed polarity, undersized cable and unprotected circuits, cheap to avoid, expensive to fix. But the ones that actually cause fires and dead batteries are more specific, and most guides skip them.
Watch for these:
- Connecting panels to the controller before the battery. The controller needs the battery reference voltage to initialise; without it, it can see the panel's open-circuit voltage as the battery voltage and charge at the wrong profile. Connect battery first, then panels, and disconnect panels first when breaking down.
- Forgetting the inline fuse between controller and battery. Fit it within 300mm of the battery positive terminal. A 40A controller needs a 40A fuse; a 60A controller needs a 60A fuse. The fuse protects the cable, not the controller.
- Mixing cable sizes across a single run. A 6mm² run that necks down to 4mm² at the gland creates a hot spot. Keep the cross-section consistent from panel to controller.
- Leaving MC4 connectors exposed to standing water. MC4s are rated IP67 when mated correctly, but a connector lying in a puddle on the roof will corrode. Route them under the panel or into the gland.
- Ignoring the controller's maximum input voltage on cold mornings. A panel rated at 22V open circuit can hit 26V at -10°C; two in series can reach 52V. If your controller's limit is 50V, you're over it on a frosty morning.
- Using the wrong charge profile for your battery chemistry. LiFePO4 wants 14.2-14.6V absorption and no equalisation; AGM wants 14.4-14.8V absorption and a periodic equalise. Setting a lithium profile on AGM undercharges it; an AGM profile on lithium can overcharge and damage it. SRNE controllers let you switch profiles from the menu.
- Skipping the tug-test on crimped joints. A loose lug arcs under load, melts insulation and can start a fire. Tug every joint before sealing it with heat shrink.
- Not bonding the panel frames and mounting brackets to the chassis. On a metal-roofed van, the roof is often the ground path, but on fibreglass or composite you need an explicit bonding conductor from the panel frames to the chassis. Without it, a fault can't clear and the frame can sit at a dangerous potential.
Conclusion
Wiring a campervan solar array is a design decision, not a one-size answer. Your roof space, shading pattern and battery bank decide which of the five methods fits. Skyenergi supplies the full chain, from Edge and Elite lithium batteries to MPPT controllers, SRNE monitoring and the MC4 connectors, cable and entry glands that finish the job. Get the components matched and the install becomes straightforward.

Frequently Asked Questions
Can you connect a solar panel directly to a 12V leisure battery?
No. A panel's open circuit voltage is far higher than a battery's resting voltage, so connecting one directly risks overcharging and damage. You always need a charge controller between the photovoltaic array and the leisure battery. An MPPT controller converts the panel's higher voltage down to a safe charging voltage and typically extracts more energy than a PWM unit, especially in low light. Skyenergi supplies SRNE MPPT controllers sized to match your array.
What is the difference between series and parallel solar wiring for a campervan?
Series connection links panels positive to negative, adding voltages while current stays the same; parallel connection links positive to positive and negative to negative, adding current while voltage stays the same. Series suits long cable runs and low-light conditions because higher voltage reduces voltage drop. Parallel handles partial shading better because one shaded panel does not drag the whole string down. Your MPPT charge controller's input voltage limit decides which you can use.
How do I calculate the correct cable size for solar panel wiring?
Work out the array's short circuit current and the one-way cable length, then keep voltage drop under about 3% between the panels and the controller. Higher current or longer runs need thicker cable: 4mm or 6mm photovoltaic solar cable covers most campervan arrays, while 6mm suits larger setups. Undersized cable wastes wattage output as heat and can overheat. Always fuse the positive cable close to the battery with a rating matched to the cable's amperage rating.
Do I need an MPPT charge controller for my campervan solar setup?
For most campervan builds, yes. MPPT solar charge controller sizing starts with the array's wattage and your battery bank voltage: divide total panel wattage by battery voltage to get the approximate charging current, then pick a controller rated above that figure. An MPPT unit also lets you run panels in series for higher voltage, which cuts voltage drop on long roof-to-battery runs. SRNE controllers from Skyenergi cover the common 12V and 24V campervan ranges.
Prev post

Renogy vs EcoTree Lithium: 2026 Campervan Battery Review
Updated on 25 September 2026
Next post

Alternatives to Split Charge Relays for Van Conversions
Updated on 23 September 2026


