





Off-Grid Power System for Van: Complete 2026 Guide
Build a reliable off-grid power system for your van with solar, batteries, and charging. Complete guide with sizing, components, and UK-specific setup.
Table of Contents
- What Is an Off-Grid Power System for a Van?
- Essential Components of an Off-Grid Van Electrical System
- Campervan Battery Capacity Calculator: Sizing Your System
- Choosing the Right Campervan Solar Panel Kit
- DC-to-DC Charger for Campervan: Alternator Integration
- Van Inverter Sizing and AC Power Requirements
- System Installation, Safety, and Monitoring
- Frequently Asked Questions
Last Updated: October 10, 2026
What Is an Off-Grid Power System for a Van?
An off-grid power system for van is a self-contained electrical setup that generates, stores, and distributes power without relying on mains electricity or shore power connections.
The system works by capturing energy from multiple sources, solar panels, the vehicle's alternator, or external chargers, and storing it in a leisure battery. That stored energy then powers your fridge, lighting, heating, and other appliances through an inverter that converts DC power to AC.
Most modern off-grid van systems combine lithium battery storage with intelligent charge controllers and monitoring equipment. This combination delivers stable voltage, faster charging cycles, and longer usable capacity compared to older lead-acid setups.
Essential Components of an Off-Grid Van Electrical System
An off-grid power system for van requires five core elements working together: a battery for storage, solar panels for generation, a charge controller to manage solar input, an alternator charger to top up while driving, and an inverter to power household appliances.

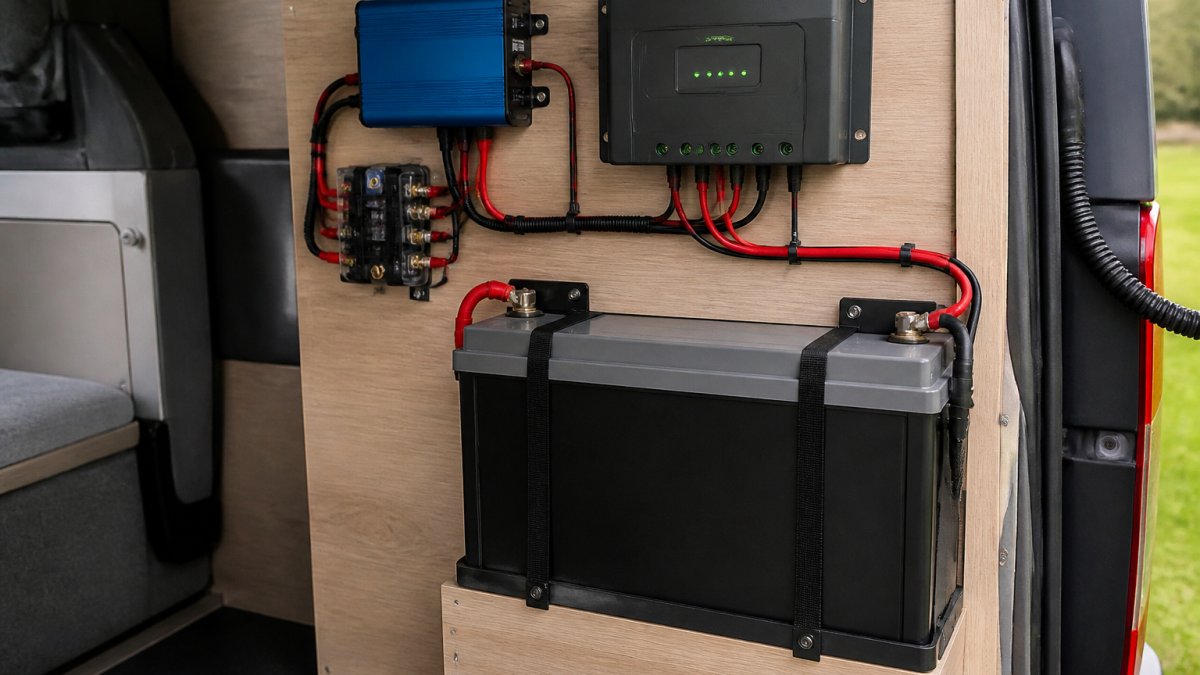
Battery Storage and Leisure Battery Options
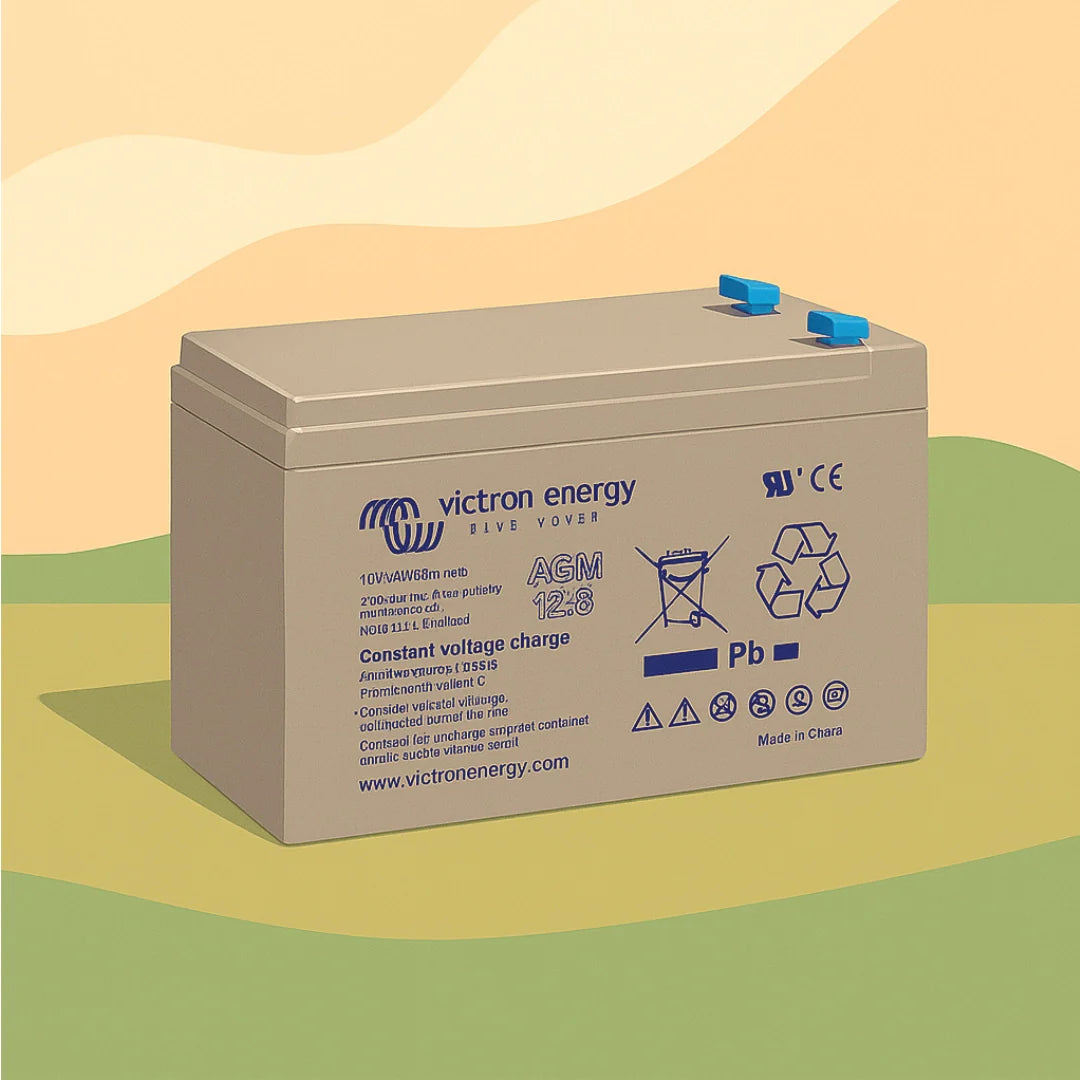
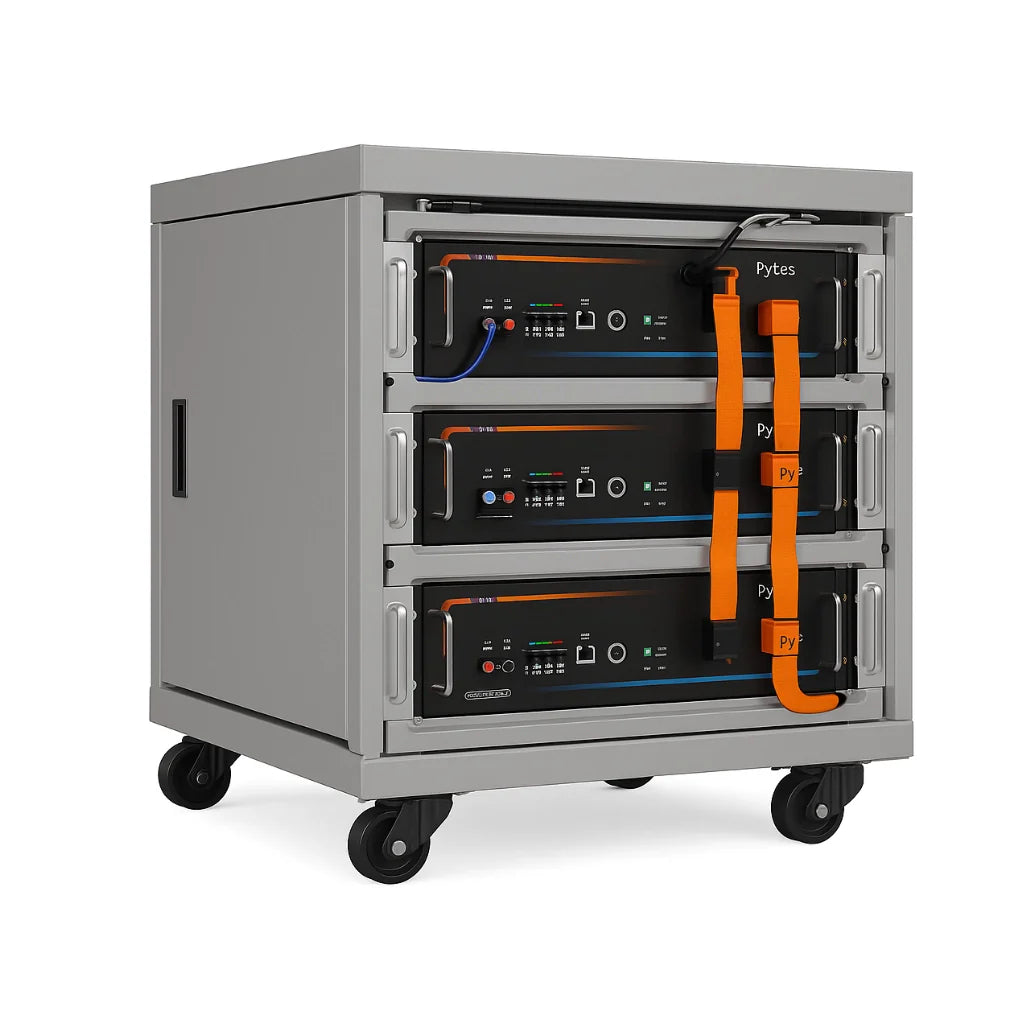
Your leisure battery is the heart of the system. It stores energy captured from solar panels and the alternator, then releases it to power your van's appliances. The choice between lithium and lead-acid fundamentally changes how your system performs and how long it lasts.
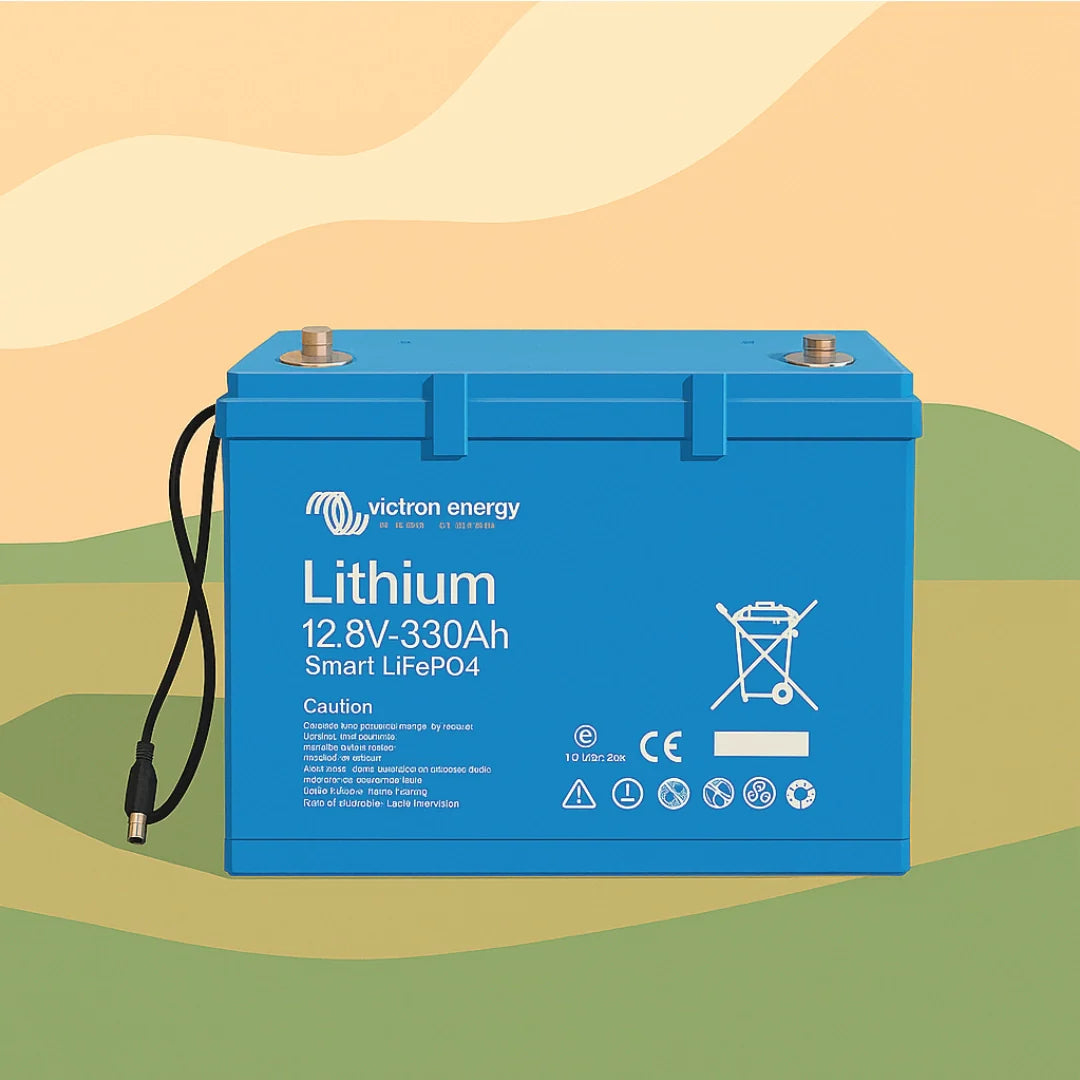
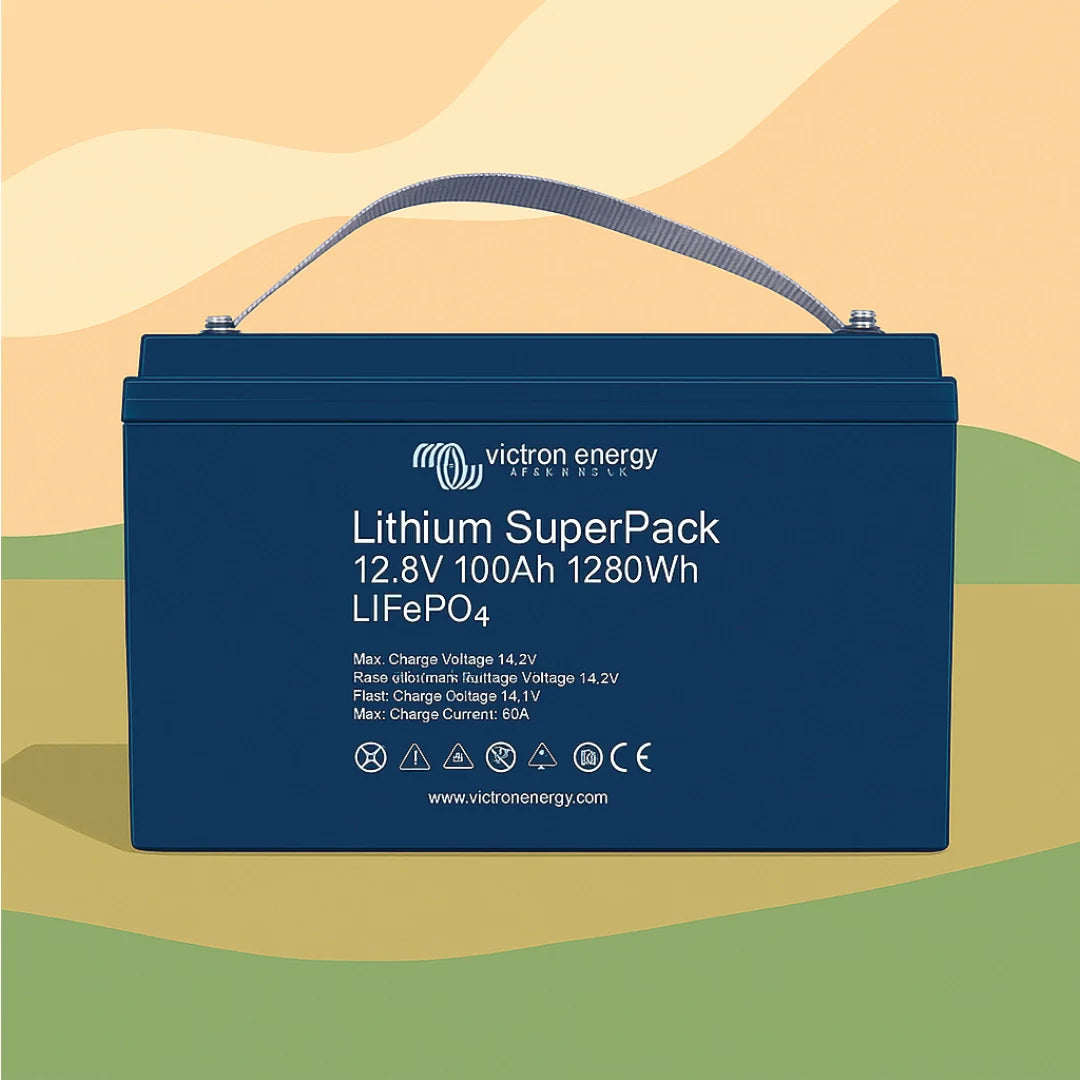
Lithium leisure batteries like the Skyenergi Edge 100Ah deliver several advantages. They provide usable capacity closer to their rated capacity, a 100Ah lithium battery gives you roughly 100Ah of power you can actually use, whereas a lead-acid battery of the same size only delivers about 50Ah of truly usable energy before damage occurs. Lithium batteries also charge faster, tolerate deeper discharge cycles, and maintain stable voltage throughout their discharge curve, which keeps your fridge running smoothly instead of dimming as voltage drops.

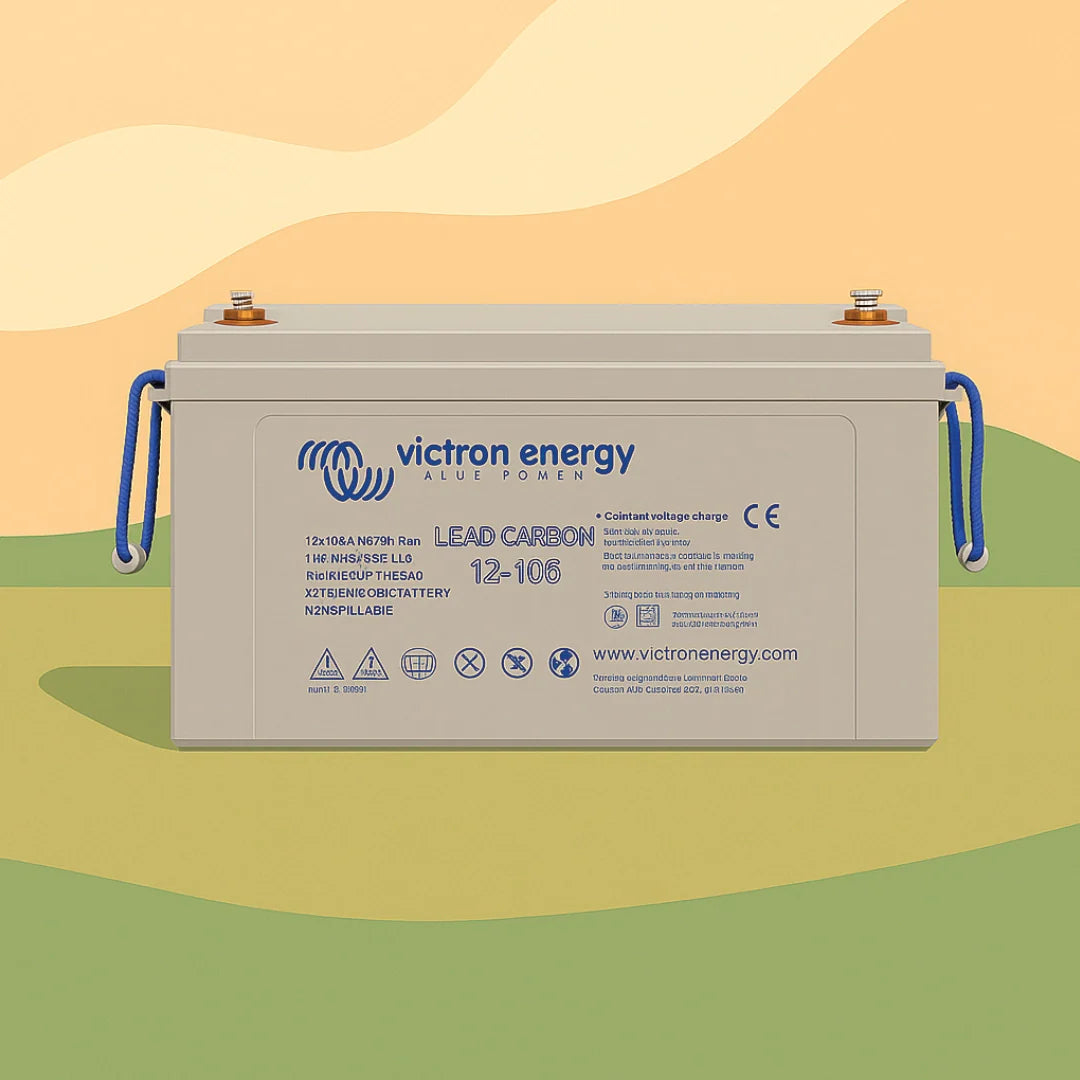
Lead-acid batteries are cheaper initially but require more space, weigh considerably more, and need regular maintenance. They also suffer from sulphation if left discharged, which permanently reduces capacity. For van life, lithium has become the practical choice for anyone planning extended trips or full-time living.
Solar Panels and Charge Controllers
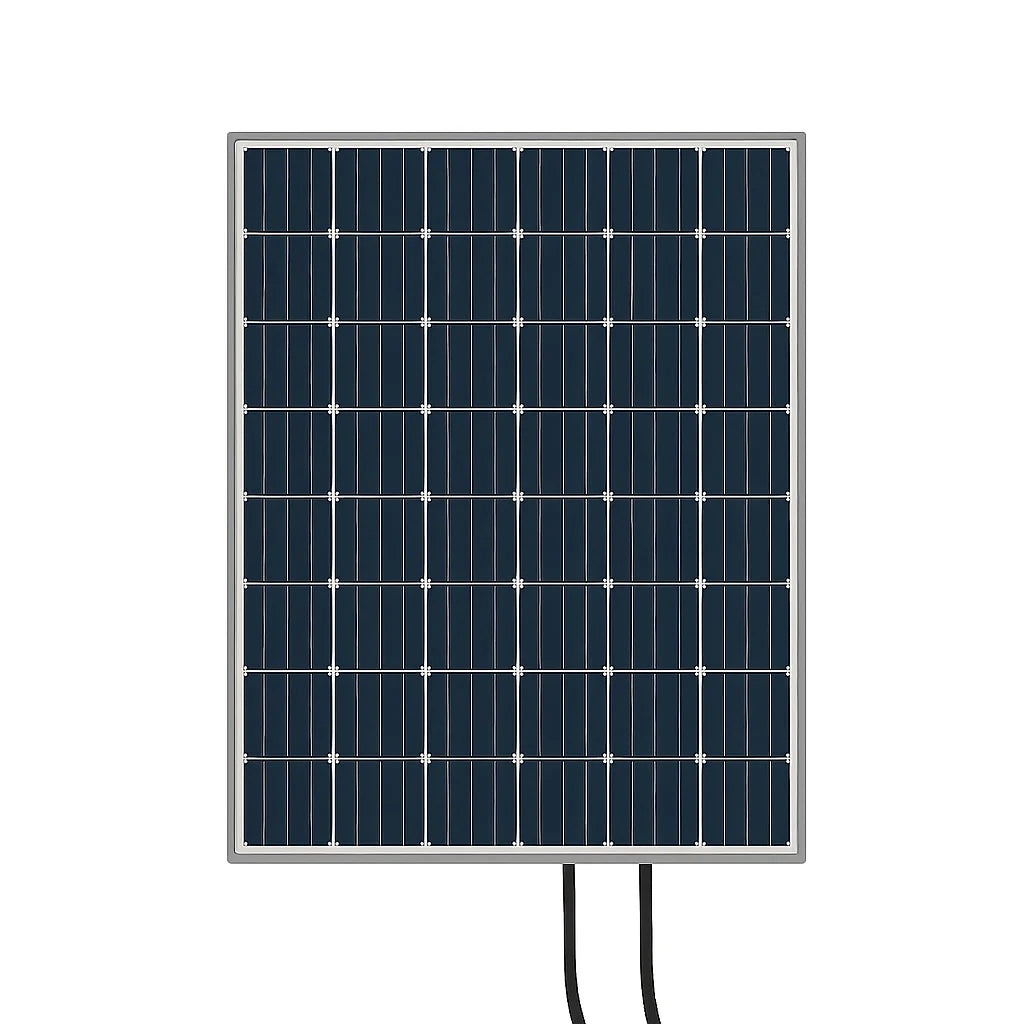
Solar panels are your primary energy source when stationary. A typical campervan setup uses between 200W and 400W of solar capacity, though larger vans or high-consumption systems may need more. The Victron 380 Watt Solar Panel kit with Victron Smart MPPT Charge Controller provides a complete, integrated solution that captures energy efficiently even during cloudy weather.
The charge controller is critical. An MPPT (Maximum Power Point Tracking) controller constantly adjusts the voltage and current from your panels to match what your battery needs at that moment. This active adjustment means you harvest more energy from the same panels compared to a basic PWM controller. On cloudy days, when light intensity fluctuates, an MPPT controller pulls significantly more power than a fixed system would.
Alternator Charging and DC-DC Converters
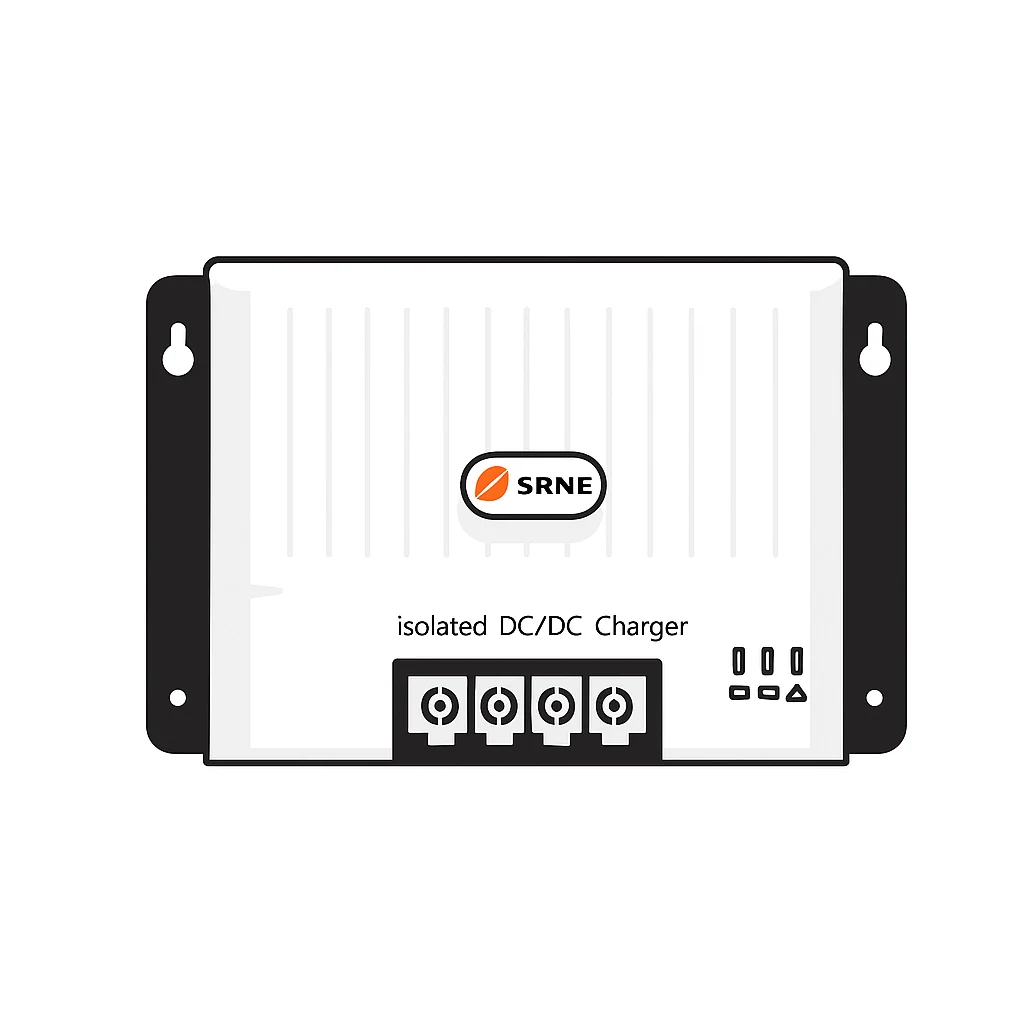
While driving, your vehicle's alternator generates power, but that power arrives at variable voltages that can damage a leisure battery if connected directly. A DC-DC charger solves this by regulating the alternator's output and charging your leisure battery safely and efficiently. The Victron Orion XS 12/12-50A DC-DC Battery Charger delivers 50A of charging current, which means you can recover 50 amp-hours of battery capacity per hour of driving.

A quality DC-DC charger also protects against smart alternators found in modern Euro 5 and Euro 6 vehicles, which cut output to save fuel. The Victron Orion XS includes adaptive charging algorithms that work with any alternator type, ensuring your battery charges even when the vehicle's electronics try to minimize alternator load.
Inverters and AC Power Management
An inverter converts stored DC power into 230V AC power for standard household appliances. Without an inverter, you're limited to 12V devices like LED lights and small fans. With one, you can run a kettle, microwave, laptop charger, or hair dryer, though doing so drains your battery quickly.
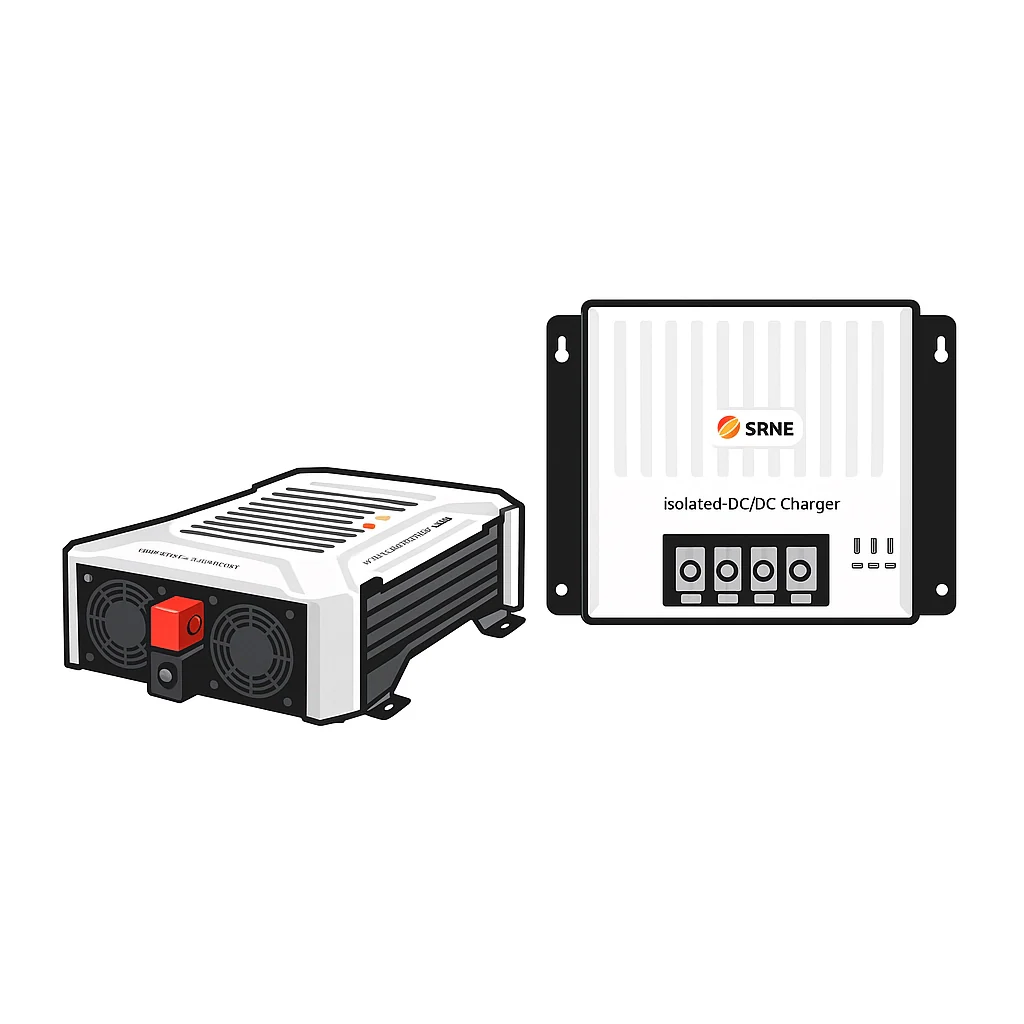
The SRNE SR-IBC12-3kW Pure Sine Wave Inverter provides clean, stable AC output with automatic switching between battery power and shore power (if available). SRNE is a globally established manufacturer specialising in solar controllers and RV power solutions. The 3kW capacity handles most campervan appliances simultaneously, and the pure sine wave output protects sensitive electronics from distortion damage.
Campervan Battery Capacity Calculator: Sizing Your System
Proper battery sizing begins with calculating your actual daily energy consumption in watt-hours, then selecting a battery that provides 2-3 days of autonomy without solar input. This approach prevents both undersizing (constant power anxiety) and oversizing (wasted capital and weight). Maintaining this buffer of stored energy ensures that your electrical system remains resilient during unexpected grid instability, a principle that also serves as the foundation for effective prolonged power outage preparation.
Step 1: Estimate Daily Consumption from Your Appliances
List every appliance you'll use and estimate daily runtime. Here's a worked example for a moderate-use campervan:
| Appliance | Power (W) | Daily Runtime (hours) | Daily Energy (Wh) |
|---|---|---|---|
| Fridge (12V compressor) | 40 | 24 | 960 |
| LED lighting (4 × 5W bulbs) | 20 | 6 | 120 |
| Heating (diesel heater, 12V fan) | 30 | 8 | 240 |
| Laptop charging (via inverter) | 65 | 3 | 195 |
| Phone and tablet charging | 15 | 2 | 30 |
| Water pump (intermittent) | 60 | 0.5 | 30 |
| Total Daily Consumption | , | , | 1,575 Wh |
This example totals approximately 1,575Wh (1.6kWh) per day. A 100Ah lithium battery stores roughly 1.2kWh of usable energy, so it would last less than one day without solar or alternator input. A 200Ah lithium battery (2.4kWh usable) provides just over one day of autonomy.
Step 2: Account for UK Seasonal Solar Performance
Solar generation varies dramatically by season and weather. The same 380W panel kit produces vastly different output depending on time of year and location:
Summer (June-August): In southern regions, a 380W panel kit generates 2.5-3.5kWh per day on average, even accounting for occasional cloud cover. In northern regions, expect 2-2.8kWh per day. This surplus means you can run higher consumption loads and still maintain battery charge.
Spring and Autumn (March-May, September-November): Output drops to 1.2-1.8kWh per day across most regions. This is when alternator charging becomes essential if you drive regularly.
Winter (December-February): This is the critical period. A 380W panel kit in southern regions generates only 0.4-0.7kWh per day; in northern regions, 0.3-0.5kWh per day. Cloud cover, low sun angle, and short daylight hours all reduce generation. If you're stationary for extended periods in winter, solar alone cannot sustain moderate consumption.
Step 3: Choose Battery Capacity Based on Your Usage Pattern
Use this matrix to match battery size to your consumption and driving frequency:
| Daily Consumption | Drive Frequency | Recommended Battery | Reasoning |
|---|---|---|---|
| <800Wh (light: fridge, lights, heating only) | 3+ days/week | 100Ah lithium | Alternator charging tops up regularly; solar handles baseline |
| 800-1,600Wh (moderate: above + laptop, cooking) | 2-3 days/week | 200Ah lithium | One full day of autonomy; alternator and solar share load |
| 1,600-2,400Wh (high: frequent AC appliances) | 1-2 days/week | 300Ah lithium | Two days of autonomy; less reliance on frequent driving |
| >2,400Wh (very high: full-time AC use) | Stationary weeks | 400Ah+ lithium | Extended autonomy essential; strong solar and backup charging required |
Step 4: Add a Safety Margin for Winter and Cloudy Periods
Never size your battery to exactly match your average consumption. Instead, aim for 1.5-2× your daily consumption in usable battery capacity. This margin absorbs:
- Winter solar underperformance (50-70% lower than summer)
- Extended cloudy periods (3-5 consecutive days with minimal sun)
- Days when you're stationary and cannot use alternator charging
- Battery degradation over time (lithium retains 80-90% capacity after 5 years)
For the 1,575Wh example above, a 200Ah lithium battery (2.4kWh usable) provides a 1.5× safety margin. In winter, when solar generates only 0.5kWh per day, you have one full day of autonomy before needing to drive or use a backup charger.
Real-World Sizing Example: Full-Time Van Dweller
Assume you live full-time in a van, consume 2,000Wh per day, and drive only once per week (Saturday). In winter, solar generates 0.5kWh per day. Your battery must sustain six days of consumption (12kWh) plus provide a safety margin. A 300Ah lithium battery (3.6kWh usable) falls short; a 400Ah battery (4.8kWh usable) provides three days of autonomy. On Saturday, alternator charging during a 4-hour drive recovers approximately 200Ah (2.4kWh) via a 50A DC-DC charger, which tops up the battery and covers the week ahead.
Without this calculation, you risk either buying an undersized battery (constant low-charge warnings) or oversizing unnecessarily (excess weight, cost, and complexity).
Choosing the Right Campervan Solar Panel Kit
Solar panel output varies dramatically by season and location. In summer, a 380W panel kit in southern regions can generate 2-3kWh per day. In winter, the same kit might generate only 0.5-1kWh per day. This seasonal variation is why most campervan owners also rely on alternator charging and battery reserve capacity.
Panel orientation matters too. Panels mounted flat on a van roof capture less energy than panels tilted toward the sun, but tilting systems are complex and heavy. Most van conversions use fixed-mount panels as a practical compromise. The Victron 380W kit includes mounting brackets and a controller with Bluetooth monitoring, so you can track real-time generation from your phone.
DC-to-DC Charger for Campervan: Alternator Integration
A DC-to-DC charger is essential if you drive regularly. It acts as an intelligent middleman between your alternator and leisure battery, protecting both while maximizing charge rate. The Victron Orion XS supports multi-stage charging: bulk charging at maximum current until the battery reaches a threshold, then absorption charging to top it up safely, then float charging to maintain it.
Victron 380 Watt Solar Panel & Victron Smart MPPT Charge Controller, Cable →
Modern vehicles with smart alternators require a charger that communicates with the vehicle's electrical system. The Orion XS includes Euro 5/6 compatibility and can be programmed via the VictronConnect app to match your specific vehicle and battery chemistry. This adaptability ensures you're not fighting your vehicle's fuel-saving electronics.
Van Inverter Sizing and AC Power Requirements
Inverter sizing depends on your peak simultaneous load. A kettle draws 2-3kW. A microwave draws 1-2kW. A hairdryer draws 1.5-2kW. If you want to run any two of these simultaneously, you need at least a 3-4kW inverter. Most campervan users never need that much, so a 2-3kW inverter like the SRNE model covers typical scenarios.
However, inverter efficiency matters. A quality pure sine wave inverter like the SRNE unit operates at 85-95% efficiency, meaning 5-15% of your battery energy is lost as heat during conversion. This is why running high-power AC appliances drains your battery quickly. Plan AC usage for times when you're driving and charging, or when solar is generating.
System Installation, Safety, and Monitoring
A properly installed off-grid van power system is safe, efficient, and reliable. Poor installation introduces fire risk, equipment damage, and voltage drop that wastes solar and alternator energy. This section covers wiring, fusing, cable sizing, and troubleshooting.
Wiring Diagram and Circuit Layout
A typical 100-200Ah lithium system follows this circuit path:
Solar Array → MPPT Charge Controller → Leisure Battery → Main Distribution Fuse → DC-DC Charger (from alternator) → Inverter → AC outlets
Each connection point requires:
- Battery to main distribution fuse: The shortest, most direct path. Use a 125A fuse holder mounted within 30cm of the battery positive terminal. This fuse protects the entire system from short-circuit damage.
- Main distribution to DC-DC charger: Fused at 80A (for a 50A charger, use 1.25× the rated current). This isolates alternator charging from solar and inverter circuits.
- Main distribution to inverter: Fused at 150A (for a 3kW inverter). Heavy-gauge cable is essential here; voltage drop over long runs reduces inverter output.
- Solar panels to MPPT controller: Typically unfused on the panel side (the controller has internal protection), but fused on the battery side at 80-100A depending on panel array size.
All negative (return) wires must connect to a common negative bus bar bolted directly to the battery negative terminal. Never rely on the van chassis as a ground return; it introduces voltage drop and corrosion risk.
Cable Sizing for Different System Scales
Undersized cables generate heat and voltage drop, reducing charging efficiency and damaging insulation over time. Use this table to select cable gauge:
| Circuit | Battery Size | Cable Length (m) | Recommended Cable (mm²) | Fuse Rating (A) |
|---|---|---|---|---|
| Battery to main fuse | 100Ah | <1 | 50 | 125 |
| Battery to main fuse | 200Ah | <1 | 70 | 200 |
| Main fuse to inverter | 100Ah | <2 | 50 | 150 |
| Main fuse to inverter | 200Ah | <2 | 70 | 200 |
| Solar to MPPT | 380W panels | <5 | 10 | 80 |
| Alternator to DC-DC | 50A charger | <2 | 35 | 80 |
These recommendations assume copper cable and a maximum 3% voltage drop. If your cable run exceeds these lengths, increase the gauge by one step (e.g., 50mm² to 70mm²).
Fusing and Overcurrent Protection
Every major circuit must have a fuse rated at 1.25× the maximum expected current:
- Main battery fuse: 125A (for 100Ah) or 200A (for 200Ah). This is the primary protection; if it blows, your entire system loses power.
- DC-DC charger fuse: 80A (for a 50A charger). Protects the alternator circuit from backfeed if the charger fails.
- Inverter fuse: 150A (for a 3kW inverter). Protects the inverter from short circuits in AC wiring.
- Solar fuse: 80A (for a 380W array). Protects the MPPT controller and battery from solar overvoltage.
Use automotive-grade ANL or MEGA fuse holders, which are rated for high current and include a visual indicator when blown. Avoid cheap blade fuses; they're undersized for van systems and prone to corrosion.
Grounding and RCD Protection
All AC circuits must include residual current device (RCD) protection, a legal requirement in UK installations under BS 7909 and the Building Regulations. The SRNE SR-IBC12-3kW inverter includes built-in RCD (residual current device) leakage protection, which detects earth faults and disconnects AC output automatically.
For DC circuits, ensure:
- The battery negative terminal connects to a common negative bus bar.
- The van chassis is bonded to the negative bus bar via a 35mm² cable (this is your DC ground return).
- All metal enclosures (battery box, inverter case, controller housing) are bonded to the negative bus bar.
This bonding prevents voltage floating and reduces shock risk if someone touches a live conductor while standing on the van chassis.
Installation Best Practice: DIY vs. Professional
If you're unfamiliar with electrical work, professional installation is strongly recommended. Skyenergi supplies complete kits and provides UK-based technical support to guide installations, whether you're a professional installer or a DIY enthusiast. A qualified installer will:
- Size cables and fuses correctly for your specific layout.
- Ensure all connections are crimped (not soldered) and sealed against corrosion.
- Test voltage drop under load before handing over the system.
- Provide documentation and labelling for future troubleshooting.
If you install yourself, photograph every connection before closing panels or walls. Label all fuses and breakers. Test the system under load (run an inverter appliance) before relying on it for critical loads.
Monitoring and Troubleshooting
A battery monitor is essential for understanding your system's state and diagnosing faults. The Victron SmartShunt (compatible with the Victron solar and DC-DC components in this guide) displays:
- Battery voltage: Should be 13.2-13.8V when charging, 12.0-12.5V at rest. Voltage below 11.5V indicates deep discharge and potential battery damage.
- Charge/discharge current: Positive = charging, negative = discharging. Sudden spikes indicate a short circuit or inverter surge.
- State of charge (%): Calculated from amp-hour flow. Helps you plan AC appliance use.
- Time remaining: Estimates how long the battery will last at current consumption.
Common faults and diagnosis:
| Symptom | Likely Cause | Check |
|---|---|---|
| Battery voltage drops below 12V after one hour of use | Battery undersized or heavily discharged | Check state of charge; reduce AC load; add solar or drive to charge |
| Solar panels generate 0Wh on a sunny day | MPPT controller offline or panels disconnected | Check fuse, controller LED status, and panel connectors |
| Inverter shuts down after 5 minutes of AC use | Inverter undersized or battery voltage sags under load | Check simultaneous load (kettle + microwave = 3-4kW); reduce to one appliance |
| DC-DC charger not charging while driving | Charger fuse blown or alternator output low | Check fuse; test alternator voltage (should be 13.5-14.5V); check charger LED status |
| Battery charges slowly despite sunny weather | MPPT controller in float mode or panel angle poor | Check controller display; adjust panel tilt if possible; verify panel connections |
The VictronConnect app (for Victron components) and SRNE monitoring interfaces provide real-time data and historical logs, helping you spot trends (e.g., gradual capacity loss) before they become critical.
Frequently Asked Questions
What components do I need for an off-grid power system in a van?
A complete off-grid power system for a van requires five core components: a leisure battery (lithium or lead-acid) for energy storage, solar panels with a charge controller to harvest solar energy, a DC-to-DC charger to charge the leisure battery from your vehicle's alternator while driving, an inverter to convert 12V DC power to 230V AC for household appliances, and proper wiring, fuses, and distribution equipment. The Skyenergi Edge 100Ah lithium battery paired with a Victron SmartSolar MPPT 100/30 charge controller and Victron Orion XS DC-DC charger provides a proven foundation for most campervan setups.
How do I calculate the right battery capacity for my campervan?
Start by listing all appliances you'll use off-grid (fridge, lighting, water pump, heater) and their daily energy consumption in watt-hours. For example, a 50W fridge running 12 hours daily uses 600Wh; LED lights at 20W for 8 hours use 160Wh. Add these together and multiply by the number of days between charging opportunities. A family using 2,000Wh daily with two days of autonomy needs 4,000Wh usable capacity. Since lithium batteries offer roughly 80% usable capacity, you'd need a battery with sufficient capacity. Always add 20% headroom to protect battery longevity.
How many solar panels do I need for a campervan?
Solar panel sizing depends on your daily energy deficit and location. In the UK, a south-facing 380W solar array (two 185W panels) generates roughly 1.5-2.5kWh daily in summer, less in winter. If your campervan uses 2,000Wh daily and you have six hours of useful sunlight, you need at least 333W of panels to break even. A 380W kit like the Victron 380 Watt Solar Panel & SmartSolar MPPT Charge Controller handles most UK campervan conversions, though north-facing or shaded installations may need additional capacity. Winter performance drops 40-50% compared to summer, so expect seasonal variation.
Can you charge a campervan leisure battery while driving?
Yes. A DC-to-DC charger like the Victron Orion XS 12/12-50A connects your vehicle's alternator to your leisure battery, charging it while the engine runs. This is essential for off-grid systems because it tops up your battery during travel days without relying solely on solar panels. The Orion XS delivers up to 50A output with 98.5% efficiency and automatically detects when your engine starts, making it ideal for modern vehicles with smart alternators. It's particularly valuable during winter or extended cloudy periods when solar output is low.
What's the difference between a DC-to-DC charger and a solar charge controller?
A solar charge controller (MPPT) harvests energy from your solar panels and stores it in your leisure battery using Maximum Power Point Tracking technology. The Victron SmartSolar MPPT 100/30 constantly optimises the voltage and current from panels to maximise energy capture, especially during cloudy conditions. A DC-to-DC charger like the Victron Orion XS converts your vehicle's 12V alternator output into a controlled charging signal for your leisure battery while driving. Both are essential: the solar controller works during stationary periods, while the DC-to-DC charger works when your engine is running. Together, they ensure your battery charges from multiple sources.
How long will a lithium battery power a campervan?
Runtime depends on battery capacity and daily consumption. A Skyenergi Edge 100Ah lithium battery offers 100Ah of capacity. If your campervan draws 500W continuously (a moderate load for a fridge, heating, and lighting), its runtime will depend on the actual usable capacity and discharge rate. Real-world duration varies widely: a light-use van with just LED lighting and a small fridge might run 2-3 days between charges, while high-demand setups (induction hob, multiple heating elements) deplete the battery in 6-8 hours. Lithium batteries tolerate deep discharge cycles better than lead-acid, lasting 3,000-5,000 cycles versus 500-1,000 for lead-acid equivalents.
Can you run an induction hob from a campervan battery?
Running an induction hob from a campervan battery is technically possible but impractical. An induction hob typically draws 2,000-3,000W continuously. A Skyenergi Edge 100Ah battery would deplete quickly with such a load, and you'd need an SRNE SR-IBC12-3kW inverter (£476) to convert DC power to AC. Most campervan users avoid induction hobs in favour of gas cookers, which are more efficient and don't strain the battery system. If you must use electric cooking, reserve it for when shore power or a generator is available, or plan for a significantly larger battery bank and solar array.
What safety measures should I include in my van electrical system?
Proper safety requires fuses on every positive wire branch, correctly sized cable to prevent overheating, a battery isolator switch for emergencies, and RCD (residual current device) protection to prevent electric shock. The SRNE SR-IBC12-3kW inverter includes built-in RCD leakage protection. Ensure all connections are crimped or soldered, not twisted, and use marine-grade cable rated for your current load. Have a qualified electrician check your installation if you're unsure. Install a battery monitor (the Victron SmartShunt works with Skyenergi Edge batteries) to track voltage, current, and state of charge, preventing over-discharge that damages lithium cells.
Next post

Compact Lithium Battery for Motorhome: 2026 Guide
Updated on 09 October 2026


