









How to Troubleshoot DC to DC Charger Voltage Drops
Stop losing charge on the road. Learn how to troubleshoot DC to DC charger voltage drops with our step-by-step guide. Get reliable power now.
Table of Contents
- Understanding Voltage Drop in DC to DC Charger Systems
- Essential Tools for Troubleshooting Voltage Drops
- How to Use a Multimeter for 12V Troubleshooting
- Step-by-Step Diagnostic Process for Voltage Drops
- Campervan Cable Sizing Guide for DC to DC Chargers
- Troubleshooting SRNE DC-to-DC Chargers
- Common Mistakes to Avoid
- Frequently Asked Questions
Last Updated: September 26, 2026
Understanding Voltage Drop in DC to DC Charger Systems
A 5-metre cable run in a caravan can lose 0.5V or more before the power ever reaches your leisure battery, according to [BIVO's 2026 DC to DC charger(/blogs/news/how-to-wire-dc-to-dc-charger-smart-alternator) guide | bivo.com.au]. That lost voltage is the reason your charger shuts down, derates, or never reaches full output. This guide from Skyenergi walks through the exact diagnostic steps to find the cause and fix it.
Voltage drop is the loss of electrical pressure that happens as current travels through a cable. The longer the cable run and the thinner the wire, the bigger the loss.
Three things drive it:
- Cable length and wire gauge
- Resistance at fuses, terminals and crimps
- The current your charger pulls under load
Aging solder joints, failing relays and degraded connectors are leading causes of unstable signals and voltage drops in DC systems, per Quad Plus troubleshooting research. So the fault is often not the charger itself.
Here's the part most guides skip: voltage drop is not always a fault. If your charger sits at the battery or uses remote voltage sensing, a measured 0.8V drop may be completely normal (r/Victron community discussion, 2026). What matters is what the charger sees at its own terminals, not what you read at the alternator.
Below, we'll show you the full diagnostic process, step by step.
Essential Tools for Troubleshooting Voltage Drops
You need four things to diagnose a DC to DC charger fault properly: a digital multimeter, a clamp meter, the manufacturer's app, and a wiring diagram for your setup.
The multimeter does most of the work. A clamp meter lets you read amperage draw without breaking the circuit. The app (VictronConnect or the SRNE equivalent) shows you the voltage the charger itself is reading. Comparing these digital readings against physical measurements remains the most reliable way to troubleshoot electrical circuit issues, especially when similar faults occur in high-power systems like an EV charger tripping breaker.
Grab these before you start:
- Digital multimeter with a DC voltage range
- Clamp meter rated to at least 60A
- Insulated screwdriver set
- Wire brush or contact cleaner
- Your charger's configuration app on a phone
Don't skip the app.
How to Use a Multimeter for 12V Troubleshooting
Most guides assume you already know where to put the probes. This one doesn't. If you can set a dial and touch two points, you can diagnose a DC to DC charger fault.
Setting up the meter
Turn the dial to DC volts (marked V with a straight line and a dashed line beneath it). Select the 20V DC range for 12V systems. Anything higher, such as 200V, loses the resolution you need to see a 0.3V difference that matters. Plug the black lead into COM and the red lead into the VΩmA socket.
Where to place the probes
For every reading in this guide, the black probe stays on a known good ground or the battery negative. The red probe moves to the point you are testing. That is the whole method.
Three readings you will take again and again:
- At rest: red probe on battery positive, black on battery negative, no load. A healthy 12V leisure battery reads around 12.7V fully charged.
- Under load: same points, charger running. Compare to the at-rest figure.
- Voltage differential: red probe on the source positive (alternator or starter battery), then move the red probe to the charger input positive. The difference between those two readings is the voltage lost in the cable run.
Reading the numbers
A continuity test checks whether a connection actually conducts. Set the meter to resistance (Ω), touch both ends of the cable, and look for a reading near zero. Anything above roughly 1 ohm on a short run points to a bad terminal crimp or corrosion.
A worked example
Say your starter battery reads 14.2V with the engine running. You move the red probe to the SRNE DCI12-1230 input positive and read 13.4V. The difference is 0.8V. On a 5-metre run at 30A, that points to either undersized cable or a resistive connection. If the charger then derates or refuses to start, you have found your fault without touching the charger itself.

Step-by-Step Diagnostic Process for Voltage Drops
Work through these steps in order. Each one rules out a cause before you move to the next, so you don't replace parts you didn't need to. The flowchart below shows the decision path at a glance.
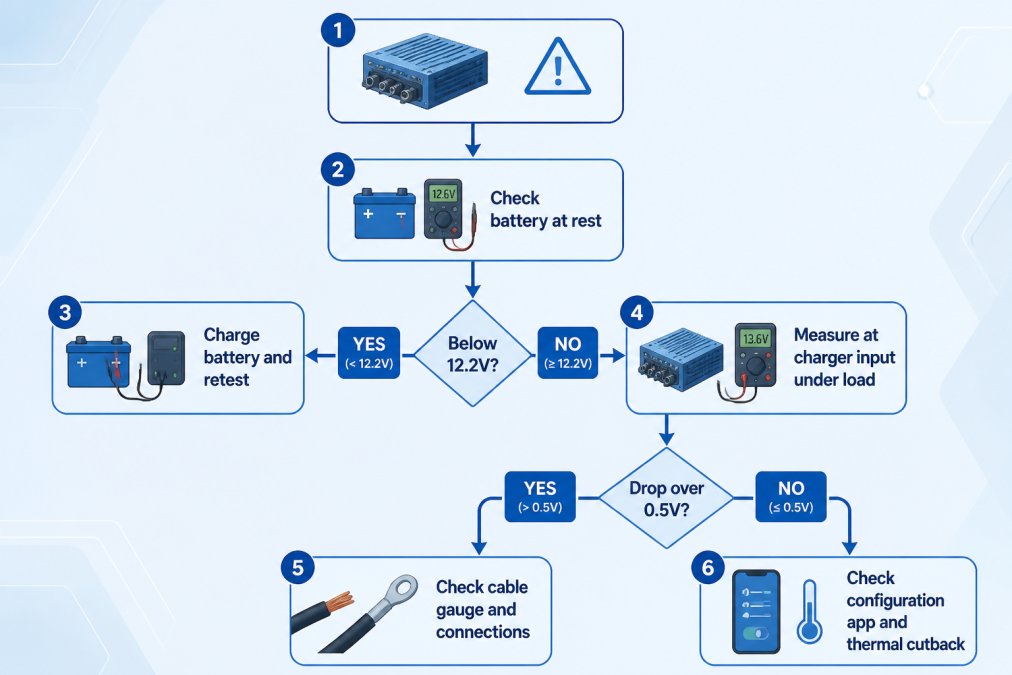
Step 1: Check Battery Voltage at Rest
A healthy 12V leisure battery should read around 12.7V at rest when fully charged. Anything below 12.2V means the battery is part-discharged, and that alone can trigger a charger fault.
Step 2: Measure Voltage Under Load
Start the engine and let the charger run for two minutes. Now measure at the charger's input terminals while it is pulling current. This is the load test that reveals real voltage sag.
Step 3: Inspect Cable Gauge and Connections
Check the wire gauge against the current draw and the length of the run. Undersized cable is the single biggest cause of voltage drop in campervan installs.
Step 4: Test Fuse Resistance and Contacts
Switchable fuses are a common failure point in DC-to-DC charging circuits. Check the resistance across the fuse to see if it is adding to your voltage drop.
Calculate expected voltage drop before you replace anything
Voltage drop (V) = (2 × length in metres × current in amps × 0.0175) ÷ cable cross-section in mm²
| Symptom | Likely Cause | Fix |
|---|---|---|
| Charger won't start | Battery below 12.2V | Charge battery, retest |
| Lockout at 8.7V | High cable resistance | Check gauge and crimps |
| Warm cable under load | Undersized wire | Upgrade to larger gauge |
| Intermittent dropouts | Failing fuse or contact | Replace fuse, clean terminals |
| Drop over 0.5V but cable is correct gauge | Corroded terminal or loose crimp | Clean and re-crimp |
Campervan Cable Sizing Guide for DC to DC Chargers
Cable sizing comes down to two numbers: the current your charger draws and the round-trip length of the cable run. Get those right and voltage drop stays within limits.
Troubleshooting SRNE DC-to-DC Chargers
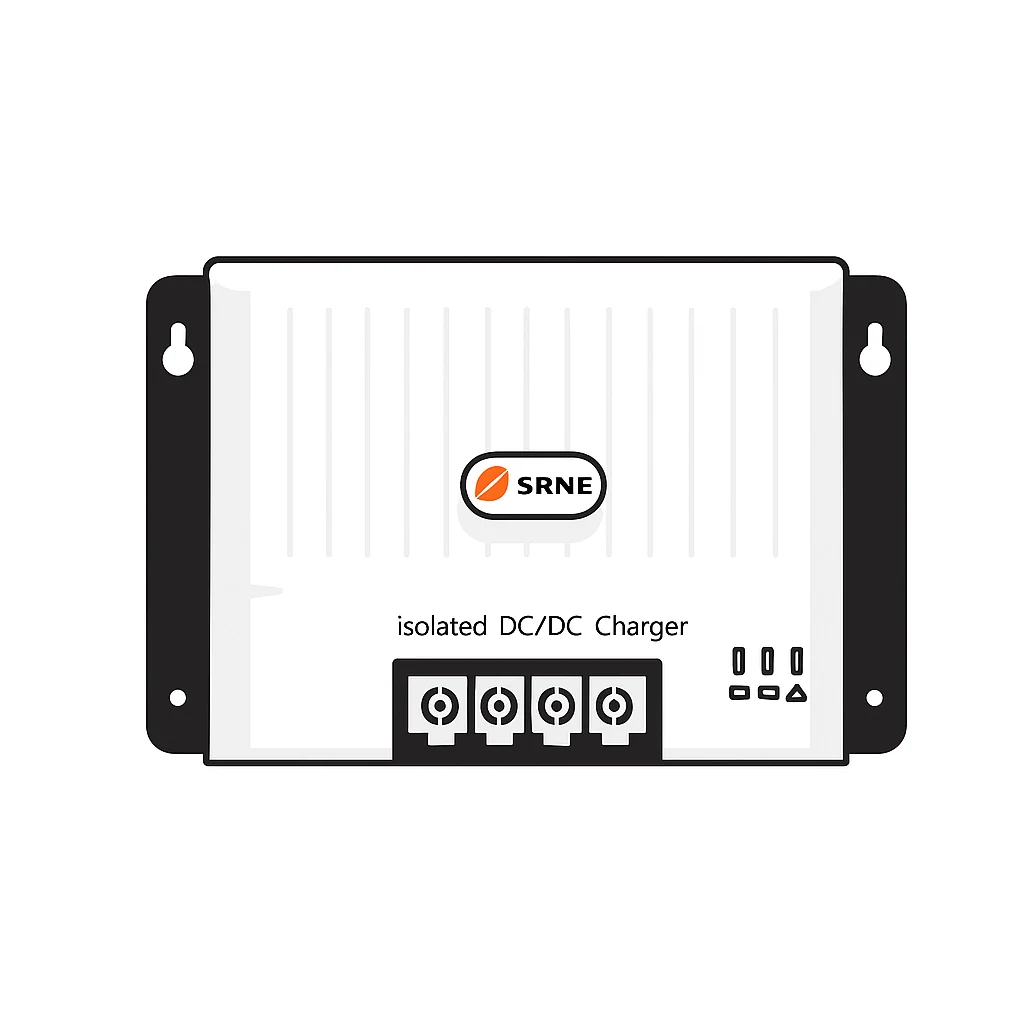
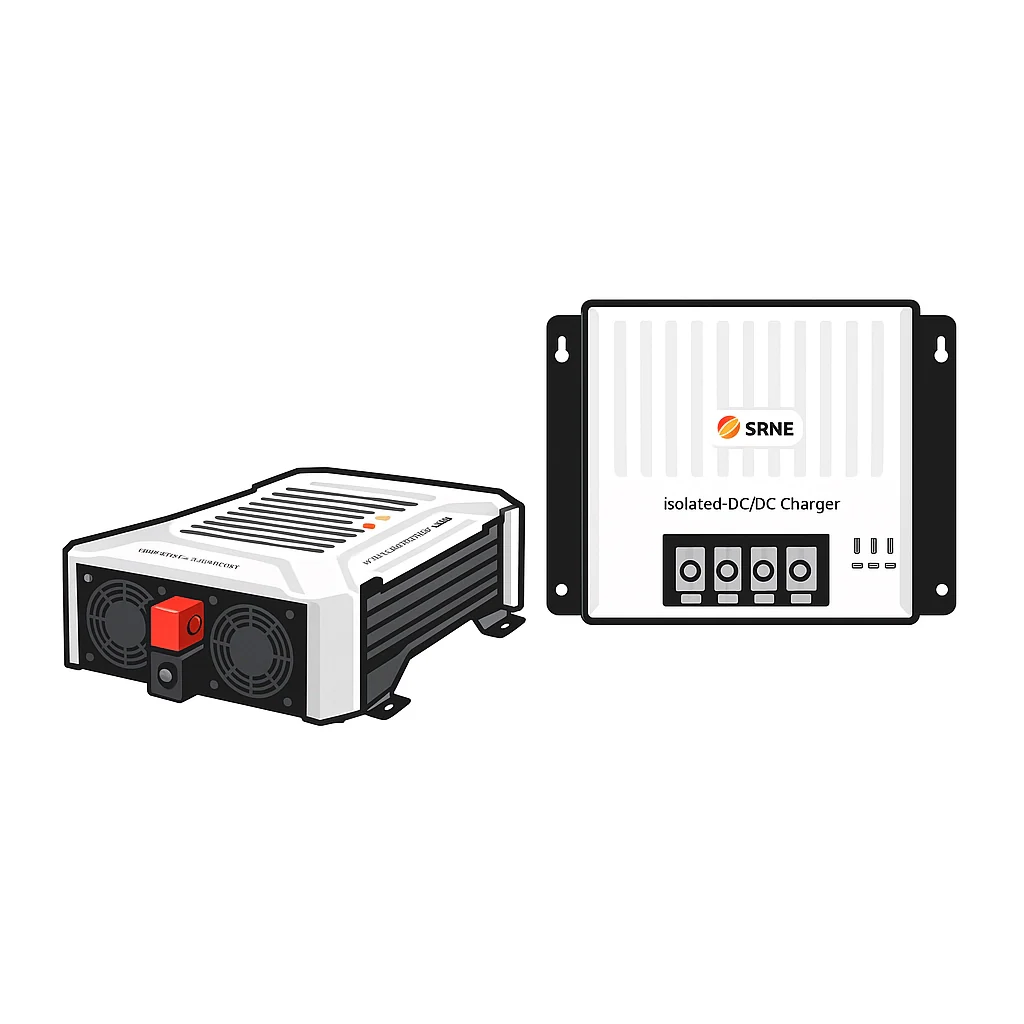
SRNE chargers are more forgiving of voltage drop than most, but they still have limits. The DCI12-1230 delivers up to 30A with roughly 92% conversion efficiency and supports both lead-acid and lithium batteries.
Then check the obvious:
- Confirm the charger's input voltage reading matches your multimeter
- Verify the fuse holders are seated and the fuses are intact
- Check the CAN or RS485 connection if you're using monitoring
- Confirm the unit isn't in thermal cutback in a hot compartment
Common Mistakes to Avoid
The most common mistake is replacing the charger before testing the cable. In most cases the charger is fine and the wiring is the problem.
Other errors that cost time and money:
- Measuring voltage at the battery instead of the charger input
- Ignoring the configuration software settings
- Using the original thin factory wiring for a high-output charger
- Skipping the fuse resistance check because the fuse "looks fine"
- Assuming any voltage drop is a fault when remote sensing is in use
Frequently Asked Questions
How much DC voltage drop is acceptable?
The acceptable voltage drop depends on your setup. A 5-metre cable run in a caravan can result in a drop of 0.5V or more. However, if your DC to DC charger uses remote voltage sensing, a measured drop of 0.8V may be within acceptable parameters. The key is whether the charger receives enough voltage to operate. Always check your charger's specifications for the minimum input voltage threshold.
What causes voltage drop between the starter battery and the DC-to-DC charger?
Voltage drop between the starter battery and the charger is typically caused by undersized cables, long cable runs, poor connections, or high resistance in fuses and terminals. Aging solder joints, failing relays, and degraded connectors are primary causes of unstable signals in DC systems. Checking the resistance across fuses and inspecting all connections is essential. Using the correct wire gauge for your amperage draw and cable length is critical.
How do I troubleshoot my SRNE DC-to-DC charger?
Start by verifying the input voltage at the charger's terminals with a multimeter. Check that your battery voltages are not set too low in the configuration software, as this can prevent the charger from initiating a full charge. Inspect all cable connections and fuse resistance. If the charger shows an input voltage lockout error, ensure your cables are correctly sized and connections are clean. SRNE chargers with Bluetooth allow real-time monitoring via a smartphone app.
Is a small voltage drop normal when using a DC-to-DC charger?
Yes, some voltage drop is normal, especially over long cable runs. The question is whether it affects performance. If your charger is located near the battery or uses remote voltage sensing, a small drop may be of no concern. However, if the voltage at the charger drops below its minimum threshold, the charger may enter input voltage lockout and stop charging. Monitoring voltage under load will reveal if the drop is problematic.
Voltage drop problems rarely come from the charger itself. They come from cable that's too thin, terminals that have corroded, or fuses that have quietly failed. Skyenergi supplies SRNE and Victron DC to DC charger kits with matched cable, fuses and copper terminals, plus UK-based support when you need a second opinion. Get started with Skyenergi and build a charging system that holds its voltage under load.
Prev post

Off-Grid Solar vs Wind Power for UK Homes
Updated on 28 September 2026
Next post

Renogy vs EcoTree Lithium: 2026 Campervan Battery Review
Updated on 25 September 2026


