







Safe Ventilation for Campervan Battery Banks: A How-To
Campervan battery ventilation explained: how to size airflow, place LiFePO4 batteries safely and check your SRNE charge controller installation.
Last Updated: October 29, 2026
Quick Summary
Campervan battery ventilation needs a deliberate airflow path from a low inlet to a high outlet, sized by free area rather than hole size. The requirement differs by chemistry: flooded lead-acid needs gas dispersal to clear hydrogen, while LiFePO4 needs heat removal and a BMS for fault protection.
- Flooded lead-acid batteries produce hydrogen during charging, so the enclosure needs a high-level outlet.
- LiFePO4 batteries produce no routine gassing but still generate heat that must be removed.
- Ventilation does not replace a battery management system, which LiFePO4 banks need for protection.
- Measure grille free area, not hole size, because fine mesh can block much of the airflow.
- Recheck vents before each trip, since dust, debris and vibration can block the path.
Table of Contents
- Why Campervan Battery Banks Need Ventilation
- Lead-Acid Versus LiFePO4: Which Battery Chemistry Needs What Airflow
- LiFePO4 Battery Safety Standards for Van Installations
- Step 1: Choosing a Battery Compartment Location
- Step 2: Designing the Campervan Electrical System Layout
- Step 3: Sizing Vents and Checking Airflow
- Step 4: Completing the SRNE Charge Controller Installation and Final Checks
- Frequently Asked Questions
Campervan battery ventilation is the part of an installation most owners skip, and it is the part that matters most once the batteries are sealed in a locker. Get the airflow wrong and heat builds up around the bank, which shortens its life and raises the risk of a fault. This guide walks through safe ventilation requirements for campervan battery banks in plain steps.
Battery chemistry decides how much airflow you need, so we start there. Then we cover location, wiring layout, vent sizing and the charge controller setup that ties everything together.
Why Campervan Battery Banks Need Ventilation
Batteries give off heat when they charge and discharge. In a closed locker under a bed, that heat has nowhere to go. Poor campervan battery ventilation traps warm air in the compartment, so it will run hotter than the rest of the van, and heat is the enemy of battery life.
Ventilation does two jobs. It moves heat out, and it keeps the compartment from holding gas or moisture. Both matter for safe operation, so treat airflow as part of the battery installation, not an extra.
Lead-Acid Versus LiFePO4: Which Battery Chemistry Needs What Airflow
Battery chemistry is the single biggest factor in how much ventilation a campervan battery bank needs, and the two chemistries most owners choose between behave in fundamentally different ways. Treating them the same is where installations go wrong.
Flooded lead-acid: hydrogen is the hazard
A flooded lead-acid battery contains liquid electrolyte and vents gas during charging. When the battery reaches its absorption and float stages, the charging current breaks water down into hydrogen and oxygen, a process called gassing.
The ventilation requirement for flooded lead-acid is therefore about gas dispersal, not just cooling. The enclosure needs a low-level inlet and a high-level outlet so that hydrogen can escape rather than pool.
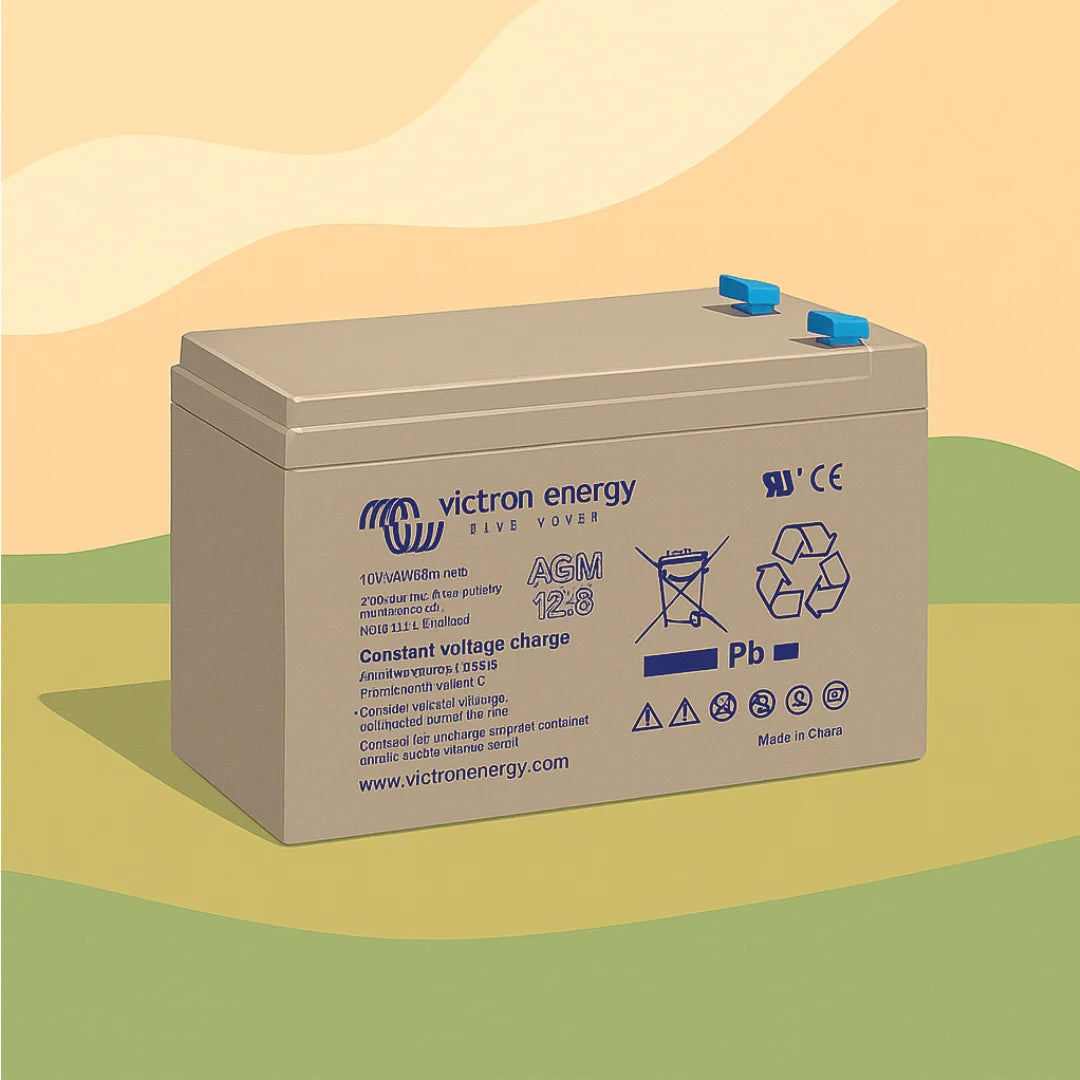
Sealed lead-acid variants, absorbed glass mat (AGM) and gel, recombine most of the gas internally under normal charging, so they release far less hydrogen than flooded types.
LiFePO4: heat and fault containment, not routine gassing
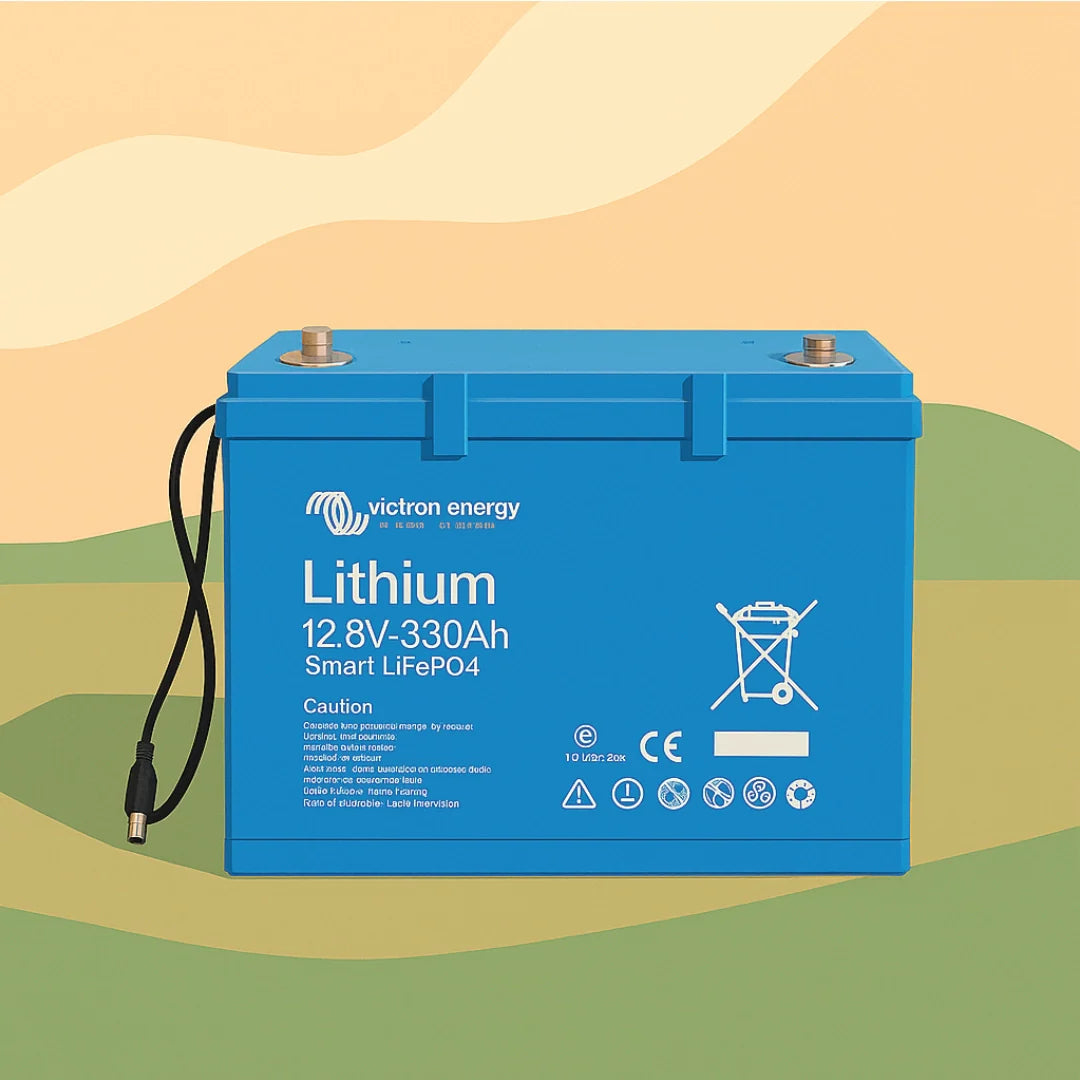
Lithium iron phosphate (LiFePO4) batteries do not contain liquid electrolyte and do not gas during normal charging. That removes the routine hydrogen hazard, but it does not remove the need for airflow. LiFePO4 cells produce heat during charge and discharge, and that heat must be removed to keep the cells within their specified operating window.
The more serious LiFePO4 hazard is thermal runaway, which can occur if a cell is overcharged, physically damaged, short-circuited or exposed to excessive heat. Thermal runaway releases hot gases and can propagate from one cell to another.
What this means for your installation
| Consideration | Flooded lead-acid | LiFePO4 |
|---|---|---|
| Routine gassing during charge | Yes, hydrogen produced | No |
| Primary ventilation purpose | Gas dispersal plus heat removal | Heat removal plus fault-gas containment |
| Vent placement | Low inlet, high outlet at top of locker | Inlet low, outlet high; ensure enclosure can vent outward |
| Enclosure sealing | Must not be gas-tight at the top | Can be tighter, but must allow heat escape |
| Critical safety device | Correct charger profile and restraint | BMS with temperature and current protection |
For a LiFePO4 bank, pair the battery with a charger and controller configured for lithium chemistry. Skyenergi's Edge and Elite lithium batteries are designed for campervan and motorhome use; pair them with a charge controller set to the correct lithium profile so that charging stops at the right voltage and resumes safely.
If you are unsure which chemistry your installation uses, check the battery label and documentation before designing the ventilation path. The requirements are not interchangeable.
LiFePO4 Battery Safety Standards for Van Installations
LiFePO4 chemistry is more stable than many other lithium types, but a safe van install still follows a few firm rules. The battery needs a proper battery management system (BMS) to guard against over-charge, over-discharge and high temperature.
Check the battery and charger documentation before you wire anything. For the charging limits that affect safe installation, see the lithium charging requirements guide for beginners.
Skyenergi supplies Edge and Elite lithium batteries for campervan and motorhome use. Pair them with a charger and controller set up for lithium chemistry.
Step 1: Choosing a Battery Compartment Location
Pick a spot that is cool, dry and easy to reach. Avoid areas close to the engine, heaters or direct sun. A locker with a ventilation path to the outside air suits the job best.
Keep batteries clear of fuel, water tanks and anything that could leak onto the terminals. Make sure you can reach the terminals and the isolator without moving other gear.
Checklist for the location:
- Away from heat sources and direct sunlight
- Dry, with no water ingress risk
- Room to access terminals and the isolator
- Space for air to move around the battery bank Adequate clearance also ensures that any installed fire suppression systems remain accessible for routine inspection and maintenance.
Step 2: Designing the Campervan Electrical System Layout
A tidy layout makes ventilation easier to plan and checking easier later. Start with a single-line diagram that shows the battery bank, the fuse or breaker, the charge sources and the loads.
Keep high-current cables short. Long, thin runs cause voltage drop and extra heat. A complete SRNE power system designed for campervans shows how the pieces fit together as a ready reference. Protect the positive feed close to the battery with a suitable fuse or breaker.
Step 3: Sizing Vents and Checking Airflow
Vent sizing is where most campervan battery installations fall short. A token grille or a gap under a locker door is not a ventilation design. The goal is a deliberate airflow path that removes heat from the battery enclosure and, for flooded lead-acid, clears hydrogen from the highest point.
Design the path before you cut holes
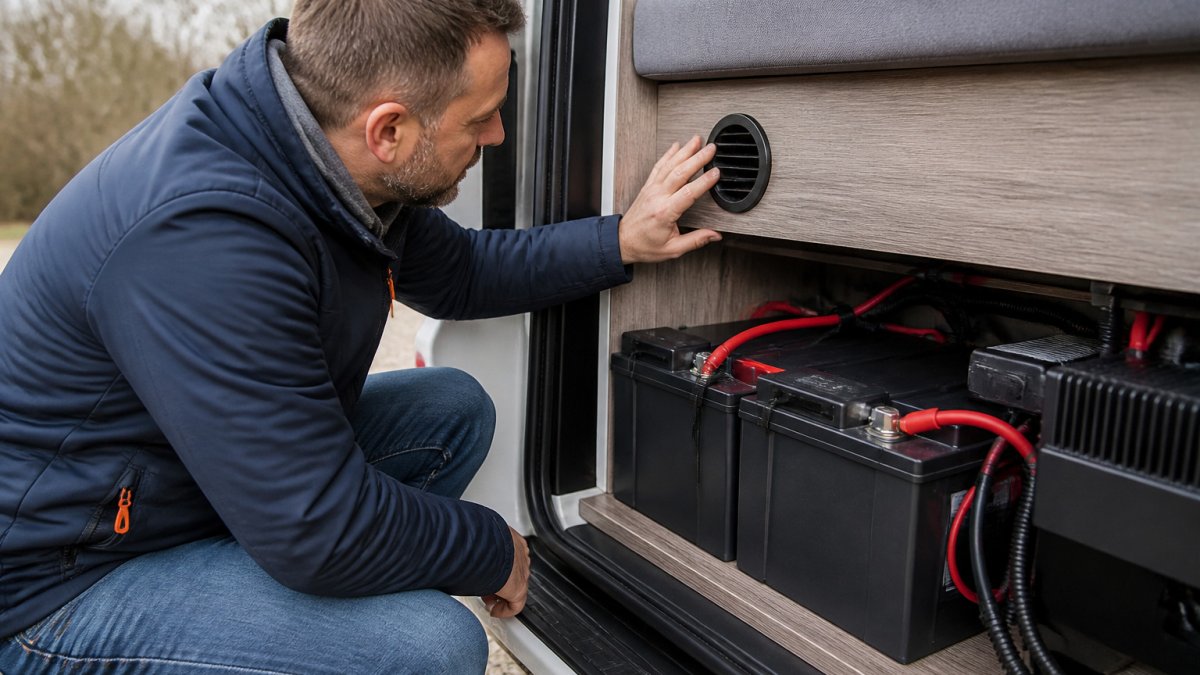
Airflow depends on a continuous path from a low inlet to a high outlet. Warm air rises, so the outlet must be at or near the top of the enclosure and the inlet at or near the bottom.
A practical layout for a locker-style battery compartment is:
- Inlet: low on one side of the enclosure, protected by a grille or louvre that keeps out water, dust and insects.
- Outlet: high on the opposite side, ideally on an external wall so warm air leaves the van rather than moving into the living space.
- Clear path: no insulation, boxes or cable bundles between inlet and outlet. Route cables along the walls rather than across the airflow path.
Where the enclosure is inside the living area, ducting the outlet to an external vent is preferable to venting into the cabin. This is especially important for flooded lead-acid, where hydrogen must not be allowed to accumulate in an occupied space.
Sizing: free area and manufacturer guidance
There is no single universal vent size that applies to every campervan battery bank. Vent area depends on battery chemistry, bank capacity, charging current, enclosure volume and the manufacturer's instructions.
For LiFePO4 banks, the ventilation requirement is primarily thermal. Keep the enclosure large enough that the battery is not packed tight against walls, and allow space above and around the bank for heat to rise. For flooded lead-acid, the high-level outlet is a safety requirement, not just a cooling measure, and the vent path must not be obstructed by the battery itself.
Where manufacturer instructions are unclear or the installation is unusual, a large bank, a sealed enclosure, or a battery located in a sleeping area, a qualified auto-electrician or campervan converter should determine the final vent specification. Do not guess.
Checking airflow in practice
After installation, confirm that air actually moves through the enclosure:
- Feel for movement at the outlet after the charger has been running for a while. Warm air should be detectable.
- Check for heat build-up by comparing the temperature inside the locker with the ambient cabin temperature. A large, persistent difference suggests inadequate airflow.
- Inspect the path for obstructions, cables, insulation, stored items, that have been pushed into the vent opening.
- Confirm the outlet is external where required, particularly for lead-acid installations.
- Re-check after the first few trips. Vibration can shift batteries and gear, and vents can become blocked by dust or debris.
Maintenance and inspection schedule
Ventilation is not fit-and-forget. Build these checks into your routine:
- Before each trip: visually confirm inlet and outlet are clear; remove dust, leaves or insect nests.
- Monthly: check that grilles and louvres are secure and not corroded; confirm the battery enclosure is still sealed to the living area where required.
- After any electrical work: re-check that cables have not been routed across the vent path and that the battery is still restrained.
- Annually: inspect the vent path for deterioration, and confirm the battery and charger are still operating within the manufacturer's temperature limits.
If you monitor the bank with a battery monitoring system, use the temperature readings to confirm that the compartment stays within the battery maker's operating range during charging.
Step 4: Completing the SRNE Charge Controller Installation and Final Checks
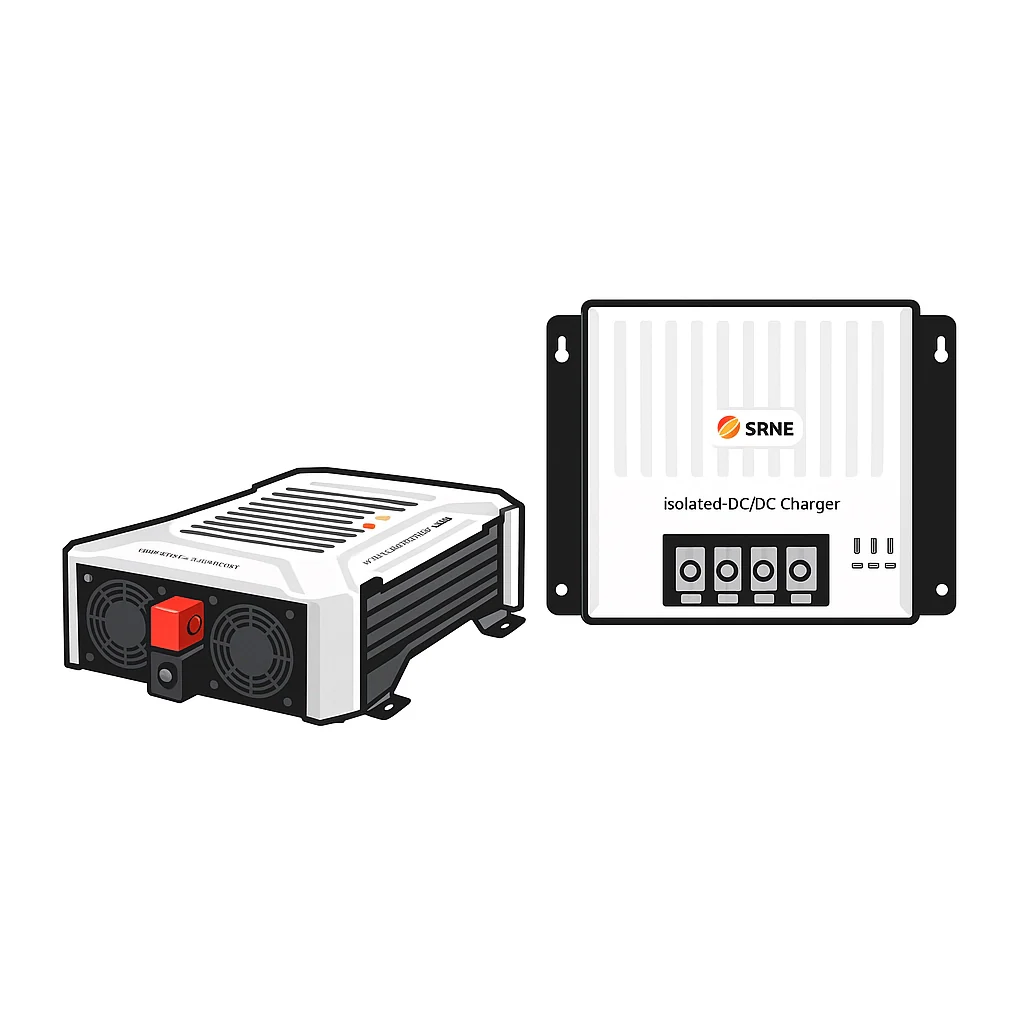
The charge controller is the last big piece. The SRNE SAA 1250 3 in 1 charge controller combines solar, alternator and mains charging in one unit, which keeps the wiring compact.
The SRNE CU Series data acquisition control unit lets you monitor battery status and temperature once the system is running. Its data acquisition control unit page explains how it tracks these readings during final checks.
Before you finish, run through these checks:
- Terminals are tight and the isolator works
- Fuses or breakers are correctly sized and reachable
- Vents are open and clear
- Battery temperature stays within the maker's limits during charging
- The charger profile matches the battery chemistry
Re-check the installation after the first few trips. Heat and vibration can loosen connections, and a short inspection now catches small faults early.
Frequently Asked Questions
Do you need to vent LiFePO4 batteries?
LiFePO4 batteries do not release hydrogen gas under normal operating conditions, unlike flooded lead-acid batteries, so they do not need the same venting. They still generate heat during charging and discharging, and a sealed compartment can trap that heat. Provide airflow around the bank to keep temperatures within the manufacturer's stated range, and check the specific battery's datasheet for its operating and charging temperature limits before finalising the enclosure design.
Does a campervan need ventilation?
A campervan's habitable area and its battery compartment have different ventilation needs. Lead-acid batteries release hydrogen while charging and need a vented enclosure that exhausts outside the living space. Lithium batteries need airflow mainly to manage heat. Whatever the chemistry, keep the battery compartment separate from living areas where possible and avoid sealing it off completely.
How should I check my battery ventilation after installation?
Inspect the compartment at intervals and after any change to the setup. Confirm that vents are unobstructed, that the openings sit near the top and bottom of the enclosure as specified by your installer or equipment supplier, and that cables are secure and not heating. Check battery and controller temperatures during a full charge and discharge cycle. Record what you find so you can spot changes over time.
Does an SRNE charge controller need its own ventilation?
Charge controllers produce some heat, and most manufacturers specify minimum clearances and airflow for safe operation. Mount the controller where air can circulate around its heatsink, keep it clear of direct heat sources, and follow the installation manual for spacing. Confirm the controller's charging profile matches your battery chemistry before connecting the battery bank.

Prev post

How to Safely Dispose of Lithium Batteries
Updated on 30 October 2026
Next post

How to Use a Lithium Battery Cost Savings Calculator
Updated on 28 October 2026


