






Why Use DC-to-DC Chargers in Vans: A Practical Guide
Why use dc to dc chargers in vans: Discover why DC-to-DC chargers are essential for van conversions.
Table of Contents
- What DC-to-DC Chargers Do in Your Van
- How Alternator Charging Works for Leisure Batteries
- DC-to-DC Chargers for Lithium Batteries: Why They Matter
- Battery Isolation and Voltage Regulation
- DC-to-DC Charger Installation: Key Considerations
- Choosing the Right DC-to-DC Charger for Your Campervan
- Real-World Charging Performance and Limitations
- Conclusion
- Frequently Asked Questions
Last Updated: October 20, 2026
What DC-to-DC Chargers Do in Your Van
Most vans rely on a simple alternator-to-leisure-battery connection. That works for basic setups but falls short with modern lithium batteries or when you want efficient charging while driving.
Why use DC-to-DC chargers in vans? The answer comes down to three core needs: protecting your batteries, maximizing charging speed, and managing voltage safely.
The difference between a charger and no charger is night and day for reliability and battery lifespan.
How Alternator Charging Works for Leisure Batteries
Your alternator produces variable voltage: 13.2V at start-up, 12.8V at idle, and spikes to 14.5V or higher under heavy load. That fluctuation is normal for a vehicle alternator but terrible for battery management.
Connect a leisure battery directly to the alternator through a basic relay and it gets whatever voltage the alternator throws at it. Lead-acid batteries tolerate this reasonably well; lithium batteries do not.
A relay simply opens or closes a circuit, it doesn't regulate voltage or current.
DC-to-DC Chargers for Lithium Batteries: Why They Matter
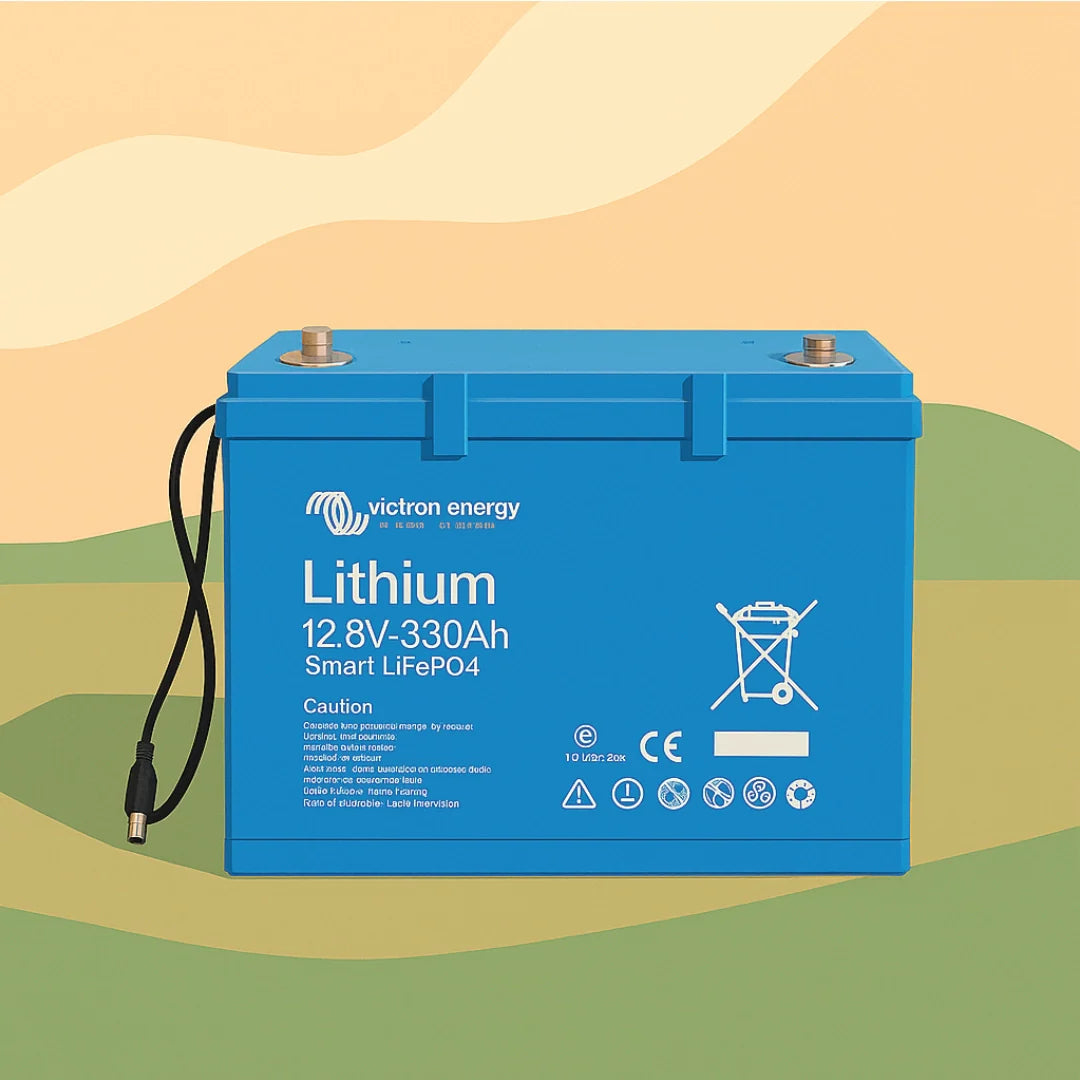
Lithium batteries need precise voltage control and staged charging profiles, something a simple relay cannot deliver.
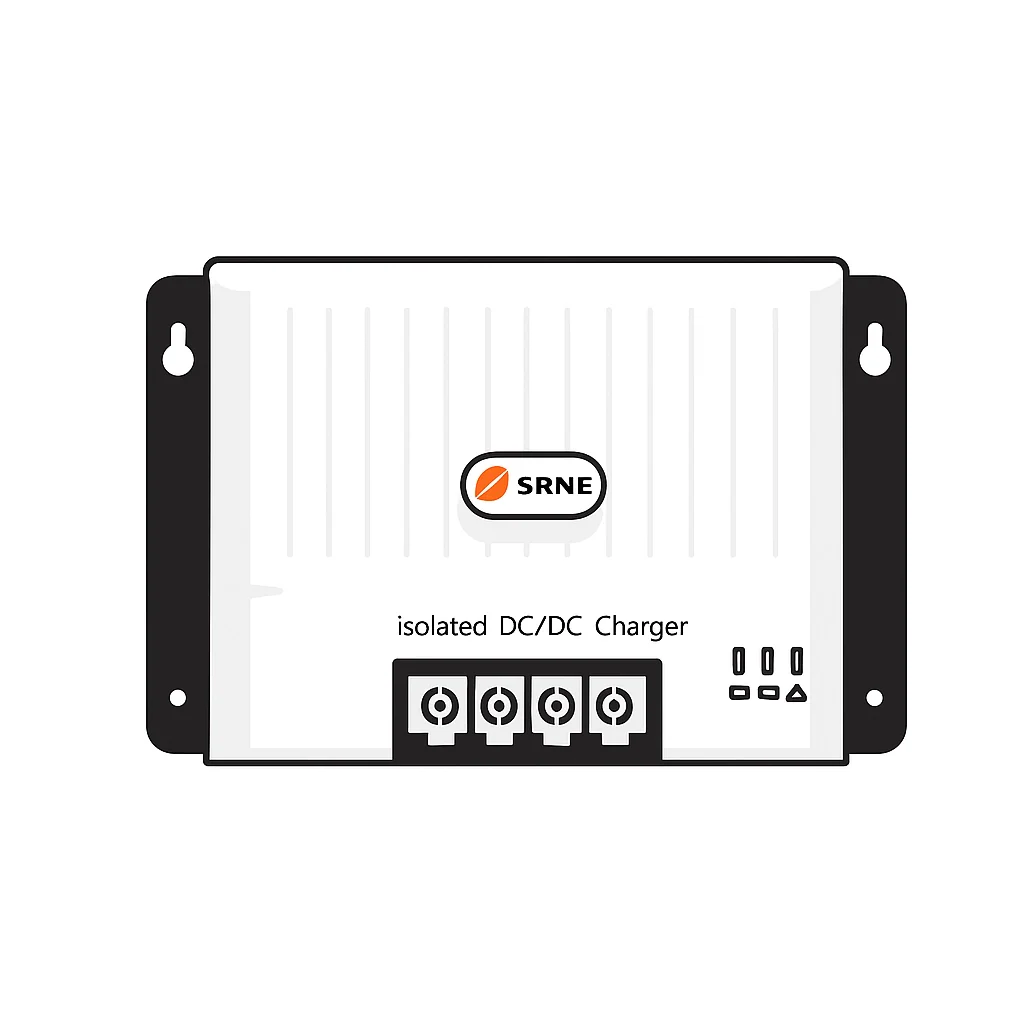
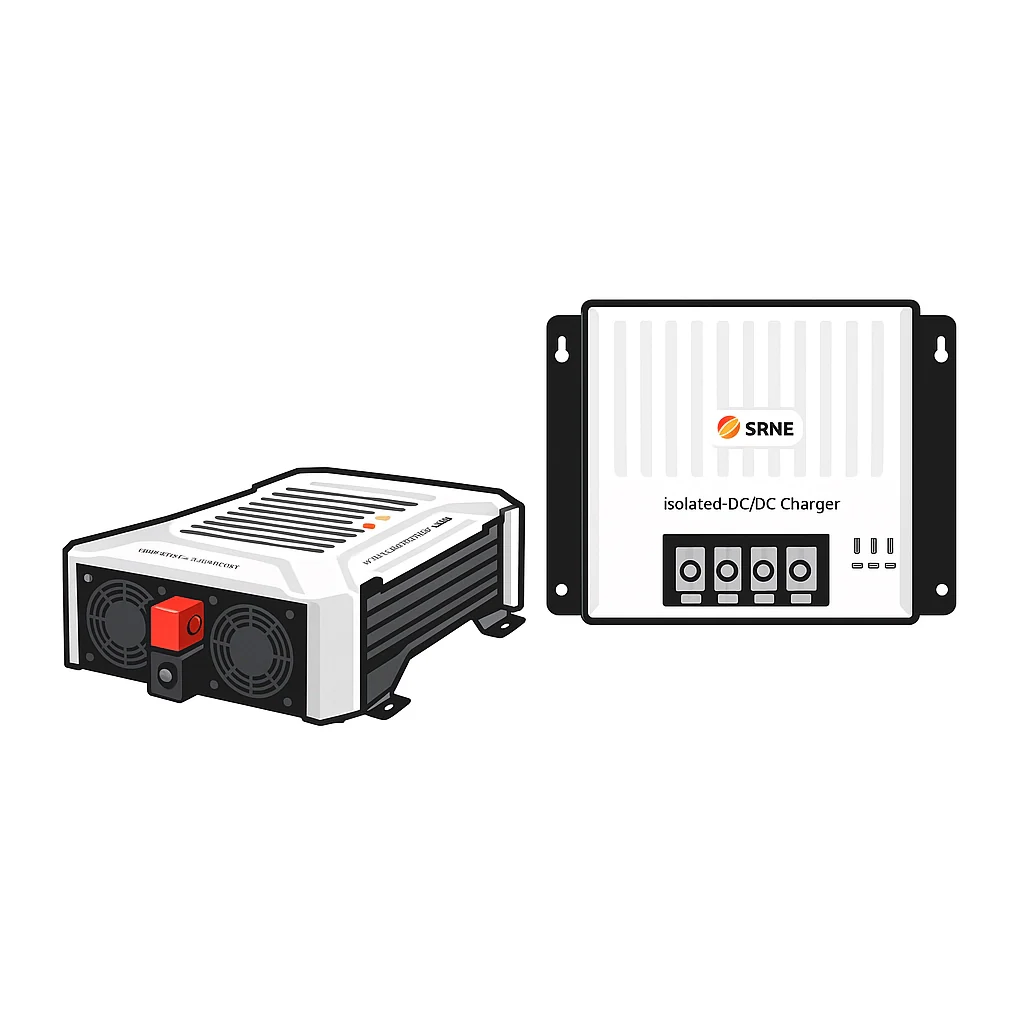
The SRNE DCI12-1230 DC-DC charger, available from Skyenergi at £149.00, is built specifically for this task.

Why use DC-to-DC chargers in vans with lithium power? Because lithium cells have a narrow safe charging window. Overvoltage damages them. Undercharging wastes their potential.
A good charger uses multi-stage charging:
- Bulk stage: High current, rising voltage
- Absorption stage: Voltage held steady, current tapers
- Float stage: Minimal current to maintain charge
Lithium batteries need this staged approach, lead-acid batteries benefit from it, and a relay provides none of it.
Battery Isolation and Voltage Regulation
Battery isolation keeps your starter battery separate from your leisure battery, preventing the leisure battery from draining the starter when the engine is off.
A simple relay can isolate batteries but doesn't regulate charging voltage between them; a DC-to-DC charger does both. A relay keeps the starter battery charged but leaves the leisure battery charging unpredictably.
The Victron Orion XS 12/12-50A, supplied by Skyenergi at £339.00, delivers 50A output with up to 98.5% efficiency.

DC-to-DC Charger Installation: Key Considerations
Installation is straightforward if you follow a few core principles, but the details separate a reliable system from one that overheats, undercharges, or drains your starter battery. The charger sits between the alternator and leisure battery, with the starter battery isolated by a relay or smart isolator.
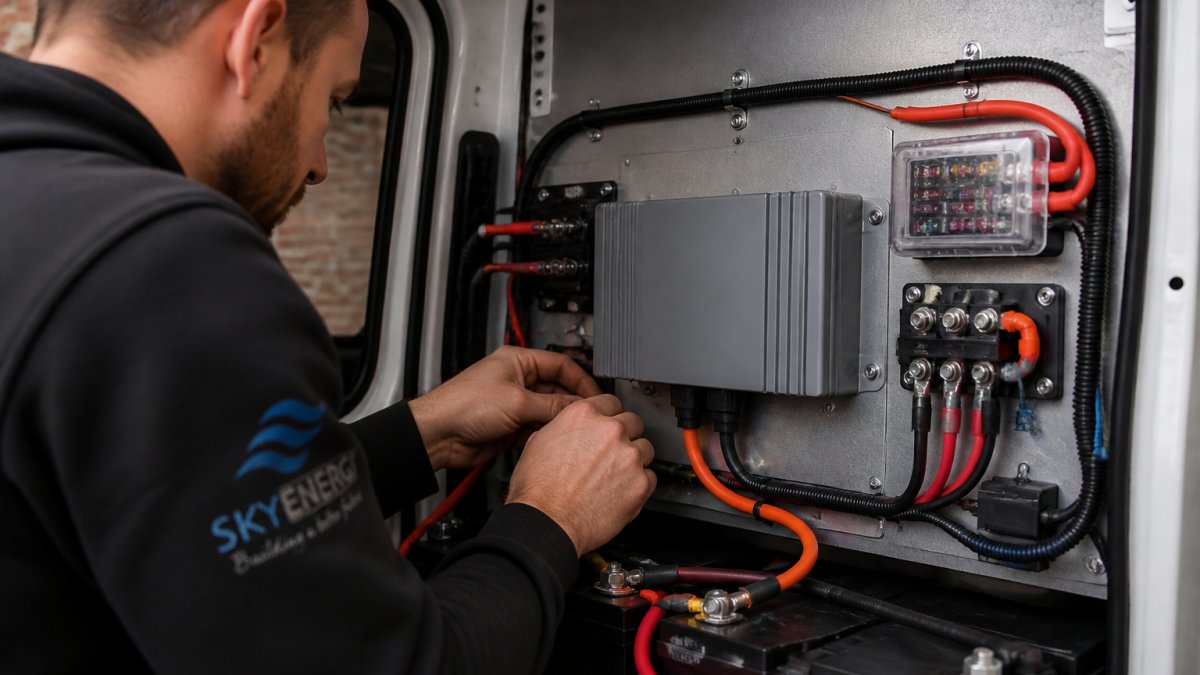
Wiring overview
A typical DC-to-DC charger installation has five connections:
- Input positive from the starter battery positive terminal, via a fuse.
- Input negative to a clean chassis ground or the starter battery negative.
- Output positive to the leisure battery positive terminal, via a fuse.
- Output negative to the leisure battery negative.
- Remote on-off wire to an ignition-switched circuit (or a manual switch).
Some chargers also have a temperature sensor lead that attaches to the leisure battery. This lets the charger reduce current when the battery is cold or hot, protecting lithium cells in particular.
Mounting and ventilation
DC-to-DC chargers generate heat, especially at full output. Mount the unit on a metal surface with at least 50mm of clear space on all sides, and avoid sealed boxes or upside-down mounting unless the manufacturer allows it. A common mistake is mounting the charger in the same unventilated compartment as the leisure battery, lead-acid batteries release hydrogen gas during charging, so keep the charger ventilated and never directly above a lead-acid battery.
Fuse placement and cable protection
Fuses protect the cable, not the device. Fit a fuse within 30cm of the starter battery positive terminal on the input side and within 30cm of the leisure battery positive terminal on the output side, using holders rated for the cable's current capacity. For a 30A charger, 40A fuses on both sides are typical; for a 50A charger, use 60A. Never use a fuse rated higher than the cable can safely carry.
Remote on-off wire
The remote on-off wire tells the charger when the engine is running; without it, the charger may drain the starter battery when the engine is off. Connect it to an ignition-switched circuit that is live only when the engine or ignition is on. Some installers use a manual switch instead so the charger can be turned off when parked for long periods, label it clearly and remember to turn it off.
12V Battery To Battery Charger Kit - Includes Victron Orion XS 12/12-50A DC-DC →
Testing before first use
Before connecting the leisure battery, test the charger's output voltage with a multimeter. With the engine running and the remote wire live, it should output the correct voltage for your battery type (typically 14.2-14.6V for lithium, 13.8-14.4V for lead-acid). If it's wrong, check the battery type setting first.
Troubleshooting common symptoms
- Charger does not turn on: Check the remote wire connection and the input fuse. If the input voltage is below the charger's threshold (often around 12V), the charger may not start.
- Low charge current: Check cable size and voltage drop. A 1V drop over the cable can reduce charging current significantly. Also check that the charger's output setting matches your battery chemistry.
- Overheating: Improve ventilation, reduce the charger's output setting if adjustable, or relocate the charger to a cooler area.
- Starter battery draining: The remote wire may be connected to a permanent live instead of an ignition-switched circuit. Recheck the wiring.
- Charger cycles on and off: This often indicates a smart alternator dropping voltage below the charger's threshold. Check that the charger is set to smart alternator mode if available.
When to use an isolator relay instead
A DC-to-DC charger isn't the only way to charge a leisure battery from the alternator. A voltage-sensitive relay (VSR) or smart isolator is cheaper and simpler but doesn't regulate charging voltage or current. Use a relay only with a lead-acid leisure battery and a traditional alternator; for lithium batteries or smart alternators, a DC-to-DC charger is safer.
Choosing the Right DC-to-DC Charger for Your Campervan
Sizing a DC-to-DC charger isn't about picking the biggest number. It's a load calculation that starts with your alternator, passes through your battery bank, and ends with cable and fuse ratings. Get any one wrong and you cook the charger, cook the alternator, or waste money on unusable capacity.
Step 1: Budget your alternator's spare capacity
A typical van alternator produces 80-120A, but most is already spoken for by the engine management system, lights, wipers, blower motor, and infotainment. A 100A alternator usually has roughly 40-60A of headroom for auxiliary charging. Use this simple budget:
- Alternator rated output: 100A
- Vehicle base load while driving: 40A
- Spare capacity for charging: 60A
- Maximum charger input current: 60A (never exceed this)
A 50A charger stays within budget; a 70A charger risks overloading the alternator at idle. The SRNE DCI12-1230 draws up to 30A, leaving ample headroom on even a modest 80A alternator.
Step 2: Match charger output to battery capacity
A charger too small for your battery bank will never fully recharge it on a typical drive; one too large pushes the battery harder than its chemistry prefers. The sweet spot is usually 0.2C to 0.4C for lithium and 0.1C to 0.2C for lead-acid.
For a 100Ah lithium battery, that's 20A minimum and 40A maximum, a 30A charger sits comfortably in the middle. For a 200Ah lithium bank, 40A minimum and 80A maximum, so a 50A charger is appropriate and a 30A charger is slow but safe.
Step 3: Size cables and fuses correctly
Cable sizing is where most DIY installations go wrong. Undersized cable causes voltage drop, heat, and wasted charging power. The goal is to keep voltage drop below 3% over the cable run.
A practical rule for 12V systems:
- 30A charger: 10mm² cable for runs up to 3 metres, 16mm² for longer runs
- 50A charger: 16mm² cable for runs up to 5 metres, 25mm² for longer runs
Fusing protects the cable, not the charger. Fit a fuse rated slightly above the charger's maximum input current on the input side, and a fuse rated to the charger's output on the leisure battery side. For a 30A charger, a 40A fuse on the input and a 40A fuse on the output are typical.
Step 4: Decide on smart alternator compatibility
Modern vans often use smart alternators that drop voltage to 12.4-13.0V when the starter battery is full, to save fuel. A simple relay sees that low voltage and stops charging your leisure battery entirely; a DC-to-DC charger with a smart alternator mode ignores it and continues charging at the correct profile. The SRNE DCI12-1230 includes selectable charging modes and supports both traditional and smart alternator setups. For variable-voltage alternators, check that the charger has an ignition-triggered remote input so it only runs when the engine is running.
Quick selection guide
| Leisure battery | Typical charger |
|---|---|
| 100Ah lithium | 30A |
| 200Ah lithium | 50A |
| 100Ah AGM | 20A |
| 200Ah AGM | 30A |
The SRNE DCI12-1230 at 30A suits most 100Ah lithium and 200Ah AGM setups. For larger lithium banks or faster recharge times, a 50A unit is the better match, provided your alternator budget allows it.
Real-World Charging Performance and Limitations
In practice, a DC-to-DC charger charges your leisure battery while you drive, at a speed set by alternator output, charger rating, and battery voltage. A 50A charger at full capacity transfers roughly 600W, enough to charge a 100Ah lithium battery from 20% to 80% in around 2-3 hours of highway driving.
Many van owners find a DC-to-DC charger alone isn't enough. Smart alternators work well with a DC-to-DC charger but require correct programming; the Victron Orion XS handles this automatically through its adaptive charging algorithm.

Conclusion
A DC-to-DC charger transforms how your van's electrical system works. It protects your batteries, charges efficiently, and gives you reliable power while driving.
Whether you're upgrading an existing leisure battery system or building a complete off-grid installation, Skyenergi provides the chargers, batteries, and components you need. Our range includes the SRNE DCI12-1230 at £149.00 for budget-conscious builds and the Victron Orion XS 12/12-50A at £339.00 for premium performance. Both are backed by UK-based support and fast delivery.
Frequently Asked Questions
What is the point of a DC-to-DC charger in a van?
A DC-to-DC charger converts voltage from your vehicle's alternator to safely charge your leisure battery while protecting both batteries from damage. It regulates charging current and voltage, prevents reverse current from draining your starter battery, and delivers the correct charge profile for lithium or lead-acid batteries. Without one, your leisure battery may charge too quickly or incorrectly, shortening its lifespan and risking electrical failure while you're off-grid.
Do I need a DC-to-DC charger for a lithium leisure battery?
Yes, lithium batteries require precise voltage and current control that standard vehicle charging systems cannot provide. A DC-to-DC charger for lithium battery systems delivers the correct multi-stage charge profile, preventing overcharging and thermal damage. Lithium batteries are more sensitive to voltage fluctuations than lead-acid alternatives, making a dedicated charger essential for reliable performance and maximum battery lifespan.
Can a van alternator charge a leisure battery directly?
A van alternator can deliver power to a leisure battery, but without isolation and regulation, it risks overcharging, voltage spikes, and draining your starter battery. Direct connection also lacks the intelligent charge profiles required for lithium batteries. A DC-to-DC charger sits between the alternator and leisure battery, controlling the charging process safely and efficiently.
What size DC-to-DC charger do I need for my campervan?
Charger size depends on your leisure battery capacity and how quickly you want to charge while driving. A 30A charger suits most campervan conversions with 100-200Ah batteries, delivering a full charge during a day's driving. Larger systems or faster charging may require 50A or higher. Consider your alternator output and electrical load when selecting a DC-to-DC charger for campervan use; oversizing wastes money, while undersizing leaves you with slow charging and incomplete battery top-ups.
Ready to upgrade your campervan's charging system? Get started with Skyenergi and enjoy stable, efficient power for every journey. Explore our complete range of DC-to-DC chargers, lithium batteries, and 12V electrical kits today.
Prev post

Lithium charging requirements for beginners
Updated on 22 October 2026
Next post

Monitor Lithium Battery Health: A Step-by-Step Guide
Updated on 20 October 2026


