





Is Lithium Battery Safe for Van: A 2026 Guide
Is lithium battery safe for van? Learn about battery management systems, cold-weather charging, placement, and real safety evidence for campervan power.
Table of Contents
- Is Lithium Battery Safe for Van: The Evidence
- Campervan Lithium Battery Safety: What Actually Fails
- Lithium Battery Management System: Your First Line of Defence
- Charging Lithium Batteries in Cold Weather: Practical Limits
- Lithium Battery Placement in a Van: Location and Ventilation
- Lithium vs Lead-Acid: Safety Trade-Offs for Off-Grid Power
- Safe Installation: Wiring, Fuses and System Protection
- Frequently Asked Questions
Last Updated: October 18, 2026
Is Lithium Battery Safe for Van: The Evidence
Lithium batteries are now the default choice for campervan off-grid power. But is lithium battery safe for van use, or are the risks being glossed over?
The short answer is yes, when installed and managed correctly.
At Skyenergi, we've spent years helping campervan owners, motorhome converters, and off-grid enthusiasts choose and install lithium systems safely. The evidence shows that lithium batteries fail catastrophically far less often than most people fear. Research into lithium-ion battery safety confirms that cell failures are extremely rare when the battery is manufactured to standard and protected by a functioning battery management system.
But "rare" isn't the same as "impossible." This guide covers what actually goes wrong, how to prevent it, and what to do if something fails.
Campervan Lithium Battery Safety: What Actually Fails
Most lithium battery failures in vans aren't caused by the chemistry, they're caused by people. The three main failure modes are:
- Overcharging: A faulty charger or a charging system that doesn't know when to stop can push a lithium battery past its safe voltage limit. This damages the cells and can trigger thermal runaway.
- Physical damage: A battery dropped, crushed, or punctured will short-circuit internally. Even a small hole in the case can allow moisture ingress.
- Excessive heat: Lithium batteries generate heat during charging and discharging. If that heat can't escape, cell temperature rises, and the battery becomes unstable.
According to CSIRO expert commentary on lithium-ion battery hazards, overcharging, physical damage, and excessive heat are the primary hazards. The good news: all three are preventable with basic precautions.
One often-overlooked risk is cold-weather charging. Lithium batteries shouldn't be charged below 0°C, which can cause permanent cell damage. This matters in the UK from November to March, especially if your van is parked outside.
Lithium Battery Management System: Your First Line of Defence
The battery management system (BMS) is what makes lithium safe, and it's not optional.
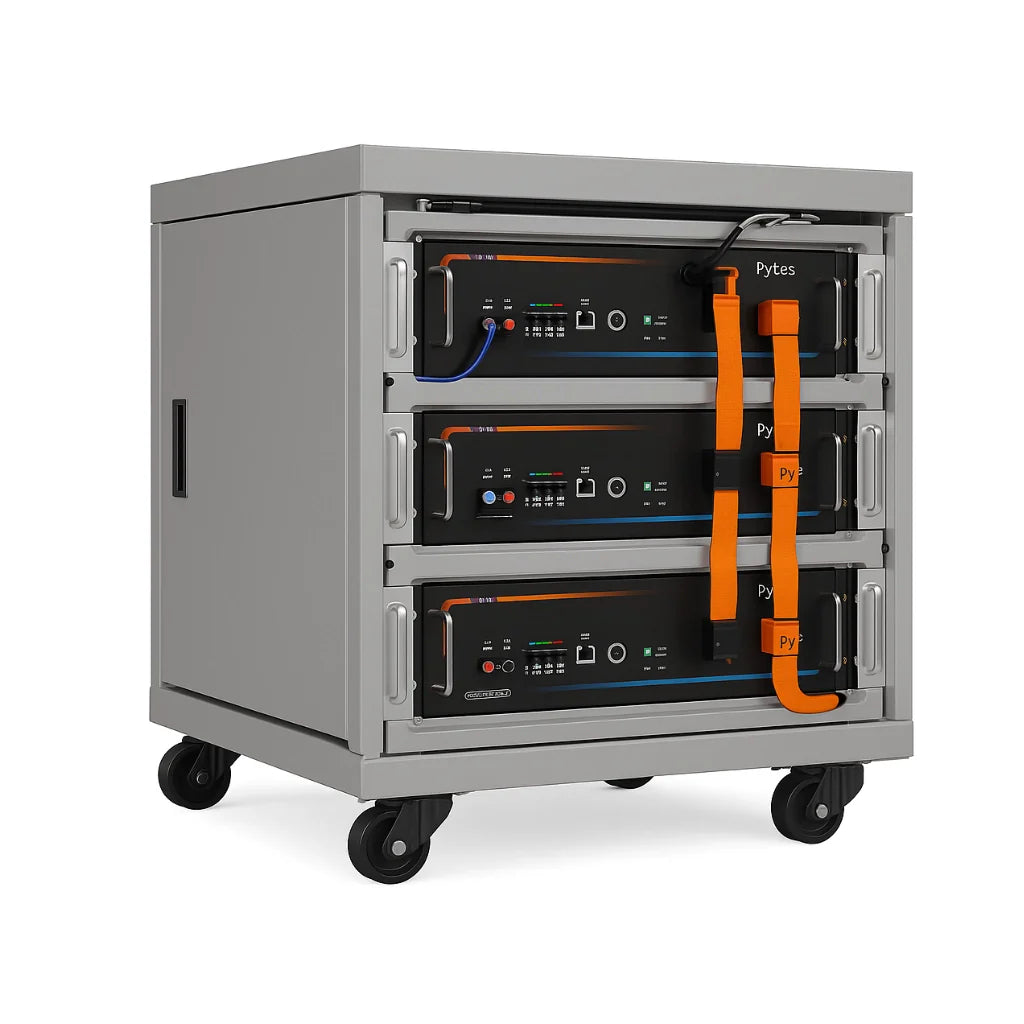
Most quality lithium leisure batteries come with a BMS built in. The Skyenergi Edge 100Ah uses a 100A JBD BMS protecting against overcharge, over-discharge, and short circuits.

What to look for in a BMS:
- Over-voltage protection: Stops charging if cell voltage exceeds safe limits (typically 3.65V per cell).
- Under-voltage protection: Disconnects loads if voltage drops too low, preventing deep discharge damage.
- Temperature monitoring: Halts charging or discharging if the battery gets too hot or cold.
- Short-circuit protection: Cuts power instantly if a short is detected.
- Current limiting: Prevents excessive discharge current that could damage cells.
The BMS isn't a magic fix. It only works if the rest of your system is wired correctly, which is why installation matters as much as the battery itself.
Charging Lithium Batteries in Cold Weather: Practical Limits
Cold weather is where lithium batteries show a real weakness compared to lead-acid. Don't charge lithium below 0°C: the chemical reactions slow, lithium ions can't move through the electrolyte fast enough, and charging forces lithium metal to plate onto the anode.
In the UK this matters from November through March. If your van is parked outside and charging from solar or a leisure charger in winter, you need a heater or a charger programmed to stop charging at low temperatures.
How SRNE Controllers Handle Cold Charging
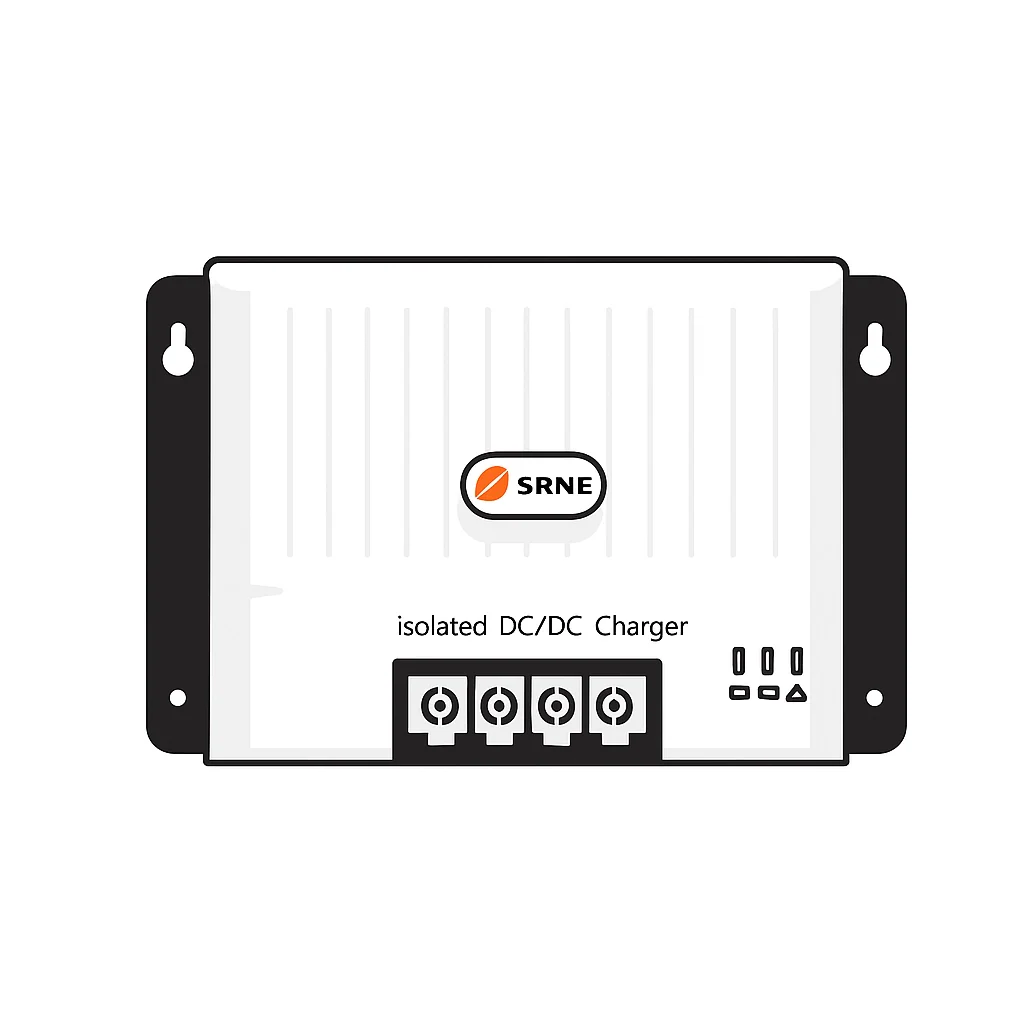
SRNE solar charge controllers include a temperature sensor port and support low-temperature charging protection when paired with a compatible sensor. The controller inhibits charging below a set threshold, preventing the lithium plating that causes permanent damage. Without a sensor, manually disable charging or use a charger with built-in low-temp cut-off.
Battery Heating Options
The Skyenergi Elite 304Ah includes integrated heat pad technology controlled by the BMS, activating below 5°C to warm the cells before allowing charge current. This is a significant advantage for winter camping or cold-climate off-grid living. The Edge 100Ah doesn't have a heat pad, so you'd need external heating or warmer conditions to charge.

Practical Steps for Winter Charging
- Move the battery into a heated space if possible. Even a small heater keeps it above 0°C.
- Charge during the warmest part of the day, waiting until midday when the sun is highest.
- Use a charger with temperature compensation. SRNE controllers with the optional temperature sensor do this automatically.
- Monitor battery temperature via a Bluetooth-enabled BMS. The Skyenergi Elite reports temperature via Victron Can-Bus.
- Never charge if the battery case feels below 0°C. If in doubt, wait.
Cold doesn't damage a fully charged battery sitting idle, only during charging. Discharging is fine down to -20°C without damage, though expect about 20-30% less usable capacity at those temperatures.
Lithium Battery Placement in a Van: Location and Ventilation
Where you put the battery matters more than most people realise. Lithium batteries generate heat during heavy charging or discharging, and a sealed locker with no airflow traps it fast.
The ideal location is:
Skyenergi Edge 100Ah Lithium Leisure Battery →
- Well-ventilated: Air can flow around the battery. A locker with vents or an open shelf is better than a sealed box.
- Away from heat sources: Don't mount it near the engine bay, diesel heater, or water heater.
- Protected from physical damage: The battery shouldn't be exposed to impacts, vibrations, or water spray.
- Accessible for monitoring: You need to be able to see the BMS indicator lights and check connections occasionally.
Many conversions mount the battery under a bed or in a cabinet, which works if the cabinet has ventilation holes or a grille. Sealed compartments are a fire risk.
Secure mounting is critical. A battery bouncing loose during off-road driving can damage its case or internal connections.
Lithium vs Lead-Acid: Safety Trade-Offs for Off-Grid Power
Lithium and lead-acid batteries have different safety profiles and fail in different ways. Lead-acid is forgiving of overcharging and physical abuse and cheaper, but heavier, bulkier, drops voltage steeply as it discharges, and leaks caustic sulphuric acid if damaged.
For off-grid campervan power, lithium wins on almost every metric except initial cost: 10+ years lifespan versus 3-5 for lead-acid, so total cost of ownership strongly favours lithium.
| Factor | Lithium | Lead-Acid |
|---|---|---|
| Weight (100Ah) | ~12 kg | ~30 kg |
| Lifespan | 10+ years | 3-5 years |
| Voltage stability | Flat until depleted | Drops steadily |
| Overcharge tolerance | Low | High |
| Cost per kWh | £200-250 | £80-100 |
| Failure mode | Sudden if BMS fails | Gradual degradation |
Safe Installation: Wiring, Fuses and System Protection
Installation is where most problems start. A badly wired lithium system can fail regardless of battery quality. This checklist covers the critical procedures from mounting to commissioning.
Step 1: Plan the System and Gather Components
Before drilling or cutting, map out your system: battery bank, chargers, inverter, fuse box, and loads. Calculate maximum current for each circuit. For a 100Ah battery with a 100A charger and a 1000W inverter (approx. 85A at 12V), the main cable must handle at least 100A continuous.
| Current (A) | Cable Size (mm²) | Fuse Rating (A) |
|---|---|---|
| Up to 50 | 16 | 50 |
| 50-100 | 35 | 100 |
| 100-150 | 50 | 150 |
| 150-200 | 70 | 200 |
Use flexible multi-strand cable (e.g., 50 mm² for 100-150A) with high-temperature insulation. For the main battery fuse, the Skyenergi MRBF Fuse 150A 58VDC (£3.80) is designed for this purpose and mounts directly on the battery terminal.

Step 2: Mount the Battery Securely
Mount the battery in a well-ventilated location away from heat sources using a box or bracket that secures it against movement in all directions. For the Skyenergi Edge 100Ah, use the optional mounting bracket or a strap system rated for at least 30 kg, bolted to the floor or chassis with M8 bolts and nyloc nuts. Don't rely on straps alone for off-road use, and keep terminals and BMS indicator lights accessible.
Step 3: Install the Main Fuse and Isolator
Install the main fuse within 30 cm of the battery positive terminal. Use a fuse holder rated for the system voltage and current. The Skyenergi MRBF Fuse 150A 58VDC is a suitable choice for most campervan systems. Next, install a battery isolator switch (rated for at least 150A continuous) between the battery positive and the rest of the system. This allows you to disconnect the battery completely for maintenance or in an emergency. Mount the isolator in an accessible location.
Step 4: Wire the Charging Sources
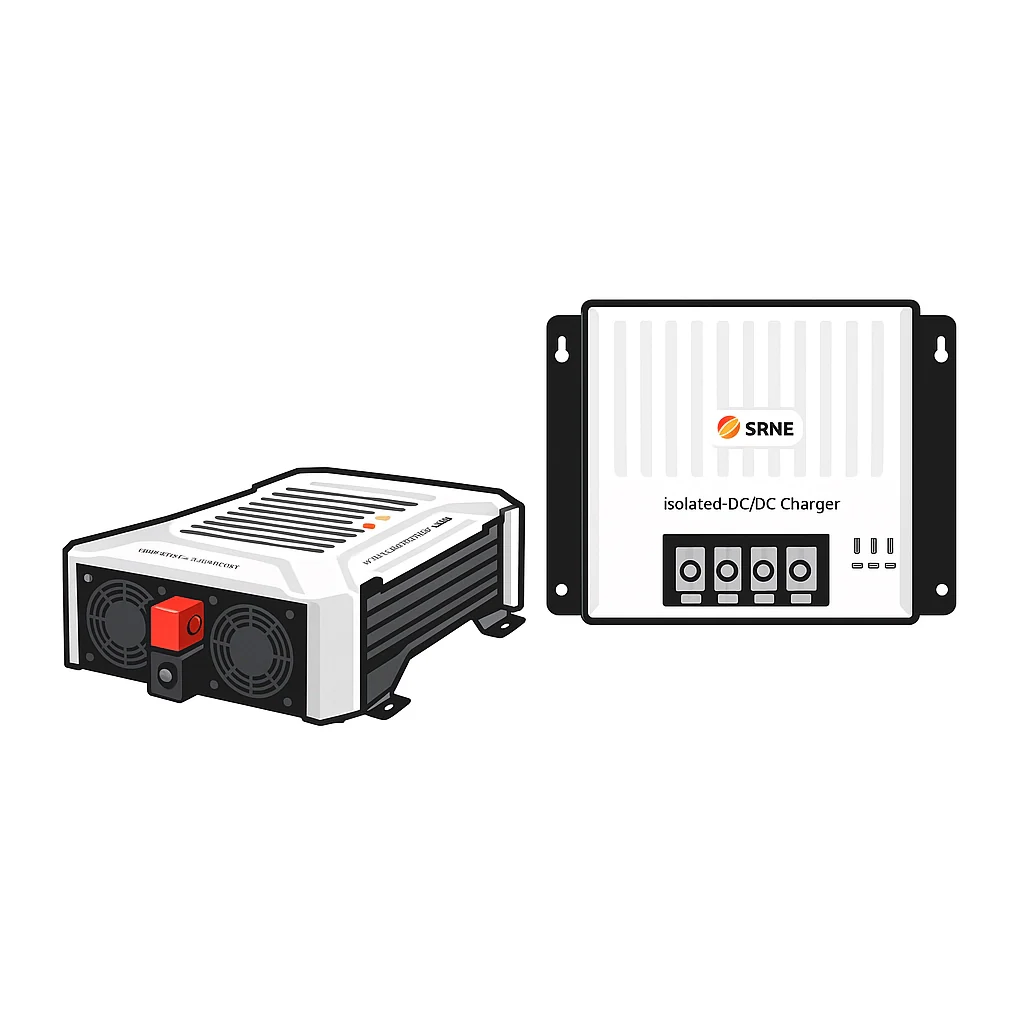
Connect the solar controller, DC-DC charger, and mains charger to the battery via the isolator and fuse. For SRNE controllers, connect the battery first, then the panels, so the controller senses battery voltage. Attach the temperature sensor to the battery positive terminal for low-temperature charging protection.
Step 5: Wire the Loads and Inverter
Connect the inverter directly to the battery via its own fuse (typically 150A for a 1000W inverter) and cable sized for the inverter's maximum current. Connect the fuse box for 12V loads via a smaller fuse (e.g., 50A) and cable. Use ring terminals crimped with a proper crimping tool, do not twist wires or use tape. Apply dielectric grease to terminals to prevent corrosion.
Step 6: Ground the System
Bond the battery negative to the van chassis using a cable of the same size as the main positive cable. This provides a common ground and reduces the risk of stray currents. Ensure the bonding point is clean bare metal, and use a star washer for good contact. Do not rely on the vehicle's existing wiring for grounding high-current devices.
Step 7: Commission and Test
Before connecting loads, verify polarity and check for shorts with a multimeter.
Guidance on electrical installation safety in leisure vehicles emphasises the importance of proper fusing, grounding, and isolation. These aren't optional, they're what prevent fires and electric shock.

Frequently Asked Questions
Are lithium batteries safe to use in a van?
Yes, when properly installed and managed. Lithium-ion batteries are safe when manufactured and used correctly, according to expert commentary from CSIRO. The key is using a reliable battery management system (BMS), correct installation, and protecting against overcharging, physical damage, and excessive heat. Catastrophic cell failures are extremely rare. A quality BMS like the one in the Skyenergi Edge (100A JBD) or Elite (250A JBD) handles these protections automatically, making lithium batteries a dependable choice for campervan power.
What is the most important safety feature of a campervan lithium battery?
The battery management system (BMS) is critical. It monitors temperature, voltage, and current flow in real time, disconnecting the battery if any parameter moves outside safe limits. This prevents overcharging, deep discharge, and thermal runaway. The Skyenergi Edge uses a trusted 100A JBD BMS, whilst the Elite features an advanced 250A JBD system with heat pad technology for cold-weather operation. Without a quality BMS, lithium batteries become vulnerable to the very faults that cause problems.
Can you charge a lithium battery in cold weather?
Standard lithium batteries should not be charged below 0°C, as this can cause permanent damage and reduce lifespan. However, premium systems like the Skyenergi Elite include heat pad technology that enables safe charging in freezing conditions by maintaining internal cell temperature during the charging process. If you regularly camp in winter, a heat pad equipped battery or a separate pre-heating system is essential. For milder conditions, a DC-to-DC charger with temperature monitoring provides safer charging control.
Where should a lithium battery be placed in a campervan?
Install the battery in a well-ventilated, secure location away from living areas and fuel sources. Secure mounting prevents movement during travel, which could damage cells or wiring. A battery box with ventilation holes allows heat to escape without creating explosive gas build-up. Avoid placing the battery directly above sleeping areas or in confined spaces without airflow. The location must also allow easy access to the BMS display and fuse connections for monitoring and maintenance. Professional installation ensures compliance with electrical safety standards.
Prev post

Monitor Lithium Battery Health: A Step-by-Step Guide
Updated on 20 October 2026
Next post

How to Upgrade Your Caravan to Lithium Power
Updated on 18 October 2026


